
As I was bustling about my craft corner, I stumbled upon a delightful treat for my yarn stash: the Bee Granny Square. This charming pattern not only features a whimsical, chubby striped bee woven directly into the square, but it’s also a fantastic opportunity to put those leftover scraps to good use! Ideal for both beginners and seasoned crafters, this project works up quickly and without the fuss of appliques. You’ll find joy in the colorful, changing rows, bringing a touch of nature into your home. Whether you’re making a cozy blanket or a playful wall hanging, the customizable size allows you to create something uniquely yours. Ready to let your creativity buzz with excitement? Let’s dive into this delightful crochet adventure!
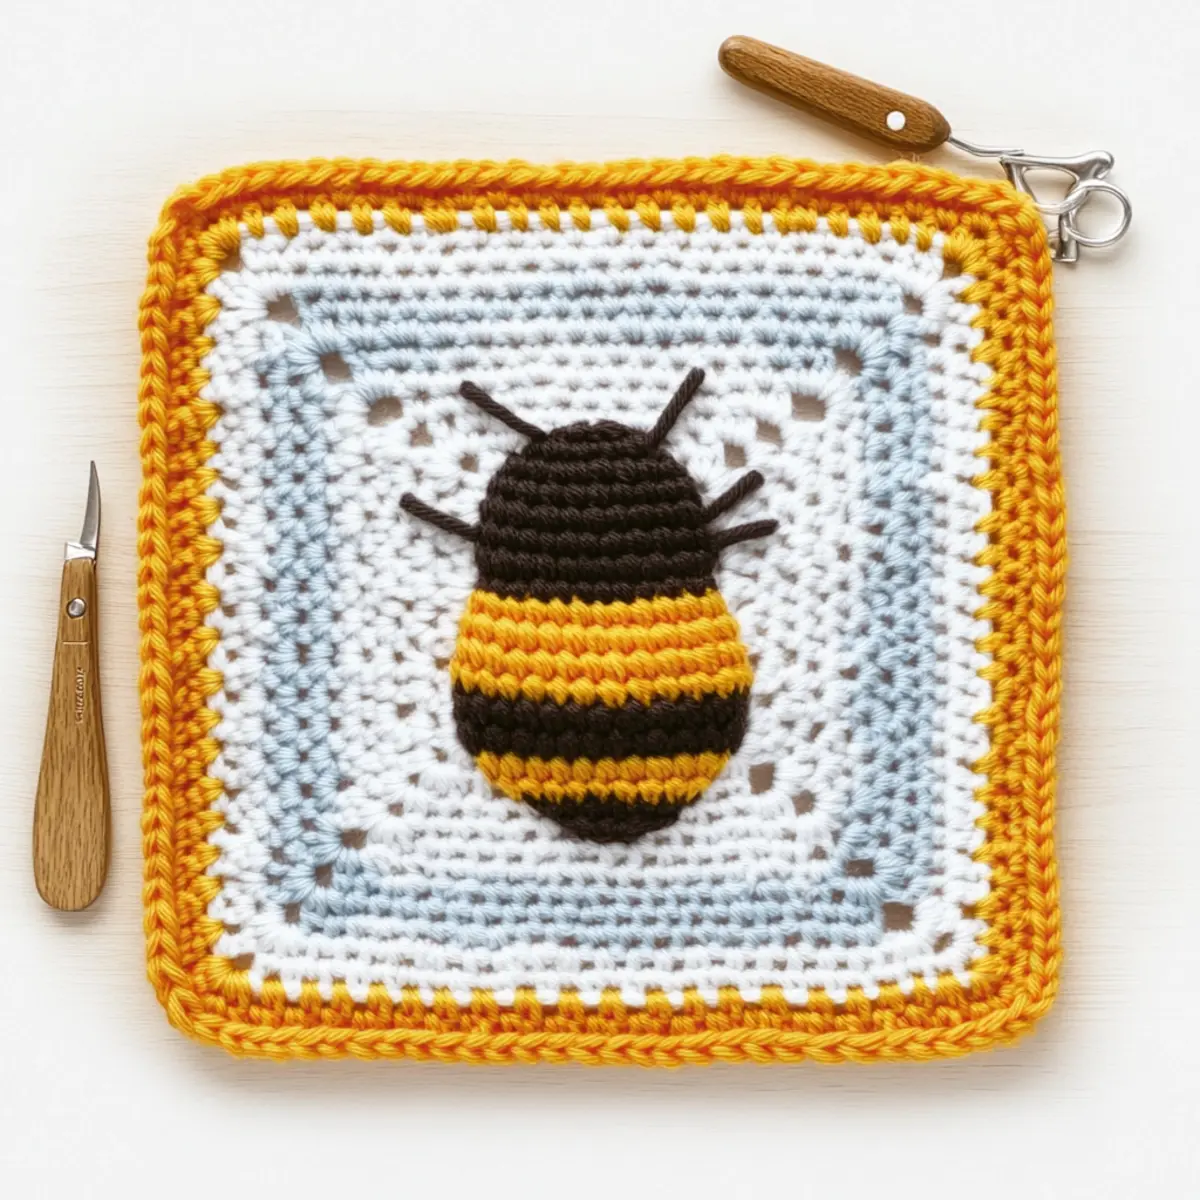
Bee Granny Square Materials & Tools
Create your charming bee granny square with these essential materials!
Yarn
• Any Weight Yarn – Choose your favorite yarn weight and pair it with the appropriate hook size for your perfect square.
Tools & Notions
• 4.0 mm (G) Hook – This size is ideal for achieving the cozy texture in your bee granny square.
• Stitch Markers – Use these to accurately mark your corners and maintain stitch consistency.
• Tapestry Needle – Perfect for weaving in ends and ensuring a neat finish.
• Scissors – For cutting yarn and trimming any excess as you go along.
Add a sprinkle of creativity to your crochet journey with this bee granny square!
Why is the Bee Granny Square Special?
Customization is at the heart of this pattern, giving you the freedom to create a size that fits your project needs perfectly. Beginner-friendly, this design allows novice crocheters to build confidence while working with simple techniques. Unique Design: With the adorable bee integrated directly into each square, forget about separate appliques—just pure crochet fun! The playful texture adds dimension and charm to every piece, making it ideal for cozy blankets or colorful decor. Don’t forget, you can even explore more ideas with customization options to match your home’s vibe!
Gauge & Sizing Notes
Don’t skip the gauge swatch! Ensuring you have the correct tension is crucial for your charming Bee Granny Square since it affects how each square comes together. A standard gauge measurement for this pattern is 4×4 inches (10×10 cm), which should equal approximately 12 stitches by 10 rows. If you wish to make your granny square larger or smaller, simply adjust your starting chain in multiples of 6. For example, to increase the size, add more stitches to your chain in those multiples. If your tension doesn’t match this gauge, you might want to try going up a hook size if your swatch is too small or going down if it’s too big. Happy crocheting!
Step‑by‑Step Pattern for Bee Granny Square
Row 1: Create the Tail
Start by chaining 4 (ch 4). Skip the first 3 chains and in the 4th chain from the hook, work 2 half double crochets (hdc) to form the tail. Chain 3 (ch 3), then slip stitch (sl st) in the same stitch to secure. Your work should create a small loop with a tail extension (2 hdc, 1 ch-3 loop).
Row 2: Form the Body
Join your yarn in the top of the ch-3 you created previously. Work 6 single crochets (sc) into this space to form the body of the bee. This gives a rounded shape. As you work, remember the body will appear more defined as you crochet (6 sc).
Row 3: Build Up the Body
In the next section, work 6 half double crochets (hdc) into the body of the bee. This round builds the bulk of the bee, making it look chubby and cute. Ensure your tension remains consistent to keep the body shape uniform (6 hdc).
Row 4: Start Symmetrical Decreases
Begin decreasing the bee’s body by working a single crochet two together (sc2tog) across multiple stitches. This will taper your bee’s body. Continue until you reach the desired top size, making sure to keep it symmetric (decrease to shape).
Row 5: Create the Head Taper
To form the head, start this row with 4 half double crochets (hdc) in the last section. Gradually taper off to get to the head shape of the bee. Your work should start to look more defined in the upper section of the bee (4 hdc).
Row 6: Finish the Head
For the head, cluster stitches by making 3 double crochets (dc) all in the same stitch, then create a picot by chaining 3 and slip stitching back into the same stitch. This gives a lovely rounded finish to the bee’s head and adds an adorable touch (1 cluster, 1 picot).
Step 1: Attach Wings
Attach your wings by joining yarn in the back loops of the ch-2 from previous rows. Using single stitches, crochet left and right wings for the bee. Add additional picots if desired for a more delicate wing effect. Your work should define the wings without overpowering the bee design.
Step 2: Granny Square Round
Join your background yarn to start creating the granny square. Work in rounds, incorporating double crochets (dc) in each corner to maintain the square shape. Each round should see an increase in stitch counts, allowing the square to grow while framing your cute bee nicely.
Step 3: Finalize the Square
Continue crocheting the granny square by repeating the pattern for additional rounds until your preferred size is achieved. Make sure to keep your stitches consistent for a neat appearance. Once you reach the desired size, prepare to fasten off and weave your ends for a tidy finish.
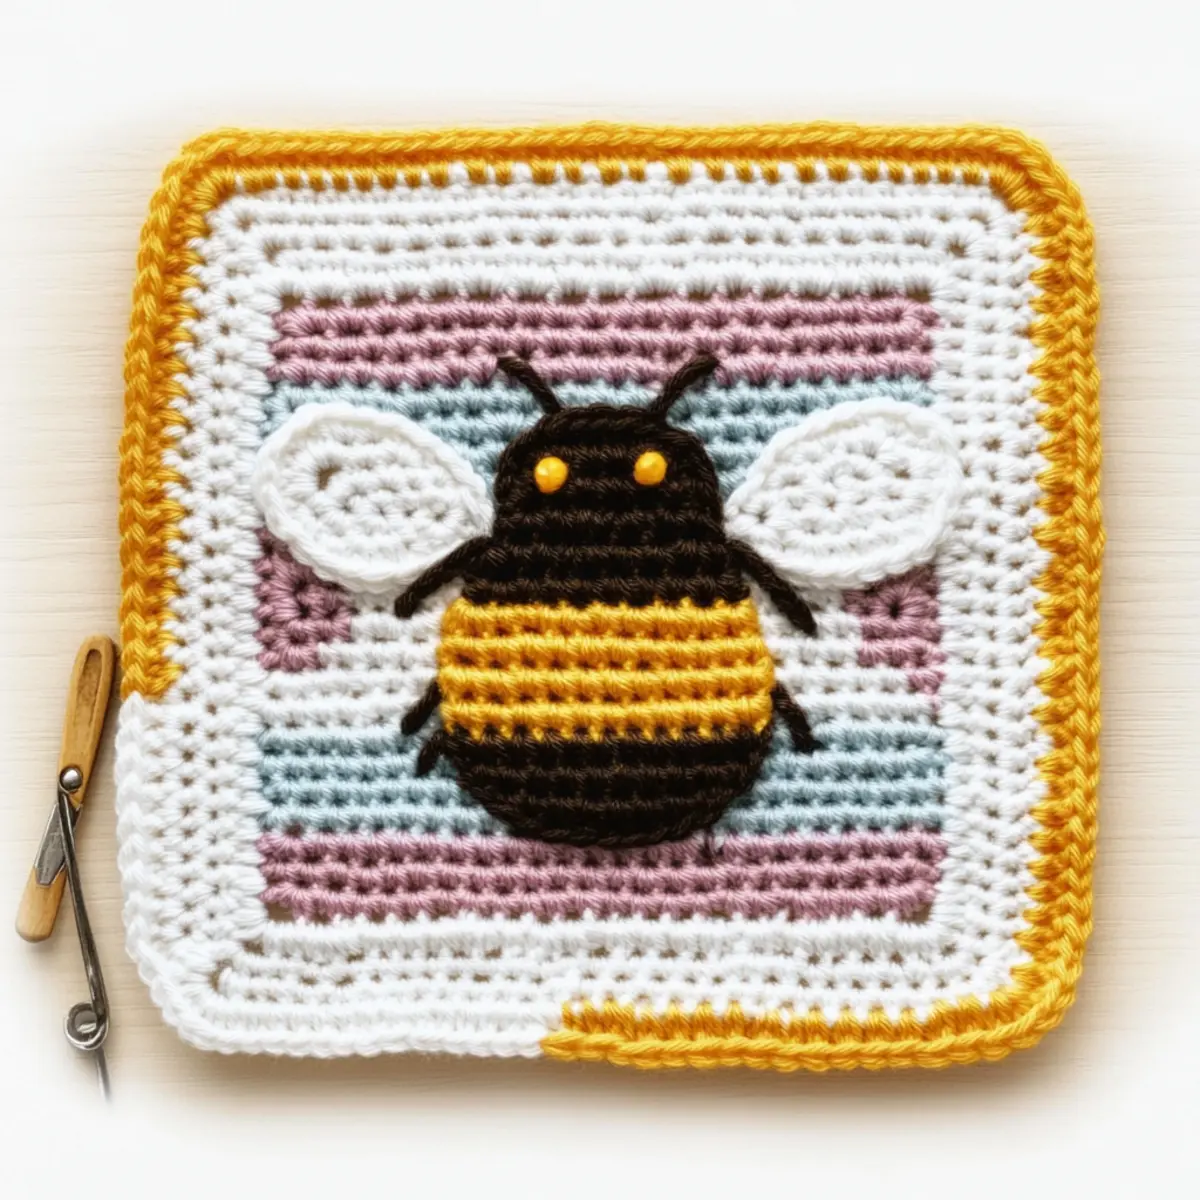
Expert Tips for Bee Granny Square
-
Consistent Tension: Ensure your tension stays even throughout to create a uniform and attractive granny square. Fluctuations can lead to uneven sizes.
-
Use Stitch Markers: To keep track of your corners during the granny square rounds, utilize stitch markers. This small tool can prevent headaches later on!
-
Count Your Stitches: Regularly check your stitch count after each round. Losing count is a common mistake—don’t hesitate to pause and verify!
-
Fasten Off Neatly: Make sure to fasten off after each row to maintain crisp stripe definitions. A tidy finish enhances the overall aesthetic of your square.
-
Practice Color Changes: If you’re trying out the striped design, practice smooth color transitions. This will give your bee granny square a polished and professional feel.
Bee Granny Square Variations & Substitutions
Embrace the joy of creativity and personalize your bee granny square with these fun customization ideas!
-
Yarn Weight Swap: Choose a heavier yarn for a cozier square. A bulky yarn adds dimension while keeping things warm.
-
Fiber Alternatives: Switch from acrylic to cotton for a breathable finish. A cotton square feels delightful in warmer weather and showcases vibrant colors beautifully.
-
Color-Blocking Fun: Experiment with stripes by incorporating multiple colors in each round. Play with contrasting shades for a bold, eye-catching effect!
-
Size Up: Add more rounds to enlarge your square. Larger squares can become lovely pillows or centerpieces for a joyful home accent.
-
Texture Modifications: Enhance your square’s charm by adding pom-poms to each corner. This delightful detail brings a playful element to your project.
-
Unique Wing Colors: For a personal touch, craft different bee species by changing the wing colors. Every square tells a story, allowing you to create a diverse bee family.
-
Decorative Borders: Finish your granny square with a scalloped or shell border for an elegant touch. It adds a lovely detail that frames the vibrant bee beautifully.
-
Mix and Match Colors: Use a gradient or ombre effect by blending yarn shades. This creates a stunning visual transition that adds depth and interest to your design.
Feel inspired? For more great ideas, check out these customization options and let your crochet adventure flourish!
How to Wash and Care for Your Bee Granny Square
-
Hand Washing: Gently wash your Bee Granny Square in cold water with mild detergent to maintain its vibrant colors and shape. Avoid agitation to prevent felting or pilling.
-
Drying/Blocking: Lay your square flat on a clean, dry surface away from direct sunlight. This helps keep its form and prevents any distortion during drying.
-
Storage: Store your finished granny square in a cool, dry place to reduce the risk of mold or mildew. Keep it folded or flat to avoid creases while waiting for its grand reveal!
-
Light Ironing: If needed, use a low heat setting on your iron with a cloth between the square and the iron to smooth out any wrinkles, ensuring your Bee Granny Square looks its best!
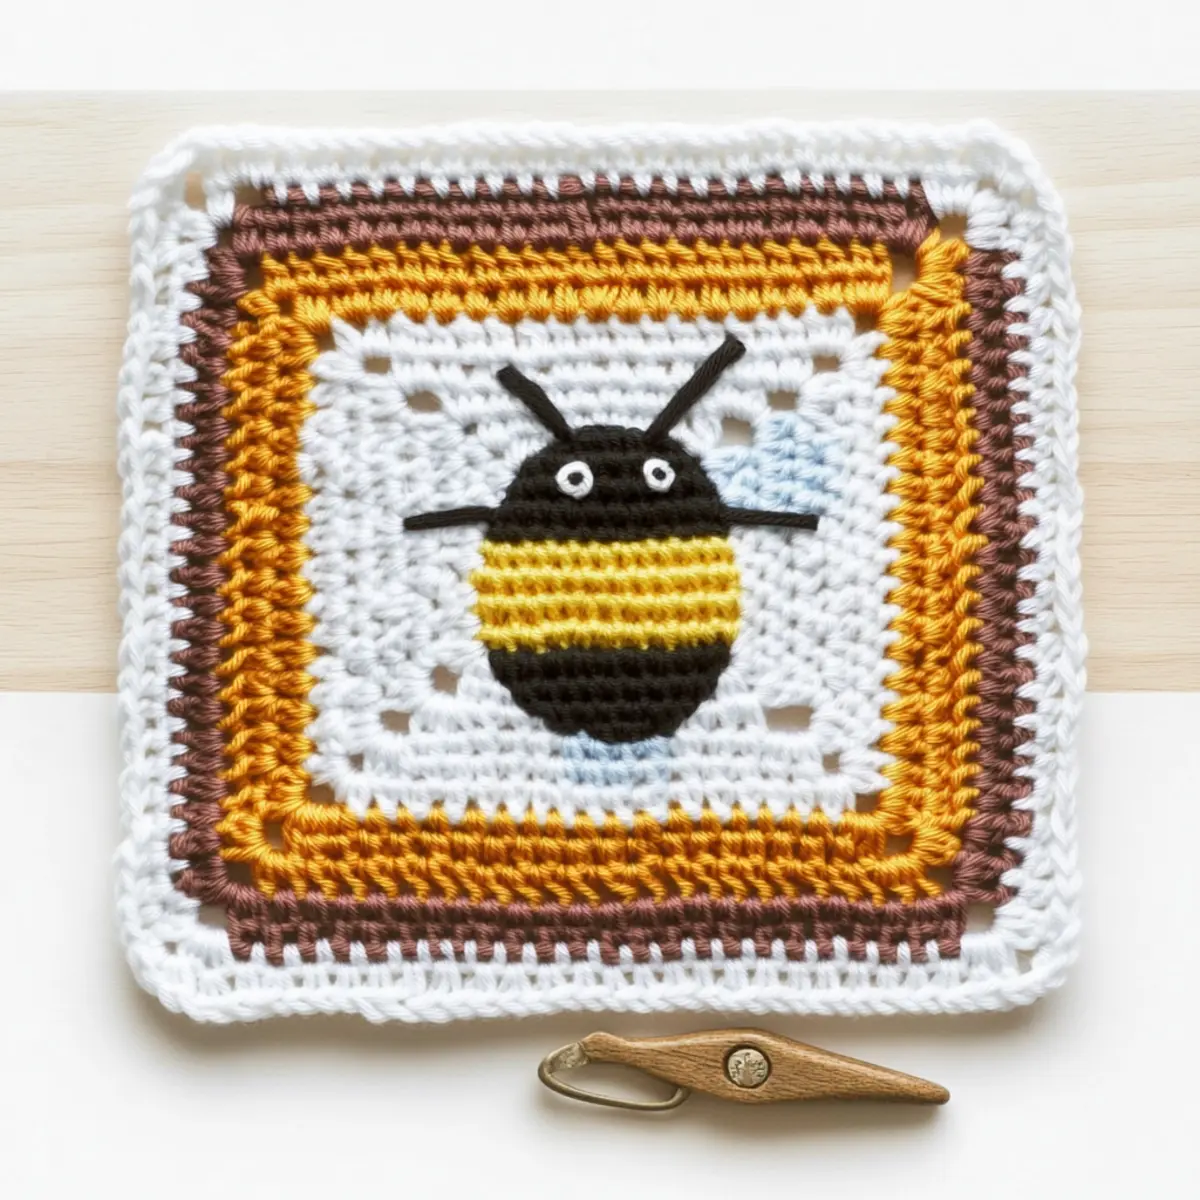
Bee Granny Square: A Charming Striped Design FAQs
Can I use a different yarn weight for the Bee Granny Square?
Absolutely! You can substitute any yarn weight as long as you choose the corresponding hook size. Just remember to adjust your stitch counts if you’re working with a much lighter or heavier yarn than suggested.
How can I make my Bee Granny Square bigger or smaller?
To expand your square, simply add extra rounds, making sure you increase your stitch counts evenly. If you want to shrink it, you can either reduce the number of rounds or use a lighter weight yarn with a smaller hook. Don’t forget to check your gauge!
Why is my Granny Square curling up at the edges?
Don’t panic! This is often caused by uneven tension. Check to ensure your tension is consistent across your rows, and make sure to use stitch markers at corners to help guide your work. If your square is still curling like a bowl, try blocking it after finishing to flatten it out.
What hook size should I use for the Bee Granny Square?
For the Bee Granny Square, I recommend using a 4.0 mm (G) hook or one that matches your chosen yarn weight. It’s always a good idea to check your gauge before starting, especially if you’re making a larger project.
How do I fix dropped stitches in my Granny Square?
It’s an easy fix! If you drop a stitch, simply use a tapestry needle to weave the yarn through the dropped stitch and then pull it back into place. This could also be a great opportunity to practice your weaving skills!
Can I incorporate more colors into my Bee Granny Square?
Definitely! Experimenting with various yarn colors for your stripes can give each square a unique look. Don’t hesitate to mix and match what you have in your stash for a fun, colorful design!
Leave a Reply