
Amidst the delightful chaos of crafting supplies, I often find myself seeking a familiar comfort—a warm embrace of colored yarn spiraling into a cozy masterpiece. That’s where the Basic Granny Square comes into play, a crochet classic that blends timeless charm with endless possibilities. This project is not only beginner-friendly but also a fantastic way to ignite your creativity; the versatility of granny squares means you can whip up anything from vibrant blankets to stylish bags in no time. Plus, it’s a mindful crafting experience that encourages you to play with colors and textures. So, whether you’re snatching up leftover yarn from your stash or diving into a fresh new palette, let’s explore how to master the art of the Basic Granny Square together. Your next cozy creation awaits!
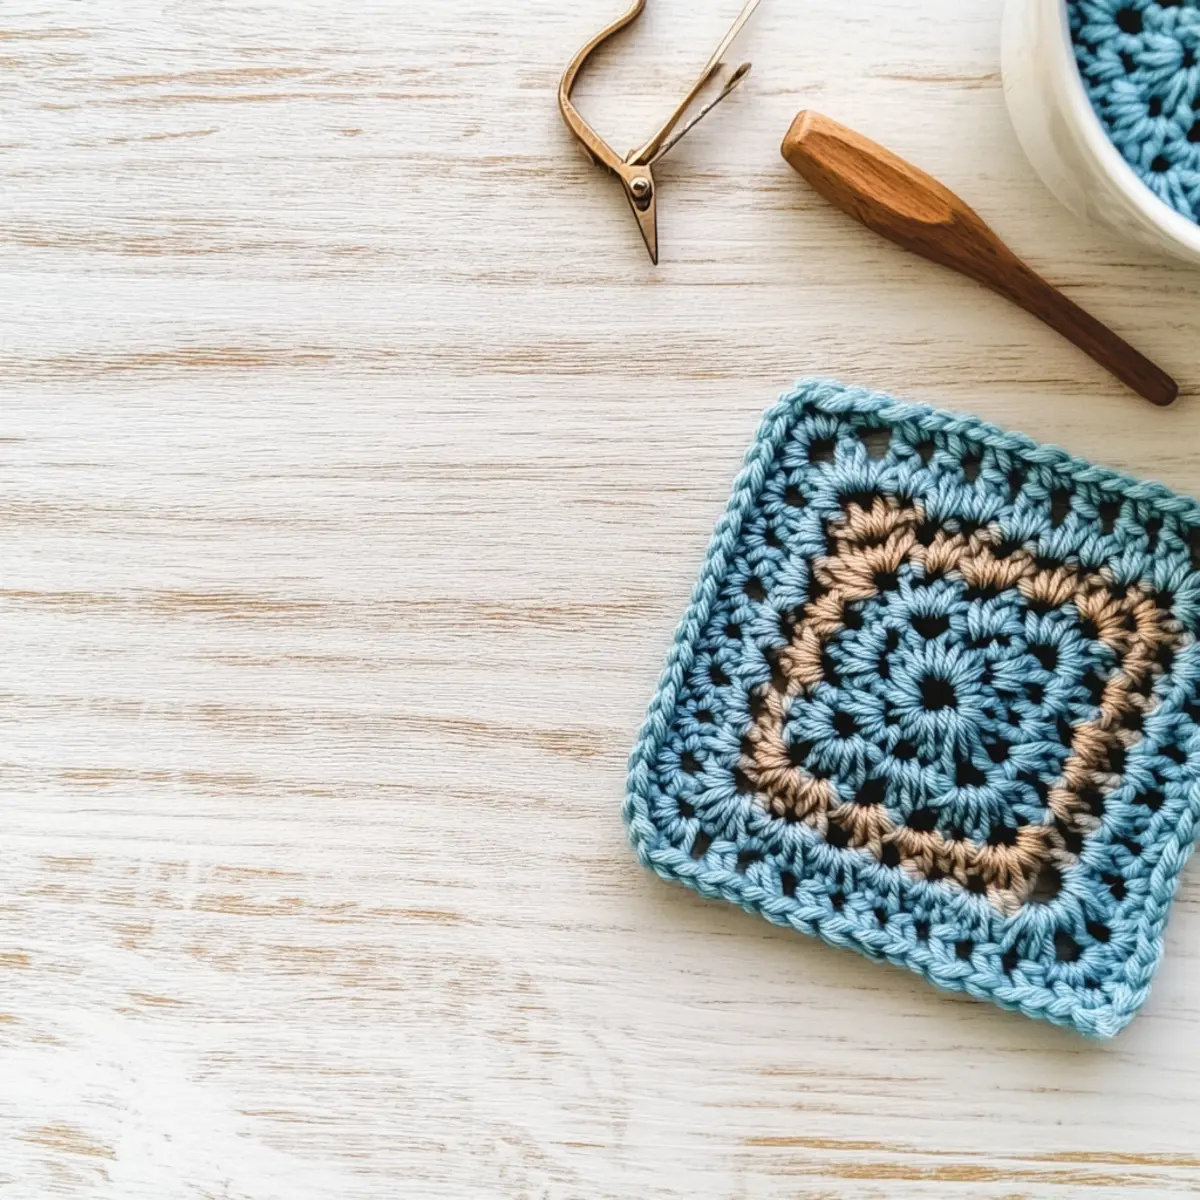
Cozy Basic Granny Square Materials & Tools
-
Yarn
• Worsted Weight Yarn – approximately 100 yards (90 meters) for a standard-sized granny square; feel free to mix colors for a vibrant look! -
Tools & Notions
• 5.0 mm (H-8) Hook – the perfect size for creating those delightful double crochets.
• Stitch Markers – invaluable for marking rounds and keeping your progress tidy.
• Tapestry Needle – essential for weaving in those pesky ends once your lovely granny square is complete.
Why are granny squares so beloved?
Timeless Appeal: The basic granny square is a crochet classic that never goes out of style, effortlessly finding its way into modern-day designs, from chic bags to cozy throws.
Beginner-Friendly: Perfect for newcomers, this pattern helps you master essentials like double crochet while enjoying a sense of accomplishment with each square you create.
Limitless Creativity: With endless design possibilities, you can mix colors and textures to create truly unique pieces. Try out different yarn weights or even explore color combinations for a fun twist!
Mindful Crafting: Enjoy a rhythmic, meditative crafting process that invites you to let your creativity flow while you unwind.
Versatile Sizes: Easily adjust the size of your squares based on your project needs—whether it’s a small coaster or large blanket, the world is your oyster!
Gauge & Sizing Notes
Don’t skip the gauge swatch! Ensuring your tension for the Basic Granny Square is essential to achieve the desired size and finish for your project. For this pattern, a standard gauge measurement is 12 stitches by 10 rows in a 4×4 inch (10×10 cm) square using double crochet. If you want to make your squares larger, increase your starting chain in multiples of 3 for each corner; to make it smaller, reduce the rounds accordingly. If your swatch is smaller than expected, you might need to go up a hook size to match that perfect crochet gauge. Happy crafting!
Step‑by‑Step Pattern for Cozy Basic Granny Square
Round 1: Start with a Center
Begin by making a magic ring or chain 4, then join to form a circle. Work 3 double crochets (dc) into the center of the ring, followed by a chain 2. Repeat this cluster pattern three more times, ensuring you have four groups of 3 dc. Join with a slip stitch (sl st) to the top of your initial 3 dc to close the round (12 dc, 4 ch-2 spaces).
Round 2: Expanding the Corners
Chain 3 to start the next round, which counts as your first dc. Create the corner by working (2 dc, ch 2, 3 dc) in the first corner space. For the other corners, work the same cluster in each chain space. Join with a sl st to the top of the chain 3 to complete the round (24 dc, 4 ch-2 spaces).
Round 3: Building More Size
Chain 3, then work 1 dc in each of the next 2 sts. In the corner space, make (2 dc, ch 2, 3 dc) for the corner. Continue to 3 dc in each of the next 2 sts between corners, then place your corner cluster. Finish with a sl st to the top of the chain 3 (36 dc, 4 ch-2 spaces). Your square should start to take shape!
Round 4: Finalizing the Square’s Dimension
Start with a chain 3, working 1 dc in the next 5 sts this time. After reaching the corner, make (2 dc, ch 2, 3 dc) in the corner space. Repeat this process for each side, increasing for the corners but maintaining more dc’s between them. Complete with a sl st to your starting chain (48 dc, 4 ch-2 spaces).
Subsequent Rounds: Customize for Size
Continue to repeat Round 4 as needed, adding more dc between the corner clusters and adjusting the number of stitches to suit your desired square size. Each round will create a larger granny square, so your cozy basic granny square can grow as big as you like! Aim for a consistent tension for the best finished look.
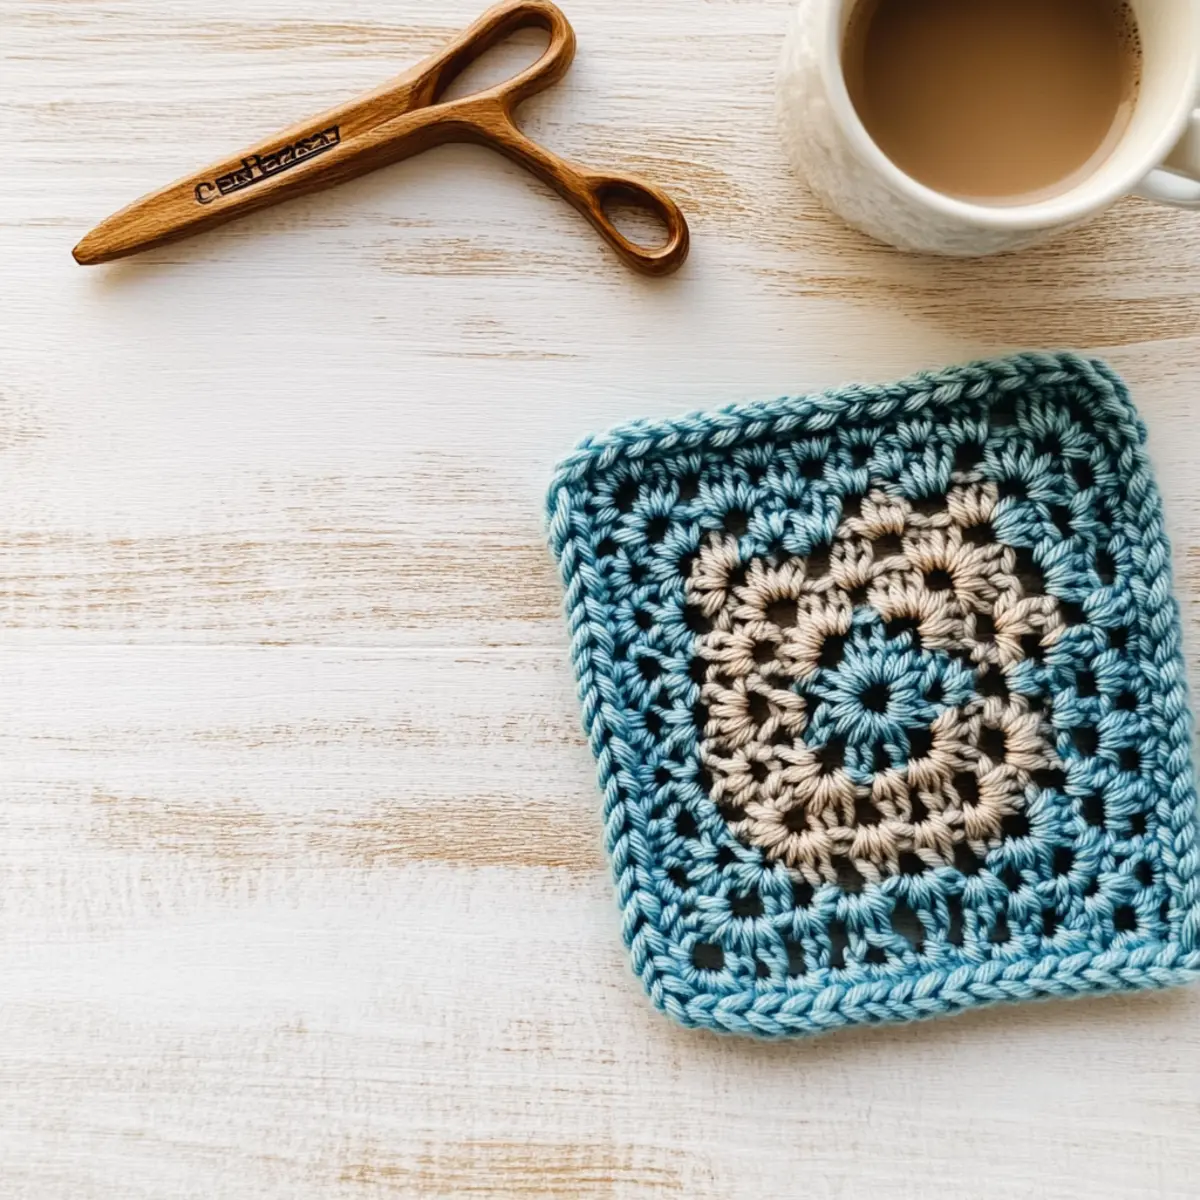
Expert Tips for Granny Squares
-
Count Your Stitches: Regularly check that you have the correct number of stitches at the end of each round to avoid warping and ensure your square remains perfectly shaped.
-
Mind Your Tension: Consistent tension is key to achieving uniform squares. Always ensure that your yarn is held at a comfortable tension as you work.
-
Use Stitch Markers: Place a marker at the start of each round, especially in the first few rounds. This will help you keep track of where each round begins and maintain an even appearance.
-
Weave in Ends Early: To save time later, weave in yarn ends as you go, especially if you’re changing colors. This will keep your workspace tidy and reduce finishing time.
-
Explore Sizes: Don’t hesitate to adjust the number of rounds to create granny squares of various sizes. This allows for unique combinations and custom projects while keeping the basic granny square essence intact.
Variations & Substitutions for Granny Squares
Embrace your creativity by personalizing your granny squares with these delightful variations!
-
Yarn Weight: Opt for lighter or heavier yarn to create different textures. A bulky yarn can yield a plush, cozy square, while a sport weight gives a delicate feel.
-
Cotton vs. Acrylic: Experiment with cotton yarn for a breathable finish perfect for warm weather. Acrylic, however, adds warmth and durability, making it ideal for blankets.
-
Color Blocking: Play with color blocking by switching colors every round for striking patterns. This method creates a vibrant, eye-catching look that’ll surely impress.
-
Size Adjustments: Easily customize your squares by adding or reducing rounds based on your project needs. Create small coasters or expand to larger pieces like shawls or blanket squares.
-
Textured Touches: Incorporate fun textures, such as a pom-pom, fringe, or a charming border around your square. These details can enhance the overall aesthetic and add a unique flair.
-
Unique Patterns: Integrate different stitch patterns within your granny squares, such as shells or bobbles, to create a stunning visual effect. It’s the perfect way to showcase your skill and creativity!
-
Mix and Match Colors: Use a single color for a sophisticated look, or mix and match vibrant hues for a playful, scrappy effect. The choice is yours, and your creativity is the limit!
-
Combine Techniques: Consider combining your granny square with other crochet techniques, like joining as you go to minimize finishing work. This method keeps your squares connected beautifully and seamlessly.
Washing and Care for Your Basic Granny Square
-
Machine Washing: Use cold water on a gentle cycle. This helps maintain the integrity of your stitches while ensuring the vibrant colors of your granny square remain bright.
-
Hand Washing: For delicate pieces, hand wash in cold water with mild detergent. Gently agitate to avoid pilling, preserving the texture of your beloved square.
-
Drying/Blocking: Lay flat to dry in a shaded area to maintain shape. Reshape while damp if needed; avoid direct sunlight which can fade colors.
-
Storage: Store your granny squares flat in a cool, dry place, avoiding damp areas to prevent mold. Organizing them neatly keeps your creative space tidy!
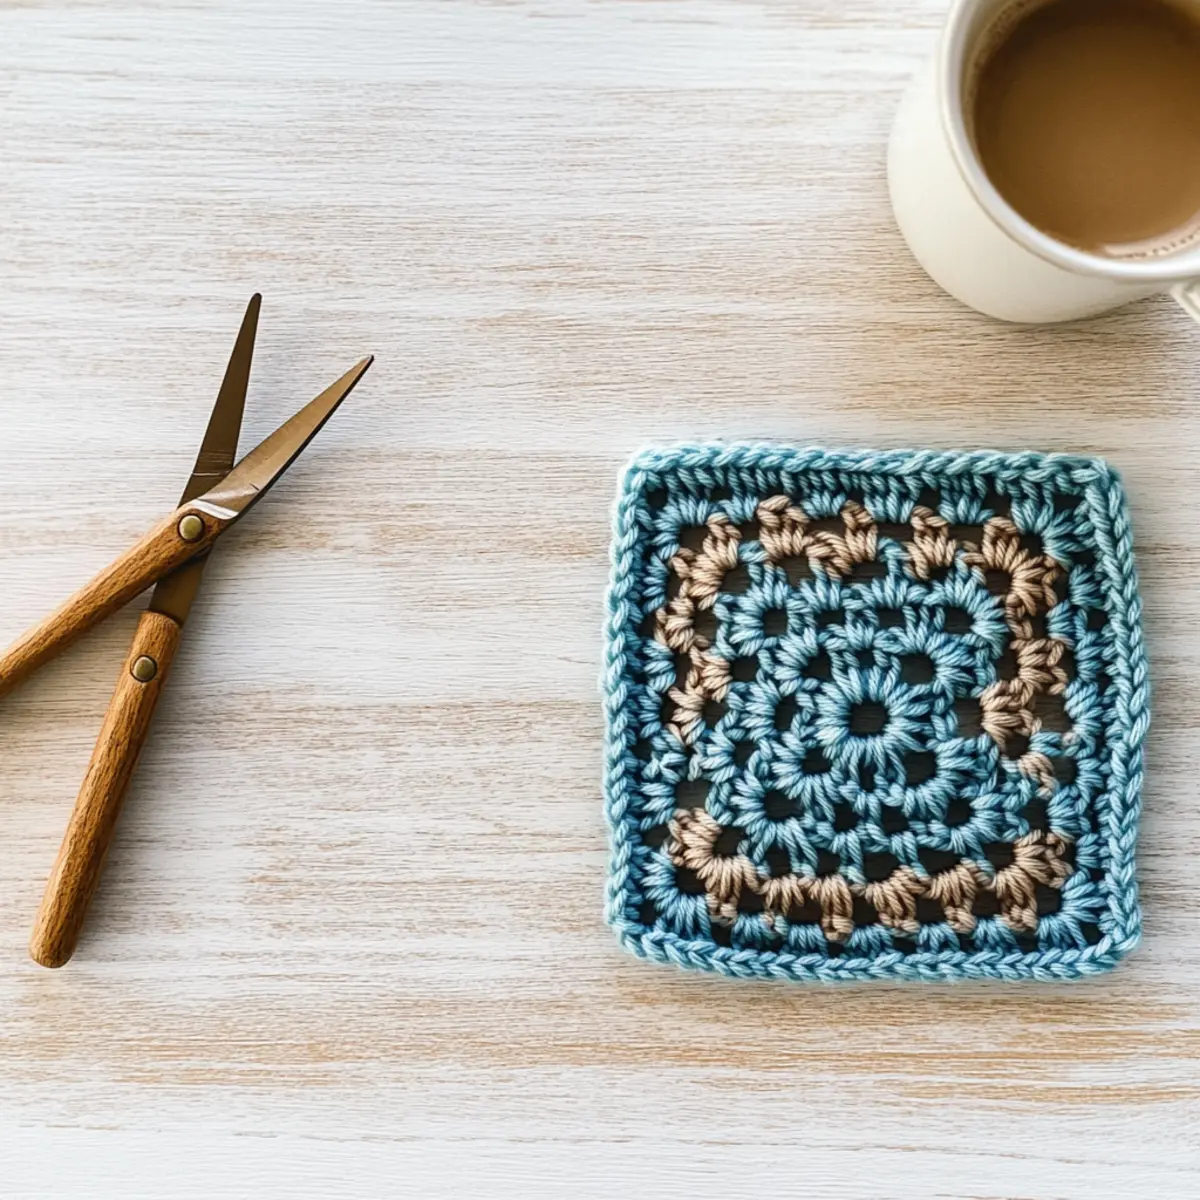
Cozy Basic Granny Square FAQs
Can I use a different type of yarn for my granny square?
Absolutely! While worsted weight yarn (medium, 4) is the standard choice, you can experiment with other yarn types such as cotton or acrylic. Just remember that different yarn weights may affect your final square’s size and appearance. Check your gauge before starting to ensure a good fit for your project!
How can I adjust the size of my granny square?
It’s an easy fix! Simply add or reduce the number of rounds you crochet. Each additional round will increase the size, so if you want a smaller square, just stop earlier. Keep in mind that adjusting yarn weight can also influence size, so choose accordingly based on your needs!
Why does my granny square curl at the edges?
Don’t panic! If your work is curling like a bowl, it often relates to tension issues or not having enough stitches. Ensure you’re maintaining consistent tension and check that you’re following the pattern correctly, adding stitches as specified. Blocking your finished square can also help flatten it out beautifully.
What hook size should I use for my granny square?
For the cozy basic granny square, a 5.0 mm (H-8) crochet hook is recommended. This size strikes a perfect balance between creating a nice, durable fabric and making it beginner-friendly. However, feel free to experiment with other sizes for different effects; just be aware of how it impacts your gauge!
How do I fix dropped stitches in my granny square?
Oh no, that can be frustrating! If you notice a dropped stitch, gently unravel the stitches back to the error and rework them. Alternatively, for small mistakes, you can use a tapestry needle to weave the stitch back into place. Always keep a close eye to prevent this from happening!
What if I want to mix colors in my granny squares?
Feel free to be as creative as you like! Changing colors within rounds, or even at each new square, adds a wonderful touch. Just make sure to keep track of where you change colors to maintain a tidy finish. I recommend weaving in your ends as you go to keep things organized!
Leave a Reply