
In a cozy corner of my crafting space, I recently found myself overcome by the urge to create something special, a tangible piece of joy. That’s when the idea of the adorable amigurumi turtle pattern, Tilly the Turtle, sprang to mind. This charming little plush companion is not just an enjoyable crochet project, but it’s also perfect for beginners and a blissful stash-buster for experienced crafters looking to use up some of that yarn collection. What truly sets Tilly apart is the joy it brings to both the creator and those lucky enough to receive her as a gift. The soft chenille yarn delivers a sumptuous texture that feels lovely to touch, making it a snuggly friend for kids. Plus, this pattern allows for easy customization; you can switch colors and embellishments as your imagination sees fit. Whether you’re a novice looking for a quick win or an experienced crocheter wanting a delightful project, Tilly is nestled within the intersection of fun and creativity. Isn’t it fascinating how a few simple yarn stitches can create such happiness?
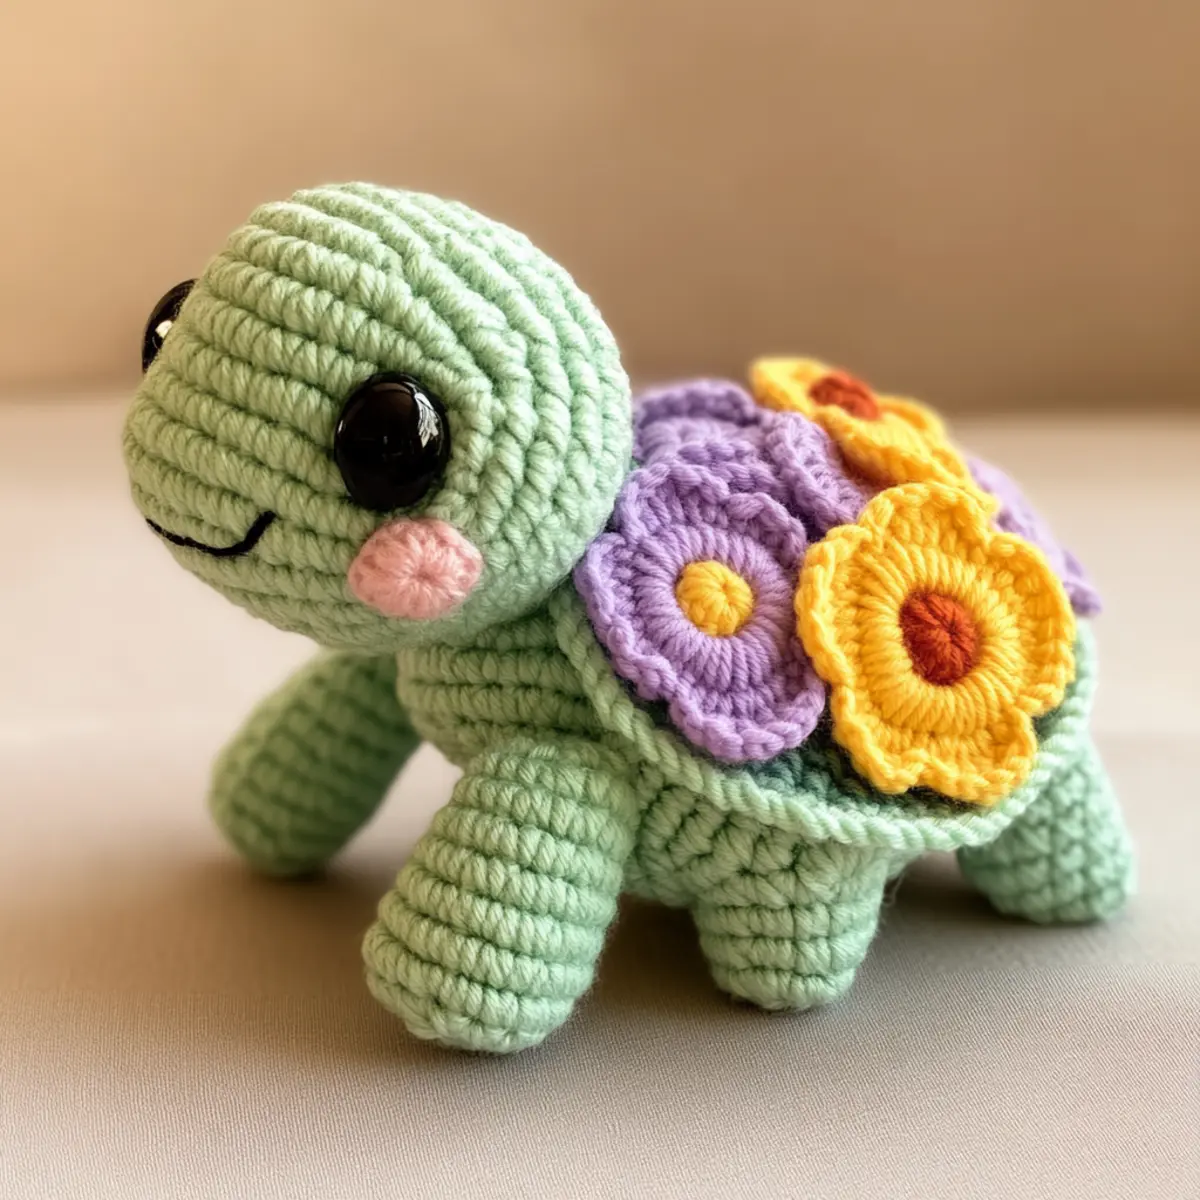
Amigurumi Turtle Pattern Materials & Tools
Yarn
Medium (Weight 4) Plush Yarn – Approximately 200 yards total in mint green, lavender, yellow, and brown; perfect for giving Tilly a soft, cozy feel.
Tools & Notions
4.0 mm Crochet Hook (G/6) – Ideal for achieving the right tension with the yarn, ensuring Tilly maintains her adorable shape.
10 mm Safety Eyes – These will bring Tilly’s face to life, making her even more endearing.
Polyester Stuffing – A lightweight filling that will help Tilly hold her cuddly form; make sure to stuff her sufficiently for optimal squishiness.
Yarn Needle – Great for weaving in any ends when you finish up and perfect for final assembly.
Scissors – Don’t forget to have these handy for trimming yarn ends during your project.
Why You’ll Love This Pattern
Simplicity is key with Tilly! Even if you’ve just picked up a hook, this playful amigurumi turtle pattern guides you through every step, ensuring that you’re never lost along the way. The texture of the plush yarn elevates this design, making it not just cute but oh-so-cuddly. Plus, it’s a stash-buster! Use up leftover yarn from your various projects and watch as Tilly comes to life, reminiscent of your favorite colors. Ever consider customizing your creations? This pattern is all about customizability, from changing the shell motifs to experimenting with different body hues. Working on Tilly is both a time-saving solution for a last-minute gift and a fun way to unwind during a busy week. With the end result being a delightful toy that will bring smiles, it’s no wonder I find myself returning to this pattern time and time again. If you’re interested in more cozy projects, check out our Cozy Baby Crochet or Beginner Crochet Baby patterns!
Gauge & Sizing for Amigurumi Turtle Pattern
Checking your tension is crucial for the amigurumi turtle pattern, especially to ensure that Tilly’s head and body maintain a playful silhouette. A standard gauge measurement for this project is 4×4 inches (10×10 cm) working in single crochet (sc) or half double crochet (hdc) using a 4.0 mm crochet hook. If your gauge swatch does not match, adjust your hook size or yarn tension for a perfect fit. To resize Tilly, modify the starting chain in her limbs or increase rounds in her body to create larger or smaller versions. You may also choose a different yarn weight to achieve your desired size—light yarn for a mini turtle or a heavier one for a larger plushie! Overall, Tilly should measure approximately 18 cm (7 inches) from head to shell tip, adaptable if you want to give her different colors or shape embellishments. Don’t forget: matching tension ensures a beautiful final product!
Step-by-Step Pattern for Amigurumi Turtle Pattern
Row 1: Magic Ring Start Create a magic ring with mint green yarn, then crochet 6 sc into the ring. Pull the tail to tighten the ring for a snug start. (6 sc)
Row 2: Increasing the Head Next, work 2 sc in each stitch around for a total of 12 stitches. This round forms the base of Tilly’s head, ensuring a lovely round shape. Use a stitch marker if needed! (12 sc)
Row 3: More Head Increases Continue by crocheting 1 sc in the first stitch, then inc in the second stitch. Repeat this pattern around to get 18 stitches. This gradual increase is crucial for Tilly’s adorably rounded head. (18 sc)
Row 4: Final Head Shaping For this round, sc in each of the first 2 stitches, then inc in the next. Completing this will result in 24 stitches total and will give shape and stability to the head. (24 sc)
Row 5: Start Body Construction Using the same mint green yarn, work in continuous rounds without joining. Sculpt the body by doing 1 sc in each stitch for the next three rounds. For Tilly, this means a comfy and plush round body! (24 sc x 3 rounds)
Row 6: Body Increase On the next round, sc in the first 3 stitches, then inc in the fourth. This increase will form the widening of Tilly’s body. Keep an eye on your stitches to ensure even tension. (30 sc)
Row 7: Continue the Body Simply sc around for another two rounds. Invite a friend to help count those stitches if needed. Tilly’s body should feel pudgy and lovely! (30 sc x 2 rounds)
Row 8: Making the Limbs Start with the front legs! In a new color, create a magic ring and crochet 6 sc. This will be separate from the body to allow for better appendage movement. (6 sc)
Row 9: Front Legs Expansion Here we will form each leg: 2 sc in each stitch around to make 12 total. These legs need to be sturdy for Tilly’s adventures! (12 sc)
Row 10: Back Legs Repeat the steps used for the front legs to create two back legs. Remember to match colors if you like consistency in your turtle’s look. (6 sc, then 12 sc)
Row 11: Create the Shell Back to the body, crochet a magic ring and make 8 hdc to form the shell base. The key here is to keep all stitches tight for a scalloped edging later on. (8 hdc)
Row 12: Shell Detail For this round, work 2 hdc in each stitch to form a rounded shell. You’ll want Tilly’s shell to be smooth and sturdy. Once finished, stitch it carefully onto her back. (16 hdc)
Row 13: Assemble Tilly Finally, securely sew Tilly’s head onto the body and attach her arms and legs at desired heights. Make sure she’s stable for plush play! Add safety eyes and stuff her adequately for a snug finish. (Final assembly)
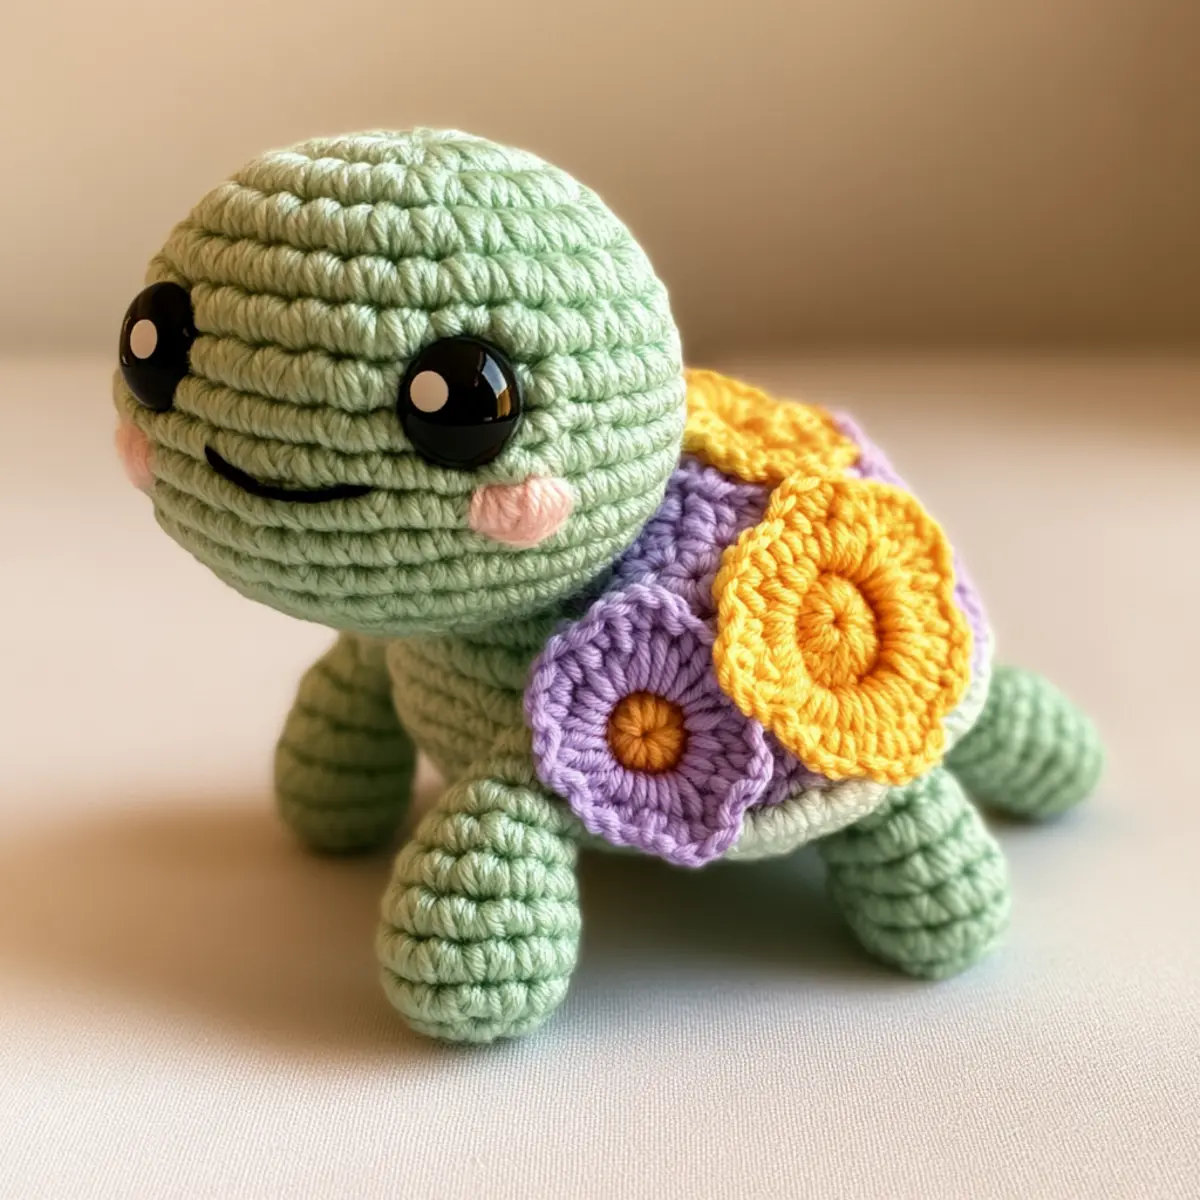
Expert Tips for Amigurumi Turtle Pattern
Stay Counted: Always count your stitches after each round to prevent losing your place and ensure a consistent shape.
Magic Ring Mastery: Perfect your magic ring technique to prevent a hole in the center. A well-formed ring lays the foundation for your amigurumi turtle pattern.
Snug Filling: Stuff Tilly adequately with polyester filling for the perfect plush feel. Too loose leaves her flat, while overstuffing can misalign her shape.
Consistent Tension: Keep your yarn tension even throughout the project. Uneven tension can lead to a misshapen turtle, especially around the shell and limbs.
Color Switch: Feel free to swap out colors for a more personalized Tilly! Experiment with the amigurumi turtle pattern by using vibrant yarns for a striking look.
Amigurumi Turtle Pattern Customizations
Feel free to personalize Tilly the Turtle however you like! Experiment with colors, sizes, and embellishments to make her truly unique.
- Color Swap: Change her main color to ocean blue or soft peach for a refreshing twist.
- Flower Variations: Try using various flower colors on her shell such as pink or orange for a vibrant effect.
- Size Adjustment: Use a different yarn weight; lighter yarn for smaller turtles and heavier for larger ones.
- Extra Details: Add personalized embroidery, like initials or fun patterns on the shell to make Tilly even more special.
- Dimensional Shell: For texture, consider adding small crochet flowers or a contrasting colored edge to the shell for some visual interest.
If you feel adventurous, customize Tilly further by incorporating various yarn textures. Chenille is plush, but consider cotton for a more durable option. The amigurumi turtle pattern is versatile enough to accommodate any unique touch you desire, welcoming your creative spirit into the project. Don’t forget to check out our guide on Beginner Crochet Baby for more stranded patterns that’ll keep you inspired.
How to Wash and Care for Your Amigurumi Turtle
Machine Washing: Use a gentle cycle in cold water to keep the plush yarn intact. Avoid harsh detergents that could degrade the fabric.
Hand Washing: If you prefer, hand wash Tilly in cool water with a mild soap to maintain her shape and texture. Rinse gently to remove soap residue.
Drying: Lay Tilly flat on a clean towel to dry. Avoid hanging her, as this can distort her shape. Keep her out of direct sunlight to prevent color fading.
Storage: Keep your amigurumi turtle in a cool, dry place when not in use. Store it in a breathable bag to maintain its fluffy appearance and avoid dust accumulation.
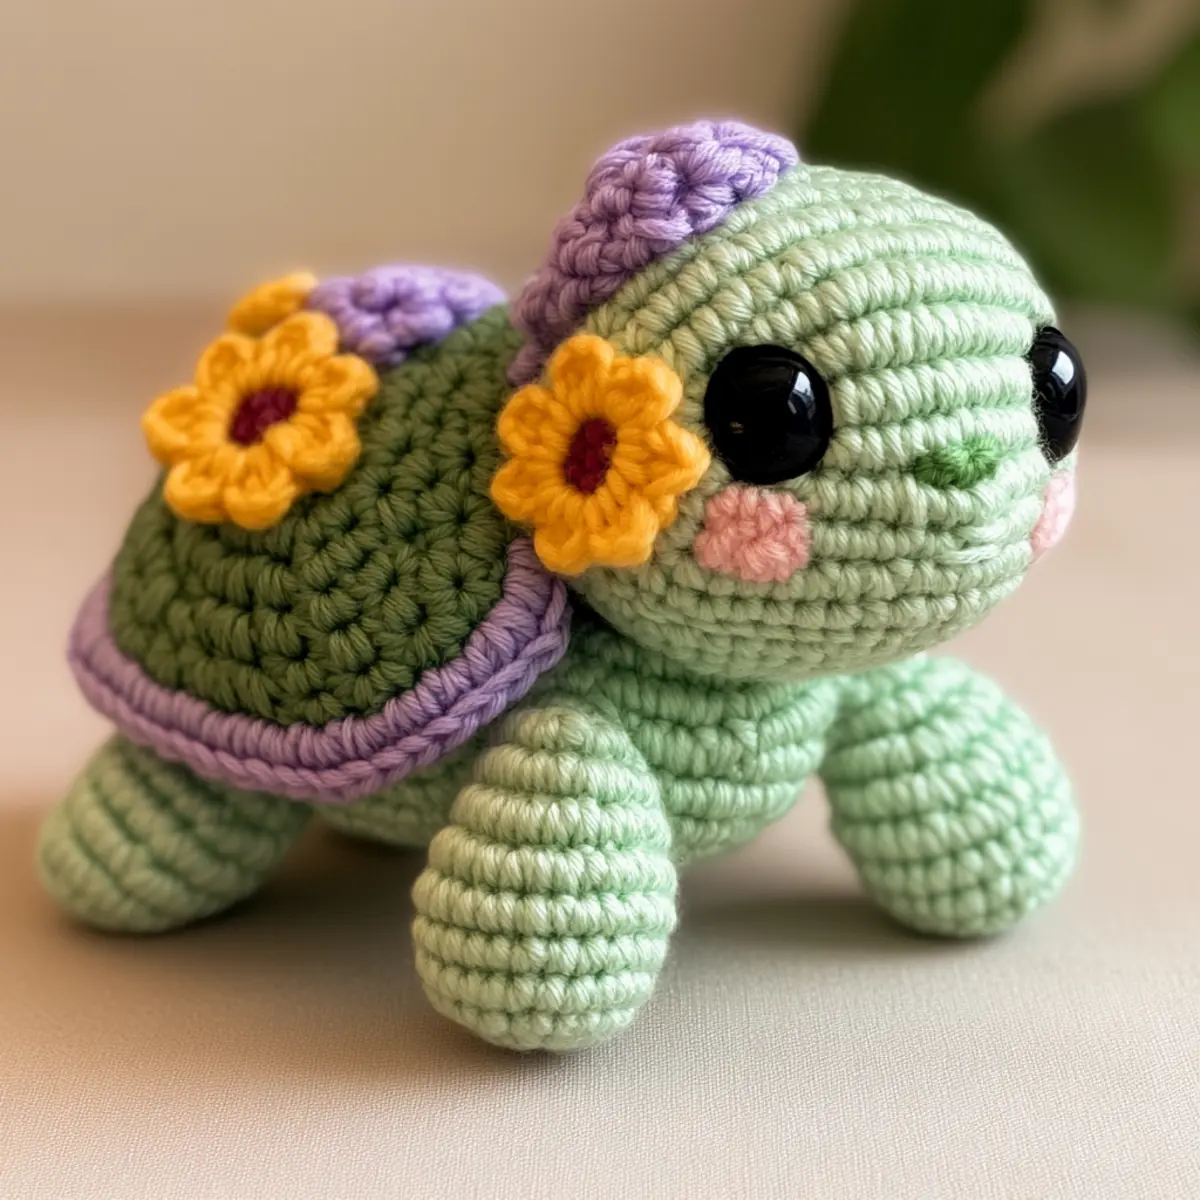
Tilly the Turtle FAQs
Can I use different yarns for this pattern?
Absolutely! You can substitute medium-weight yarn with another medium weight. A soft cotton or acrylic yarn can work well and give a slightly different texture.
What if I lose count of my stitches?
Don’t panic! If you lose count while crocheting, just frog back to the last stitch marker or round to ensure your turtle maintains its shape.
How can I adjust Tilly’s size?
To resize your amigurumi turtle pattern, either use a different yarn weight or modify the gauge instructions by adjusting your hook size. This allows you to create a mini or oversized version of Tilly!
What hook size should I use?
A 4.0 mm (G/6) crochet hook is recommended for this pattern. Adjusting to a larger or smaller hook may affect your tension and the final fit.
How can I avoid dropped stitches?
To prevent dropped stitches, maintain a consistent tension. If you notice a loose stitch, pull it tight immediately. Regularly check your work to ensure everything is intact!
How can I personalize my Tilly?
You can customize Tilly by using different colors for the body and shell. Add fun embellishments like embroidered flowers or initials to give her a personal touch!
Leave a Reply