
There’s something undeniably enchanting about the whimsical world of crochet, especially when it gets transformed into a delightful character like the Amigurumi Pink Panther. Inspired by childhood favorites, this project captures the playful essence of the beloved pink panther in a plush, huggable format that will steal your heart and brighten your space. As I dove into creating this adorable amigurumi pink panther, I was struck by how it serves as both a challenging crochet project and a satisfying experience for any enthusiast. Not only is it a quick project that uses up leftover yarn, making it a perfect stash-buster, but it’s also ideal for intermediate crafters looking to refine their skills. Every stitch whispered a story, each part taking shape, and soon enough, there was a cheerful little panther ready to play a part in someone’s day. Whether you’re making it for a child, a collector, or yourself, the joy of seeing it come to life is truly remarkable. So, are you ready to embark on a colorful crafting adventure?
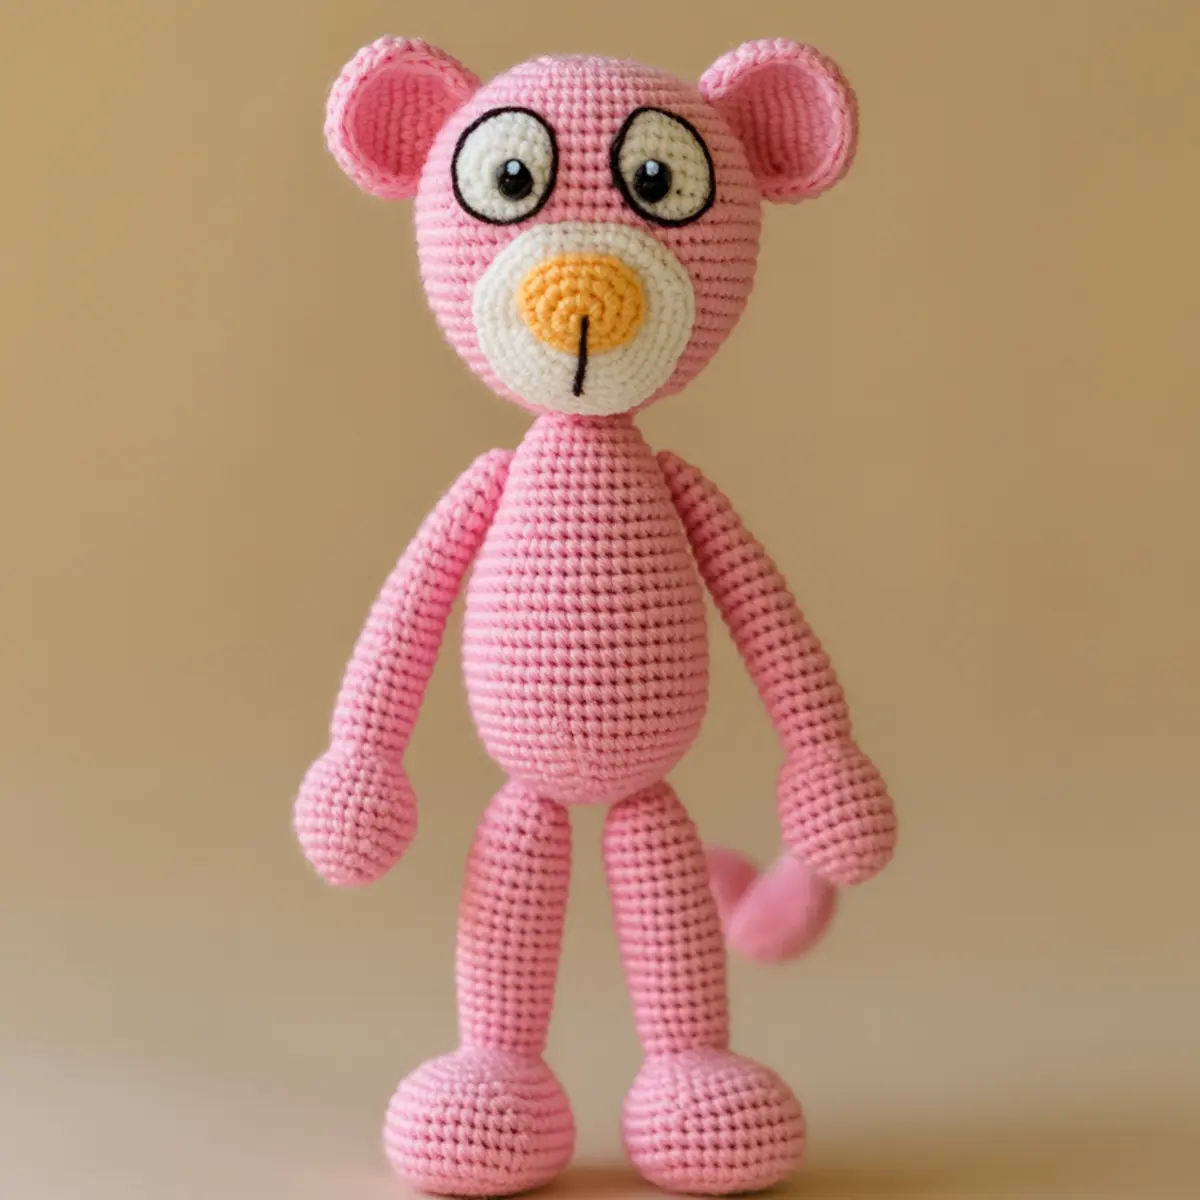
Amigurumi Pink Panther Materials & Tools
Yarn
- Worsted weight yarn (Category 4) – Use pastel pink for the body and white for the snout; around 150-200 yards should suffice for the amigurumi pink panther.
- Optional vibrant yarns – Swap the pink for turquoise or lavender to create a unique character.
Tools & Notions - 3.5 mm (E) crochet hook – This size helps create a firm fabric for stuffing.
- Safety eyes (yellow and black) – Essential for character expression; a must for your cute pink panther!
- Yarn needle – Perfect for sewing together various components and finishing touches.
- Stuffing material – Use a soft stuffing to ensure the final plush is huggable.
- Stitch markers – Helpful for keeping track of rounds when creating multiple limbs and parts.
What Makes This Pattern So Irresistible?
Simplicity is at the heart of this charming pattern, making it accessible yet engaging for those with some crocheting experience. Texture is also a highlight; the plush fabric created with worsted weight yarn contributes to the toy’s cuddly nature. This project is a perfect stash-buster, too, allowing you to utilize leftover yarn in vibrant shades to customize your panther. Don’t forget that it’s highly customizable! You can easily swap colors or experiment with different yarn textures like boucle for added flair. For more engaging projects, check out our Quick Amigurumi Patterns or dive into Creative Yarn Substitutes for interesting takes. Finally, the aesthetic appeal of your completed piece will light up any room, making it a fantastic gift or a lovely decor item for your space.
Gauge & Sizing Notes for Amigurumi Pink Panther
Checking your tension is essential for the Amigurumi Pink Panther project to ensure all parts fit seamlessly together. Aim for a standard 4×4 inch (10×10 cm) gauge with 6-8 sc per inch. If you find your swatch doesn’t match, adjust the starting chain or the size of your hook; using a larger hook may yield bigger dimensions. Conversely, a tighter gauge might necessitate starting with a smaller hook or reducing the chain length. The finished amigurumi pink panther is expected to be about 12 inches tall when sitting, but adjust the initial rounds if you’d like a larger or smaller toy. The key is making sure the fabric remains firm yet soft enough to hold stuffing without leaving any gaps.
Step-by-Step Pattern for Amigurumi Pink Panther
Row 1: Start the Head
Begin with a magic ring and ch 1 to secure. Work 6 sc into the ring, pull snug (6).
Row 2: Increase
Continue to build the head by increasing. Work 2 sc in each stitch around (12).
Row 3: Increase Again
Now add some more shape; work 1 sc, inc around the row (18).
Row 4: Maintain Shape
To keep the form, work 2 sc, inc in the next stitch (24).
Row 5: Begin Snout
Switch colors to white. For the snout, work sc in each, and add a subtle increase to round it out (24).
Row 6: Shape the Snout
Maintain the white with 1 sc in each for 4 rows straight, keeping your tension consistent (24).
Row 7: Return to Pink
Change back to pink yarn; work sc for 3 rows, creating the deeper face around (24).
Row 8: Complete the Head
Finish with 1 sc, dec every 6 to slowly close up the top while finishing off your unique pink panther head (12).
Row 9: Begin the Body
Start in a new ring; ch 1 and work 8 sc into the ring to form the body base (8).
Row 10: Shaping the Body
Increase to define the torso through 2 sc in each stitch (16).
Row 11: Continue Body Growth
Continue shaping with 1 sc, inc around (24).
Row 12: Finish the Body
To wrap up the body, use 1 sc in each for 3 rows. This completes your pink panther’s huggable body (24).
Row 13: Create Arms
Use a magic ring for each arm, starting with 6 sc; this will be the arm section (6).
Row 14: Enhance Arm Shape
For arms, work 1 row of sc in each stitch, followed by 2 sc, inc around for desired thickness (12).
Row 15: Form the Legs
Repeat the arm steps for legs, ensuring they are firm yet flexible. Use the same stitch count as a guide (12).
Row 16: Assemble it All
Attach arms and legs securely. Remember to position the limbs thoughtfully, as it adds charm to your amigurumi pink panther plush. Use an invisible stitch for the cleanest seams.
Row 17: Finishing Touches
Add safety eyes directly under the snout; adjust the positioning for a joyful expression. Finally, stitch on details like an embroidered nose to give character.
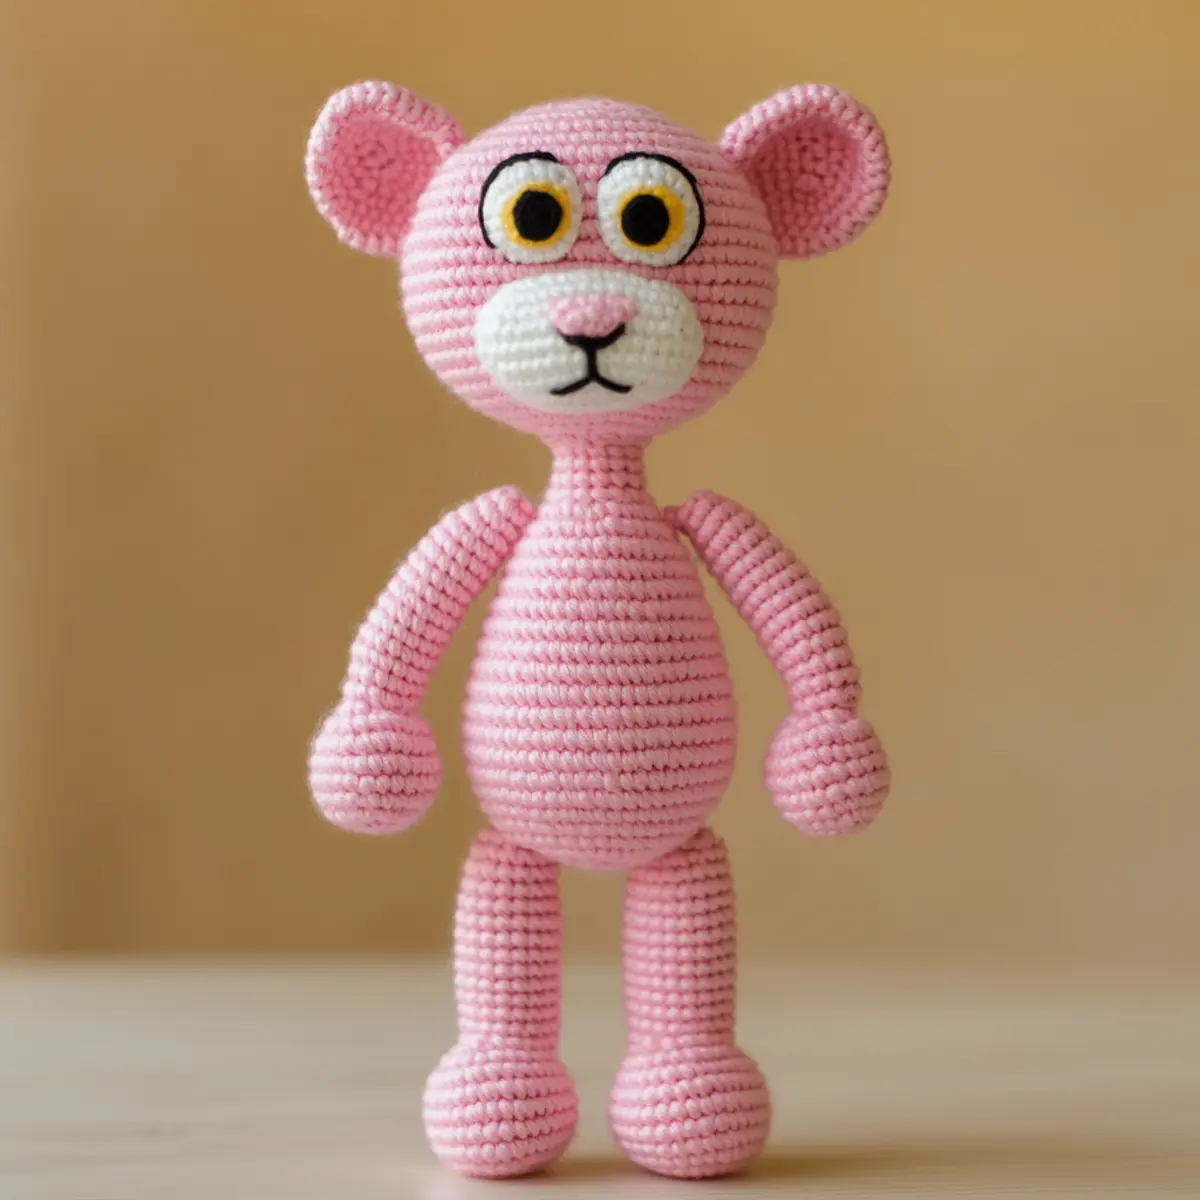
Expert Tips for Making the Amigurumi Pink Panther
- Maintain Tension: Keep consistent tension throughout to avoid gaps and ensure a snug fit for stuffing.
- Track Your Rounds: Use stitch markers when working on multiple components to keep track of your rounds, especially with arms and legs.
- Magic Ring Technique: Start with a tight magic ring to secure your initial stitches. This prevents any unraveling at the beginning of the project.
- Seamless Assembly: Utilize the invisible stitch method to attach limbs and ensure that seams remain clean and hidden, enhancing the overall look of your amigurumi pink panther.
- Check for Mistakes: Regularly check your work for dropped stitches or missed increases, which can lead to uneven shapes, especially in the head and limbs. Correct them immediately as you go.
Amigurumi Pink Panther Variations
Feel free to explore different yarn choices and techniques to make your Amigurumi Pink Panther uniquely yours!
- Vibrant Colors: Swap the pastel pink with vibrant shades like turquoise or lavender for a striking variation.
- Boucle Yarn: Try using boucle yarn for a fuzzy effect that gives your panther a cuddly texture.
- Yarn Weight Adjustment: Use a thicker yarn alongside a larger hook for a more oversized panther perfect for snuggles.
- Embroidery Additions: Personalize your panther by adding embroidered features, such as fun accessories or cute patterns. Customization will enhance his whimsical charm.
- Color Blocking: Consider color-blocking different parts, such as alternating hues for the limbs, to create a more dynamic design. You’ll enjoy how it influences the panther’s character.
- Different Fabrics: Experiment with cotton versus acrylic yarns for distinct textures; cotton lends a breathable quality, while acrylic is often softer.
- Charming Sizes: Adjusting your hook size can also alter the dimensions without much effort; experiment between small and large to see what fits your style.
- Personal Touches: Add extra details, such as a small collar or name tag, to give your lovable panther that additional personality. These little bits can tell a story of their own.
How to Wash and Care for Your Amigurumi Pink Panther
- Machine Washing: Place the amigurumi pink panther in a garment bag to protect it. Wash on a gentle cycle with cold water and mild detergent.
- Hand Washing: For better care, gently hand wash in cold water, using a small amount of mild soap. Avoid rubbing, as this can damage the yarn.
- Drying: Always lay flat to dry, reshaping as necessary. Avoid hanging, as this could distort its shape due to gravity.
- Storage: Keep your amigurumi in a cool, dry place away from direct sunlight to prevent fading and ensure its longevity.
Amigurumi Pink Panther FAQs
Can I substitute different yarn for this project?
Absolutely! You can use yarn in different weights or fibers, but be aware that the finished size and firmness may vary. Worst-weight yarn is recommended for the best results.
How do I adjust the size of my amigurumi pink panther?
You can easily adjust the size by using a thicker yarn and a larger crochet hook, or by changing your crochet tension. Remember, this will affect your overall gauge!
What if I lose count of my stitches?
Don’t panic! Retrace your steps carefully and make an educated guess based on the previous rows. Using stitch markers from the beginning can help keep track of your rounds and prevent losing count.
What if my amigurumi starts to curl?
If the edges of your project are curling, it may be due to tight stitches or your gauge being too tight. Try loosening your tension, or if already completed, gently block your finished piece to help it relax.
What crochet hook size should I use for this pattern?
A 3.5 mm (E) crochet hook is recommended for achieving the desired firmness in your fabric, perfect for stuffing. Adjust as needed based on your gauge and yarn.
How do I prevent dropped stitches while crocheting?
Focus on maintaining an even tension and double-check each stitch as you go. If you notice a dropped stitch, try to catch it immediately, or use a crochet hook to pick it back up and secure it. Regularly review your work to spot any issues early!
Leave a Reply