
As I sat in my cozy corner, the soothing click of my crochet hook brought back the warmth of childhood memories—perfectly paired with the smell of fresh yarn. Today, I’m thrilled to share my latest crochet adventure: the Adorable Amigurumi Doll in a Yellow Dress. This delightful pattern is not only beginner-friendly, but it also offers a quick project that comes together beautifully, making it an ideal choice for gifting or brightening your collection. Picture this charming doll, with her sunny disposition and soft, cuddly form, bringing joy to a little one’s world. Plus, with easy-to-follow assembly, you’ll be stitching a new friend in no time. Ready to embark on this whimsical journey? Let’s grab our hooks and dive into the delightful world of doll-making!
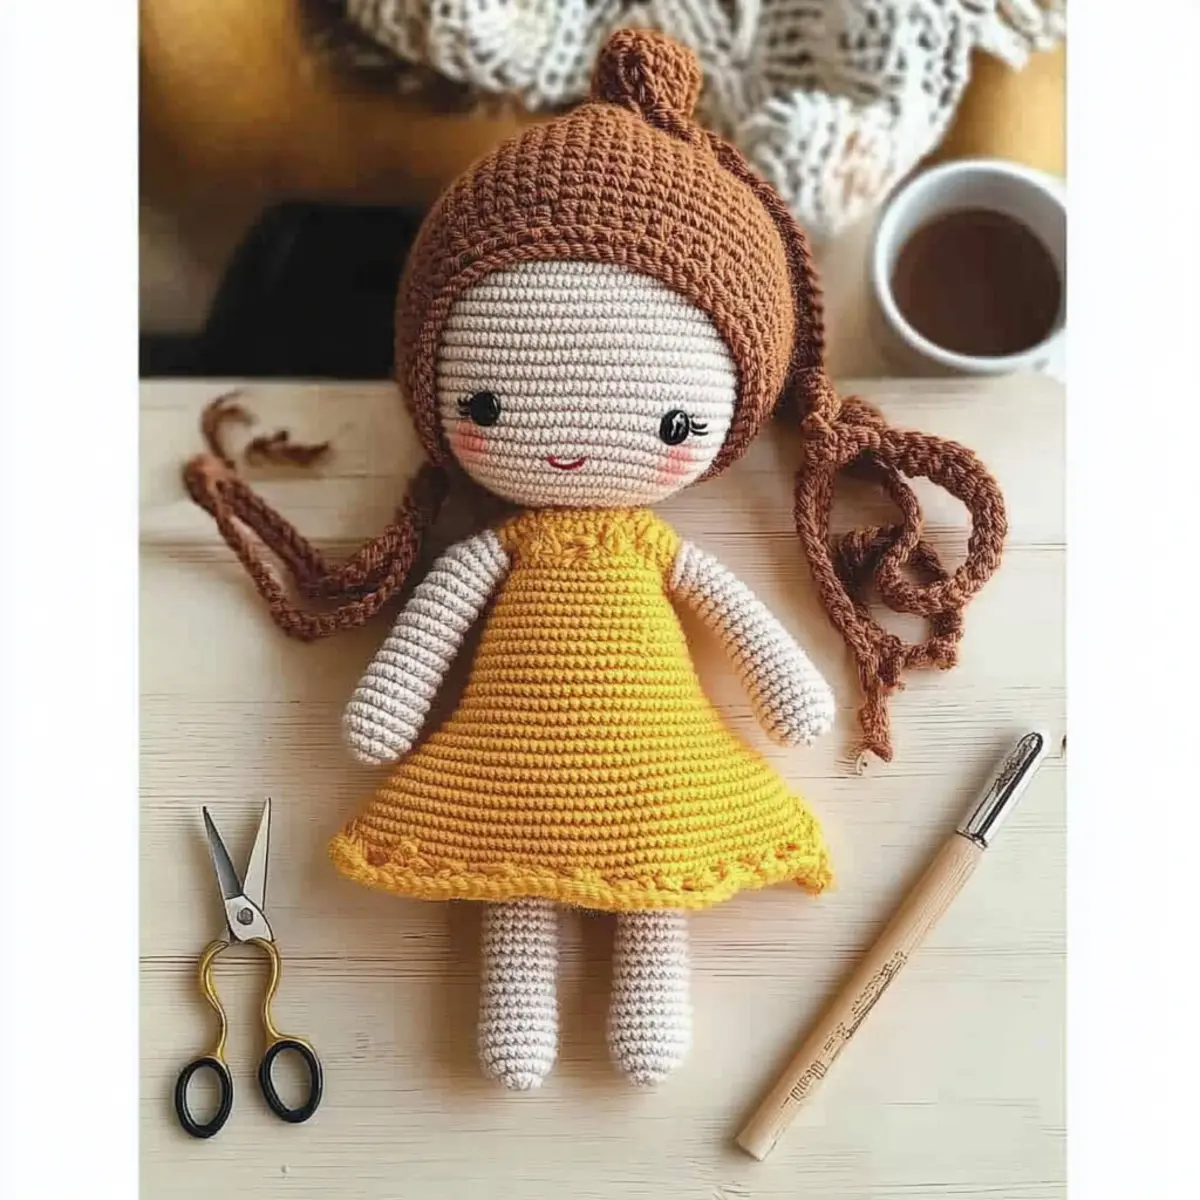
Amigurumi Doll Materials & Tools
Create your own adorable crochet doll with the following materials!
Yarn
• Skin Color Yarn – Worsted weight, 100% acrylic, 100–150 yards is needed for the head and body.
• Yellow Yarn (Dress) – Worsted weight, 100% acrylic, 100–150 yards will create a bright, cheerful outfit.
• Brown Yarn (Hair) – Worsted weight, 100% acrylic, small amount needed for the doll’s hair.
• Turmeric Color Yarn (Legs) – Worsted weight, 100% acrylic, small amount adds lovely detail to the legs.
• Orange Yarn (Scarf and Hat) – Worsted weight, 100% acrylic, small amount needed for warm accessories.
Tools & Notions
• 3.5 mm (E) Hook – Use this size or another that meets your gauge for perfect stitching.
• Stitch Markers – Handy for keeping track of your rounds while working on your doll.
• Tapestry Needle – Essential for weaving in ends and securing safety eyes for your amigurumi doll.
• Safety Eyes – Choose a pair for a friendly face, ensuring they are securely installed for safety.
• Cardboard – Use for foot support to give your finished doll a sturdy base.
Dive into this beginner-friendly amigurumi doll project and enjoy the fun of making a cuddly, quirky companion!
Why is This Amigurumi Doll Unique?
Beginner-Friendly: This pattern is designed with easy-to-follow steps, making it perfect for those just starting out in crochet.
Quick Project: With its speedy assembly, you’ll find yourself finishing this doll in no time—ideal for last-minute gifts!
Charming Aesthetic: The doll’s sunny yellow dress adds a cheerful touch that will brighten any space or special occasion.
Customizable Features: Enjoy endless fun by experimenting with different colors for the dress, hair, or accessories, personalizing each doll to make it uniquely yours.
Soft & Cuddly: The plush texture and sturdy construction ensure that this doll is not just visually appealing but also a joy to hold and cuddle.
Whether you’re looking to create a sweet gift or add a handmade touch to your collection, this Amigurumi doll pattern delivers delightful results every time!
Gauge & Sizing Notes
Don’t skip the gauge swatch when making your adorable amigurumi doll in a yellow dress! Checking your tension is essential for ensuring your doll stands at the right height and maintains its shape. A standard gauge measurement for this project is 4×4 inches (10×10 cm) = 18 single crochets by 20 rows. If you want to adjust the size, simply increase your starting chain or round in multiples of 4 to make your doll larger. If your gauge swatch is too small, try using a larger hook size to achieve the perfect fit for your amigurumi doll. Happy stitching!
Step‑by‑Step Pattern for Adorable Amigurumi Doll in a Yellow Dress
Round 1: Start the Head
Begin your amigurumi doll by creating a magic ring (MR) and crocheting 6 single crochets (sc) into it. Gently pull the loop to close the MR, ensuring the stitches are snug. This round forms the base of the head, which will gradually increase in size. Your work should look like a small circle (6 sts).
Round 2: Increase for the Head
In this round, place 2 sc in each stitch from the previous round to double your stitch count. This means you will have 12 stitches at the end of the round. Remember to keep your tension even so the head forms a nice, rounded shape. Your work should have a wider circle (12 sts).
Round 3: Continue Increasing
This round, work 1 sc in the first stitch, then inc in the next stitch. Repeat this sequence around. You’ll be creating a lovely dome shape for the head. At the end of this round, you should have 18 stitches. Continue to tuck in any loose yarn ends (18 sts).
Round 4: More Increases
For this round, sc in the first two stitches, then inc in the next. Repeat this pattern for the entire round, allowing your head to take on a fuller form. It should visibly grow larger. You will have 24 stitches total at the end of this round (24 sts).
Rounds 5-9: Straight Body
Continue working around without any increases or decreases for the next five rounds. This will create the neck and beginning of the body. Your work should look even and cylindrical, forming the lovely shape of the doll’s head. You should have 24 sc each round (24 sts).
Round 10: Place Eyes
Before proceeding, install safety eyes between rounds 22 and 23. After positioning the eyes, continue the pattern by working 1 sc in the first 10 stitches, then dec (decrease) in the next. This rounds out the top part of the head and accentuates the facial features. You should have 21 stitches at the end of the round (21 sts).
Rounds 11-12: Lower the Head
Next, work 1 sc in the first 9 stitches, then dec in the next. Do this for each round for two rounds to taper off the head. As you progress, you will notice your doll’s head shape defining more. Your stitch count should end at 18 stitches (18 sts).
Round 13: Closing the Head
Now, work 1 sc in the first 8 stitches and then dec in the last. This round begins to close up the head, and your work will start to look like a complete head. At the end, you will have 15 stitches remaining (15 sts).
Round 14: Finish the Head
For the last round of the head, work 1 sc in the first 7 stitches, then dec in the last. Pull tight to close; now your doll’s head should look complete. You should have 12 stitches remaining, and the shape should be rounded and snug (12 sts).
Step 1: Attach the Body
Link the legs together and start the body by crocheting 20 sc into the first leg. Once completed, continue working into the second leg, ensuring smooth transitions between the legs as you create the body. You’ll begin to see the form of your adorable amigurumi doll (20 sts).
Steps 2-6: Create the Body
Crochet in rounds for the next 11 rounds. Maintain the stitch count of 20 to build the doll’s body, making sure your tension is consistent to produce an even shape. Your work should appear like a thick cylinder, ready for the arms to be attached (20 sts).
Step 7: Arm Assembly
For each arm, use skin-colored yarn to create smaller cylindrical shapes. Crochet in continuous rounds until they are about 6-8 sc wide and close to the desired length, keeping them tight enough to maintain proportion with the body. You will make two arms in total.
Step 8: Creating the Legs
Using the turmeric yarn, work in rounds for the legs separately. Start with a MR, 6 sc, and gradually increase to the desired width. This method adds structure for the feet, providing a firm base. Each leg is completed with a specific method that keeps them durable for easy posing.
Step 9: The Dress
Begin the dress by chaining 31 stitches with yellow yarn. In the next rounds, incorporate double crochet stitches to create a flared skirt effect. Every round will add more texture and volume, transforming this piece into a cheerful, sunny dress that enhances your doll’s aesthetic.
Step 10: Hat and Scarf
For the hat, switch to double crochet, shaping it rounder as you work. For the scarf, create a simple pattern combining chains and sc, finishing with a cute tassel at the ends. These accessories would perfectly complement your adorable amigurumi doll in a yellow dress!
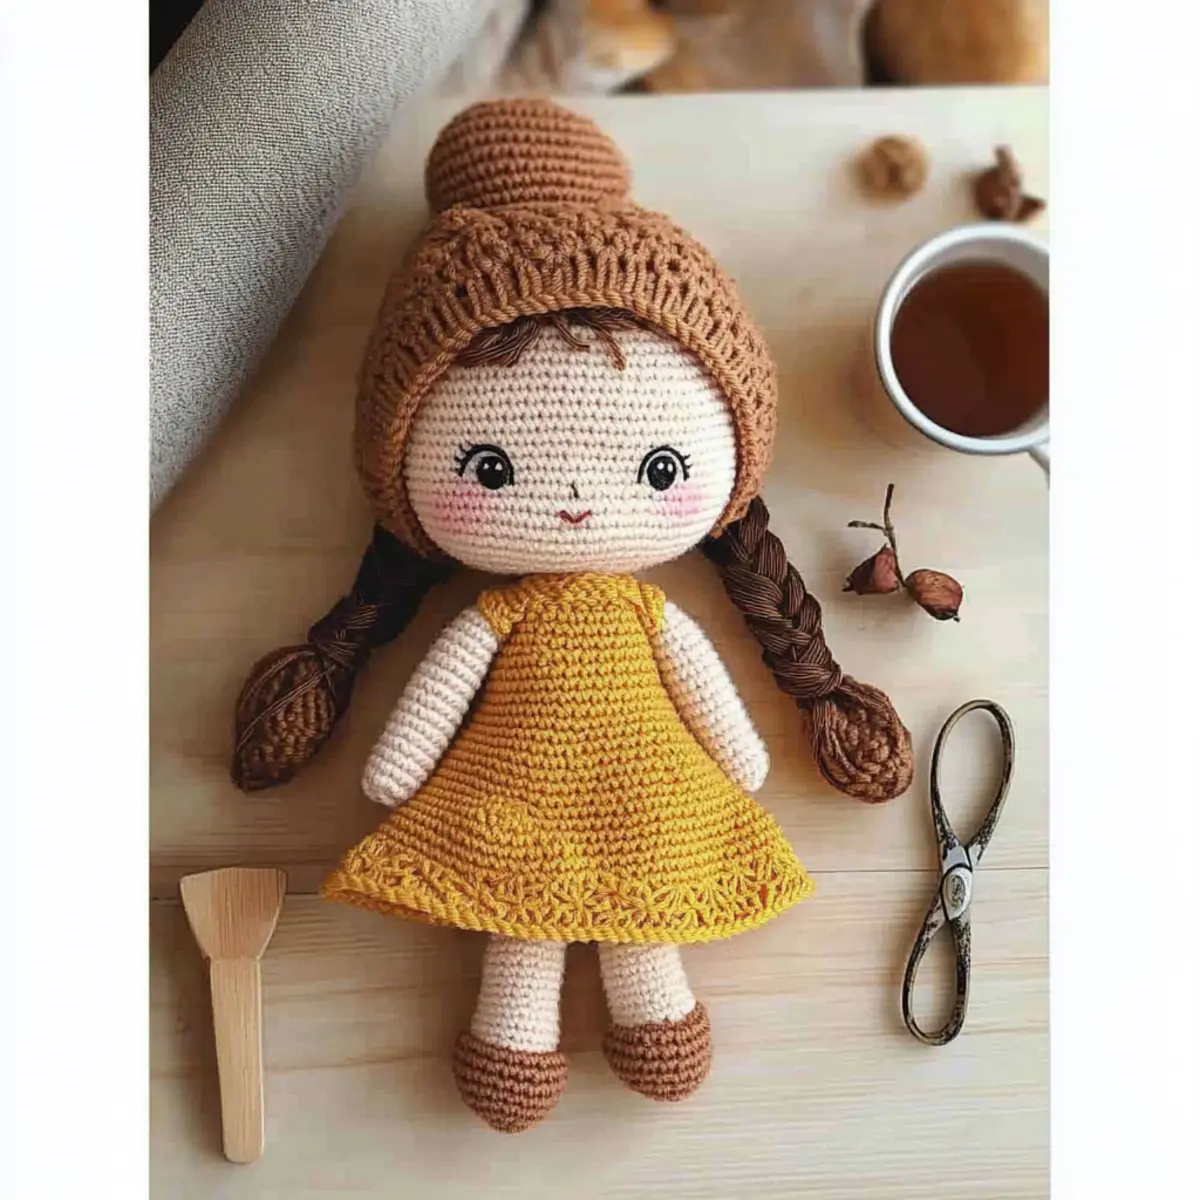
How to Wash and Care for Your Amigurumi Doll
Hand Washing: Gently hand wash your amigurumi doll in cold water with mild detergent. Avoid agitation to prevent any deformation or pilling.
Drying: After washing, lay the doll flat on a clean, dry towel. This helps maintain its shape while it air dries. Avoid hanging, as this may stretch the fabric.
Storage: Store your finished amigurumi doll in a cool, dry place to keep it safe from dust and moisture. Avoid direct sunlight to maintain vibrant colors.
Regular Care: Occasionally brush off any dust with a soft cloth. Proper washing and care will ensure your cute doll remains soft and cuddly for years to come!
Expert Tips for Making Your Doll
-
Tension Matters: Keep your crochet tension consistent throughout the project. Tight stitches may make the doll appear smaller, while loose stitches can lead to gaps in the fabric.
-
Count Your Stitches: Regularly count your stitches to avoid unintended increases or decreases. This ensures the body maintains the desired shape and size.
-
Safety Eyes Placement: When installing safety eyes, position them between Rnd 22 and Rnd 23 for a symmetrical face, giving your doll a friendly expression.
-
Finishing Touches: Use a tapestry needle to neatly weave in yarn ends after completion. This will keep your finished project tidy and prevent stuffing from showing through.
-
Customize with Care: When experimenting with different colors or styles for the dress and accessories, maintain the structure by following the original pattern sizes for best results.
Embrace these tips to create your own adorable amigurumi doll and make every stitch count!
Amigurumi Doll Variations & Substitutions
Unleash your creativity and personalize this charming amigurumi doll pattern to make it truly yours!
-
Yarn Substitutions: Choose cotton yarn for a more breathable, summer-friendly version, or alpaca for a luxurious feel.
Cotton gives a crisp look, while alpaca adds a soft, fuzzy texture. Each brings a unique flair to your doll! -
Color Options: Change the dress to a vibrant pink or serene blue, making your doll perfect for any occasion.
Don’t hesitate to mix and match colors to reflect the personality you’re bringing to life! -
Accents & Accessories: Add a cute crochet flower or a tiny bow for a spark of personality in your doll’s hair.
These little details can make all the difference in creating a special character that kids will adore. -
Adjusting Size: Want a mini version? Reduce your stitch count and try a lighter yarn for a doll that fits right into small hands.
Alternatively, use a larger hook and yarn for a cuddly giant that’s sure to be a favorite companion! -
Length Variations: Alter the arm and leg lengths for a more whimsical look. Shorten or lengthen them based on your design preferences.
This tweak can dramatically change the doll’s character and how it interacts with other toys! -
Adding Texture: Enhance the doll’s dress with fun textures using bobble or shell stitches for an extra pop!
These stitches invite both visual appeal and tactile engagement, making your doll even more delightful to hold. -
Fun Borders: Create a lovely border on the dress hem or sleeves by switching to a contrasting color or using a decorative stitch.
This little touch elevates your project and showcases your unique crochet skills. -
Safety Eyes Variations: For a softer look, consider using embroidered eyes instead of plastic safety eyes.
This method adds warmth and enhances the handmade charm of your doll while being safe for younger children.
Feel free to explore these variations as you embrace your journey into doll-making. If you’re looking for more inspiration, check out how to introduce different yarn types or add playful elements to your designs.
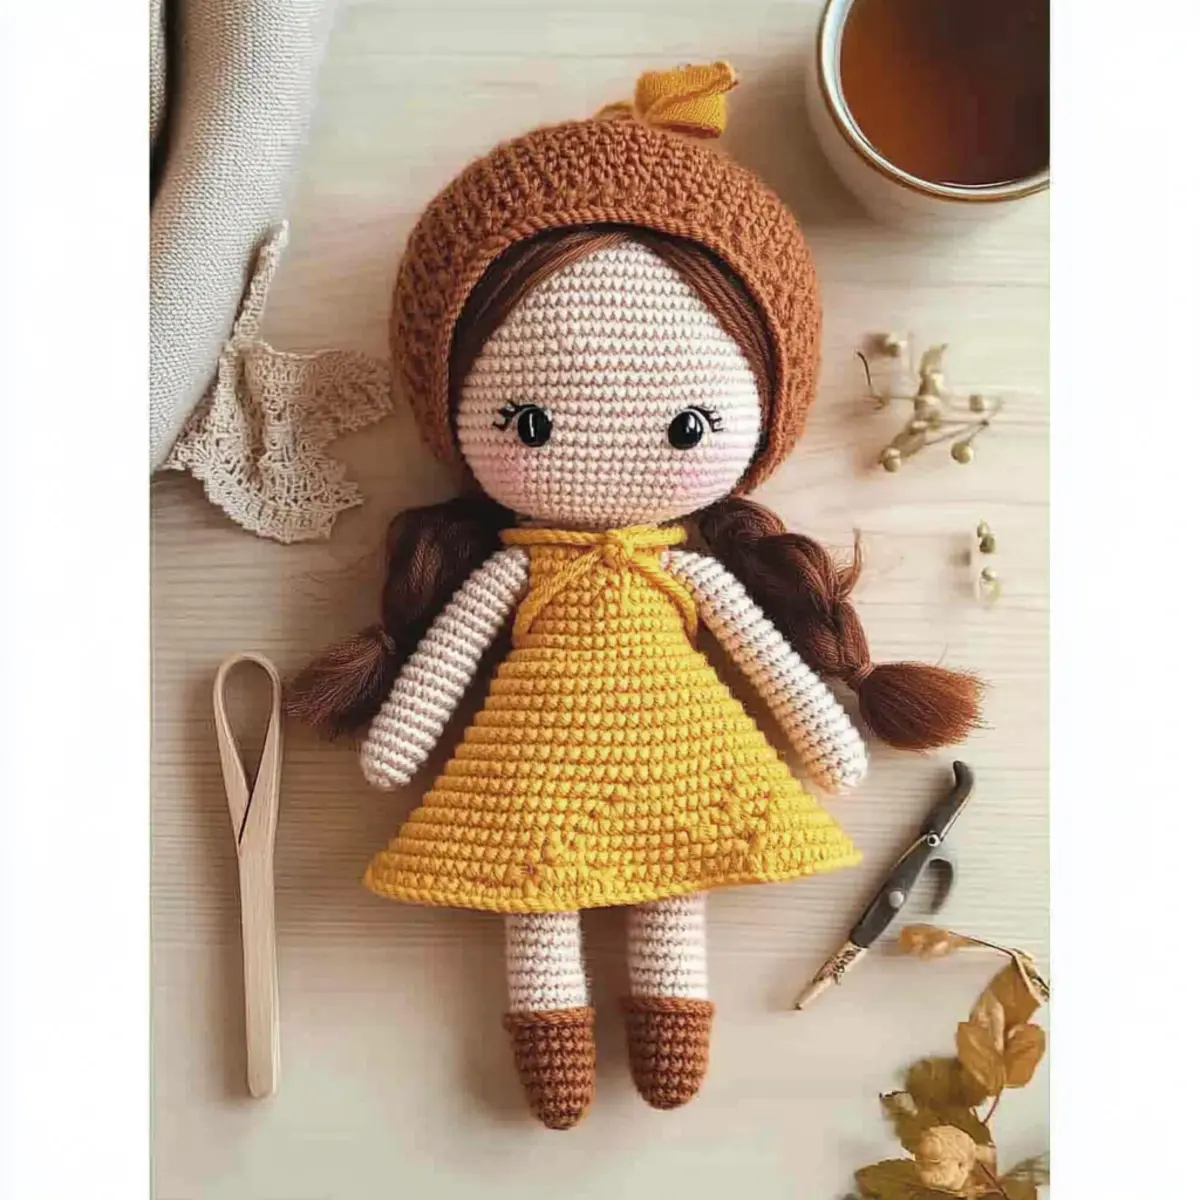
Adorable Amigurumi Doll in a Yellow Dress FAQs
Can I substitute different types of yarn for this pattern?
Absolutely! While the pattern calls for worsted weight 100% acrylic yarn, you can substitute it with cotton yarn for a different texture. Just ensure that the yarn weight remains the same to achieve similar sizing and structure.
How can I adjust the size of my Amigurumi doll?
To make your doll larger or smaller, you can adjust the number of rounds you crochet. For instance, if you want a taller doll, simply add rounds to both the body and head while maintaining the same stitch count. Keep in mind that increasing the height may require adjusting the length of your arms and legs as well.
Why is my work curling, and how can I fix it?
Don’t panic! Curling is often due to tight stitches or an incorrect hook size. If your work is curling like a bowl, try going up a hook size or working a few rounds with looser tension until you find a comfortable stitch density. This will help flatten your pieces.
What size crochet hook should I use for this pattern?
For this Amigurumi doll, I recommend using a 3.5 mm (E) crochet hook. However, make sure to check your gauge first! If your stitches feel too tight or too loose, adjust your hook size accordingly to maintain the right tension.
How do I fix dropped stitches in my project?
It’s an easy fix! If you notice a dropped stitch, simply use a tapestry needle to weave the yarn back through the stitches to secure them. If the gap is larger, you might need to add a few slip stitches to fill it in and create a smooth appearance.
Can I customize the length of the arms and legs on the doll?
Yes, definitely! To change the lengths of the arms and legs, simply add or subtract rounds from the original pattern. For example, if you want longer arms, add a few extra rounds before finishing. Just remember to keep the shaping in mind to maintain the doll’s proportions!
Leave a Reply