
There’s something truly magical about bringing a little creature to life with just yarn and a hook. In this post, I’ll guide you through the delightful process of crocheting an adorable amigurumi deer that will charm anyone who lays eyes on it. This intermediate crochet pattern not only encourages your creativity but also features the option to simplify color changes, making it a great stash-buster for your DK yarns. Plus, with a detailed video tutorial at your fingertips, you’ll feel empowered to tackle each stitch with confidence. Get ready to craft a sweet little fawn that fits perfectly in the palm of your hand and adds a touch of whimsy to your collection. Let’s start stitching and create something truly special together!
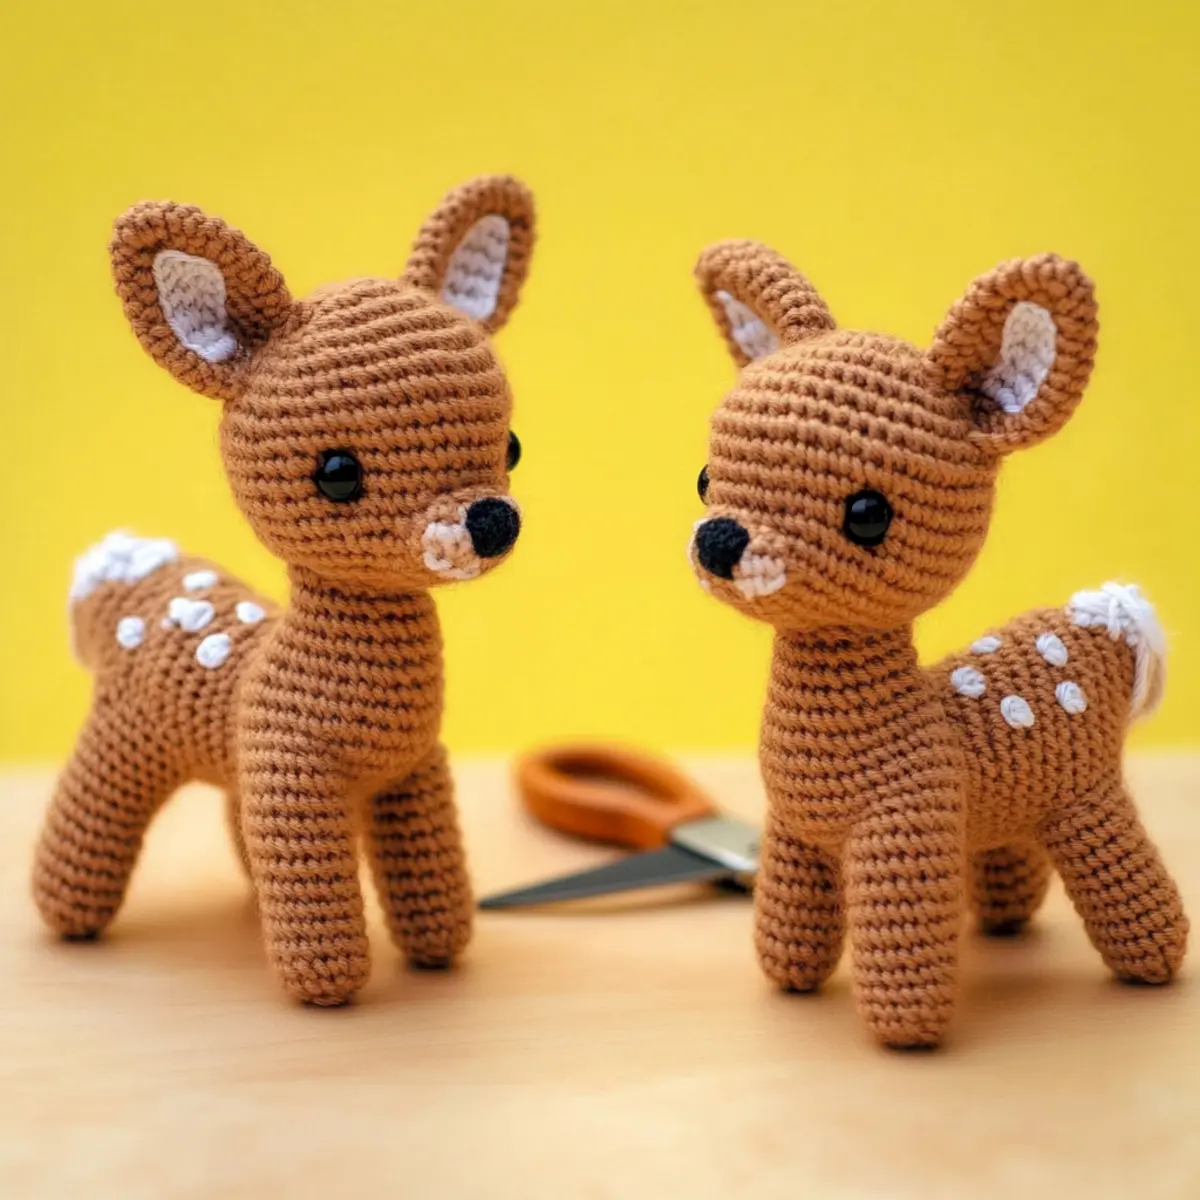
Amigurumi Deer Materials & Tools
Creating your charming amigurumi fawn is just around the corner! Gather these essential materials to bring this sweet creature to life.
Yarn
- DK/Light Worsted Weight Yarn – Use colors like Paintbox Yarns Cotton DK in Soft Fudge and Champagne White for an adorable finish.
Tools & Notions
- 2.5mm Crochet Hook (US B-1 or C-2) – This size will help you achieve the perfect tension for your amigurumi.
- Black Embroidery Floss – Great for adding the finishing touches to your fawn’s features.
- Yarn Needle (Bent Tip Preferred) – Ideal for weaving in ends and securing pieces together.
- Large-Eyed Sewing Needle – Useful for attaching safety eyes and sewing small parts.
- 5mm Safety Eyes – Essential for giving your fawn that cute, lifelike expression.
- Fiberfill – Stuffing to give your deer a cuddly, plush feel.
- Stitch Marker – Keep track of your rounds to ensure consistent shaping.
- Sewing Pins – Helpful for temporarily holding parts in place while sewing.
- Small Flat Pliers (Optional) – Can assist in placing safety eyes securely.
Get ready to crochet your cozy amigurumi deer and enjoy the crafting journey!
Why Not Craft a Cute Deer Today?
Unique Design: This amigurumi deer boasts a whimsical charm, making it a delightful addition to any collection.
Versatile Yarn Choices: Use your favorite DK yarns; this project is perfect for experimenting with colors!
Beginner-Friendly Adaptations: Simplify color changes by opting for a solid color, ensuring satisfaction for all skill levels.
Video Support: Our detailed video tutorial offers visual assistance, making even tricky stitches easy to master.
Community Inspiration: Share your creations on Instagram, and get inspired by other fellow crafters as we build a vibrant crochet community together!
Ready to start? Let’s make some magic!
Gauge & Sizing Notes
Don’t skip the gauge swatch! Ensuring your tension is spot-on is crucial for the perfect fit of your amigurumi deer. For this adorable amigurumi fawn, your gauge should measure 4×4 inches (10×10 cm) and consist of 14 single crochets and 8 rows. If you want to adjust the size of your fawn, you can make your starting chain in multiples of 6 and add 2 for the final fit. If your swatch ends up too small, try going up a hook size for a looser tension, and if it’s too large, use a smaller hook. By taking time on your gauge, you’ll create a charming little companion you’ll treasure!
Step‑by‑Step Pattern for Adorable Amigurumi Fawn
Row 1: Start the Magic Ring
Begin by creating a magic ring, then crochet 6 sc into the ring. Pull the ring tight to close it. This will form the base of your fawn’s body. Be sure to place a stitch marker in the first stitch to track your rounds as you work (6 sts).
Row 2: Increase to Build the Base
For Row 2, make 2 sc in each stitch around. This round will begin to shape the fawn’s body. Keep an eye on the stitch marker to help maintain your round, and remember to tighten your stitches for a neat finish (12 sts).
Row 3: Continue Increasing
In this row, work 1 sc in the first stitch, then 2 sc in the next stitch, repeating this pattern around. Your fawn should start to take on a lovely rounded shape! As you finish, check your stitch count to ensure you have the correct number (18 sts).
Row 4: More Increases
For Row 4, follow the pattern of 1 sc in the first two stitches, then 2 sc in the next stitch, repeating until you finish the round. You’ll notice the body of your adorable amigurumi fawn growing bigger (24 sts).
Row 5: Stabilizing the Body
In Row 5, crochet 1 sc in the first three stitches, then 2 sc in the next stitch. This steady expansion helps define the shape of the body. Count your stitches at the end to confirm a stable count (30 sts).
Row 6: Begin Decreasing
Switching gears, for Row 6, work 1 sc in the first three stitches, then dec (decrease) in the next stitch. This round starts to form the waist of the fawn, so keep an eye on your stitch count as you go (24 sts).
Row 7: Decrease and Shape
In Row 7, crochet 1 sc in the first two stitches, then dec in the next stitch. This will shape your adorable amigurumi fawn as it begins to taper. Take care when working the decreases for a neat finish (18 sts).
Row 8: Final Body Shaping
For Row 8, work 1 sc in the first stitch, then dec in the next stitch around. This will cinch in the body, helping define your fawn’s form. Make sure to keep your stitches tight and consistent here (12 sts).
Step 9: Stuff and Close the Body
At this point, begin to stuff your fawn with fiberfill for a lovely plush texture. Once filled, finish this step by crocheting a dec in each stitch until you can no longer continue (6 sts). Your fawn’s body shape will now be complete and adorable!
Step 10: Crafting the Legs
To make the fawn’s legs, start with a magic ring and work 6 sc into the ring. Pull it tight and place your stitch marker. This will form the first leg (6 sts). Repeat for a total of four legs.
Step 11: Color Change and Finishing the Legs
For each leg, switch to a contrasting color and crochet 6 rows of 1 sc in each stitch. This showcases the delightful look of your amigurumi fawn. Once your legs are completed, set them aside for later assembly.
Step 12: Creating the Head
For the head, start with another magic ring and place 6 sc into it, just like the body. This will create the perfect rounded shape for your fawn’s adorable face (6 sts).
Step 13: Building the Facial Features
In Row 2 of the head, work 2 sc in each stitch. After this increase round, your head will begin taking shape nicely. Maintain correct tension to ensure a fluffed finish (12 sts).
Step 14: Finish the Head
Continue shaping the head by crocheting 1 sc in the first 4 stitches, then 2 sc in the next stitch for Row 3. As you finish, keep a close count of your stitches, ensuring consistency throughout (18 sts).
Step 15: Adding Facial Details
After shaping, safely insert your 5mm eyes at the appropriate intervals and embroider a little nose with black floss. Your fawn’s face will start to come alive beautifully with these charming features!
Step 16: Ears and Tail Attachment
For the ears and tail, create simple rounds of sc, attaching them to the completed body securely. Position the ears so they give your fawn a sweet, whimsical appearance once assembled.
Step 17: Final Assembly and Edging
Finally, sew the head to the body and attach the legs. Ensure that everything is securely stitched as you finish your delightful amigurumi fawn. Your adorable creation should now be ready to brighten everyone’s day!
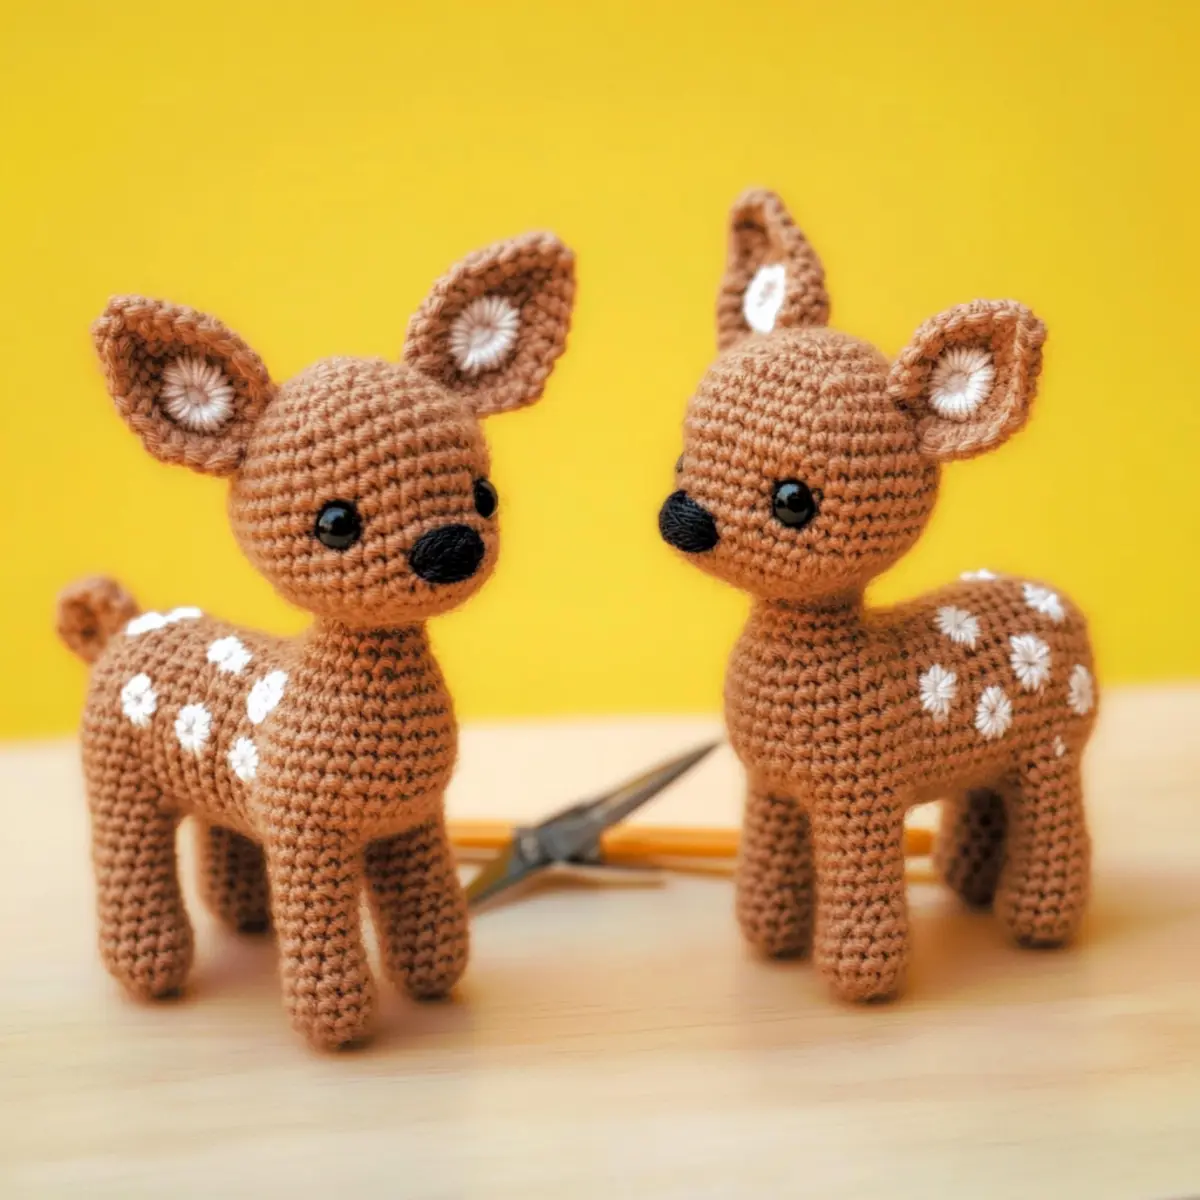
Variations & Substitutions for Amigurumi Deer
Feel free to get creative with your crochet project and infuse your personality into this adorable fawn!
-
Yarn Weight Change: Opt for finer yarn like sport weight for a smaller fawn, or bulky yarn for a larger companion. Experimenting with weights can yield delightful variations!
-
Fiber Alternatives: Swap acrylic for cotton yarn for a plush feel that’s great for cuddly textures; plus, cotton is machine washable for easy care.
-
Color Blocking: Create a patchwork design with different colors or shades on the body of the deer. This is a fun way to use up colorful scraps from your stash!
-
Size Adjustments: Adjust the hook size to increase or decrease the overall dimensions of your fawn. A slightly larger hook will yield a more open, relaxed fabric.
-
Pom-Pom Tail: Add a pom-pom tail for a playful touch! It’s a fun and quick modification that adds extra charm.
-
Fringe Ears: Introduce fringe to the ears for a trendy texture. Simply cut strands of yarn and knot them at the base for a whimsical look.
-
Embellished Accessories: Crochet a tiny scarf or bow tie for your deer. A pop of contrasting color can bring your creation to life!
-
Whimsical Spots: Enhance the fawn’s cuteness by embroidering additional spots or patterns that give character, ensuring no two are exactly alike.
These variations invite you to explore your creativity even further, so let your imagination run wild! For more inspiration, check out our Beginner-Friendly Crochet Techniques or take a peek at some creative Yarn Substitutions that can elevate your crafting experience!
Expert Tips for Amigurumi Deer
-
Stitch Count Matters: Always count your stitches at the end of each round. This ensures your amigurumi deer maintains its adorable shape and size.
-
Manage Color Changes: When switching colors, be extra cautious to avoid gaps. Using the “working into the front loop” technique can help secure tighter transitions.
-
Use Quality Fiberfill: Don’t skimp on filling. A well-stuffed fawn gives it a lovely, plump appearance and enhances the overall texture of your amigurumi deer.
-
Secure Safety Eyes Properly: Attach safety eyes before fully assembling the head. It helps avoid damage and ensures they’re positioned just right!
-
Check Your Tension: Maintain a consistent tension throughout your work. If your stitches are too tight, consider using a larger hook for smoother results.
-
Refer to the Video: Utilize the detailed video tutorial for any tricky stitch transitions like decreases. Visual guidance is a real game changer for complex techniques!
How to Wash and Care for Your Amigurumi Deer
-
Hand Washing: Gently hand wash your amigurumi deer in cold water with a mild soap. Avoid scrubbing or wringing to prevent distortion of the delicate stitches.
-
Drying: Lay your finished fawn flat on a clean, dry towel and reshape as necessary. Avoid hanging it, as this can cause misshaping or stretching.
-
Storage: Store in a dry, cool place, away from direct sunlight, to preserve colors and prevent fading. Keep your amigurumi deer in a container or on a shelf to avoid dust build-up.
-
Avoiding Wilting: If your amigurumi deer gets dusty, opt for a gentle spot cleaning with a damp cloth rather than submerging the entire piece. This keeps it looking fresh and adorable!
Adorable Amigurumi Fawn Crochet Pattern FAQs
Can I use a different yarn than DK/light worsted weight?
Absolutely! You can substitute different yarns, but keep in mind that switching from DK to a heavier yarn like worsted will alter the size of your amigurumi fawn. I recommend checking your gauge to ensure your deer turns out as intended!
How can I adjust the size of my amigurumi deer?
To make your fawn bigger or smaller, you can adjust yarn weight or hook size. For instance, using a thicker yarn and a larger hook will create a larger deer. If you choose to go smaller, just use a finer yarn with a smaller hook. Just remember that stitch count should remain consistent to retain the shape!
Why is my amigurumi deer curling at the edges?
Don’t panic! This often happens if your stitches are too tight. If your circle is buckling like a bowl, try loosening your tension or using a larger hook. It may help to double-check your stitch count at the end of each round too!
What hook size should I use for best results?
I recommend using a 2.5mm crochet hook (US B-1 or C-2) as specified in the pattern. This size provides a lovely tight fabric that keeps the stuffing from peeking through. Always ensure your tension matches for the best outcome!
How do I fix dropped stitches in my amigurumi?
It’s an easy fix! If you spot a dropped stitch, simply grab your yarn needle and weave the end of the yarn back through the stitches where the drop occurred. Gently pull to tighten, and remember to check your work before completing each round to avoid these pesky mistakes!
Can I share my finished fawn on social media?
Absolutely, please do! I’d love to see your adorable creations! Share on Instagram, and don’t forget to tag me so we can celebrate your work together! Your contributions inspire a warm and vibrant crochet community.
Leave a Reply