
As I sat on my couch, the gentle sunshine streaming through the windows, I found myself daydreaming about a delightful little crochet Highland Cow, ready to dance into life with every stitch. This “Cute and Cuddly Crochet Highland Cow” pattern is a joy to make, and it’s perfect for animal lovers and crafters of all skill levels. Not only does it work up surprisingly fast, but it’s also fully customizable, allowing you to express your personal style through color choices and embellishments. Whether you’re creating a charming gift for a friend or adding a whimsical touch to your home decor, this plushie is bound to bring smiles all around. So, grab your yarn and let’s embark on this heartwarming crafting adventure together!
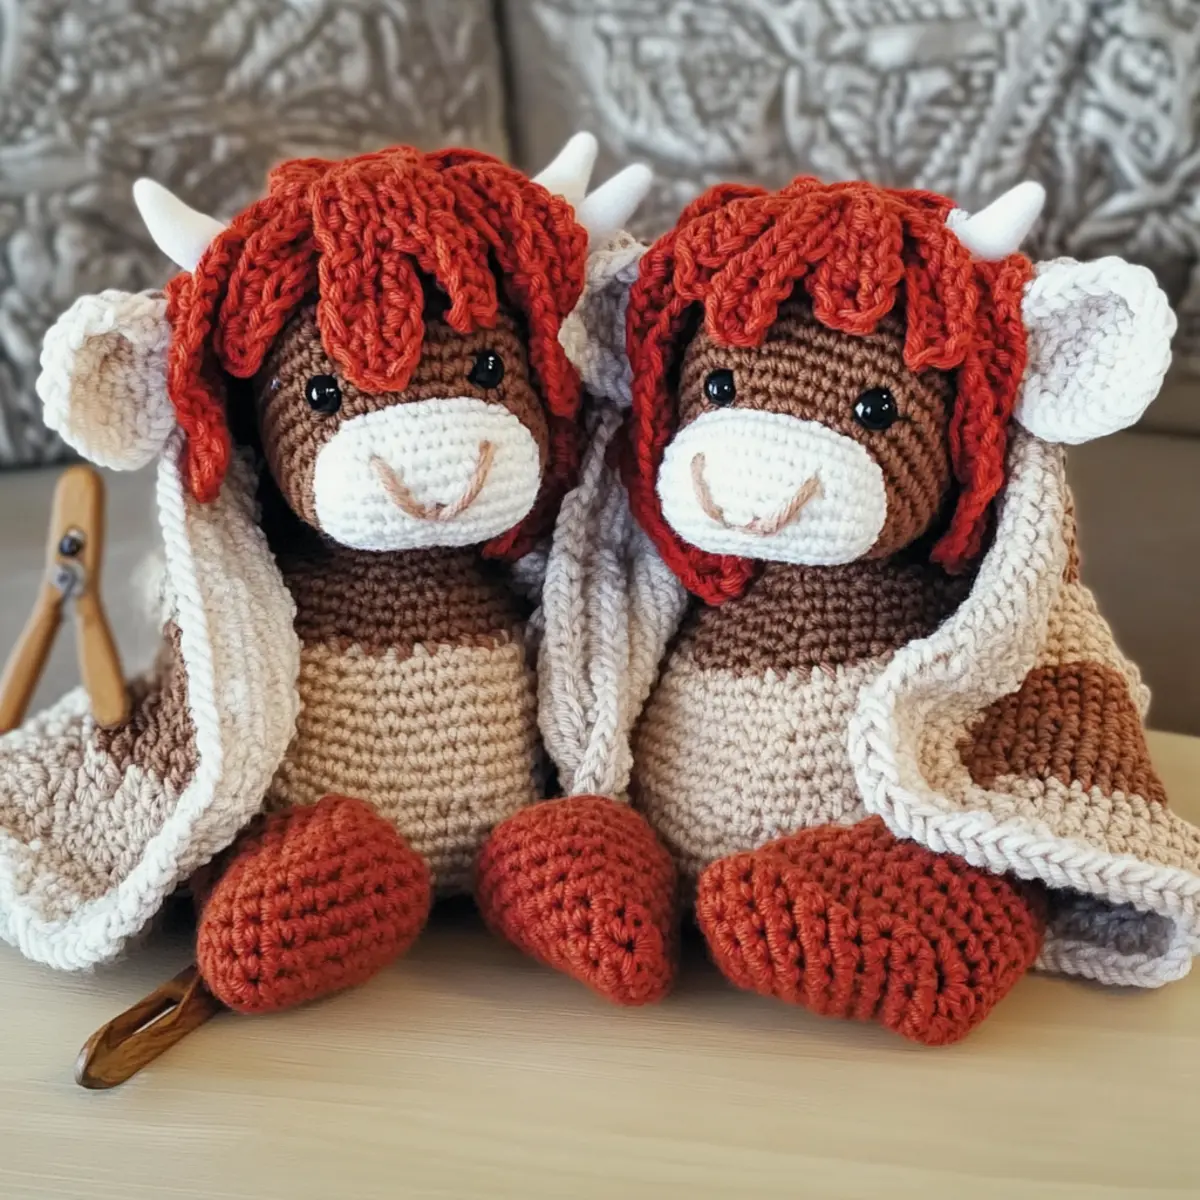
Highland Cow Materials & Tools
Create your very own adorable Highland Cow plushie with these essential supplies!
Yarn
- Panduro Yarn Velvet (Brown) – About 200g is needed for the main body; this soft yarn adds a cuddly texture to your cow.
- Cotton/Acrylic Yarn (Beige) – About 50g for the foot pads and nose; consider any yarn that complements the brown.
Tools & Notions
- 4.5 mm (US size 7) Hook – This size is perfect for achieving the right plushie feel in your crochet.
- Safety Eyes (20 mm) – These add a charming expression to your Highland Cow; be sure to secure them well!
- Polyester Stuffing – Use for filling your cow; ensure it’s soft and fluffy for a great cuddle factor.
- Scissors – Essential for snipping yarn ends with precision.
- Knitting Needles – Handy for attaching parts and providing stability.
- Optional: Empty Toilet Roll – A creative way to support the head during assembly for a stable finish.
Gather these materials, and let your creativity flow as you bring your Highland Cow to life!
Why Is This Highland Cow So Special?
Beginner-Friendly: Perfect for novice crocheters, this pattern uses simple stitches to create a delightful plushie that boosts your confidence.
Adorable Design: With its charming horns and sweet face, this Highland Cow becomes an instant favorite—ideal for gifts or playful decor!
Customizable Options: Enjoy the freedom to pick your colors and add personal touches, making each cow unique. Try pairing it with other cute projects from our popular amigurumi patterns for an adorable collection!
Fast & Fun: Often completed in just a few hours, this project is a delightful way to unwind while creating something heartfelt. You’ll love how quickly it comes together!
Plush & Cuddly: The soft finish, thanks to the velvety yarn, gives this cow an irresistible charm—simply perfect for hugs!
Great Gift Idea: Handmade toys create lasting memories, and this Highland Cow is sure to become a cherished keepsake for anyone lucky enough to receive one.
Gauge & Sizing Notes
Don’t skip the gauge swatch! Achieving the correct tension is essential for your “Cute and Cuddly Crochet Highland Cow” to turn out just right. To ensure your cow measures up, aim for a standard gauge of 4×4 inches (10×10 cm) equaling 14 double crochets by 8 rows. This will give you a solid foundation. If you want to make your Highland Cow a bit larger or smaller, adjust your starting chain in multiples of 4 or add/subtract rounds as needed. If your swatch ends up too small, don’t worry! Simply try going up a hook size to achieve a looser tension that produces the desired size. Happy crocheting!
Step-by-Step Pattern for Cute and Cuddly Crochet Highland Cow
Row 1: Start the Head
Begin with a magic ring and work 6 sc into the ring to form the base of the head (6 sts). Pull the magic ring tight to secure it. Your work should form a tiny circle.
Row 2: Increase the Head
In this round, make an inc in each sc around to increase your stitch count. This will create the rounded shape for the head, resulting in 12 sts by the end of this round (12 sts).
Row 3: More Increases
For this row, work 1 sc in the next stitch, inc in the following stitch and repeat around. This will give your Highland Cow head more dimension, bringing your total to 18 sts (18 sts).
Row 4: Continue Increasing
Now, work 1 sc in the next 2 stitches, inc in the next stitch and repeat around. This will help in shaping the head further, making it rounder with a final count of 24 sts (24 sts).
Row 5: Shaping the Head
In this round, make 1 sc in the next 3 stitches, inc in the next stitch around. This shaping will prepare your work for the face of the cow, totaling 30 sts (30 sts).
Row 6: Final Increases
For the last increasing row, work 1 sc in the next 4 stitches, inc in the next stitch around. You should have 36 sts at the end, creating a wider base for the top of your Highland Cow’s head (36 sts).
Row 7: Start Decreasing
Begin shaping the head by working 1 sc in the next 4 stitches, dec around. This row gently tightens the head, bringing your total down to 30 sts (30 sts). Your work may start to close a bit.
Row 8: Decrease Further
Continue to decrease with 1 sc in the next 3 stitches, dec around. This will help narrow the head more, totaling 24 sts (24 sts).
Row 9: Stuff the Head
Now is the time to stuff the head firmly with your filling material. Your plushie should be taking shape, with soft padding creating a nice round form without being too tight.
Row 10: More Decreasing
Work 1 sc in the next 2 stitches, dec around, pulling the head together with 18 sts remaining. As you decrease, it should feel secure but still have a bit of give.
Row 11: Final Adjustment
In this row, work 1 sc in the next stitch, dec around to close off the shape of the head, which will give you a total of 12 sts (12 sts).
Row 12: Close Off
Finish by slipping stitch into the next sc, leaving a long tail for sewing and cut your yarn. Your head is now complete and should have a sturdy, rounded shape, ready for adding features.
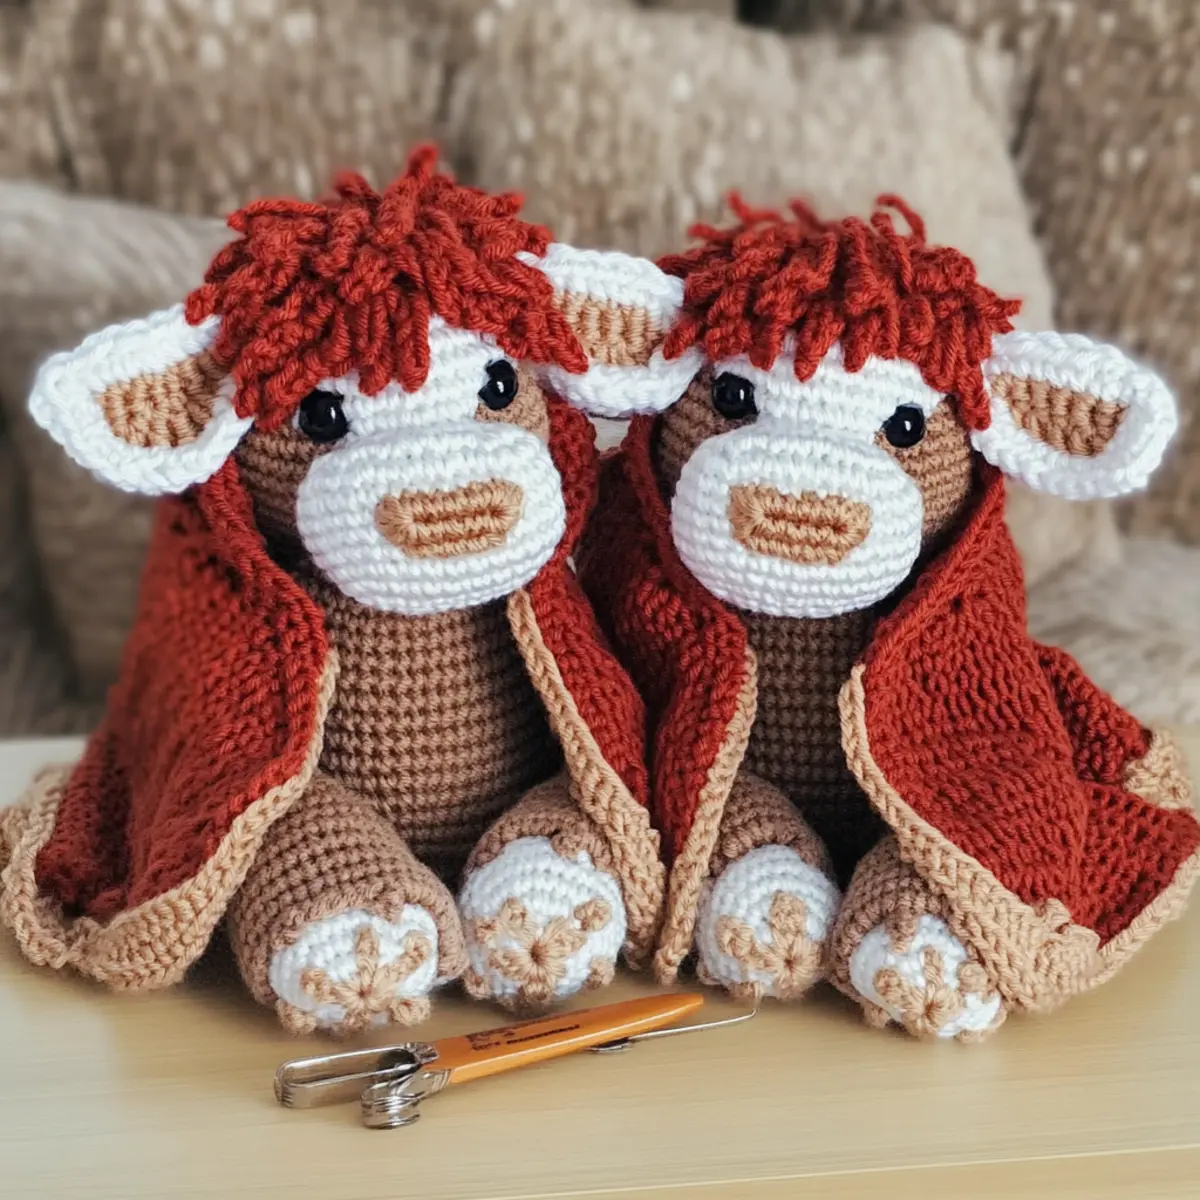
Variations & Substitutions for Custom Highland Cow
Unleash your creativity and make this cuddly Highland Cow uniquely yours with delightful twists and personal touches!
-
Yarn Substitutions: Experiment with different fibers like cotton for a lightweight feel or acrylic for durability. Each choice offers a unique texture.
-
Color-Centric: Try color-blocking techniques with multiple colors, creating a Highland Cow that stands out wonderfully in any room.
-
Size Adjustments: Change yarn weight or hook size to create either a mini version or a giant cuddly companion. Each variation brings a new level of charm!
-
Texture Twists: Add a playful pom-pom or fringe to the horns for extra flair. Textured embellishments make your Highland Cow even more captivating!
-
Accessory Magic: Consider crafting fun accessories like a cozy scarf or a festive winter cape. These small touches can enhance the overall look significantly.
-
Facial Features: Customize the size of safety eyes or add cute embroidered details for a more expressive face. This will give your plushie a character of its own.
-
Hair and Tail Styles: Play with different yarn styles for the hair and tail to give it a wild or styled look. A fluffy tail can add a unique touch that brings your cow to life.
-
Incorporate Embroidery: Personalize with patterns or initials using basic embroidery techniques. It’s a lovely way to make your Highland Cow extra special as a gift.
Each of these ideas allows for an exciting journey into creativity—be sure to explore our other adorable amigurumi patterns for even more inspiration!
Expert Tips for Your Highland Cow
- Count Stitches Often: Keep track of your stitches at the end of each round to maintain your Highland Cow’s shape and size, avoiding any costly mistakes.
- Use a Stitch Marker: Insert a stitch marker in the first stitch of each round, especially helpful in continuous rounds to prevent confusion and ensure consistent progress.
- Check Your Tension: Maintain even tension throughout your project to achieve a neat finish. If needed, practice on a small swatch before diving in with your Highland Cow pattern.
- Secure the Eyes Properly: When placing safety eyes, make sure they’re secured tightly to avoid falling out, especially if your finished plushie will be handed to little ones.
- Finishing Touches: Don’t rush the final assembly—take your time sewing parts together to ensure your cow looks polished and ready for cuddles.
Care Instructions for Your Highland Cow
-
Hand Washing: Gently wash your Highland Cow in cool water with mild detergent to preserve its soft, plush texture. Avoid wringing or twisting to maintain shape.
-
Drying/Blocking: Lay your Highland Cow flat on a clean towel to dry, reshaping any areas as needed. Avoid direct sunlight to prevent color fading.
-
Storage: When not in use, store your Highland Cow in a dry, cool place. Keep it away from damp environments to prevent mildew and maintain its delightful appearance.
-
Routine Care: For minor stains, spot-clean with a damp cloth and gentle soap. Regular care will ensure your cuddly Highland Cow stays charming for years to come!
Cute and Cuddly Crochet Highland Cow FAQs
Can I use a different yarn than Panduro Yarn Velvet?
Absolutely! You can swap out Panduro Yarn Velvet for any soft and plush yarn—like cotton or acrylic blends. Just make sure to check your gauge, as different yarns can slightly change the final size and texture of your Highland Cow.
How do I make my Highland Cow bigger or smaller?
To adjust the size, consider using a thicker yarn with the corresponding larger hook size for a bigger cow. Conversely, you can use lighter weight yarn and a smaller hook to create a petite version. An easy rule is that every size change typically works best in multiples of your starting stitch count so your increases/decreases remain consistent.
Why is my crochet work curling at the edges?
Don’t panic! If your crochet edges are curling, it’s likely due to tight stitches or an uneven tension. Try using a larger hook, allowing more yarn flexibility, or check that your stitches are consistently tensioned throughout your rounds.
What size hook should I use for the Highland Cow?
For this cute Highland Cow pattern, a 4.5 mm (US size 7) hook is recommended. However, depending on your yarn choice and personal tension, you may want to experiment with a slightly larger or smaller hook to find your perfect fit.
How do I fix dropped stitches in my crochet?
It’s an easy fix! Simply use your crochet hook to pull the yarn from above the dropped stitch through the loop on your hook, making sure to follow the stitch pattern to keep your work neat. For future stitches, ensure to maintain consistent tension or check that you’re not missing any yarn overs or pulls.
What if I want to add features like a scarf or cape?
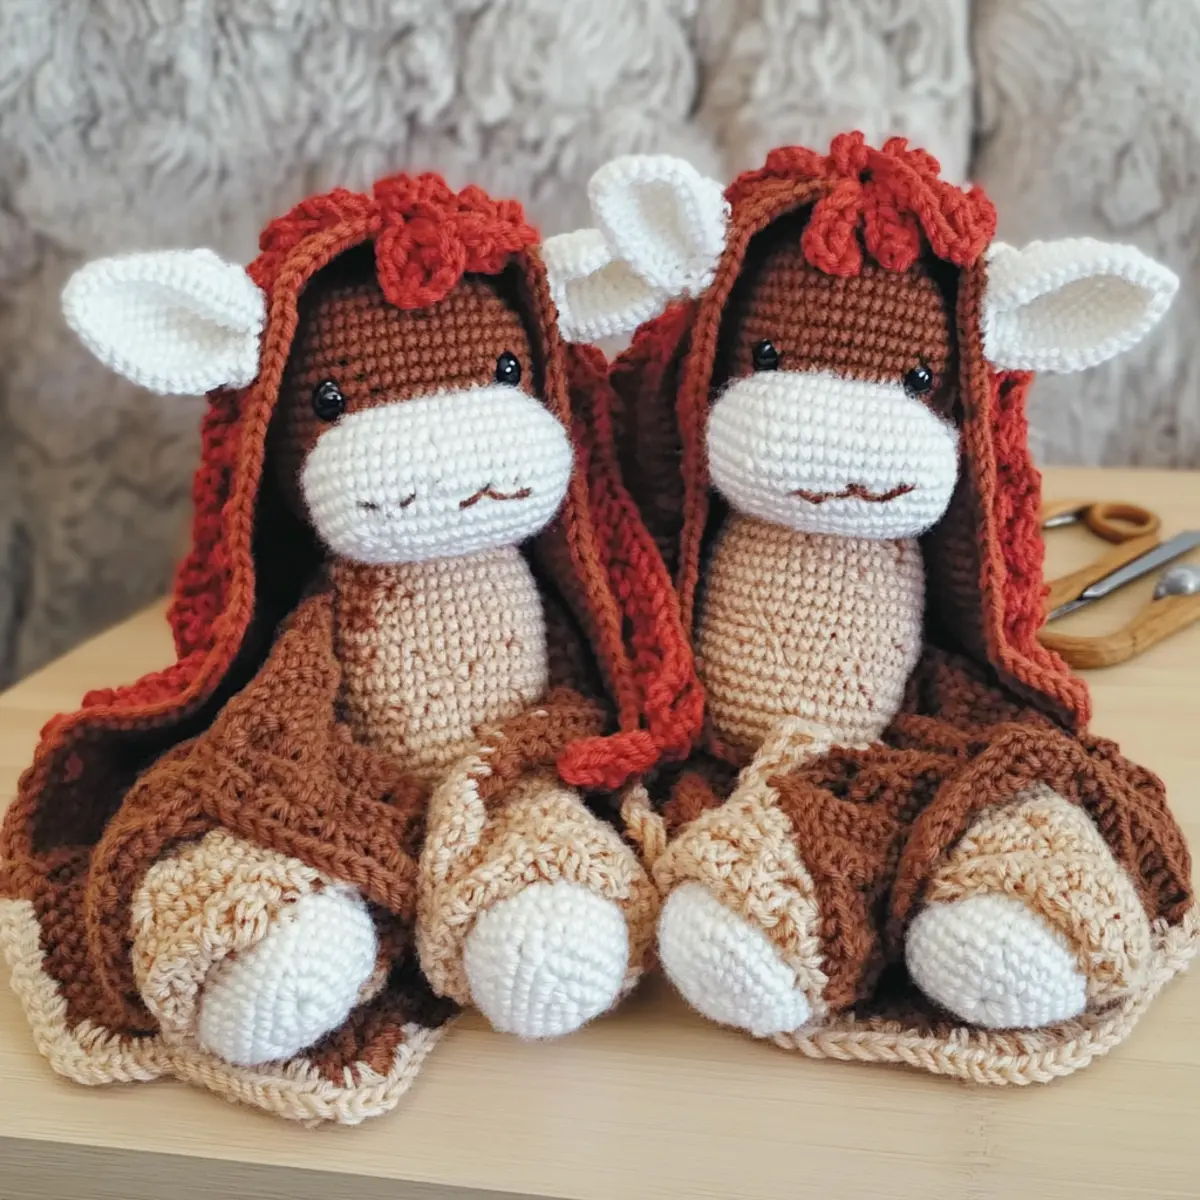
Feel free to personalize your Highland Cow with adorable extras! To add a scarf or cape, simply crochet separate pieces using basic stitch techniques and sew them on securely when your cow is fully assembled. This not only adds a unique charm but also enhances the cuteness of your cozy plushie!
Leave a Reply