
As I sat with my colorful yarn stash, a wave of joy washed over me at the thought of creating the Adorable Giraffe Granny Square. This darling project invites you to explore vibrant color changes while crafting a cute giraffe face complete with floppy ears and bright eyes. What makes it even better? It’s beginner-friendly and works up quickly, which means you’ll be adding delightful charm to your child’s room in no time. Whether you’re thinking of a whimsical granny square blanket or a playful children’s top, this pattern eliminates the fuss of tedious assembly, allowing you to focus solely on the sheer bliss of stitching. So, grab your yarn and let’s transform those skeins into something truly heartwarming—your hands will thank you!
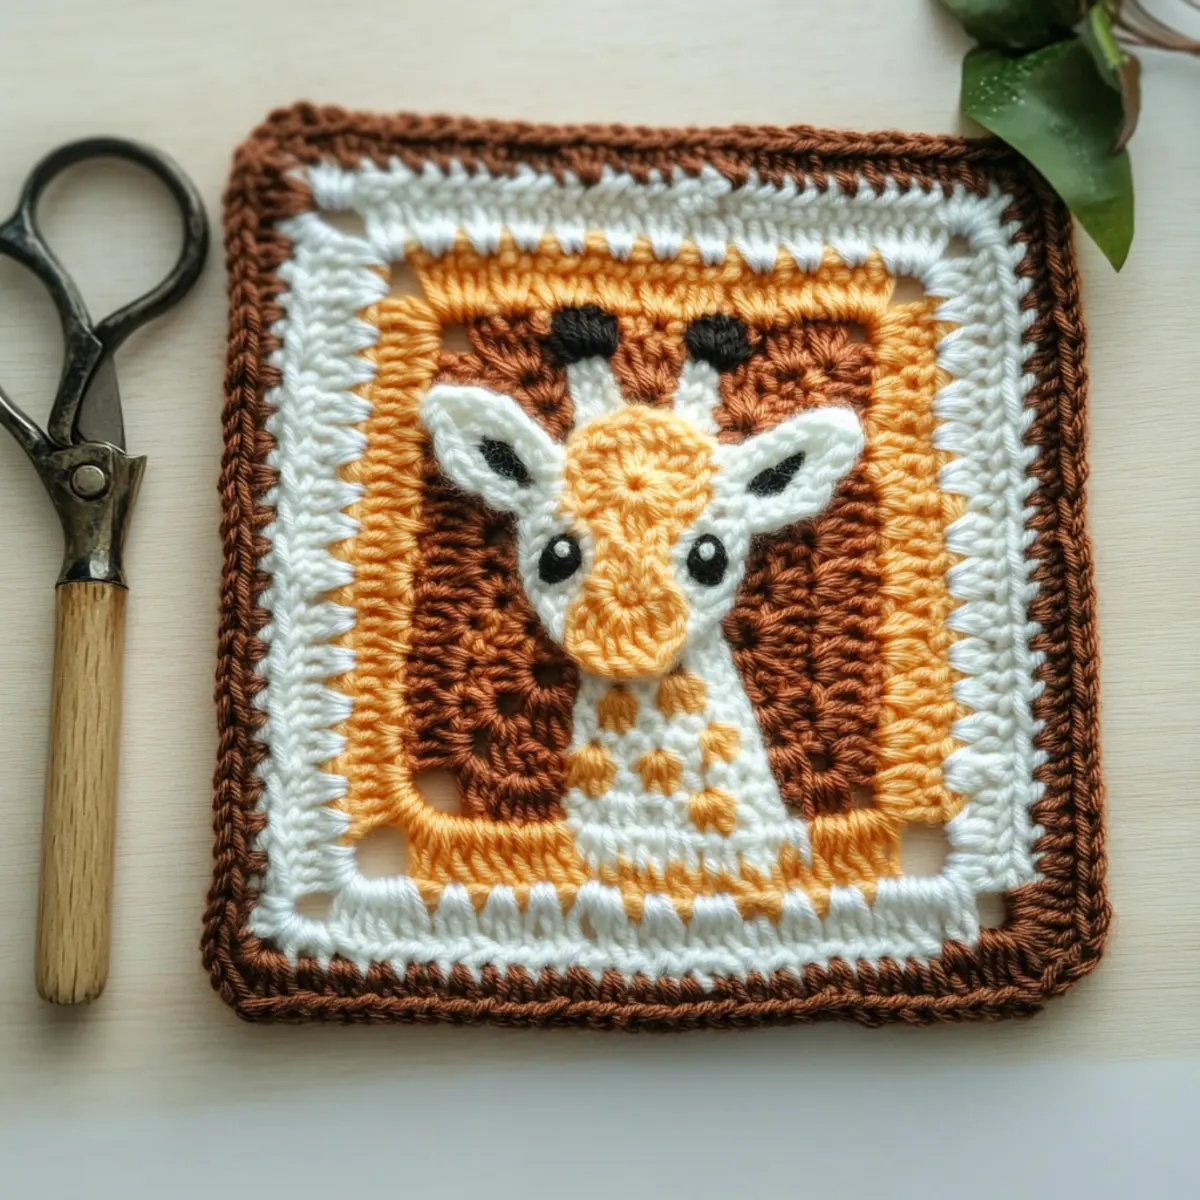
Giraffe Granny Square Materials & Tools
Get ready to bring this adorable giraffe to life with just a few essential supplies!
Yarn
• DK Sports Weight Yarn – You’ll need three colors to capture the giraffe’s head and neck perfectly; aim for a warm yellow for the main body, a soft brown for accents, and a vibrant black for features.
Tools & Notions
• 3.00mm (US Size D/3) Hook – This size is ideal for achieving the recommended tension and texture for your granny square.
• Darning Needle – Use this to weave in and secure loose ends, ensuring a tidy finish on your project.
• Scissors – Essential for cutting your yarn cleanly and precisely when needed.
With these materials, you’re all set to dive into the delightful world of the Giraffe Granny Square!
Why Is This Giraffe Square So Special?
Beginner-Friendly: Perfect for novices, this pattern is designed to ease you into the world of crochet without overwhelming complexity.
Whimsical Design: The cute giraffe face, complete with floppy ears and bright eyes, brings joy to any crafting project while enhancing your decor.
Quick to Complete: Working up rapidly means you can create multiple squares in no time—ideal for gifting or cozying up any space.
Colorful Creativity: With effective color changes, you can personalize each square, experimenting with your favorite hues for a unique touch.
Assembly-Free Fun: Forget the fuss of piecing together separate parts; this pattern seamlessly combines everything into a delightful square, allowing you to enjoy every stitch.
Embark on a fun journey with your yarn and check out our crochet tips for beginners to make your experience even smoother!
Gauge & Sizing Notes
Don’t skip the gauge swatch! Proper tension is key when creating your Adorable Giraffe Granny Square to ensure a vibrant, well-proportioned project. A standard gauge for this pattern is a 4×4 inch (10×10 cm) square that measures 14 double crochets by 8 rows. If you find your swatch is too small, consider going up a hook size to achieve the right fit. To adjust the size of your giraffe square larger, increase your starting chain in multiples of 2, or simply add additional rounds. If you’re working with a tighter tension, remember you can always loosen up your stitches to achieve better results. Happy crocheting!
Step‑by‑Step Pattern for Adorable Giraffe Granny Square
Round 1: Start the Magic Loop
Begin with a magic loop, which is great for tight starts. Chain 2 (counts as hdc), then work 13 hdc into the loop. Pull the loop tight and join with a sl st to the top of the starting chain. Your work should be circular, and you should have 14 stitches completed (14 sts).
Round 2: Create the Giraffe’s Neck
Chain 3 (counts as first dc), then in the same stitch, work a dc inc. For the remaining stitches, work 1 dc inc in each stitch around. Join with a sl st to the top of the chain 3. At this point, your round should expand nicely, giving you vibrant height for the giraffe neck (28 sts).
Round 3: Form the Head Shape
Turn your work to start working in back loops only for extra texture. Change to your desired yarn color. Start this round with (1 dc inc, 2 dc) in the next 2 stitches, then (1 hdc, 3 sc) to shape the features. Continue to increase the amount of sc to firm up the head, ensuring to incorporate color changes for depth. This round should have formed a pleasing outline of the giraffe’s head (36 sts).
Round 4: Define the Corners
Continue working with hdc all around, making sure to place hdc inc in each corner to keep the shape square. This will help to create the corners of your granny square and give stability to the overall design. Join with a sl st to the start and check that you’ve maintained your stitch count (48 sts).
Round 5: Add More Texture
Chain 2 (counts as hdc) and continue with hdc in each stitch around. Don’t forget to add a hdc inc in each corner. This round enhances the square’s form, allowing it to build on the giraffe’s distinctive features. Your work should feel sturdier, maintaining the established count as well (60 sts).
Round 6: Completing the Shape
For this round, work a round of sc across all stitches, including corner sc (2 sc in each corner). This will help round out the overall shape and prepare for final finishing. Your piece should be taking on a refined square shape, measuring roughly 4.1 x 4.1 inches at this point (72 sts).
Round 7: Finishing Touches
In the final round, continue with sc around to create a smooth edge. Remember to place sc inc in each corner for added definition. Join with a sl st and weave in any ends. At this stage, your adorable giraffe granny square is poised for personality, ready for embellishment or to be joined with others!
Step 1: Create the Giraffe Features
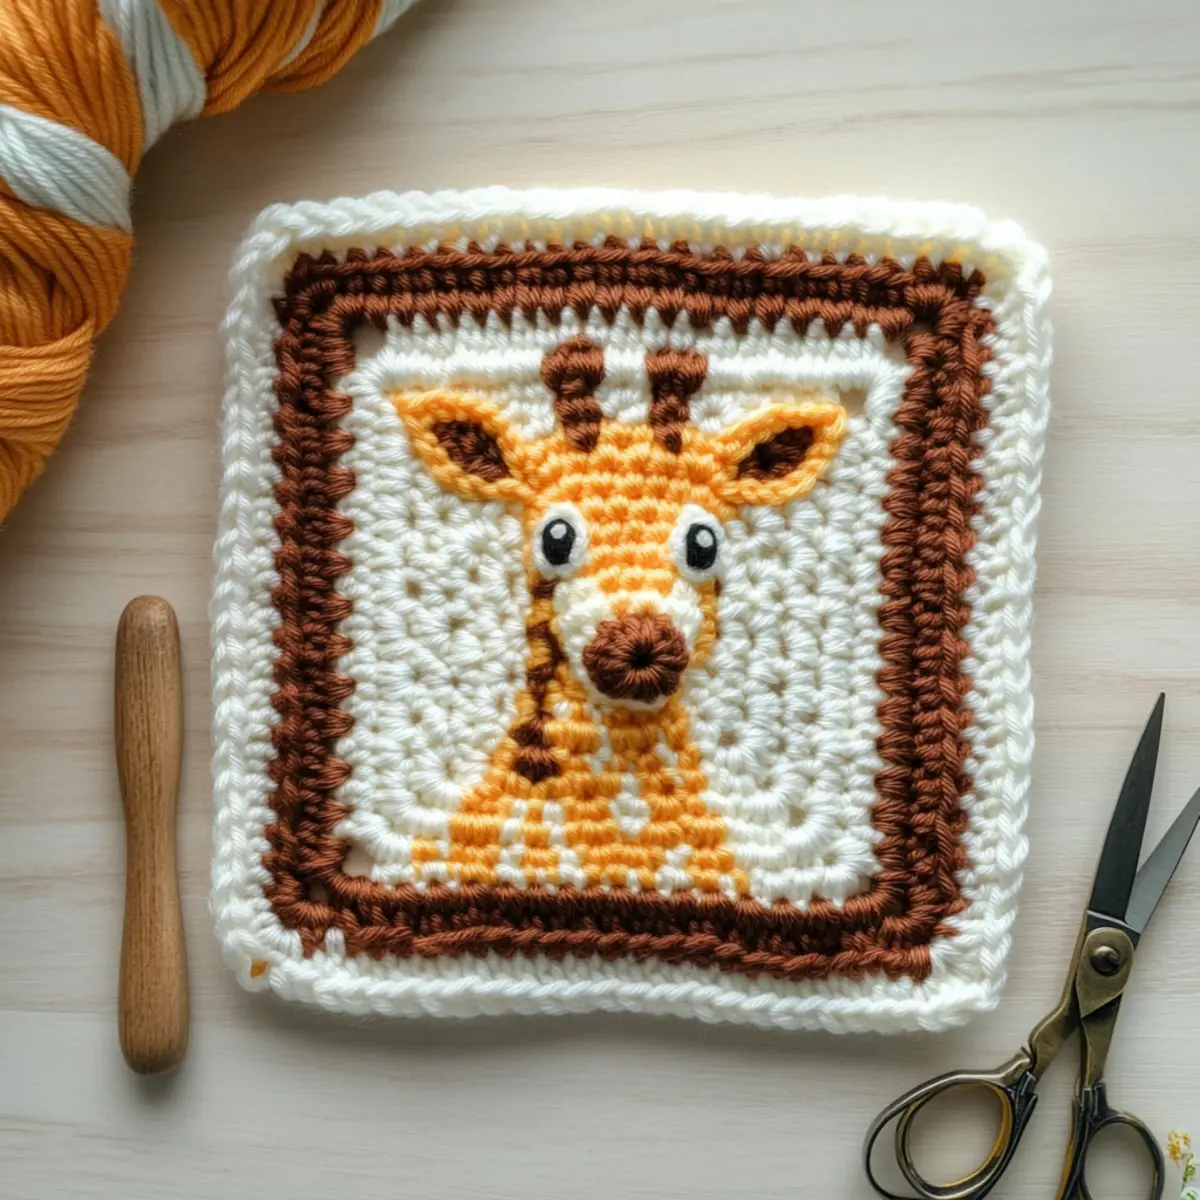
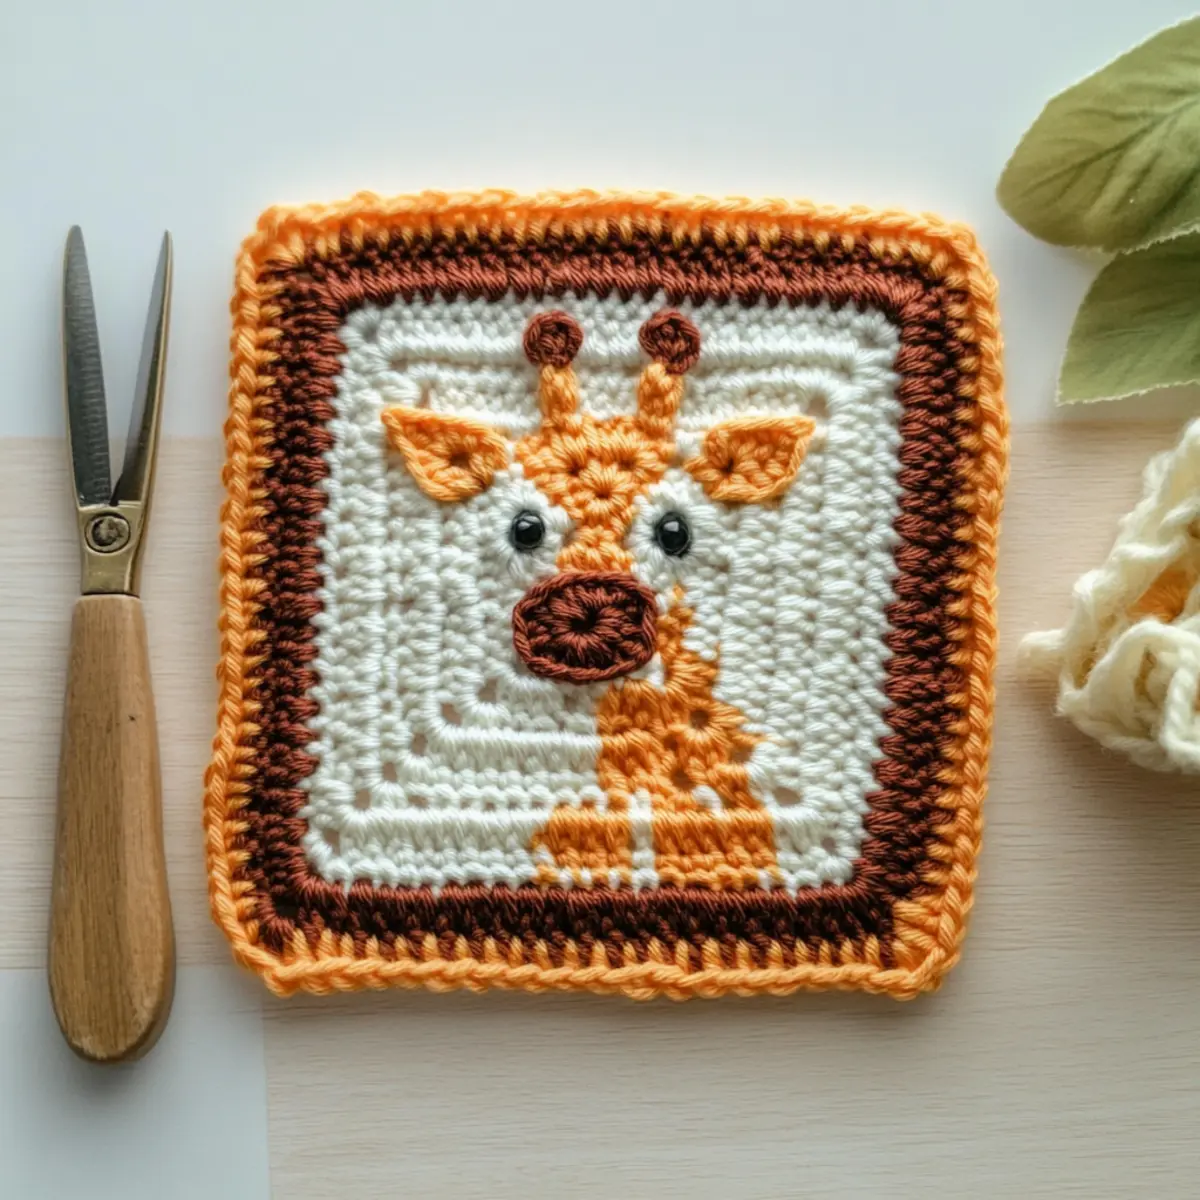
For the snout, use a small amount of yarn in a contrasting color, and work 6 sc in a magic loop, join with sl st. For the horns, ch 4, sc in the 2nd ch from the hook, then in the next 2 ch, turn and work back. Attach them to the head when you’re ready!
Step 2: Finish with Ears and Eyes
To form the ears, ch 5, sc in the 2nd ch from the hook, and in the next 2 ch, turn and sc back to shape. For the eyes, use safety eyes or small black yarn circles. Attach all features securely to the head using a darning needle, bringing personality to your giraffe square!
Washing & Care for Your Giraffe Granny Square
-
Hand Washing: Always hand wash your giraffe granny square in cold water to prevent any agitation that could lead to felting or pilling. Use a gentle crochet soap for best results.
-
Drying: After washing, lay your square flat to dry on a clean, dry towel. Avoid hanging to prevent stretching out the adorable shape of your giraffe.
-
Storage: Store your finished squares in a cool, dry place, away from direct sunlight. This will help maintain their vibrant colors and delightful texture for years to come.
-
Periodic Refresh: If your granny square needs refreshing, consider lightly steaming it while laying flat. This restores its shape and soft texture, keeping your giraffe looking charming!
Giraffe Granny Square Variations
Elevate your crochet journey by exploring delightful twists on this charming pattern!
-
Yarn Weight Swaps: Change to worsted weight for a squishier texture. This adjustment will create a slightly larger square, adding more warmth to your projects.
-
Fiber Alternatives: Try cotton yarn for a summer vibe. The light, breathable nature of cotton will make your square perfect for warm-weather use.
-
Color-Blocking: Mix two or three contrasting colors to create a playful, modern twist. Color blocking allows your creativity to shine while maintaining the giraffe’s quirky charm.
-
Larger Sizing Option: Add extra rounds for a bigger square, transforming it into a cozy pillow or a children’s lap blanket. This gives the giraffe even more personality!
-
Texture Modifications: Add a pom-pom to the top of each corner for a fun flair. The added texture will provide playful depth to your project, making it even more enchanting.
-
Decorative Fringe: Attach a fringe around the edges for a whimsical finish. This element can make your square stand out and adds a tactile aspect perfect for little hands.
-
Embellished Features: Sew on safety eyes and create dimensional features to enhance facial expressions. This little detail brings your giraffe to life, evoking joy every time you glance at it.
-
Personalized Color Themes: Use your favorite color palette that suits your child’s room. Whether soft pastels or vibrant hues, this customization makes your square a unique statement piece!
With all these ideas, you can expand your project for personalized flair. For more creative inspiration, check out our guide on exploring color in crochet and add more heart to your crafting!
Expert Tips for Giraffe Granny Square
-
Count Your Stitches: Regularly check your stitch count at the end of each round to ensure an even shape, avoiding any warping in your adorable giraffe granny square.
-
Secure Ends: Use a darning needle to weave in yarn ends securely, especially near the giraffe’s features, so you can cuddle it without worrying about unraveling.
-
Gauge Matters: Although not specified, creating a tension swatch can help maintain consistent size and texture throughout your granny squares for a polished look.
-
Color Change Technique: Master the art of color changes by practicing in swatches, ensuring smooth transitions for that delightful giraffe face you want to showcase.
-
Finishing Touches: For a professional finish, block your granny squares gently after completion; this sets the shape and enhances the giraffe’s dimensional texture beautifully.
Adorable Giraffe Granny Square FAQs
Can I substitute yarn colors?
Absolutely! You can swap out the recommended colors for any yarn you love. Just ensure that the new colors are similar in weight and texture to avoid any inconsistencies in the finished square.
How do I adjust the size of my Giraffe Granny Square?
It’s easy! Simply add or reduce the number of rounds you complete. Each round increases the size of your square, so keep your gauge in mind and adjust accordingly to maintain a consistent appearance.
Why is my crocheted square curling at the edges?
Don’t panic! This is often due to working too tightly or not having the right hook size. Try using a larger hook or loosening your tension to see if that helps flatten the edges.
What size hook should I use for the Giraffe Granny Square?
I recommend using a 3.00mm (US size D/3) hook for this pattern. This size provides the perfect balance of structure and flexibility, making it easier to achieve the adorable details of the giraffe’s face.
How can I fix a dropped stitch in this pattern?
If you’ve dropped a stitch, simply locate the stitch and use your hook to pull it back up through the previous row. If you’re unsure, just keep practicing—it’s a common hiccup for many crocheters, and you’ll quickly master it!
What should I do if my yarn seems to tangle easily?
It’s an easy fix! Before you start, make sure to properly unwind your yarn and check for any knots. Using a yarn bowl or a dedicated yarn container can also help keep everything nice and tidy while you crochet.
Leave a Reply