
As I was digging through my yarn stash, I stumbled upon some bright orange and soft white yarn that instantly reminded me of the playful foxes I adore. Today, I’m thrilled to share my “Adorable Cube Fox Amigurumi Pattern,” a delightful project that captures the essence of these charming creatures in a whimsical cube shape. Perfect for crafters at any skill level, this beginner-friendly pattern works up quickly and not only satisfies your creative itch but also makes for an endearing gift. It’s easily customizable, too—try using chunky chenille yarn for a cozier version that will add a whole new texture to your handmade home decor! Join me in exploring this fun pattern, and let’s bring a little fox magic into our lives through crochet!
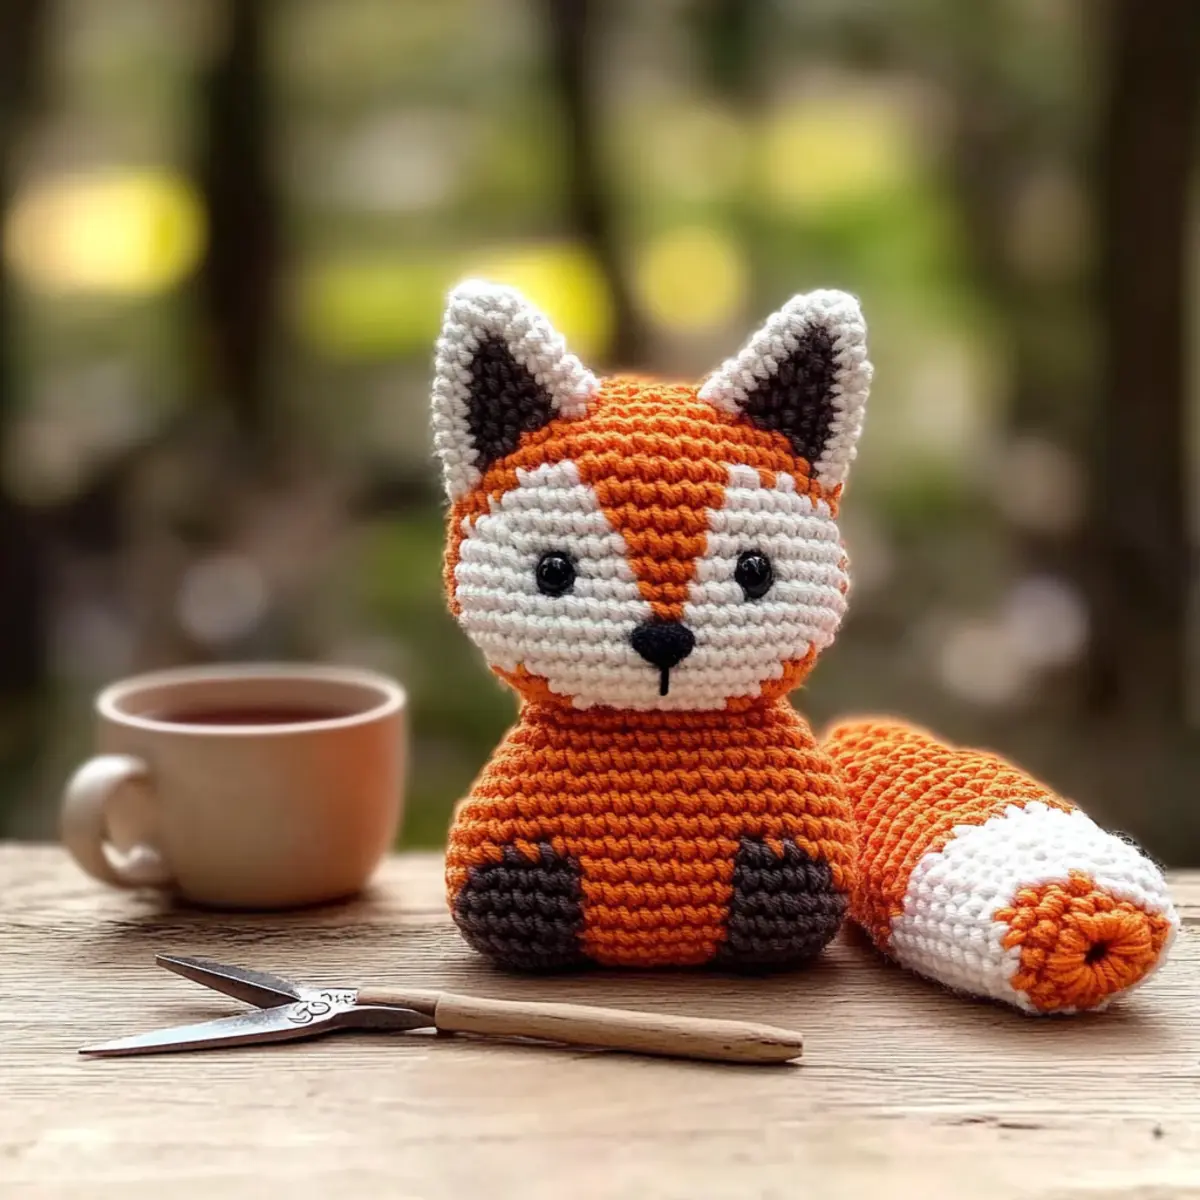
Cozy Cube Fox Amigurumi Materials & Tools
• Get ready to dive into a fun project using these delightful supplies!
Yarn
- Worsted Weight Yarn (Orange) – 100-150 yards will create your cute cube body.
- Worsted Weight Yarn (White) – Approx. 30 yards adds the adorable accent details.
- Safety Eyes – Optional for a charming touch, or use embroidery thread if you prefer a hand-stitched look.
Tools & Notions
- 4.0 mm (G-6 US) Hook – Ideal for the worsted weight yarn; adjust hook size if opting for chunky yarn.
- Stitch Markers – Perfect for keeping track of your rounds, especially during color changes.
- Tapestry Needle – Essential for sewing pieces together and weaving in those ends!
- Fiberfill Stuffing – Necessary for shaping your cute cube fox into a squishy delight.
- Safety Eyes (6 mm) – Recommended to give your fox adorable, expressive eyes.
Why is This Fox Amigurumi Special?
Cuteness Overload: The adorable design of this cube fox is sure to melt hearts, making it an instant favorite for both kids and adults alike!
Beginner-Friendly: With simple instructions and basic stitches, crochet newbies will feel confident tackling this project and creating something truly special.
Quick and Fun: This project works up rapidly, perfect for last-minute gifts or just an afternoon of cozy crafting.
Customization Galore: Whether you stick with classic orange and white or experiment with vibrant colors, the creative options are endless!
Snuggly Texture: Using chunky yarn brings a wonderful squishy feel that adds charm and comfort to your finished piece.
Gauge & Sizing Notes
Don’t skip the gauge swatch! Ensuring the correct tension is essential for creating your Adorable Cube Fox Amigurumi with the right proportions. The standard gauge for this project is 4×4 inches (10×10 cm), which should equal 12 stitches by 10 rows in single crochet using worsted weight yarn. If you wish to adjust the size, simply increase your starting chain in multiples of 12 for a larger fox or decrease for a smaller one. If your tension swatch is too small, don’t worry—try going up a hook size for a looser fit, or adjust down if it’s too big. Happy crocheting!
Step‑by‑Step Pattern for Adorable Cube Fox Amigurumi
Row 1: Create the Foundation
Start by making a magic circle (MC), then work 4 single crochet (sc) into the circle. Pull the yarn tail to tighten the ring. This will form the base of your adorable cube fox. Your work should create a small, tight circle with 4 stitches (4 sts).
Row 2: Build the Base
Continue by chaining 1, then work 3 single crochet increases (inc) in each stitch around. It’s important to keep your stitches tight to maintain the shape. You should now have a small hexagonal base starting to form with 12 stitches (12 sts).
Row 3: Expand the Cube Shape
For this round, chain 1 and work 1 sc into the first stitch, then 2 sc into the next (inc). Repeat this pattern around, adjusting your stitch counts to keep symmetry. By the end of this round, your cube base will grow to 18 stitches (18 sts).
Row 4: Continue Increasing
Chain 1, and now work 2 sc in the first stitch, followed by 1 sc in the next 2 stitches. This pattern of increase helps maintain the cube’s shape. You should complete this round with 24 total stitches (24 sts).
Row 5: Shaping the Cube
In this round, chain 1 and then work 3 sc in the first stitch, followed by an increase (2 sc in next stitch). Repeat this for the entire round to round out the body of your cube fox. You will have 30 stitches by the end (30 sts).
Row 6: More Width for the Body
Chain 1, and this time work 4 sc followed by 1 increase. This step expands the cube fox’s sides, enhancing its shape and making it more voluminous. The resulting stitch count should be 36 (36 sts).
Row 7: Full Body Width
Repeat the process by chaining 1 and making 5 sc and then 1 sc increase. Continue around this round maintaining 42 stitches (42 sts). You’ll notice your cube fox starting to take its delightful form!
Rows 8-11: Maintain Structure
For rounds 8 to 11, chain 1 and work 1 sc in each stitch around without any increases or decreases. This part fills out the cube and sets the stage for the charming facial features. You should still have a consistent 42 stitches.
Row 12: Color Addition and Decrease
Change to your white accent color and chain 1. Begin by working 6 sc, then 1 decrease (dec), repeating around. This will start slight shaping for the face and end this round with 36 stitches (36 sts).
Row 13: Establish Snout and Face Shape
Continue with white and chain 1; now do 5 sc followed by a dec around, addressing the shape of the cube’s top as you move toward the count of 30 stitches (30 sts). Your fox’s head should begin to appear!
Row 14: Form the Top of the Head
Keep using the white color, chain 1, and work 4 sc and then 1 dec around. This round narrows the top of your cube fox, giving it a fuller form with 24 stitches (24 sts).
Rows 15-17: Finalizing Shape
For these rounds, follow the same decrease pattern, focusing on achieving a charming rounded shape for the fox’s head. You will end with a count of 18 stitches in the last round (18 sts).
Step 1: Ears Formation
Using orange yarn, chain 1 and work 2 sc into the first stitch, then 1 sc into the next and repeat. Create 3 rows in total, ending with 6 stitches (6 sts). Ears should have a pointy shape as they taper off.
Step 2: Attaching Ears
After completing the ears, attach them to the top of the head between rounds 11 and 12. Pin them in place before sewing for a secure position.
Step 3: Creating the Snout
Using white yarn, create another small cube of the snout similar to the body but smaller. Attach it securely between rounds 10 and 11 for nice proportions.
Step 4: Final Assembly
Assemble the cube fox by sewing on the ears, snout, safety eyes, and tail in their designated spots. Use your tapestry needle for a clean finish.
Step 5: Completing the Cube Fox
Stuff the cube fox with fiberfill, being mindful not to overstuff. Weave in any loose ends, shaping the cube as you go. Your adorable cube fox amigurumi is now ready to be enjoyed!
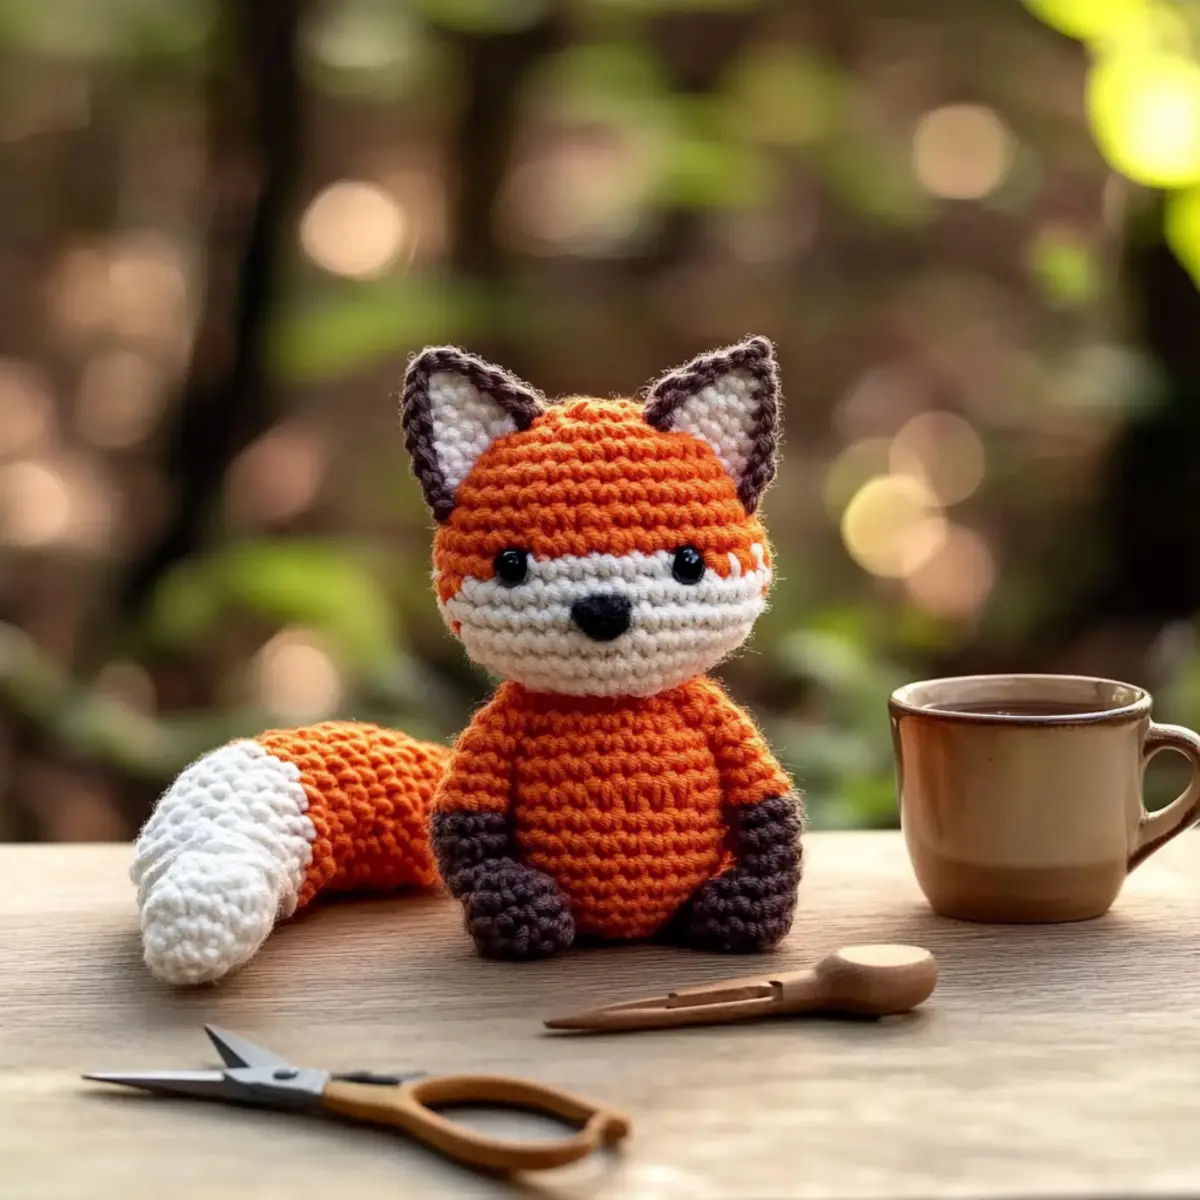
Expert Tips for Amigurumi Fox
-
Stitch Counting: Always count your stitches as you go. Losing count can lead to uneven shapes or a floppy fox, especially in rounds.
-
Tension Matters: Keep your tension consistent throughout the project. Uneven tension can result in an awkwardly shaped cube, so relax your grip if needed.
-
Mark Your Rounds: Use stitch markers to highlight the start of each round, especially useful when changing colors. This prevents confusion and maintains neat transitions.
-
Avoid Overstuffing: When filling the limbs and body, be gentle! Overstuffing can cause distortion, so leave a little wiggle room for flexibility and the cuddly look you’re after.
-
Secure Assembly: Before sewing pieces together, pin them to the body to ensure proper placement. This will help your finished fox look polished and adorable!
-
Finishing Touches: Weave in all ends neatly, as carelessly tucked tails can take away from your cozy cube fox’s charm. Neat finishes will elevate your piece beautifully!
Variations & Substitutions
Customize your cube fox to reflect your unique style and creativity!
-
Yarn Weight Variations: Try using bulky weight yarn for a larger, more huggable fox, adjusting hook size accordingly. This extra fluff will make your fox even more inviting!
-
Fiber Alternatives: Swap out the worsted yarn for cotton for a lighter, more breathable version. This can be especially lovely for warmer weather gifting and styling.
-
Color-Blocking: Mix and match various shades for the main body to create a patchwork fox. Imagine a rainbow of hues inspiring joy and smiles!
-
Size Adjustments: If you’re seeking a larger, statement piece, follow the provided instructions but increase the row count. Hoisting your creation to new dimensions can add a playful touch to any space.
-
Texture Innovations: Add a pom-pom tail for a whimsical finish, or attach fringe to mimic a furry look. These little details spark joy and whimsy.
-
Accessory Customization: Consider knitting a tiny scarf or cute hats for your fox. These small accessories enable personalization while enhancing the character and charm of your creation.
-
Safety Eyes Options: For a softer look, embroider the eyes or use smaller colored felt circles. These swaps can change the expression of your fox, making it even more endearing.
-
Decorative Borders: Give your finished piece a unique flair by adding a contrasting border around the base of the cube. A pop of color at the bottom makes it feel complete and playful.
Dive deeper into your creativeness with each of these variations, sharing your heart and personality in every stitch! If you’d like more guidance on personalizing, check out my tips on creative crochet techniques or explore yarn types to find the perfect materials for your project!
How to Wash and Care for Your Cube Fox Amigurumi
• Hand Washing: Always hand wash your amigurumi fox in cold water with gentle detergent. This protects the fibers and maintains the shape without causing felting or pilling.
• Drying/Blocking: Lay your cube fox flat on a clean towel to dry. Avoid hanging, which can distort its shape, and keep it away from direct sunlight to prevent fading.
• Storage: Store your finished amigurumi in a cool, dry place, away from moisture. Using a breathable cotton bag can help to preserve its texture and playful proportions.
• Avoid Machine Washing: Especially when using plush yarns, skip the machine wash. Hand washing ensures your amigurumi fox stays looking cute and cozy for years to come!
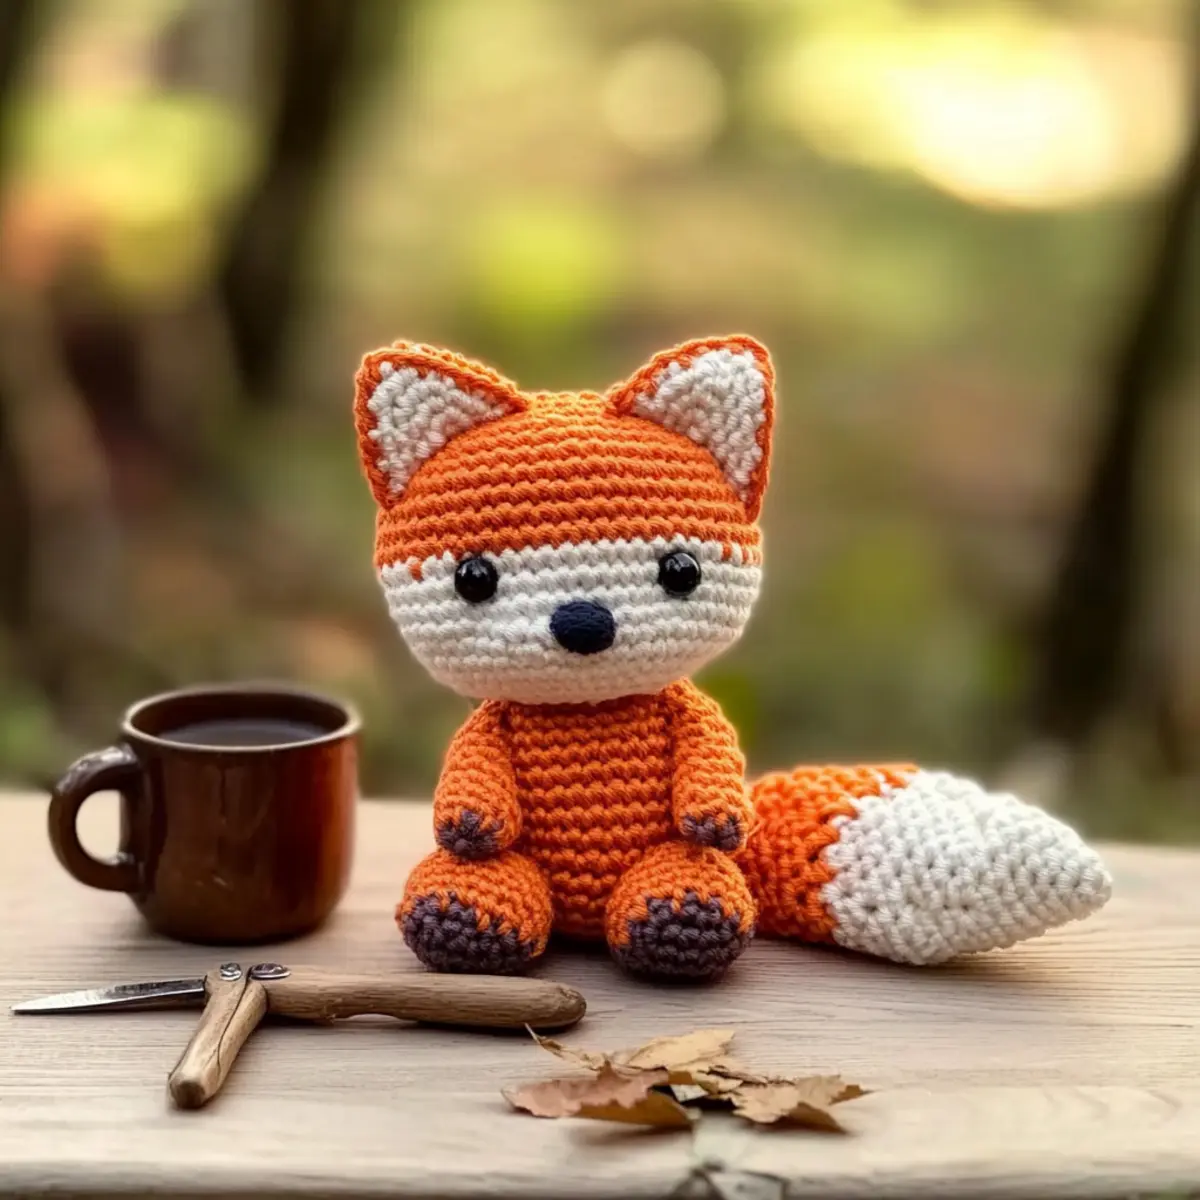
Adorable Cube Fox Amigurumi Pattern FAQs
Can I substitute the yarn for this amigurumi pattern?
Absolutely! If you don’t have worsted weight yarn on hand, you can use any medium weight yarn. Just keep in mind that the finished size and texture may vary, especially if using a material like cotton instead of acrylic or wool.
How can I adjust the size of my cube fox?
To make your cube fox larger or smaller, consider using a thicker or thinner yarn. If you’re using chunky chenille for a larger version, increase your starting chain accordingly—make sure to check your gauge and adjust your stitch count to maintain the cubical shape!
Why is my work curling up?
Don’t panic! If your cube is curling like a bowl, it might be due to tight tension or not enough stitches in the round. Make sure you’re counting and keeping a consistent tension, especially in the body rounds. If needed, add more stitches to help flatten it out.
What size of hook should I use for the cube fox?
For the worsted weight yarn, a 4.0 mm (G-6 US) hook is recommended. If you’re making the larger version with chunky yarn, try using a 6.0 mm (J-10 US) hook. Adjust the hook size for your personal tension and comfort while crocheting!
How do I fix dropped stitches in my amigurumi?
It’s an easy fix! If you’ve noticed dropped stitches, carefully unravel to the last complete round, then rework your stitches from there. For a quick rescue, you can also use a tapestry needle to weave the loose ends back in if they’re not too far gone.
What do I do if my stitches are too loose?
If your work looks too loose, try tightening your grip on the yarn as you crochet, or switch to a smaller hook size. Experimenting with your tension will help you achieve that snug and beautiful look for your adorable cube fox!
Leave a Reply