
It all started with a single plush stitch, a gentle pull of yarn, and the realization that I was on the brink of creating something truly special. That’s how the Snuggly Amigurumi Bear began to take shape, capturing hearts with its whimsical charm and soft, cuddly texture. This crochet bear pattern is perfect for lovers of fiber arts, blending whimsical aesthetics with functionality. Not only is it a relatively quick project that allows you to indulge your creativity, but it’s also a fantastic stash-buster, inviting you to experiment with leftover yarn. The satisfaction of crafting a unique cuddly companion is undeniably rewarding, particularly when it has the potential to brighten someone’s day. And the joy of personalizing this endearing creation with your choice of colors and textures makes it even more irresistible. As you dive into this pattern, I can’t help but wonder how your unique version of this bear will turn out. Are you ready to bring this adorable friend to life?
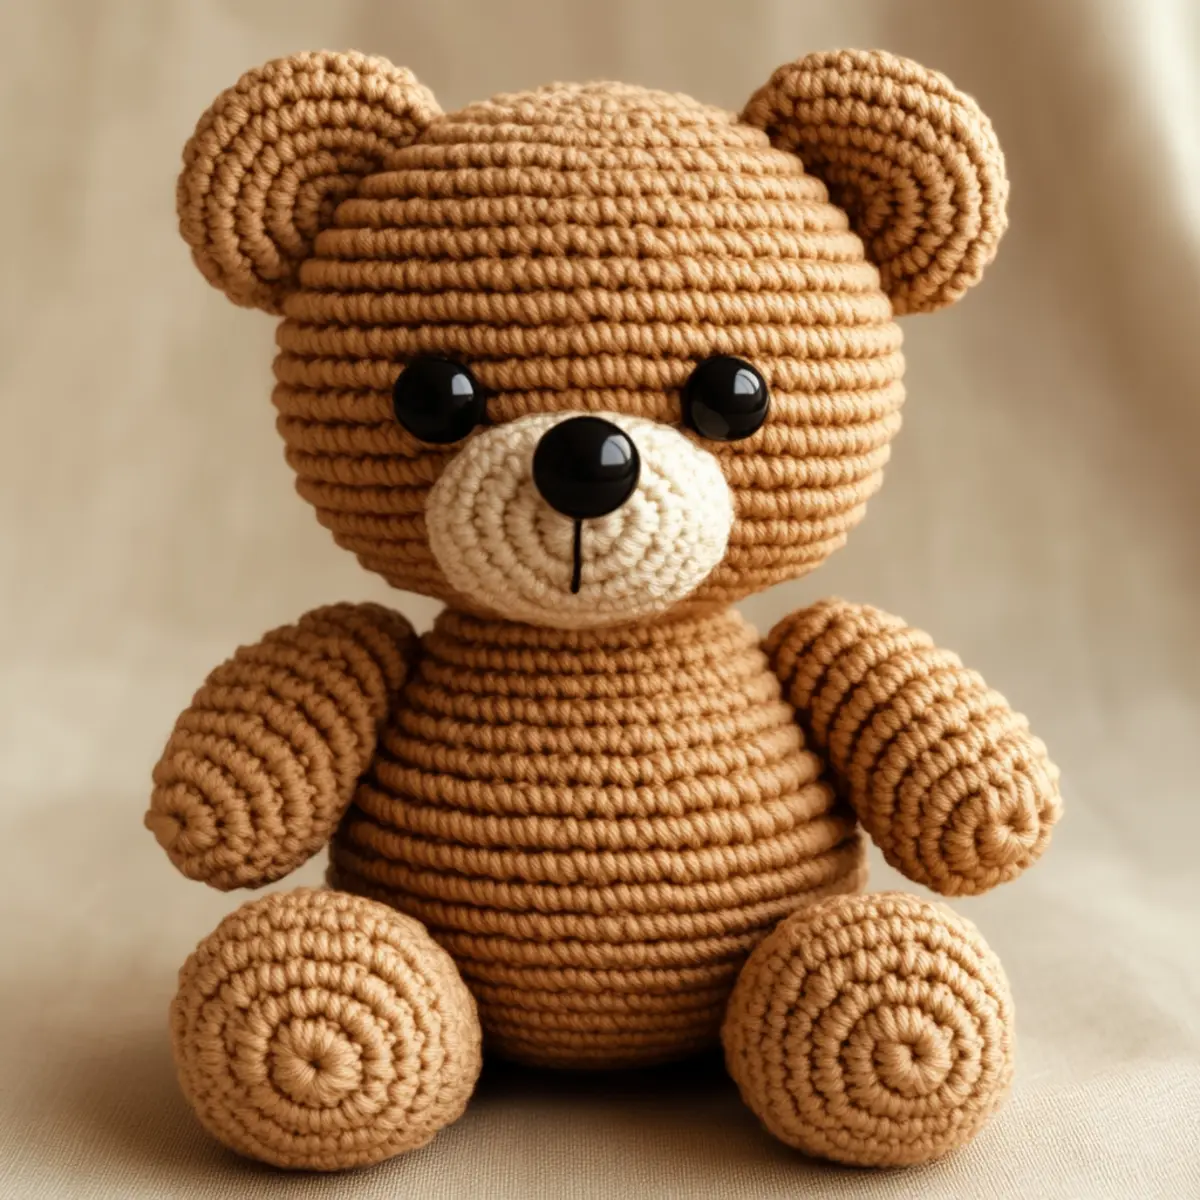
Crochet Bear Pattern Materials & Tools
Yarn
— Medium-weight acrylic or cotton blend – Around 100-150 yards of worsted weight yarn is ideal for this cuddly bear.
Hook
— 4.0 mm (G/6 US) crochet hook – Ensures tight stitches perfect for amigurumi.
Notions
— Tapestry needle – Necessary for assembling the bear and weaving in ends.
— Stitch markers – Keep track of your rounds to maintain your gauge.
— Safety eyes – Add a delightful touch; make sure they’re securely attached.
— Stuffing material – Fluff or stuffing is essential for giving your bear a cuddly, plush feel.
What Makes This Bear Irresistible?
Adorable charm: This bear pattern brings an adorable character to life, making it a delightful gift or decor piece. User-friendly: Whether you’re a seasoned pro or a beginner stepping into the world of amigurumi, you’ll find this pattern straightforward and easy to follow. Stash-friendly: Use up your leftover yarn as you create a cuddly friend! You can even try out various yarn weights for different bear sizes. Customizable: From colors to safety features, make this bear uniquely yours. Change the yarn colors for seasonal shades or create themed bears for special occasions. Feel inspired? Expand your crochet skills with our Crochet Flower Pattern or check out the appealing designs of our Crochet Rose Blanket. This bear is more than just a project; it’s a canvas for your creativity and an opportunity to create something special.
Gauge & Sizing Notes for Crochet Bear Pattern
For the crochet bear pattern, checking your gauge is crucial to ensure that the finished bear comes out at the intended size of around 10 inches tall. A standard gauge measurement would be 4×4 inches (10×10 cm) with 18 sc and 24 rows. If your swatch doesn’t match, consider adjusting your hook size or experimenting with different yarn weights to get the results you desire. Remember, you can easily modify the starting chain or rounds to create either a larger or smaller bear if desired. If your tension is too loose and results in visible stuffing, switch to a smaller hook for tighter stitches. Conversely, if your fabric is too tight, use a larger hook. The flexibility in this crochet bear pattern allows for creativity in both size and color choices, making it a joyous project for all yarn enthusiasts.
Step-by-Step Pattern for Crochet Bear Pattern
Row 1: Start the Head Begin by making a magic ring. Crochet 6 sc into the ring and pull tight to form the base of the head. (6)
Row 2: Increase the Size In this round, you’ll work 2 inc in each st around. This step helps to shape the head into a round form, giving it the right dimensions. (12)
Row 3: Add More Width Continue by crocheting 1 sc in the next stitch, then 2 inc in the following. Repeat this pattern around to expand the head’s circumference smoothly. (18)
Row 4: Keep Building For this row, use 2 sc in the next stitch, then 1 sc in the following two stitches. This series of increases maintains the round shape while expanding nicely. (24)
Row 5: Start Forming the Body Continue working in a similar manner, but now transition into shaping the body. Use 2 sc, 1 inc and repeat all around for a soft bell shape. (30)
Row 6: Create the Body Here, crochet 1 sc in each sc around without increases. This simple round helps establish the body’s height. (30)
Row 7: Prepare for Decreases You’ll want to start decreasing a bit for the transition to the neck. Crochet 2 sc, 1 dec, repeating around until you reduce the stitch count. (24)
Row 8: A Smooth Transition Continue with another round of a simple sc: 1 sc in each stitch all around to keep the easing consistent. (24)
Row 9: Forming Limbs To make the first leg, attach yarn where you want the leg to be. Crochet 6 sc and join in a circle. (6)
Row 10: Shape the Leg Add structure by working 2 inc in each stitch for the leg. This ensures a firm, rounded base for your bear’s limb. (12)
Row 11: Create the Ears Start another magic ring for the ears, crochet 6 sc, then tighten. For a fuzzy touch, add 1 inc, 5 sc around. (12)
Row 12: Finish the Ears To close off, crochet 2 sc, 1 dec to taper the ear. Finish off, leaving a long tail for sewing. (9)
Final Steps: Assemble and Finish Assemble all pieces together. Use your tapestry needle to sew the limbs and ears to the main body securely. Attach safety eyes and stitch a cute nose for a classic look. Ensure everything is well secured, add stuffing, and enjoy your adorable crochet bear pattern!
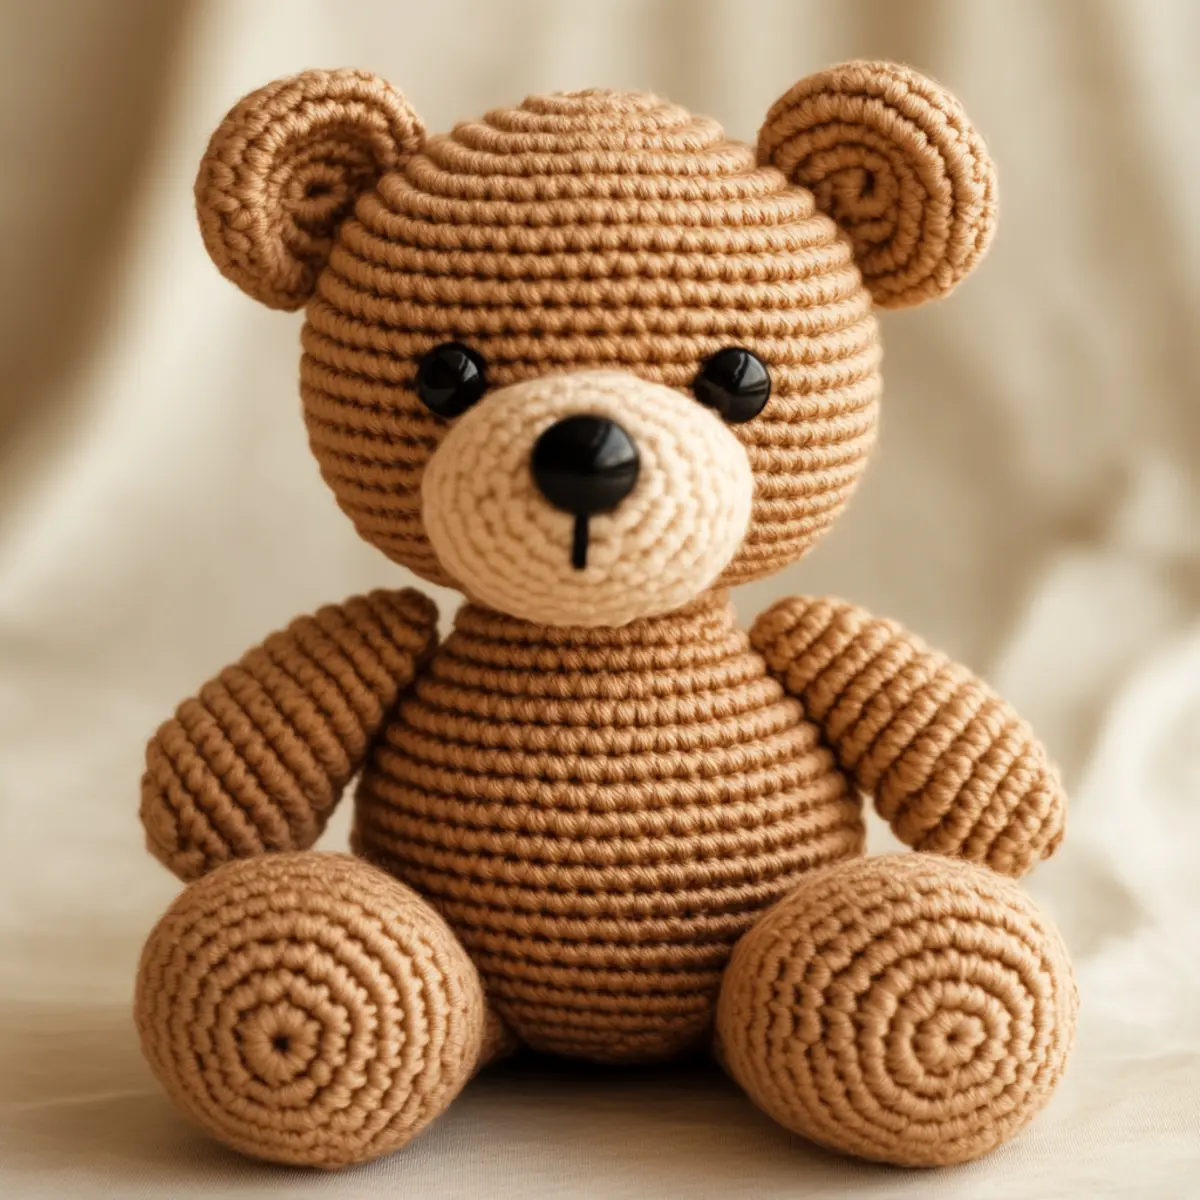
Crochet Bear Pattern Variations
Feel free to customize your crochet bear to match your style or recipient’s interests!
- Color Swap: Choose different colors like pastels or earthy tones for a unique look.
- Yarn Alternatives: Consider using bamboo or organic cotton for a softer feel and eco-friendly option.
- Size Modifications: Adjust the yarn weight or hook size to create a larger or smaller bear. Going bigger can make for an impressive decorative item.
- Eye Choices: Instead of safety eyes, embroider features for a classic teddy bear appearance. This option is perfect for younger children who might chew on toys.
- Ear Play: Add little bows or embellishments to the ears for an extra cute touch.
- Texture Adjustment: Incorporate textured yarns or color-blocking for visual interest. Mixing textures can bring your bear to life with depth.
For those feeling adventurous, how about attempting a themed bear? You could create a holiday version by using festive colors and decorations, or a woodland bear with browns and greens, making it an adorable gift for nature lovers. Each small alteration adds an extra layer of charm, making your crochet bear a true reflection of your creativity. Check out other related patterns like the Crochet Flower Pattern or the Crochet Coaster Pattern for inspiration on complementary projects.
How to Wash and Care for Your Crochet Bear
Machine Washing: Use a gentle cycle with cold water to preserve the bear’s yarn. Avoid using fabric softeners that could affect the texture.
Hand Washing: For better care, hand wash your crochet bear in lukewarm water with a mild detergent to avoid agitation that may distort its shape.
Drying: Always lay your crochet bear flat to dry to maintain its form. Avoid hanging as it can cause stretching.
Storage: When not in use, store your crochet bear in a clean, dry place away from direct sunlight to prevent fading of colors.
Expert Tips for Crochet Bear Pattern
Stitch Count: Always double-check your stitch count frequently to avoid losing track during your crochet bear pattern creation.
Tight Stitches: Maintain tight stitches so stuffing doesn’t show through. Adjust your hook size if needed for the perfect gauge.
Foundation Chain: Ensure your foundation chain isn’t twisted before starting; it can lead to an uneven shape in your bear.
Consistent Gauge: Keep an eye on your gauge; uneven tension can ruin the overall look of your crocheted bear.
Color Changing: If switching yarn colors, secure knots properly to prevent unraveling later on your crochet bear pattern.
Blocking: After finishing, consider blocking your crochet bear to help it retain its shape, especially if it appears a bit wonky.
Crochet Bear FAQs
Can I use different yarn types for this crochet bear pattern?
Absolutely! While a medium-weight acrylic or cotton blend is recommended, feel free to experiment with other yarns. Just adjust your hook size accordingly to maintain the structure of the bear.
What if my crochet bear has curling edges?
Don’t panic! Curling often occurs due to loose stitches. Ensure your tension is consistent and try blocking the bear after finishing. This can help flatten curled edges effectively.
My bear’s body seems too loose. What can I do?
If your bear’s body feels floppy, try using a smaller hook to make tighter stitches, or consider adding more stuffing for additional support and a cuddly feel.
How do I adjust the size of my crochet bear?
You can easily change the bear’s size by using different yarn weights or altering the hook size. Additionally, increasing or decreasing the number of starting chains will give you more control over the size.
What hook size should I use for this pattern?
The recommended hook size is 4.0 mm (G/6 US). This size helps create the tight stitches required for amigurumi, ensuring stuffing remains hidden.
Can I personalize my crochet bear with different features?
Of course! You can change yarn colors, swap safety eyes for embroidered features, or even adjust the shape of the nose. This creativity lets you design a unique character that reflects your style.
Leave a Reply