
Finding baby footwear that’s both stylish and practical can be a mission. That’s why I’m excited to share my latest project—these adorable Double Ankle Baby Boots! This pattern is aimed at beginner to intermediate crochers and is not only quick to stitch up but also serves as a fantastic stash-buster, utilizing just 100-150 yards of medium-weight yarn. With their unique ribbed top and snug fit, these boots ensure your little one stays cozy while looking chic. Plus, they’re designed to stay on those tiny feet during all the playful adventures. Whether for a baby boy or girl, their versatile design makes them a perfect gift for baby showers or even a delightful treat for your little ones. With this pattern, you will not only create a functional piece but also a heartfelt keepsake that showcases your love for crochet. Isn’t it fascinating how creativity in fiber arts can turn simple materials into treasured memories? Let’s dive into the details of this pattern and make something special together!
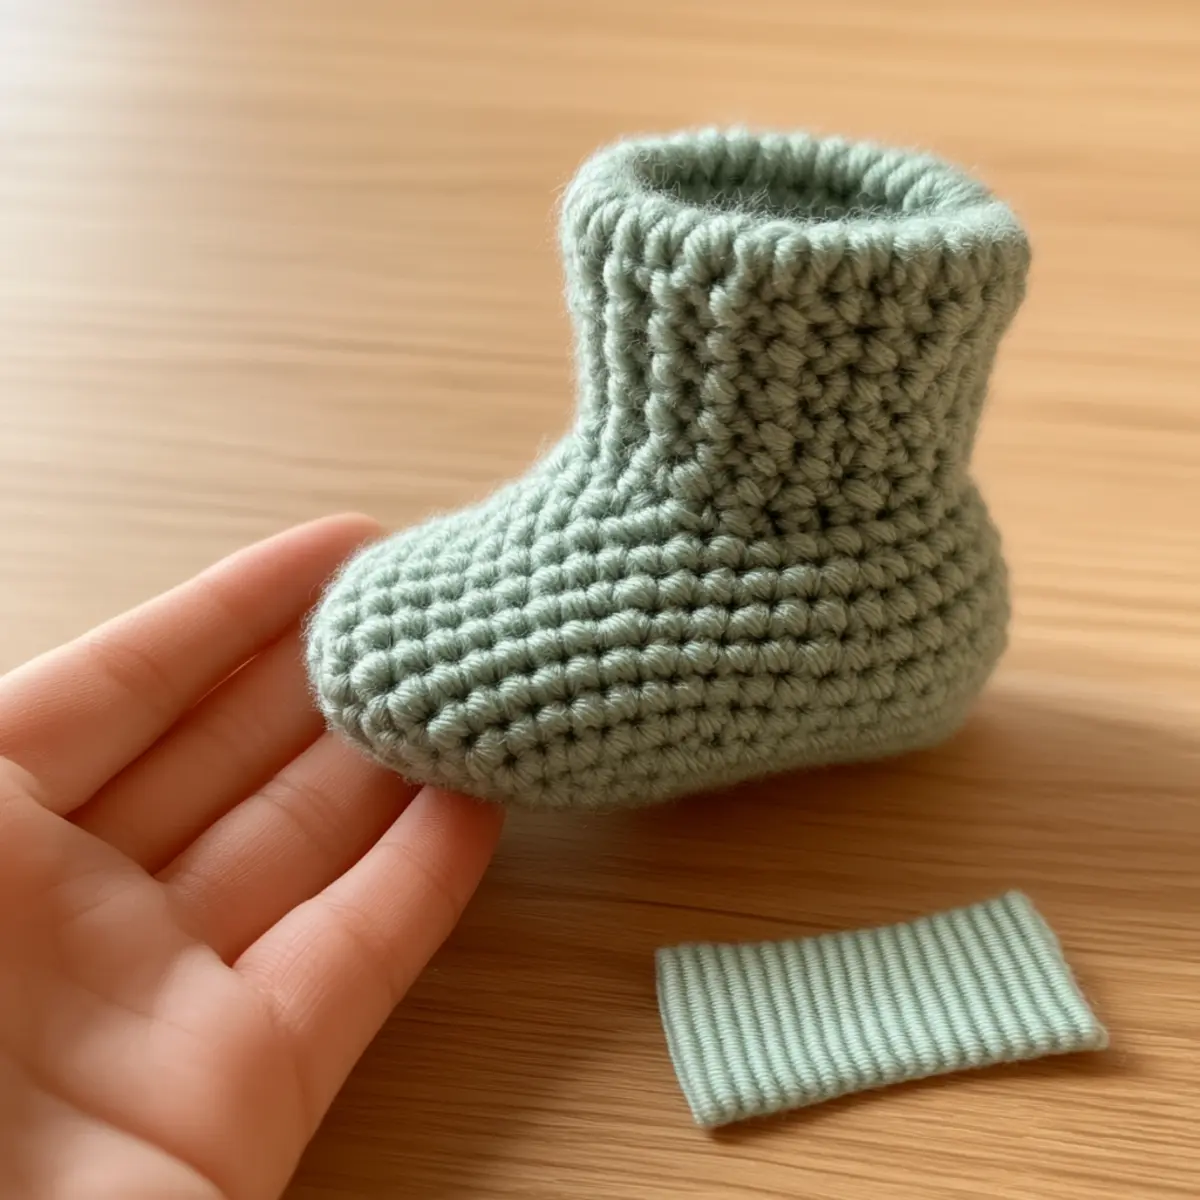
Baby Boots Crochet Materials & Tools
Yarn
- Medium-weight yarn, 4-weight category – You’ll need about 100-150 yards of soft acrylic or cotton for the baby boots crochet project.
- Color options – Feel free to pick either bold or pastel colors for unique variations in your finished piece.
Tools & Notions
- 5mm (H-8 US) crochet hook – This size offers the right balance of stability and stretch for your baby boots.
- Stitch markers – Handy for tracking your rounds, especially when shaping the boot’s body.
- Tape measure – Useful for checking dimensions and ensuring a snug fit.
- Yarn needle – Essential for weaving in ends to give your work a clean finish.
- Safety eyes or decorative buttons – Consider adding these for some fun customization to your baby boots crochet project.
What Makes These Baby Boots Special?
First, these baby boots crochet pattern is incredibly simple—ideal for crafters with varying skill levels. Second, they offer a comforting texture that feels great against baby skin while providing warmth. The pattern is also stash-friendly, so you can use scraps of yarn you have lying around. The design allows for easy customizability—whether you opt for vibrant colors or pastel shades, this pattern encourages your creativity. You could even check out my Crochet Baby Hat for complementary accessories. Plus, the time-saving aspect makes them perfect for last-minute gifts or perusing deadlines. You can whip up a pair in no time! Finally, their aesthetic appeal makes them a lovely addition to any baby ensemble, elevating everyday outings into moments of style. It’s fulfilling to see how quick projects can bring joy, and these booties are the epitome of that joy!
Gauge & Sizing Notes for Baby Boots Crochet
Checking your gauge is crucial for perfect-fitting baby boots. For this project, a standard size is 4×4 inches (10×10 cm), aiming for around 12 sc and 14 rows in that measurement. If your tension is too tight, it might cause discomfort; if too loose, the boots may fall off easily. Adjust the foundation chain to resize as needed; adding or subtracting stitches will help you accommodate different ages. If your swatch doesn’t match the desired gauge, switch to a larger hook or adjust your tightness to achieve proper fit. These baby boots crochet make lovely gifts, so consider the dimensions and your gauge to ensure they end up adorable and wearable for little ones.
Step-by-Step Pattern for Baby Boots Crochet
Row 1: Create the Foundation
Ch 12 to start, forming your base chain. Note that this chain will decide the width of your boot opening—the smaller the chain, the smaller the boot (12 ch).
Row 2: Establish the Cuff
Working in the back loops, sl st in each ch across for a textured ribbed effect. This creates a snug fit at the ankle area (12 sl st).
Row 3: Begin the Ribbing
Now, ch 1, switch to a pattern of alternating sc and slip stitches in rows. This ribbing will provide elasticity (total of 12 stitches).
Row 4: Continue the Ribbing
Repeat the previous row for an additional 6 rows to achieve the desired cuff height. This section will give the top of the boots a charming ribbed appearance (total of 12 stitches per row).
Row 5: Shape the Boot Body
To form the boot’s body, sc in each st around, keeping your tension even. This is where the magic happens as you start to create the base for your boot (12 sc).
Row 6: Round Out the Toe
Next, for the rounded toe, inc 2 sts evenly distributed across the row. This adds space for little toes to wiggle comfortably (14 sc).
Row 7: Continue the Body
Sc in each st around again, maintaining the integrity of your previous increases. The boot should be starting to take shape nicely (14 sc).
Row 8: Form the Ankle
Ch 1 and switch back to slip stitches for a couple of rounds to firm the ankle area. This added texture will help the boots stay up on little feet (14 sl st).
Row 9: Start the Sole
Transitioning to the boot sole, begin to dec by skipping stitches evenly; this procedure will start forming the curved base. Pay attention to count and spacing (12 sc).
Row 10: Complete the Sole
For the final sole row, dec again to create a neat finish. This will round off the boots perfectly for snugness and comfort (10 sc).
Row 11: Finish and Weave Ends
Use your yarn needle to weave in loose ends from your project. A clean finish ensures the boots are wearable and tidy (complete).
Row 12: Adding Embellishments
Consider sewing on decorative buttons or safety eyes to customize your baby boots. This is where your creativity shines, making each boot uniquely yours.
Row 13: Block the Boots
Block your finished boots gently to shape them properly and even out any uneven stitches, giving it a polished look. An essential final step for the perfect baby boots crochet!
Row 14: Show Off Your Work
Once you’ve completed your double ankle baby boots, take a moment to marvel at your handiwork. These will surely keep those tiny feet warm and stylish!
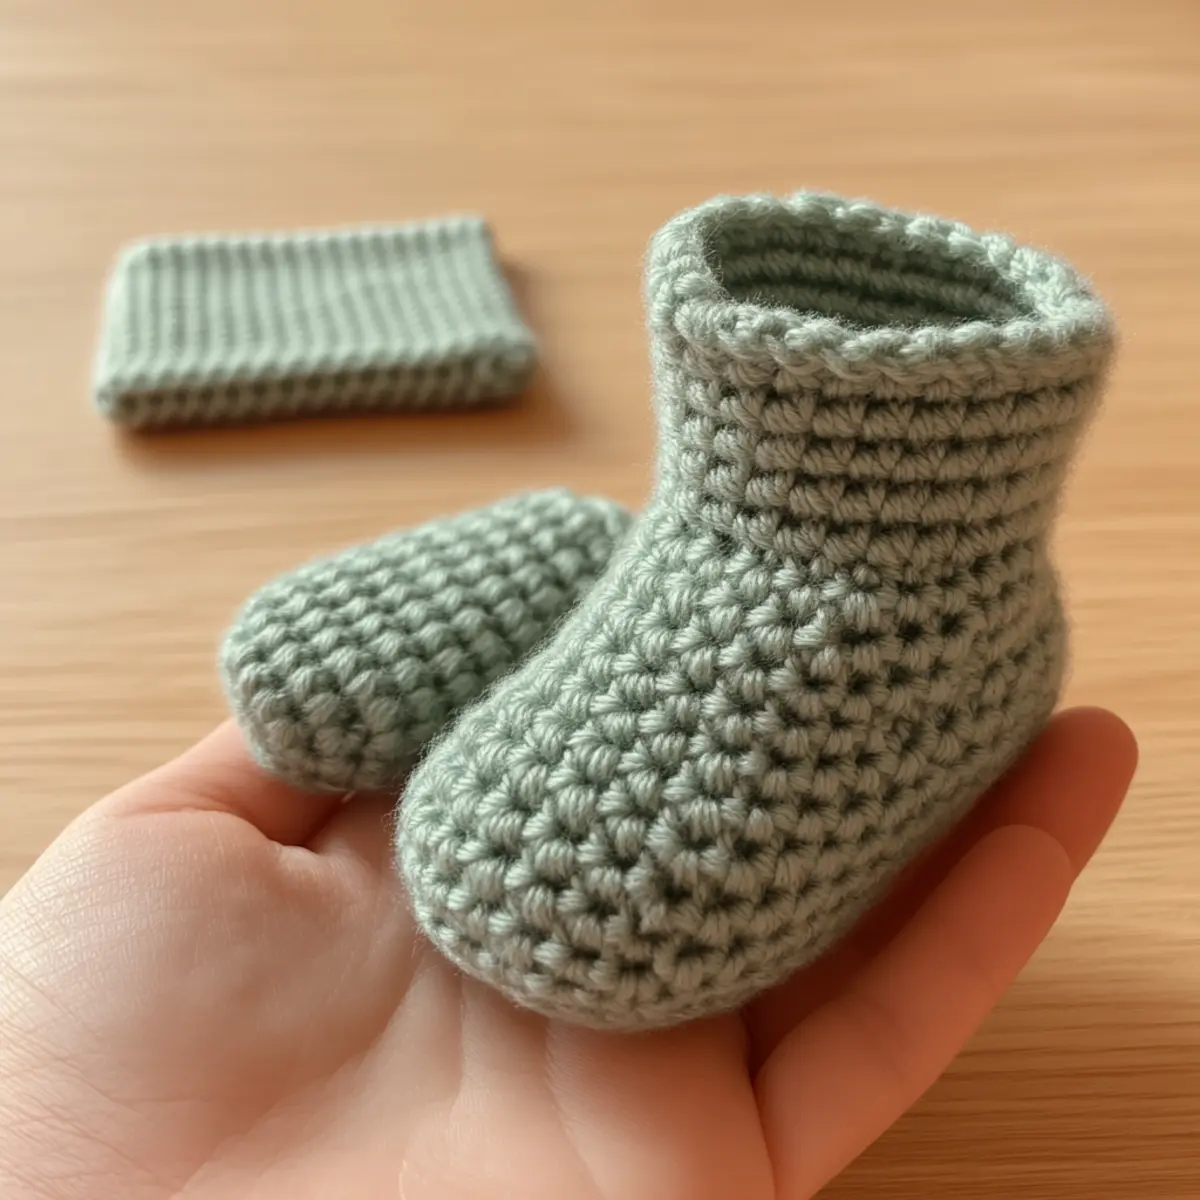
baby boots crochet
Feel free to get creative with these adorable baby boots! Customizing can elevate your project from ordinary to extraordinary.
- Color Choice: Select vibrant or pastel hues to match any outfit; mix and match colors for a fun, whimsical style.
- Yarn Blend: Use wool for extra warmth or cotton for breathability, providing a versatile option year-round.
- Sizing Adjustments: To fit older infants or even toddlers, experiment with larger hooks or adjusting your foundation chain for a perfect fit.
- Embellishments: Add embroidered designs or fun buttons to personalize these boots, making them a cherished keepsake.
- Texture Mods: Incorporate different stitch patterns within the body of the boot for added visual interest, such as popcorn stitches for a playful touch.
Exploring these variations allows you to create unique pieces. Imagine pairing your new boots with a matching Baby Crochet Hat or a beautiful Textured Baby Hat for an adorable ensemble.
- Length Adjustments: Customize the height of the boot by altering the number of ribbing rows for a chic ankle or a higher boot look.
- Strap Addition: Create a strap around the ankle for added security, ensuring they don’t slip off during playtime.
Expert Tips for Baby Boots Crochet
Count Regularly: Always keep track of your stitches to avoid losing count, which can lead to uneven boots.
Check Tension: Ensure your tension is consistent. Too tight will restrict movement, while too loose may cause the boots to fall off.
Use Stitch Markers: Use markers to help track your rounds, especially during the ribbing stage, to keep your progress on point.
Stretch the Foundation: Make sure your foundation chain isn’t too tight; it should allow for easy flexibility around little feet.
Finish Well: Don’t forget to weave in all ends properly and block the finished project to shape and smooth your beautiful baby boots crochet.
How to Wash and Care for Your Baby Boots Crochet
Machine Washing: Use a gentle cycle with cold water to maintain the shape and integrity of your crochet baby boots.
Hand Washing: For best results, hand wash in cool water with mild detergent. Avoid agitation to preserve the structure.
Drying: Lay the finished boots flat on a towel to dry completely. This prevents distortion and maintains their snuggly fit.
Storage: Store in a cool, dry place away from direct sunlight to keep your baby boots crochet in excellent condition for years to come.
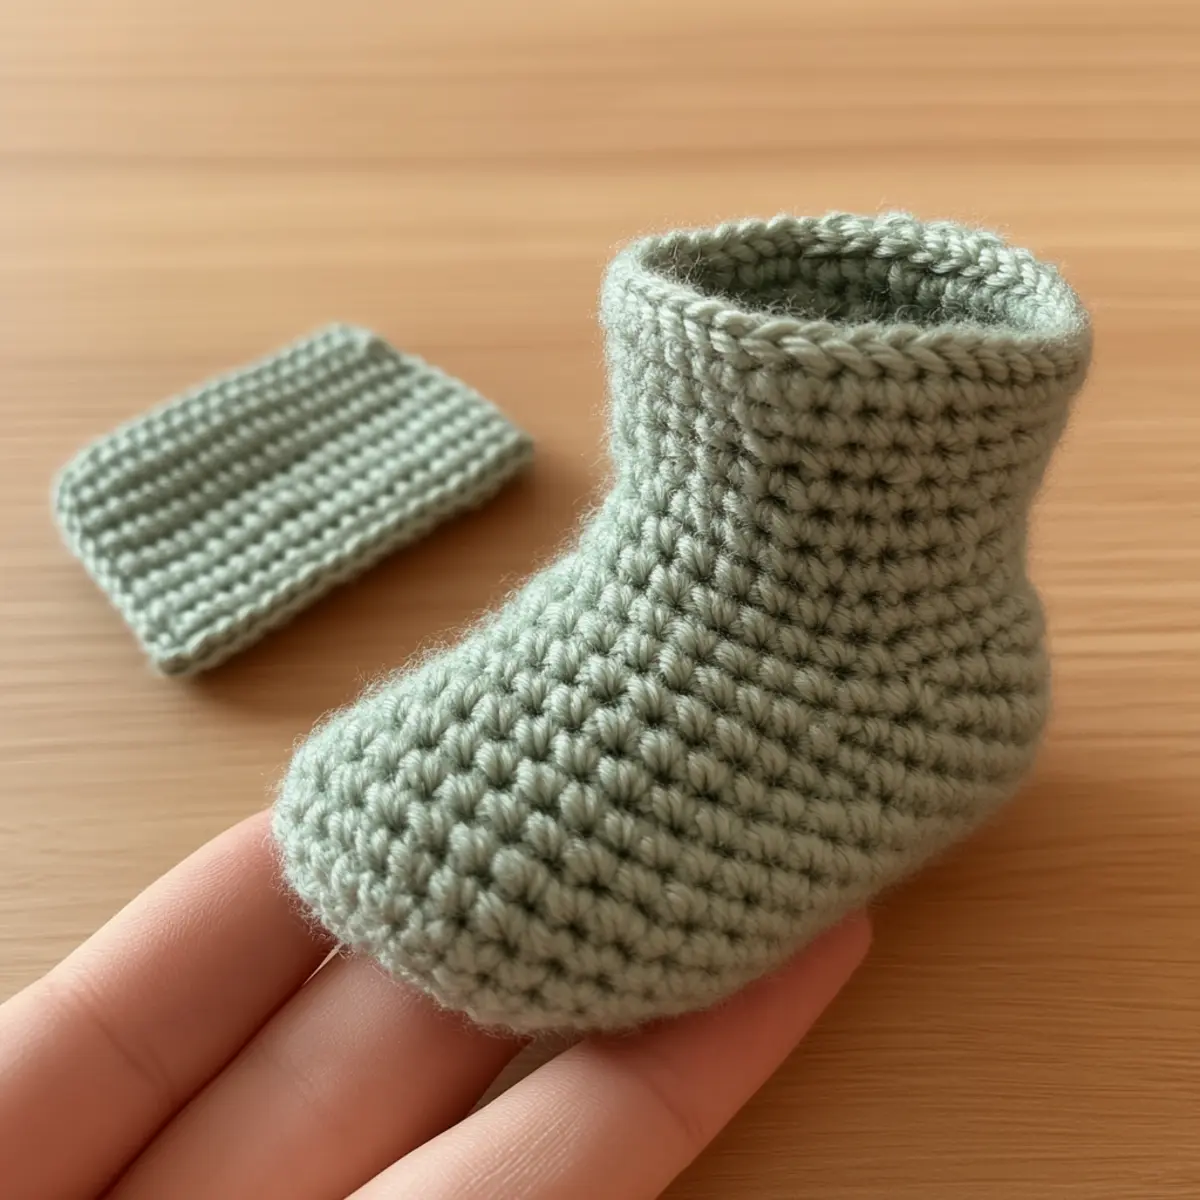
Baby Boots Crochet FAQs
What yarn can I use for substitutions?
Absolutely! You can use different medium-weight yarns like wool for added warmth or any soft blend. Focus on softness for baby comfort.
How do I adjust the sizing for older babies?
Don’t panic! To resize, use a larger hook or add a few extra chains to the foundation. Measure the little one’s foot for the best fit.
What do I do if the boots curl?
If your boots curl at the edges, check your tension. Blocking can help shape them, and ensure you follow the pattern closely to avoid inconsistencies.
How can I keep track of my rounds?
Use stitch markers between the stitches to indicate the start of each round, helping you maintain the proper count as you progress.
What’s the best way to finish my baby boots crochet?
Weaving in all loose ends and blocking the finished boots ensures a professional look. Adding decorative buttons can personalize them more.
What crochet hook size do I need?
You’ll want a 5mm (H-8 US) crochet hook for the best balance of flexibility and sturdiness for these adorable baby boots.
Leave a Reply