
Walking through a sun-drenched park, I noticed a burst of color that turned heads: a chic crochet bandana gracing the head of a carefree soul. This moment sparked my own creative spirit, inspiring me to design a project that beautifully blends vintage charm and a modern touch. The Granny Bandana is not just another accessory; it’s a versatile piece that you can wear from summer picnics to outdoor festivals. What I love most about this crochet bandana is how quick it is to make, helping you bust through your yarn stash while creating something utterly stylish. Plus, it’s beginner-friendly, making it a great project for those of you looking to sharpen your granny square techniques! Whether you stick to a classic color palette or opt for bold, contrasting hues, this project readily adapts to your personal style. So, are you ready to embark on a colorful journey to create your very own unique accessory that can brighten any outfit?
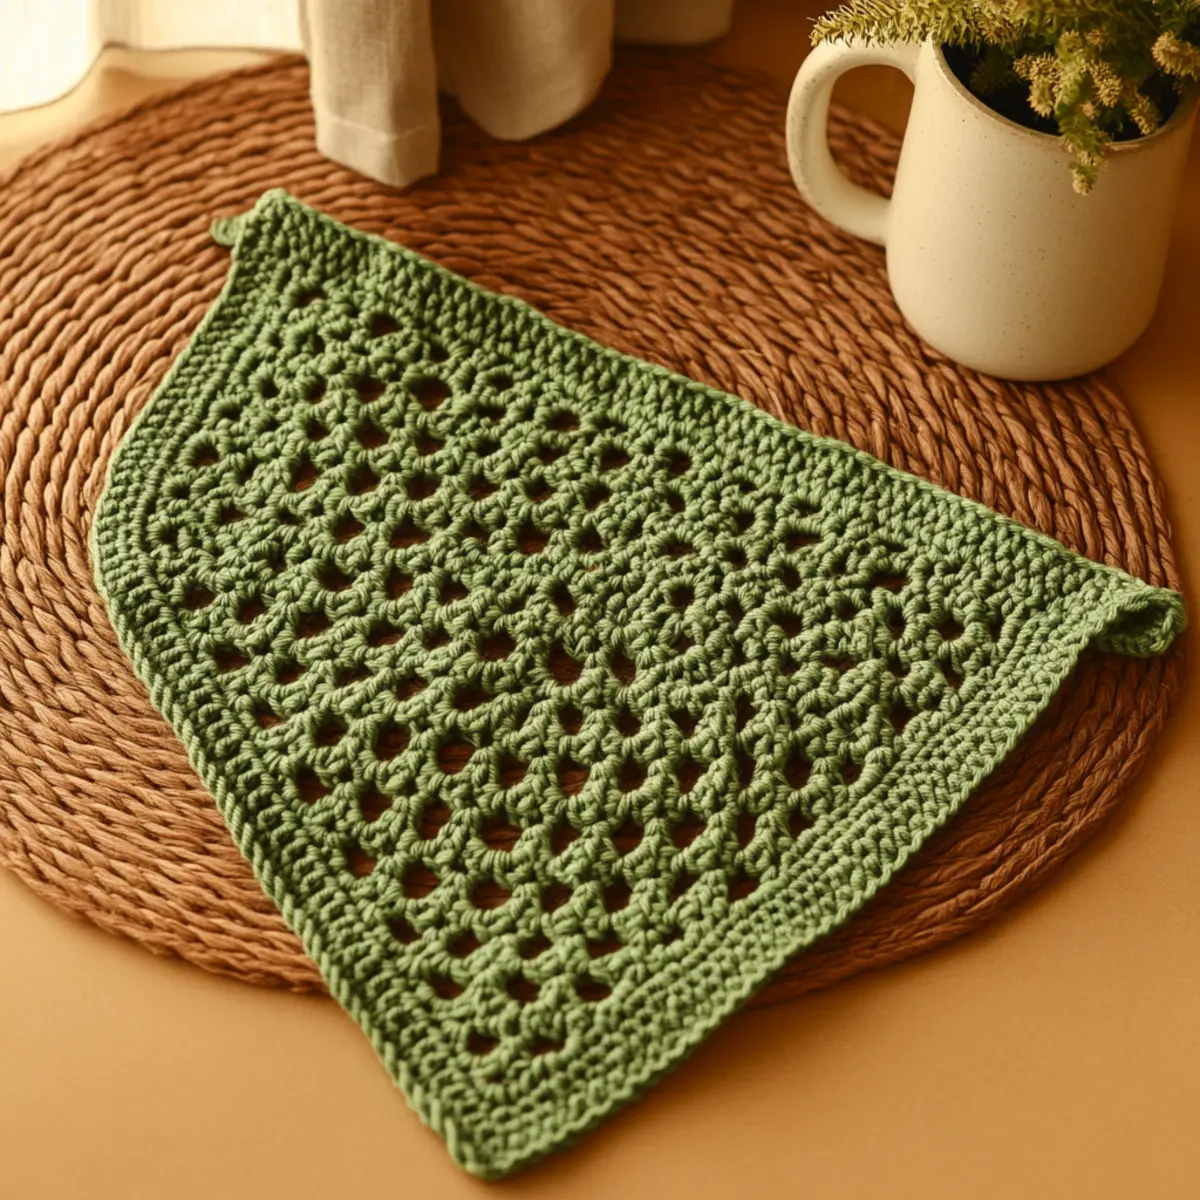
Crochet Bandana Materials & Tools
Yarn
- Medium weight cotton or cotton blend – Approximately 200-300 yards needed to create your stylish crochet bandana.
Tools & Notions
- G-6 (4.0 mm) crochet hook – A standard size that allows for ease of control and drape in your stitches.
- Scissors – Keep handy for cutting yarn cleanly when you finish off each square.
- Tapestry needle – Essential for weaving in ends securely and finishing your bandana beautifully.
- Measuring tape – Use this to ensure your bandana is the desired size as you progress through the squares.
- Blocking mats – Consider them for an enhanced, polished look, particularly for the granny square motifs.
- Optional embellishments – Add beads or tassels to infuse additional creativity and personal flair into your crochet bandana.
Why You’ll Love This Pattern
Simplicity and ease define the Granny Bandana, making it perfect for crafters at any skill level. The texture of the granny squares adds depth, resulting in a piece that’s both chic and functional. Plus, it’s a fantastic stash-buster, allowing you to use leftovers from past projects for this delightful creation. If you want more ideas for versatile crochet accessories, check out this beginner-friendly crochet mesh tote bag pattern to inspire further projects after completing your bandana. Want to customize? You’ll love how easily this bandana can be adjusted in size and style, accommodating any preference. And let’s not forget the aesthetic appeal—this crochet bandana effortlessly elevates any outfit, offering a unique flair and an artisanal touch that’s hard to resist. The final result is sure to garner compliments while keeping you cozy and stylish.
Gauge & Sizing Notes for Crochet Bandana
When crafting your crochet bandana, checking tension is crucial to achieve the desired size and shape. A standard gauge for this project is 4.5 stitches per inch in double crochet, resulting in a 4×4 inch swatch. If your swatch doesn’t match this gauge, you may need to adjust your hook size—larger hooks yield larger stitches, while smaller hooks create a tighter fabric. If changing the hook doesn’t resolve the issue, consider altering your starting chain by increments of 12 stitches to resize, depending on how large or small you want your crochet bandana to be. For instance, adding or subtracting squares can dramatically vary the width of the bandana, allowing for customization unique to your style.
Step-by-Step Pattern for Crochet Bandana
Row 1: Create Foundation Chain
Begin by creating a foundation chain of 60-70 inches, depending on your head size. Make sure it’s not too tight; a relaxed chain will ensure sturdiness and flexibility when you wear your crochet bandana. After the foundation chain, slip stitch to the first chain to form a loop (60 sts).
Row 2: Starting the First Square
Ch 3 (counts as the first dc), then work 2 dc into the same chain space to form the first corner. Ch 2 for space, and then repeat: 3 dc in the next chain space, and continue placing ch 2 between clusters until you’ve completed your first square. Finish with a sl st to the top of the ch 3 (12 dc).
Row 3: Increase for Rounds
For the second round, slip stitch to the corner space. Ch 3, then 2 dc, ch 2, 3 dc in the same corner space to form the first corner. Repeat this around, ensuring you connect each corner correctly to keep its triangular shape. End with a sl st to join (24 dc).
Row 4: Continue Building Squares
For subsequent squares, join yarn to the unworked chain from your last square. Repeat the previous rows while increasing the corner stitches, maintaining tension for a neat finish. Each round should add 12 extra dc to the total count. Join with a sl st after every round to ensure a secure connection (36, 48 dc, etc.).
Row 5: Joining the Squares
Once you have the desired number of squares, it’s time to join them. Lay them out in a desired pattern, then use a sl st or whip stitch to attach edges of squares. Ensure that the stitches remain tight but not too tight, so the bandana can drape nicely when worn. Continue until completely joined.
Row 6: Shaping the Bandana
Now start to taper the bandana into a triangular shape. On the next row, only crochet in the two outer squares, leaving a gap in the middle. This means spreading the rows appropriately so that you slowly decrease the width at the top (reduce by 3-6 dc as you go on).
Row 7: Create Ties
To make the ties, chain 30-40 stitches based on your desired length. Make sure your chains are loose enough to give it a soft hang when finished. Once completed, attach the chains to the outer corners of the triangle, using a sl st and weaving in the ends with the tapestry needle for a clean finish.
Row 8: Finishing Touches
After the ties are secure, the finishing touches can be added. You might choose to crochet a row of single crochet (sc) around the edges for a more polished look. Ensure that you have consistent tension throughout as this aids draping and final appearance.
Row 9: Blocking (Optional)
Consider blocking the finished piece to help even out stitches. Lay your crochet bandana on blocking mats, pinning it to the desired shape, and lightly spray with water. Allow it to dry completely to help it maintain its form and definition.
Row 10: Assess for Adjustments
Once your crochet bandana is dry, assess its size for any necessary adjustments. You may wish to add more ties or reinforce areas if you desire a more sturdy finish or an alternative style.
Row 11: Embellishing Your Bandana
If you’re feeling creative, consider adding embellishments like tassels or beads to the ties or squares. This piece is perfect for personal flair and customization, making it uniquely yours.
Row 12: Showcase Your Creation
Lastly, wear your new crochet bandana with pride! Experiment with different outfits, and even take some fun photos to share your finished creation with fellow crafters. Show off your skill while enjoying a stylish accessory this season.
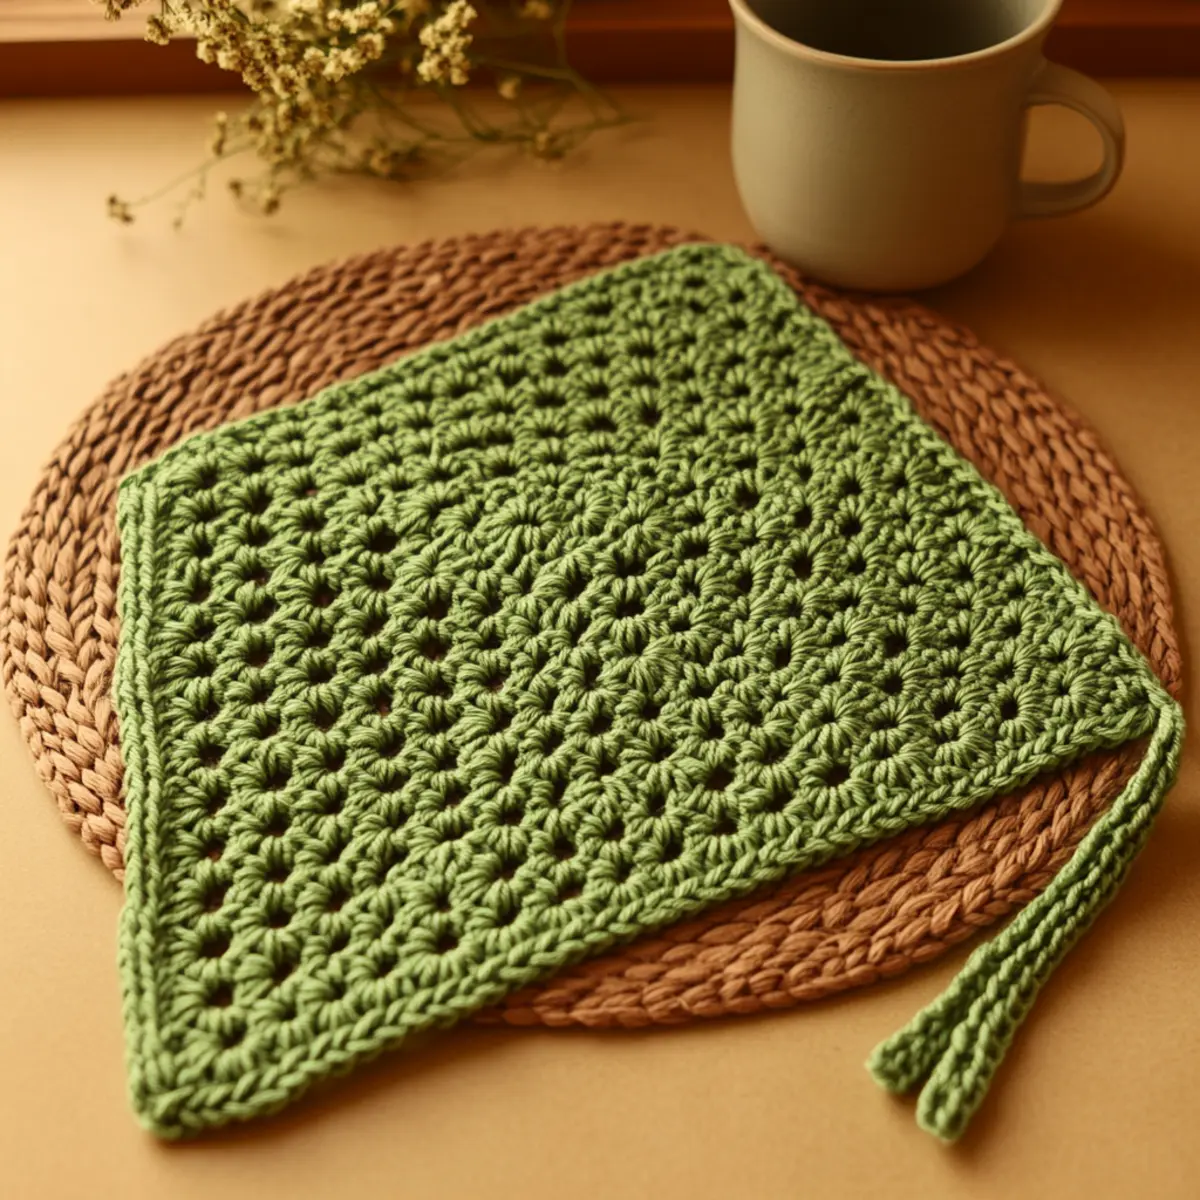
Expert Tips for the Best Crochet Bandana
Count Regularly: Ensure you keep track of your stitches while working on your crochet bandana. Losing count can lead to uneven squares, which affects the overall design.
Consistent Tension: Maintain even tension throughout your work. Too loose, and gaps may appear; too tight, and the drape may suffer, making your bandana feel stiff.
Foundation Chain: Ensure your foundation chain is not too tight. A relaxed chain helps keep your crochet bandana comfortable and flexible. Remember, it’s the first step to a flawless piece!
Join Wisely: When joining squares, use a slip stitch or whip stitch method. Be careful not to pull the stitches too tight as it may cause the bandana to distort.
Block for Perfection: Consider blocking your finished crochet bandana. It can enhance the shape and smooth out any inconsistencies, giving it a polished and professional look.
Embellishments: Personalize your crochet bandana with optional embellishments like tassels or beads. This way, you can express your unique style and add an eye-catching detail.
crochet bandana variations
Feel free to customize your crochet bandana to suit your style!
- Bold Colors: Choose vibrant, contrasting shades for a striking look that stands out at festivals.
- Pastel Palette: Opt for soft pastels for a delicate, dreamy aesthetic perfect for summer wear.
- Acrylic Yarn: Use budget-friendly acrylic instead of cotton for a lighter, easy-care option that’s soft on the skin.
- Wool Blend: Incorporate a wool blend for warmth, making this bandana suitable for cooler seasons.
- Larger Squares: Create larger squares for a more dramatic look; adjust the foundation chain for size accordingly.
- Embellished Ties: Enhance your bandana with playful tassels or beads on the ties, giving it a unique flair.
Experiment with a mix of styles! For instance, you might use a few bold squares combined with pastel ones to create a beautiful contrast. Pairing these styles not only fosters creativity but also showcases your individual preferences in crochet design. If you’re new to granny squares, be sure to check out our Beginner Friendly Crochet Patterns for more insights.
How to Wash and Care for Your Crochet Bandana
Machine Washing: Use a delicate cycle with cold water if machine-washing. This helps maintain the softness and structure of your crochet bandana without agitation.
Hand Washing: If possible, hand wash your crochet bandana in lukewarm water with mild detergent. Gently press through the water without scrubbing or twisting to avoid damaging the stitches.
Drying: Always lay your crochet bandana flat to dry. This prevents stretching and helps retain its shape after washing, ensuring it remains stylish and functional.
Storage: Store your crochet bandana in a cool, dry place. Avoid folding to prevent creases, and consider using a hanger or laying it flat in a drawer to keep it pristine.
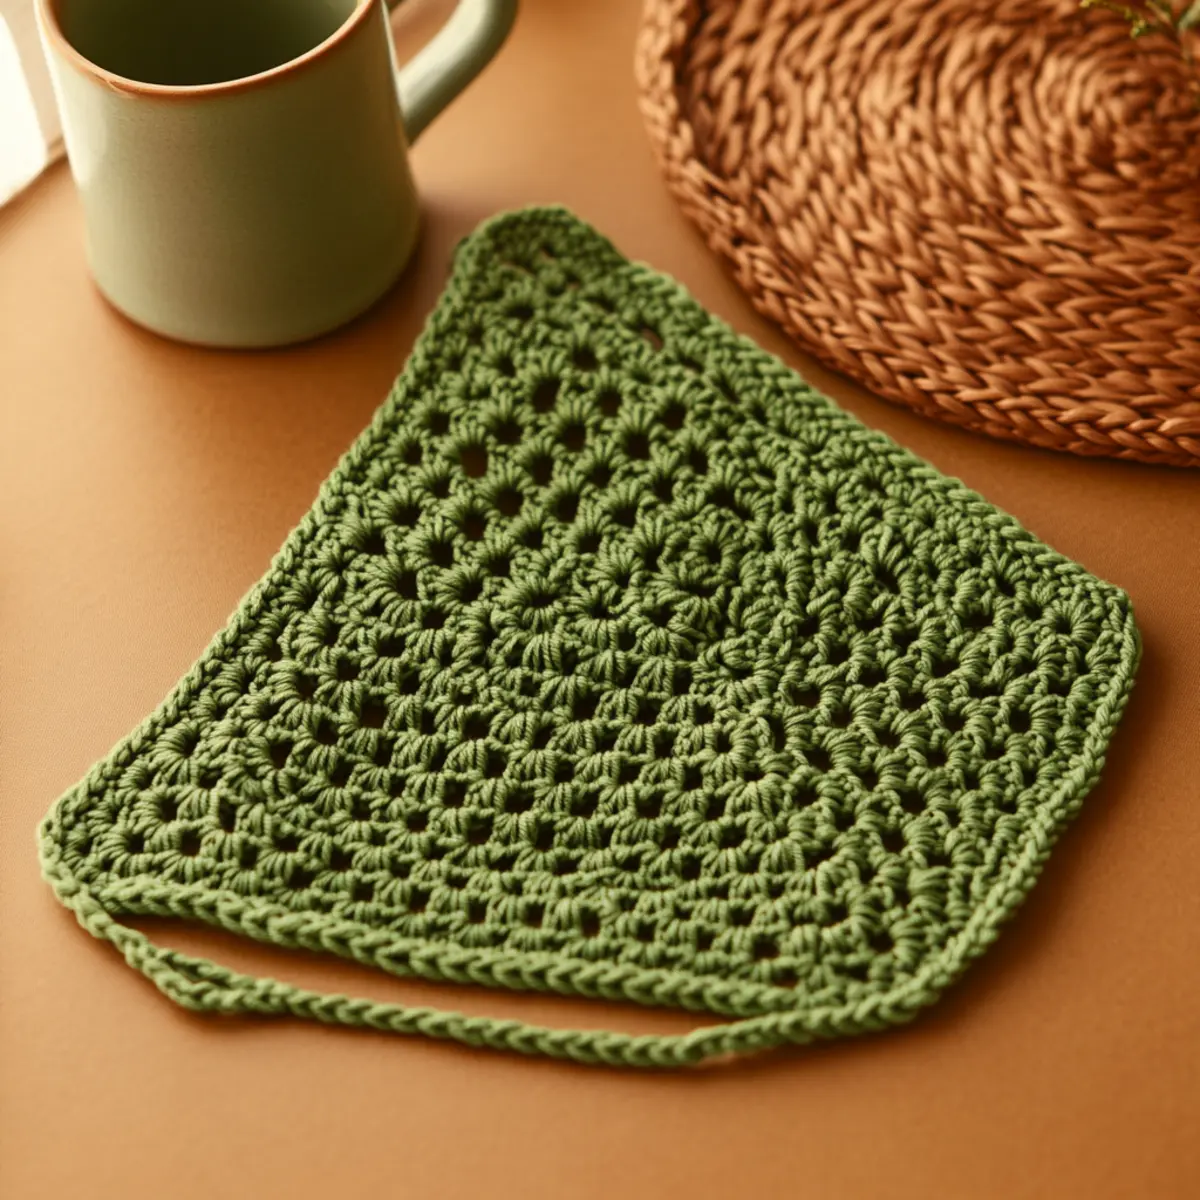
Crochet Bandana FAQs
What yarn can I use for my crochet bandana?
Absolutely! While medium weight cotton is recommended for a soft drape, you can also explore blends or even acrylic yarn. Just keep the gauge in mind to maintain the right size.
How can I adjust the size of my crochet bandana?
Don’t panic! To change the size, modify the number of squares you crochet. More squares will naturally create a larger bandana, while fewer will make it smaller.
What if my crochet bandana is curling?
If you’re facing curling edges, this is often due to tight stitches. Consider loosening your tension or blocking the bandana. Blocking can help flatten and shape the edges, leading to a neater finish.
Can I add embellishments to my crochet bandana?
Yes, definitely! Adding tassels, beads or even additional crochet motifs can enhance the beauty and personalize your crochet bandana. Get creative and make it uniquely yours!
What hook size should I use for this project?
You should use a G-6 (4.0 mm) crochet hook, which is standard for worsted weight yarn. This size helps you achieve the right tension and drape for your crochet bandana.
How do I fix dropped stitches in my crochet bandana?
If you notice a dropped stitch, don’t worry! Simply use your tapestry needle to weave the yarn back into the work, or frogging back to the previous row might be necessary to fix the issue correctly.
Leave a Reply