
The first time I crafted a mini crochet chicken, it felt like a burst of sunshine on a rainy day. This playful creature quickly became a favorite, with its lively yellow color and whimsical presence. In this blog post, I’ll be sharing my beloved Charming Mini Crochet Chicken pattern, a delightful project that is perfect for both beginner crafters and experienced crochet enthusiasts seeking a quick, satisfying finish. The benefits are twofold: not only will you expand your skills by mastering different crochet stitches, but you’ll also create an adorable amigurumi that can brighten up your home or make a perfect gift. This mini crochet chicken is versatile, serving as a cute decoration or a lovely plush toy that brings joy to anyone who sees it. Plus, it’s stash-friendly, using minimal yarn while allowing you to play with colors and details. Are you ready to transform a simple skein into a delightful chicken companion?
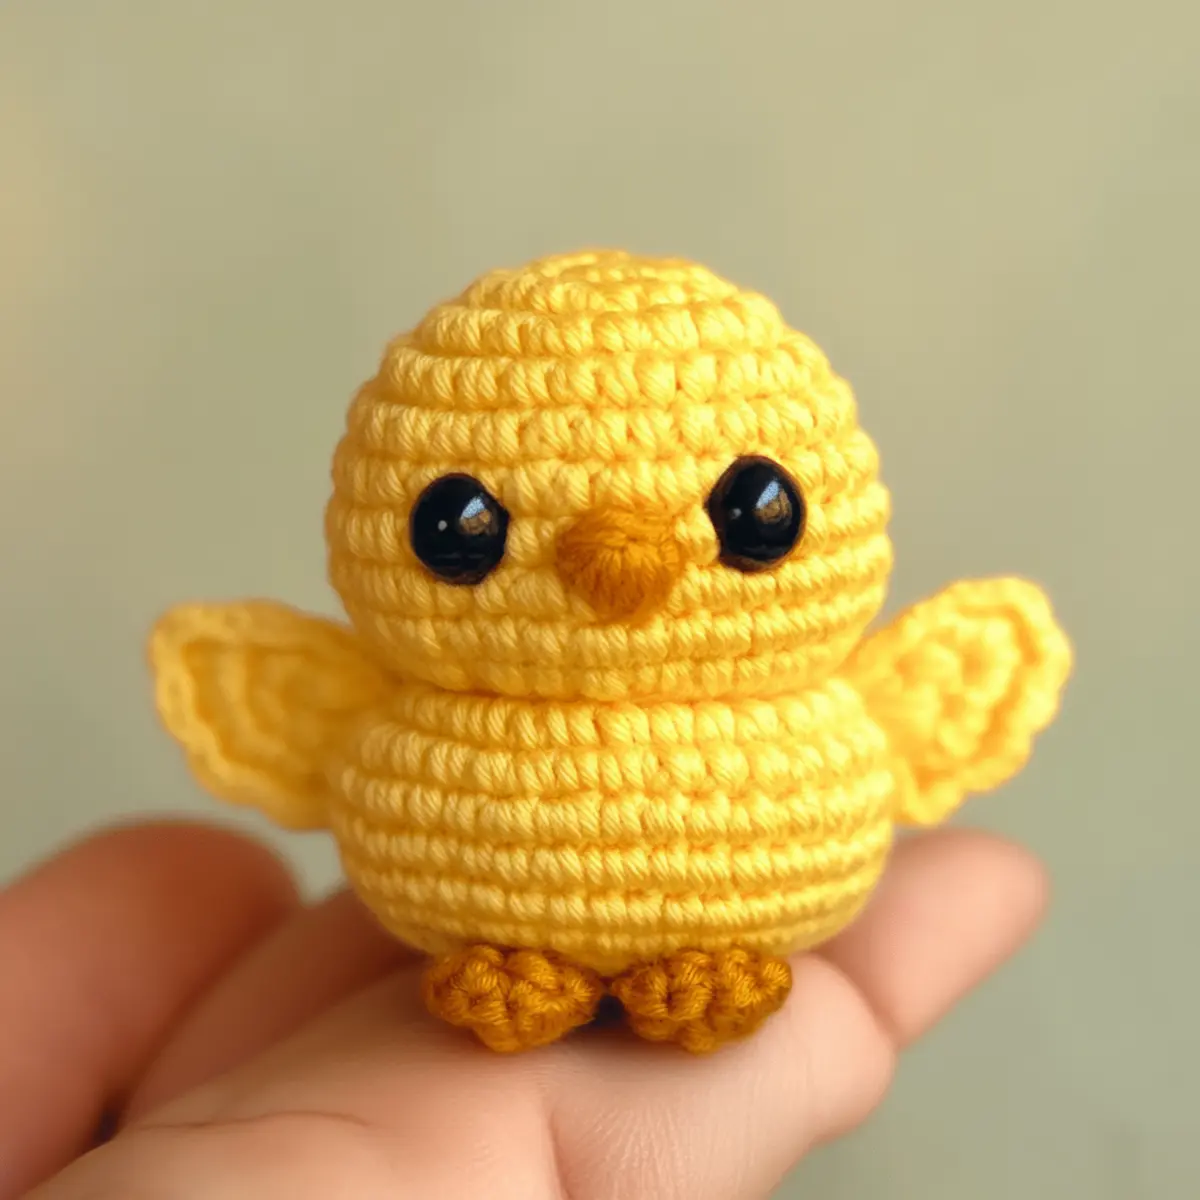
Mini Crochet Chicken Materials & Tools
Yarn
— Use 100% cotton or acrylic yarn, providing around 50-75 yards in cheerful yellow, plus small amounts of black and gold for adorable details.
Tools & Notions
— 5.0 mm (H-8 US letter) crochet hook for a perfect tension that suits your mini crochet chicken.
— Safety eyes (6mm) for creating expressive features that bring charm to your project.
— Embroidery thread for the beak adds a handcrafted touch to your chicken’s face.
— Yarn needle for seamless stitching, ensuring your pieces are securely joined.
— Stuffing to give your chicken that delightful plush feel, perfect for hugging.
Remember, working on your mini crochet chicken can spark creativity and inspire you to explore different textures and yarns for future projects!
Why You’ll Love This Pattern
Simple construction makes this mini crochet chicken accessible for all skill levels, ensuring that you won’t feel overwhelmed as you create. Textured with a bobble stitch, it adds a delightful tactile quality that enhances its charm, making it irresistibly touchable. The design is incredibly stash-friendly, using around 50-75 yards of yellow yarn, allowing you to dive into your yarn stash and create something lovely. Customizable details, such as a cute scarf or bow, enable you to personalize each chicken to your taste – you can explore various colors and embellishments, resulting in a one-of-a-kind creation. Moreover, this pattern saves you time with its quick assembly, letting you create several chickens in no time to share with friends or as festive decor. Don’t miss trying your hand at similar projects like the Cute Customizable Crochet or the adorable Cow Lovey Crochet Pattern for more whimsical crafting experiences.
Gauge & Sizing Notes for Mini Crochet Chicken
For the mini crochet chicken pattern, checking your tension is crucial for the success of your project. A standard gauge measurement is 4×4 inches (10×10 cm), specifically using 14 single crochet (sc) stitches per 4 inches, to ensure a tight and compact finish. If your swatch does not match this gauge, consider adjusting your hook size or yarn tension to get closer to this measurement. Moreover, if you wish to alter the size of your chicken, increase or decrease the number of starting chains or rounds accordingly. Remember that variations in yarn types may also lead to different sizing, especially if working with specialty yarns like plush or fuzzy variations. Having a consistent gauge not only maintains the structure of your mini crochet chicken but also ensures it stands out beautifully as a decorative piece or toy!
Step-by-Step Pattern for Mini Crochet Chicken
Round 1: Start with a Magic Ring
Begin by making a magic ring with your yellow yarn. Inside the ring, crochet 7 single crochet (sc) stitches, ensuring it’s snug as you begin. This initial round sets the base for your mini crochet chicken (7 sc).
Round 2: Increase Stitches
Next, you will work on expanding the body of your chicken. In this round, crochet 2 single crochet (sc) stitches in each of the 7 stitches from the previous round. This increase will give you a total of 14 stitches, forming a lovely round shape (14 sc).
Round 3: Maintain Stitch Count
For this round, continue with 14 single crochet (sc) stitches to maintain the current shape. This is essential for building up the body without any enlarging, making your mini crochet chicken perfectly proportioned (14 sc).
Round 4: Starting to Form the Head
In Round 4, increase the number of stitches to 18. Crochet 1 single crochet (sc) in the first stitch, followed by an increase in the next stitch. Repeat this pattern until the end of the round, creating a rounded chicken head (18 sc).
Round 5: Continue Increasing
For this round, you will now crochet 1 single crochet (sc) in each of the first 2 stitches, followed by an increase in the next stitch. Repeat this for 6 times, helping to create a broader head shape for your mini crochet chicken (24 sc).
Round 6: Maintain Size
In Round 6, continue crocheting 24 single crochet (sc) stitches. This will create a degree of stability in your chicken, ensuring a solid base as you build upwards towards the head (24 sc).
Round 7: Shape the Head
Start decreasing the stitches to shape the head. Crochet 1 single crochet (sc) in the first 3 stitches, then decrease by crocheting 2 together. Repeat this sequence till the end, helping shape the mini crochet chicken’s head (18 sc).
Round 8: Prepare for Wings
In this round, crochet 1 single crochet (sc) in each stitch for a total of 18, as this will serve as a foundation for the wings’ placement. It’s important to keep counts accurate here for even wing placement later (18 sc).
Round 9: Create the Wings
Mark the next 4 stitches for the wing placement. Now, work half double crochet (hdc) into the marked stitches to create width. The wings should project outward, creating an expressive design for your chicken (4 hdc).
Round 10: Add Texture with Bobble Stitches
For extra charm, start adding bobble stitches along the body. This involves adding a bobble in the desired stitches around the chicken’s body. Remember, this is where your mini crochet chicken gains a playful texture (3 bobbles).
Round 11: Secure Wings with Slip Stitches
Return to the wings using slip stitches (sl st) for a nice finish. This will hold the wings securely to the body and round it all off, leading back to a neat end (6 sl st).
Round 12: Finishing Touches
Complete your mini crochet chicken by tightening the magic ring and stuffing it correctly. Attaching safety eyes and embroidering the beak will make your chicken come to life, adding ultimate charm to your finished project! Make sure it’s securely stitched for cuddly happiness.
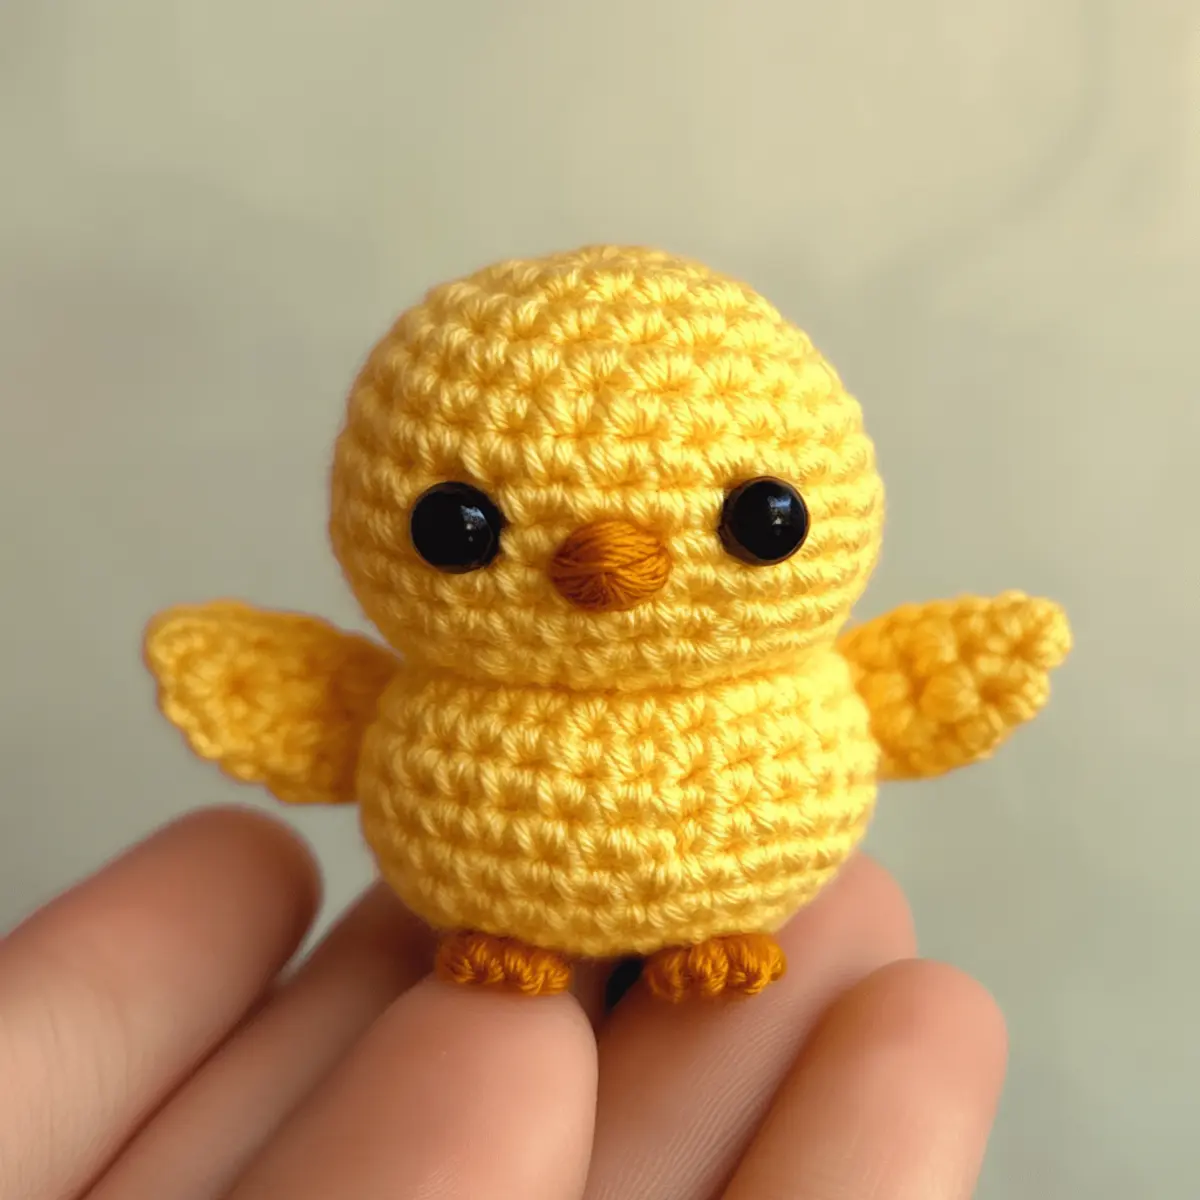
How to Wash and Care for Your Mini Crochet Chicken
- Machine Washing: If machine washing is necessary, place your mini crochet chicken in a lingerie bag on a gentle cycle and cold wash to protect its shape and texture.
- Hand Washing: For best results, hand wash in cool water with mild soap, softly squeezing to avoid agitation that might distort the shape of your chicken.
- Drying: Always lay your mini crochet chicken flat to dry to preserve its cute form. Do not hang it, as this may lead to stretching.
- Blocking: If the bobble stitches look a bit lost, try lightly steaming them to help them regain their shape. Blocking can elevate your chicken’s overall look.
Mini Crochet Chicken Variations
Whether you want to make your mini crochet chicken unique or adapt the pattern to suit your taste, feel free to customize!
- Color Choices: Explore pastel shades or bold hues for a more vibrant look, fitting different seasons.
- Fluffy Yarn: Consider using fluffy or fuzzy yarn for added coziness, giving your chicken a snuggly effect that kids love.
- Accessory Enhancements: Add a tiny scarf or bow in a contrasting color for an adorable fashionable twist. This little detail can really make your mini crochet chicken stand out!
- Size Adjustments: Adjust the hook size or yardage to create various sized chickens, perfect for different displays or gifts. Inflating your chicken can offer options for both large and small creations.
- Texture Variations: Incorporate different crochet techniques such as popcorn or shell stitches to change the chicken’s visual appeal while maintaining its charm.
- Beak and Eye Options: Spice up the features of your chicken by using buttons instead of embroidered eyes or experimenting with different beak styles.
- Yarn Swaps: Instead of regular yarn, try natural fibers like bamboo or linen for a unique texture that changes how the final piece feels.
- Theme-Based Chickens: Create a themed chicken for specific holidays by using yarn colors that reflect those seasons – think red and green for Christmas!
Infuse your creativity into every stitch and let your mini crochet chicken showcase your personal style while following the Cute Customizable Crochet or Free Crochet Pattern for inspiration.
Expert Tips for the Best Mini Crochet Chicken
- Consistent Tension: Keep your tension consistent to avoid gaps, ensuring your mini crochet chicken has a clean, neat appearance.
- Use Stitch Markers: Utilize stitch markers to track your rounds in the pattern. This will prevent losing count and ensure each round stays on track.
- Avoid Twisted Chains: Take care when forming your foundation chain to avoid twisting. A twisted chain can lead to an uneven base for your chicken.
- Know Your Gauge: Before starting, check your gauge to confirm you’re on the right track. This will help your mini crochet chicken maintain the proper size and shape through the project.
- Bobble Stitch Practice: If bobble stitches are new to you, practice them separately. This way, you can achieve the plush, playful texture without frustration.
- Experiment with Colors: Feel free to use a variety of colors, especially for details like wings or accessories. This enhances the visual appeal of your mini crochet chicken.
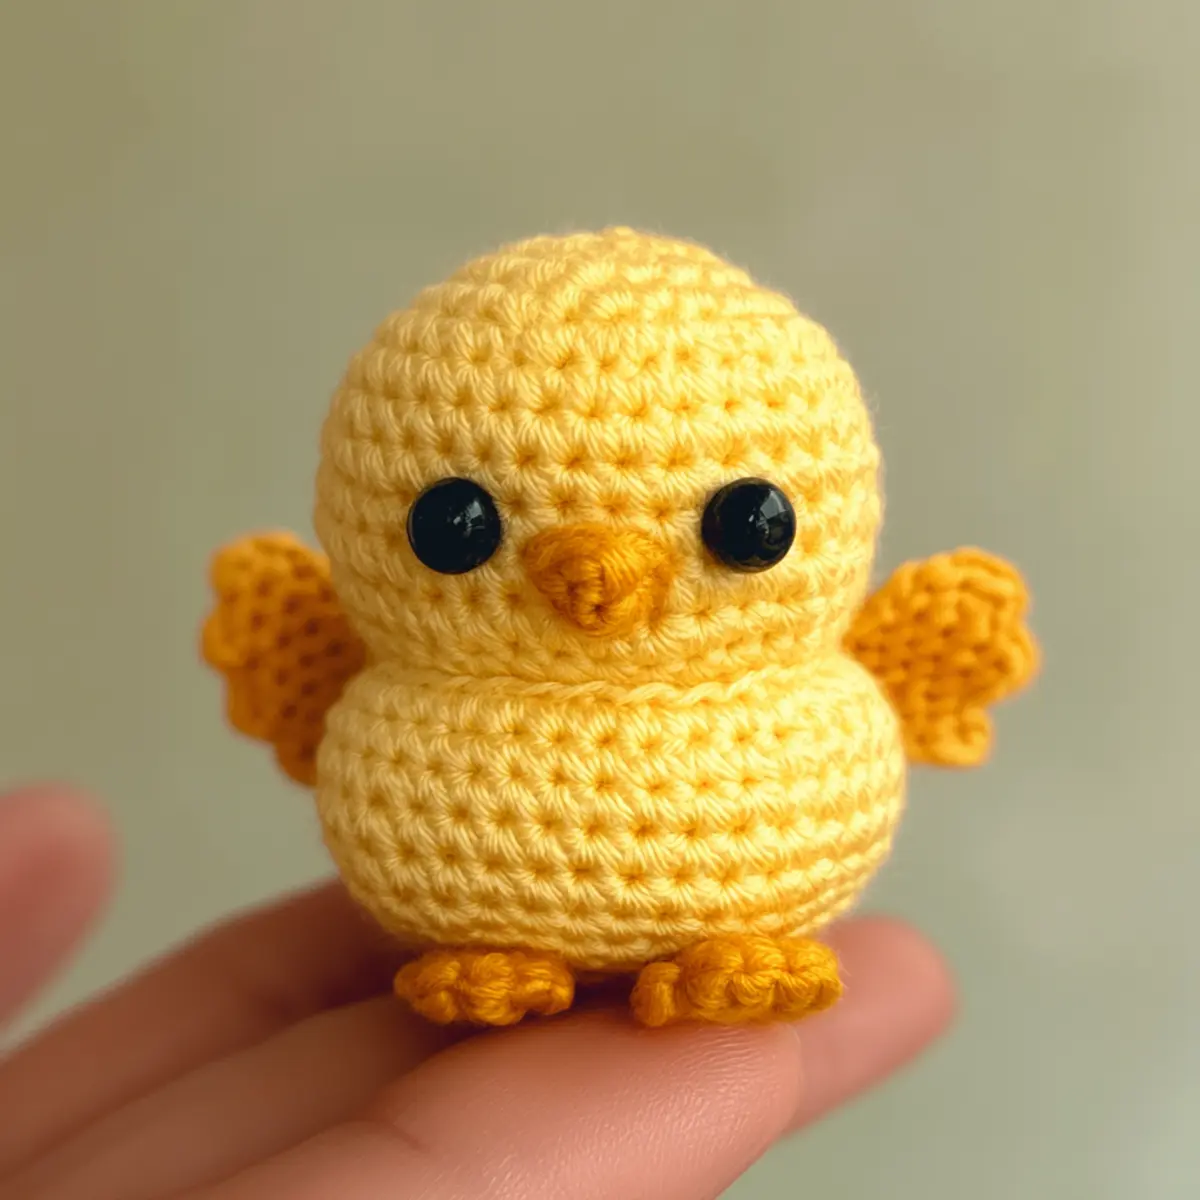
Mini Crochet Chicken FAQs
What yarn can I use for my mini crochet chicken?
Absolutely! You can use 100% cotton or acrylic yarn. Both are great choices for durability and achieving that vibrant yellow shade.
How can I adjust the size of my mini crochet chicken?
Don’t panic! You can manipulate the size by changing your hook size or the amount of yarn you use. A larger hook will yield a bigger chicken, while a smaller hook will make it tinier.
What should I do if I drop a stitch while crocheting?
If you drop a stitch, just carefully retrieve it by re-crocheting into the last few rounds. Don’t be too hard on yourself; it happens to everyone!
Can I use different colors for my chicken?
Definitely! Feel free to use any colors you like. Experiment with pastels, bright colors, or even variegated yarn for a fun twist on the classic design.
How do I ensure my mini chicken stands upright?
Make sure you maintain consistent tension, especially in the early rounds. Additionally, proper stuffing will help give it a solid base to stand.
What hook size is best for this pattern?
For this mini crochet chicken, a 5.0 mm (H-8 US letter) crochet hook is recommended. This size will help you achieve a tight gauge for that plush texture.
Leave a Reply