
There’s something utterly captivating about taking non-perishable yarn and transforming it into a stunning floral masterpiece. Every time I create a new flower, I get that delightful tingle in my fingers, that tactile zap igniting my passion for fiber arts. Today, I’m thrilled to share my latest project: the Charming Crochet Flower Tutorial, designed to elevate your cozy decor and brighten your space. This project is not only quick to complete, making it perfect for those tight on time, but it also serves as a lovely stash-buster that allows you to use up those leftover yarn scraps. Imagine feeling accomplished as you wield your hook, conjuring up beautiful blooms for your home or special gifts. With a variety of creative possibilities, from embellishing hats to creating eye-catching centerpieces, this crochet flower will surely become a cherished addition to your crafting repertoire. So, are you ready to dive into this magical world of yarn and blooms and learn the secrets of crafting these delightful flowers?
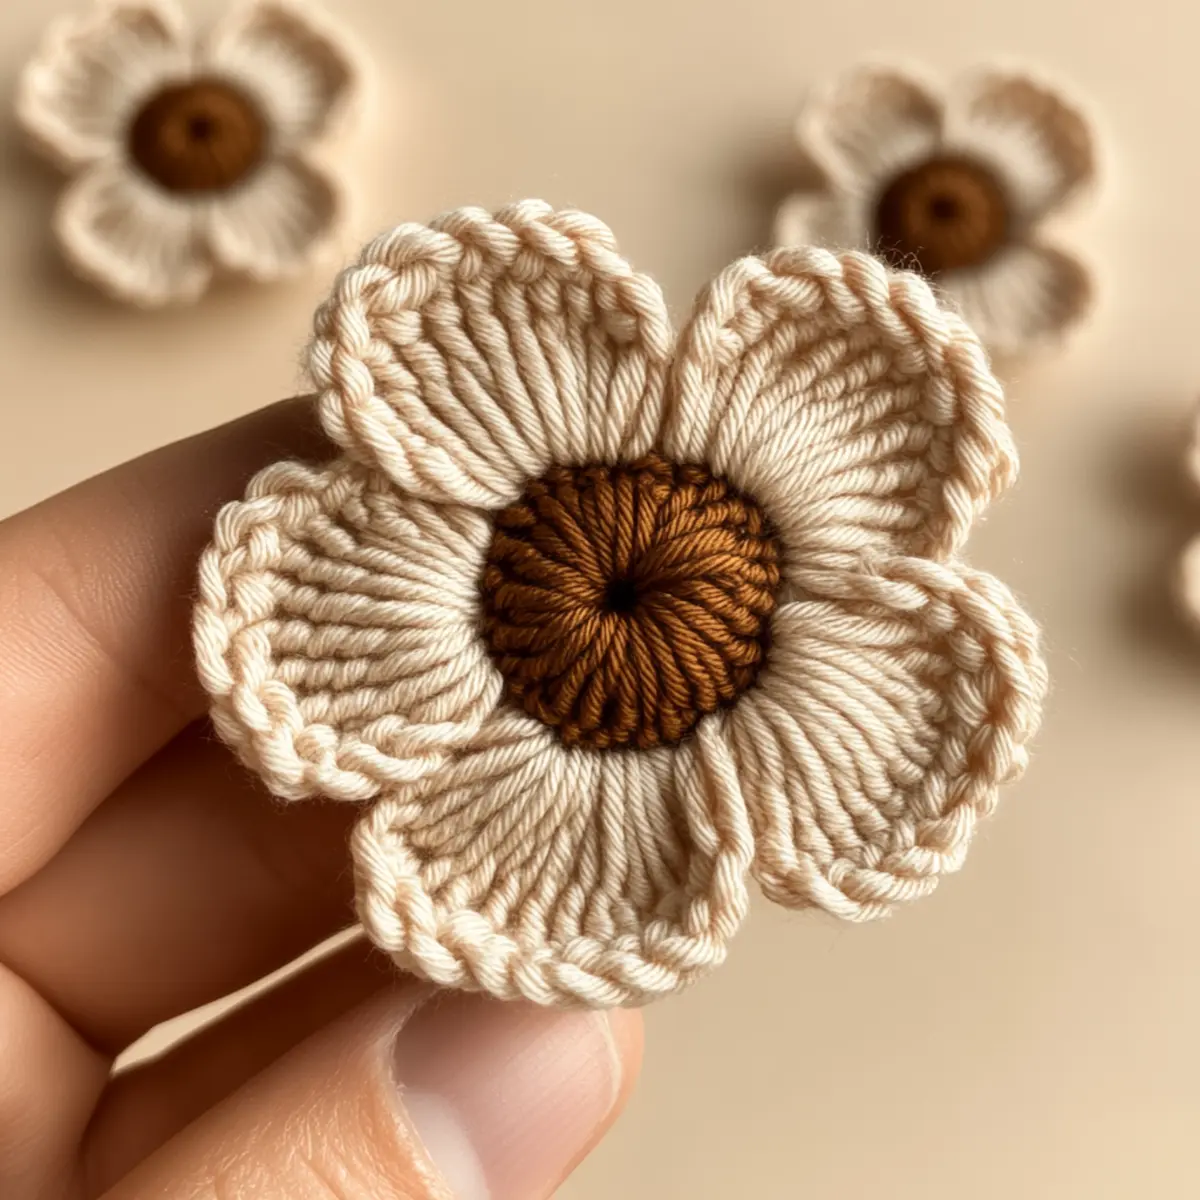
Crochet Flower Tutorial Materials & Tools
Yarn
Worsted weight cotton blend yarn – Choose soft and natural colors for a cozy floral effect; you’ll need about 20-30 yards per flower.
Hooks
4.0 mm (G/6) or 5.0 mm (H/8) crochet hook – The hook size helps achieve delicate petals and distinct stitches.
Tools & Notions
Yarn needle – Essential for weaving in the ends and ensuring a neat finish.
Blocking mat – Recommended for shaping your flower after completion to enhance its overall appearance.
Scissors – Keep a pair handy to cut your yarn cleanly and efficiently.
Stitch markers (optional) – Effective for keeping track of rounds if you plan on making multiple flowers.
Why You’ll Love This Pattern
Simplicity is at the heart of this charming crochet flower, making it an accessible project for crafters of all skills. Each stitch flows effortlessly, allowing you to focus on the joy of creation rather than getting bogged down in complicated techniques. Texture is beautifully emphasized, with the yarn’s fibers working together to showcase the flower’s delicate features, making your finished pieces a feast for the eyes. The stash-friendly nature of this pattern means you can easily take a variety of yarn leftovers and turn them into gorgeous decor. You can even check out our Crochet Flower Pattern for more ideas! Furthermore, this project is customizable; choose your own colors and sizes to match your unique taste. Save time with this time-saving design that brings beautiful results almost instantly, perfect for a cozy evening in. If you’re searching for aesthetic appeal, these flowers will surely charm anyone who lays eyes on them. Complete your collection with a stunning touch by exploring our collection of delightful patterns like the Crochet Flowers Delightful!
Step-by-Step Pattern for Crochet Flower Tutorial
Row 1: Start with a Magic Circle Begin by making a magic circle. Work 8 dc (double crochet) into the circle, then pull the yarn tail to close it, and sl st (slip stitch) to the top of the first dc to complete the round (8 dc).
Row 2: Create Petals Chain 2 (this counts as your first dc). In the same stitch, work 2 dc for the first petal, then ch 1, skip 1 st, sl st in next st; repeat 4 times around for a total of 5 petals (10 dc, 5 ch-1 spaces).
Row 3: Petal Depth In each ch-1 space, work 3 dc, creating a deeper petal effect. Ensure that you keep the tension even. After finishing, slip stitch to join and secure the round (15 dc).
Row 4: Shape the Petals In Row 3’s petals, alternate 1 dc, 2 hdc (half double crochet) in the next chain-space to round off the edges nicely. Work this evenly across all 5 petals, keeping the stitch counts consistent (20 total stitches).
Row 5: Center Flower Details Switch to a contrasting color for the center. In the previous round’s chain spaces, using sc, work 1 sc into each space. This sets a nice foundation for the flower center (5 total sc).
Row 6: Adding Texture Continue around with the same contrasting color. Now, in each sc, work 2 sc to bulk out the center, giving it a plush look. After completing this round, finish with a slip stitch (10 total stitches).
Row 7: Securing the Petals Go back to the petal rounds. In one sc from Row 5, work a sl st and then into the next area of each petal, work 1 sc into each to hold petal together, keeping it tight (5 sc).
Row 8: Final Touch Now, go around all the flower edges with 1 sl st in each stitch to smooth out the shape. This gives you a polished look. Fasten off and weave in the ends when you’re done (15 sl st).
Row 9: Blocking (Optional) To enhance its shape, lay your flower flat on a blocking mat and gently stretch the petals into the desired shape. Pin down and allow to dry completely to set the gorgeous form.
Row 10: Customize your Flower Feel free to experiment with yarn colors, switching to bold hues or pastels to suit seasons or occasions. You can also vary the size by changing your hook; larger hooks will create bigger flowers.
Row 11: Assemble Your Bouquet Make several flowers in different colors and sizes. Group them together for a beautiful bouquet. Consider adding greenery by crocheting simple leaves for a polished, cohesive look.
Row 12: Adorn with Accessories For a unique flair, embellish the flower centers with tiny beads or buttons. Attach securely and utilize the yarn needle to weave in any stray ends, ensuring your bouquet is ready for display or gifting.
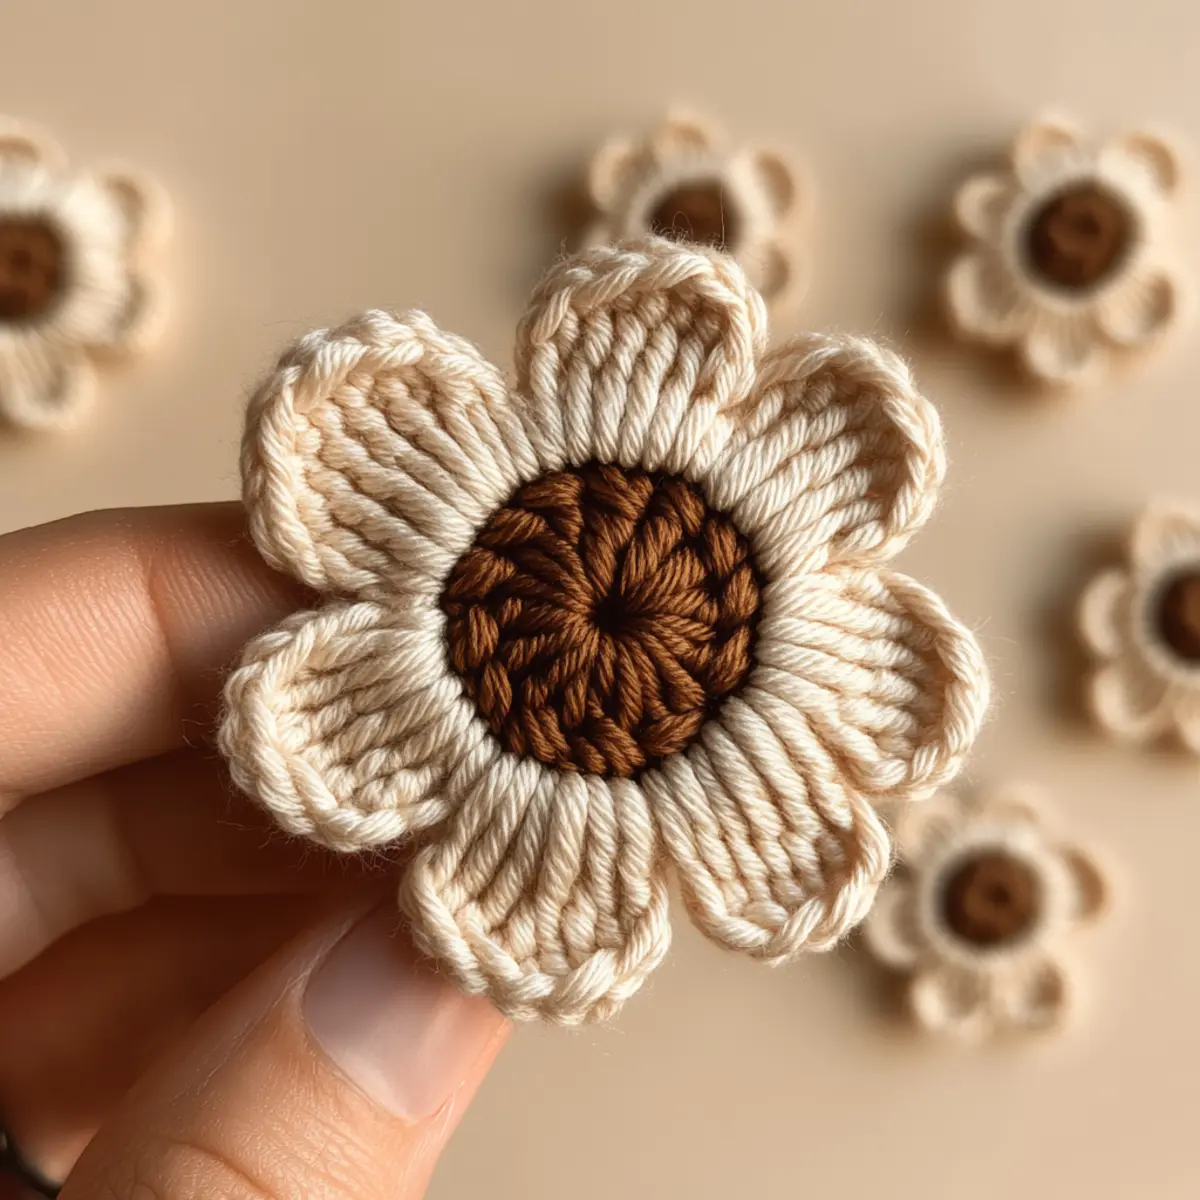
Helpful Tricks for Your Crochet Flower
Consistent Tension: Maintain regular tension to ensure uniform petals; ensuring even stitches is key when using worsted weight yarn.
Magic Circle Tip: Remember, don’t pull your magic circle too tight initially. This gives you flexibility when creating your petals.
Count Your Stitches: Keep track of your stitch count, especially after creating petals. Use a stitch marker if necessary to avoid any dropped stitches.
Blocking Is Key: After finishing your flower, consider blocking it to enhance its shape for a more polished look.
Varying Dimensions: Modify your hook size for different flower sizes; a larger hook will give you a more oversized flower, while a smaller one produces delicate blooms.
Creative Embellishments: Experiment with adding beads or buttons to the center of your flower for a unique touch. This can help customize each flower in your crochet flower tutorial.
crochet flower tutorial
Crafting is all about personalization! Let your creativity shine through with these delightful variations and substitutions.
- Different Colors: Experiment with varying hues, like pastels for a soft spring vibe or bold primary colors for a modern touch.
- Fiber Choices: Swap cotton for wool or acrylic to change texture, warmth, and sheen. Wool gives a cozy feel, while acrylic shines brightly.
- Size Modifications: Adjust your hook size for unique flower sizes; a larger hook creates oversized flowers, and a smaller hook yields delicate blooms.
- Texture Variations: Mix in textures like bobble stitches or shells for petals to add depth and intrigue.
- Embellished Centers: Add beads or buttons to the center for a personalized flair, enhancing your flower’s character and charm.
- Bouquet Assembly: Craft different flowers in various sizes and colors, assembling them into a charming bouquet that showcases your skills.
Creating each flower allows for customization in endless ways. Once you master this crochet flower tutorial, consider using it as a base for more complex designs, intertwining your flowers with greenery or creating a full floral arrangement to brighten any space. Decorating items like bags or hats with these flowers not only beautifies but also showcases your crochet artistry.
Additional Techniques
Integrate complementary techniques from Crochet Flowers Delightful to elevate your flower arrangements further! Explore how different patterns can create a cohesive look in your DIY projects. If you’re fond of unique embellishments, consider checking out the Sew Crochet Flower tutorial for a seamless finish!
How to Wash and Care for Your Crochet Flowers
Machine Washing: If machine washing, use a gentle cycle with cold water to prevent any agitation that could distort your crochet flower.
Hand Washing: To maintain the texture and shape of your crochet flower, hand wash in cold water using mild detergent; avoid scrubbing.
Drying: Lay your crochet flowers flat to dry, ensuring they retain their lovely shapes. Avoid hanging to prevent stretching.
Storage: Store in a cool, dry place away from direct sunlight to keep your crochet flowers in great condition.
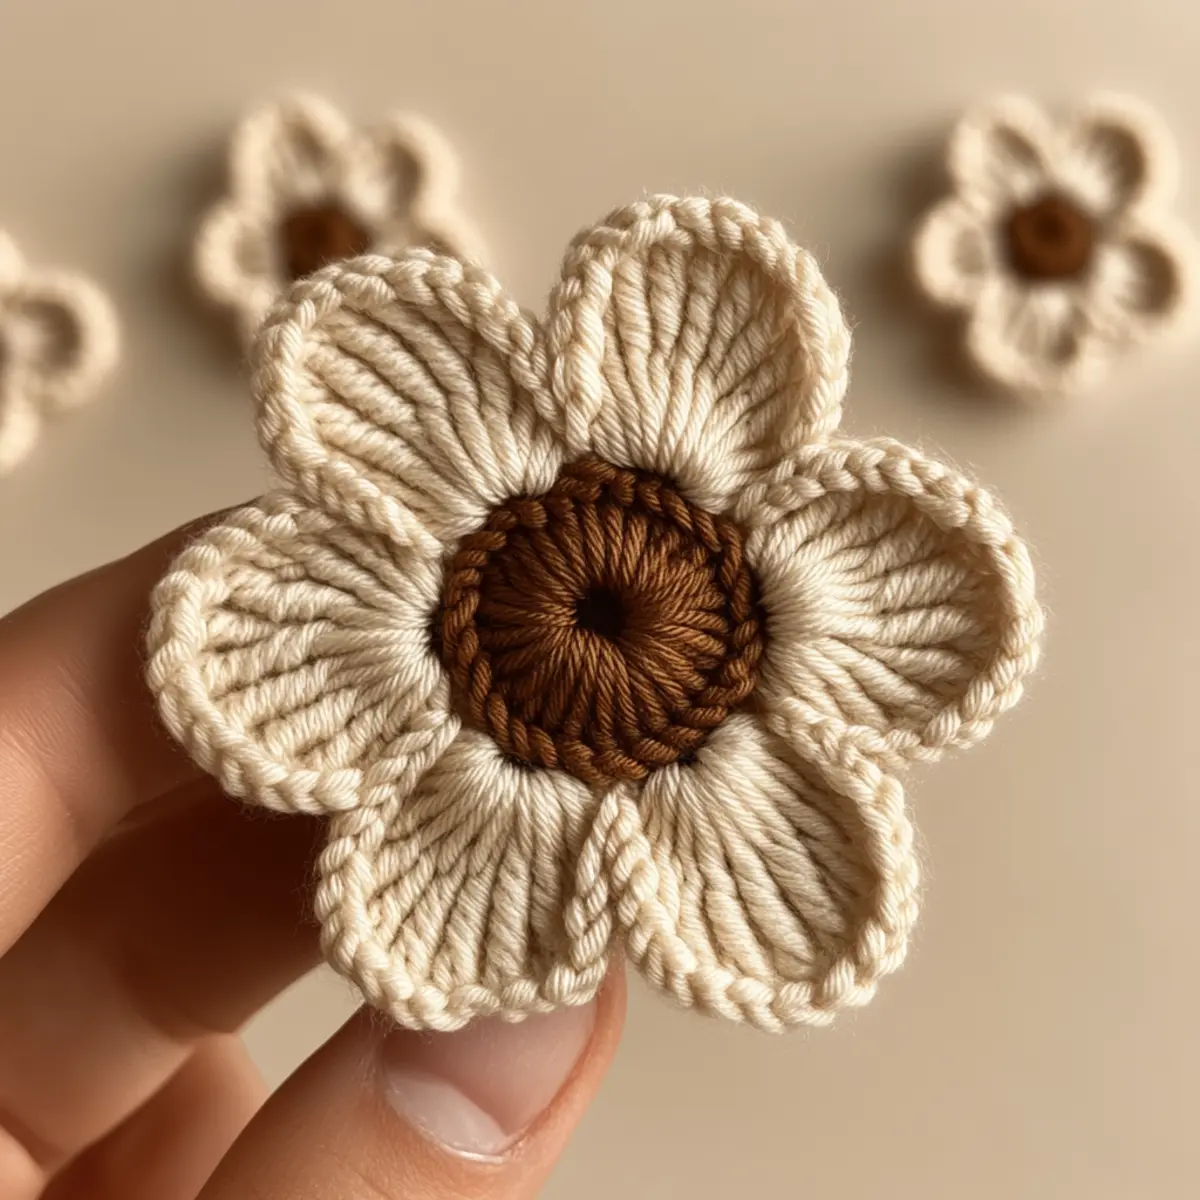
Crochet Flower FAQs
Can I substitute yarn for this project?
Absolutely! You can use any worsted weight yarn, such as cotton or acrylic. Just ensure it’s the right weight for your desired look and feel.
How do I adjust the size of my crochet flower?
You can easily adjust the size by changing your hook size. A larger hook will yield a bigger flower, while a smaller hook results in a more delicate piece. Experimenting with different yarn weights can also provide varying sizes.
My petals keep curling, what should I do?
Don’t panic! Curling can be normal when the tension varies. Blocking can help reshape your petals effectively, allowing them to lay flat.
What if I drop a stitch while crocheting?
If you drop a stitch, simply backtrack to the last completed section and pull the working yarn through the last stitch. It may take some patience, but this technique helps maintain the integrity of your flower.
What hook size should I use for this pattern?
A hook size between 4.0 mm (G/6) and 5.0 mm (H/8) is recommended to create detailed stitches while ensuring a comfortable grip for crochet flower pieces.
Can I add multi-colored petals?
Absolutely! Mixing colors for the petals adds character to your crochet flower bouquet; just ensure that the colors complement each other for a cohesive look. Feel free to get creative!
Leave a Reply