
As I sat curled up on my couch, the rhythmic pull of my crochet hook in and out of soft, chunky yarn felt like a warm hug on a chilly day. I knew I wanted to create something special, something both cozy and functional, which led me to design this Fast and Easy Crochet Baby Blanket for Beginners. This delightful project features a charming, bobble-like texture that works up quickly, making it the perfect stash-buster for your yarn collection. Plus, the reversible design adds a touch of versatility—ideal for a thoughtful gift or a comforting addition to any nursery. Ready to dive into your next crochet adventure and wrap your little ones in handmade warmth? Let’s get started!
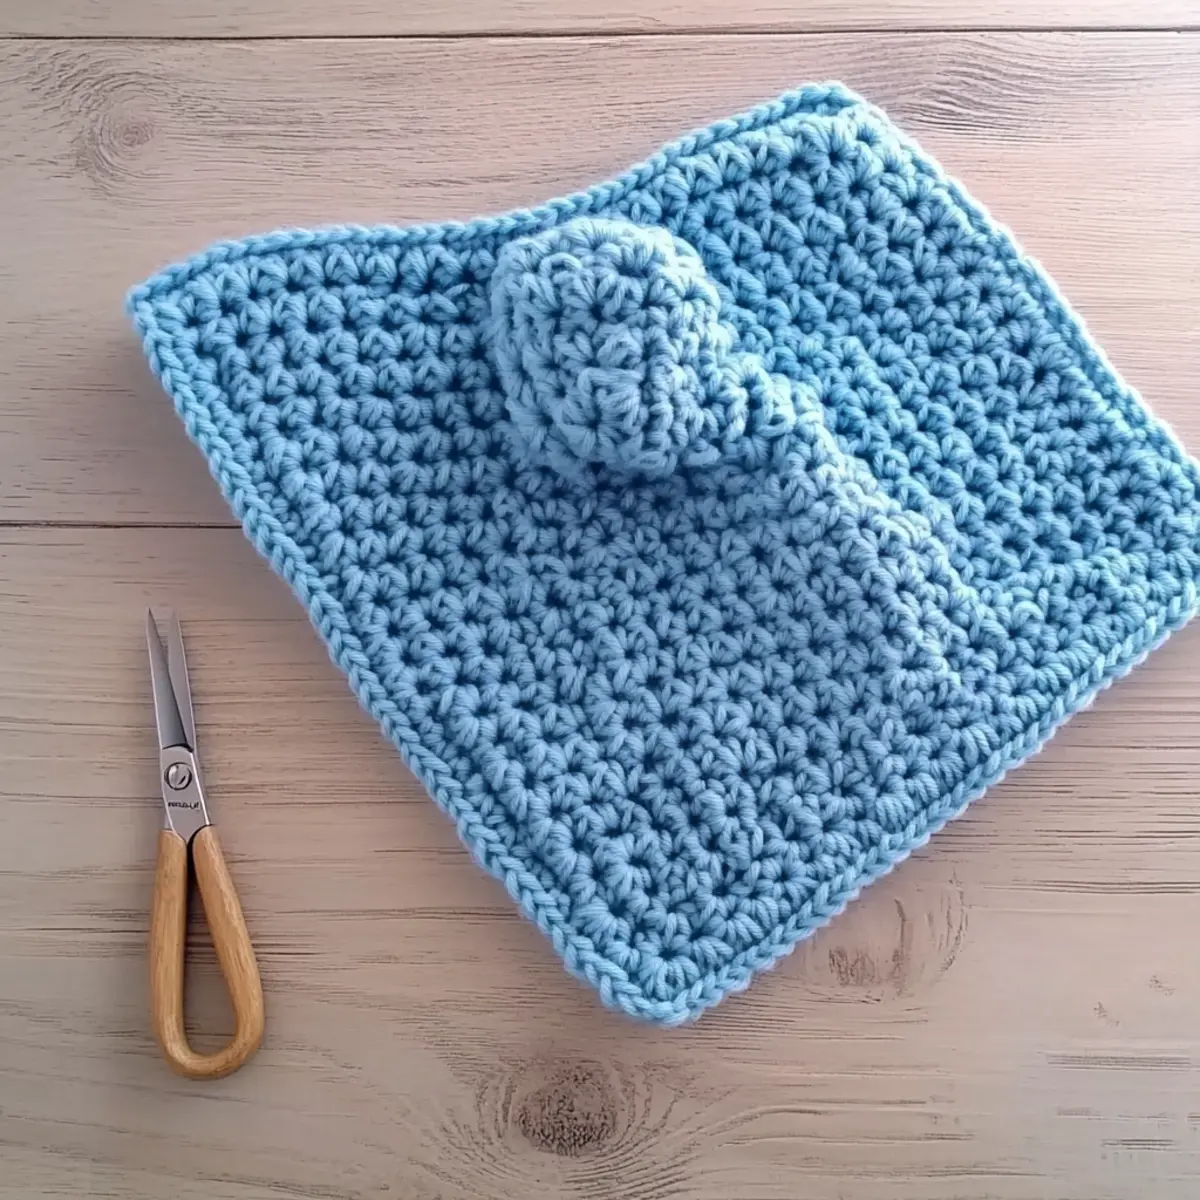
Crochet Baby Blanket Materials & Tools
Get ready to create a cozy masterpiece with this all-inclusive materials list!
Yarn
• Bulky (#5) / Chunky Yarn – Use 5 skeins of Paintbox Yarns Simply Chunky, color Duck Egg Blue (335); approximately 3.5 oz / 149 yds (136m / 100g) per skein, perfect for this fast and beginner-friendly project.
Tools & Notions
• 6.5 mm (K) Crochet Hook – Ideal size for working with bulky yarn and achieving that lovely bobble-like texture.
• Scissors – Essential for cutting your yarn at the end of your project with precision.
• Yarn Needle – Great for weaving in ends and securing your stitches neatly.
• Pom Pom Maker (Optional) – Create cute pom poms, about 2.5 inches (6.25 cm) in diameter, to embellish your blanket if desired!
Why Choose This Crochet Baby Blanket?
Quick and Easy: This pattern is designed specifically for beginners, with simple stitches that make it easy to follow and finish in no time.
Chunky & Cozy: Using bulky yarn gives the blanket a wonderfully plush and soft texture that creates a warm, snuggly feel perfect for those chilly nights.
Reversible Design: Flip it over, and you’ll find that this blanket looks great from both sides, adding versatility to your creations.
Stash-Busting Potential: You can easily use leftover yarn—great for those who love to experiment with color combinations or patterns.
Perfect Gift Idea: Whether you’re welcoming a new arrival or looking for a thoughtful present, this baby blanket is sure to bring smiles and warmth. For more inspiration, don’t forget to check out the Midnight Star Celestial dress for matching ideas!
Gauge & Sizing Notes
Don’t skip the gauge swatch! Ensuring your tension is spot on with the Fast and Easy Crochet Baby Blanket for Beginners is crucial for achieving the perfect size and texture. For this project, a standard gauge should measure 4×4 inches (10×10 cm), equal to 10 double crochets by 8 rows. If you find your swatch is smaller than this, you might want to go up a hook size, while a larger swatch may require a smaller hook. To customize the blanket’s width, simply adjust your starting chain in multiples of 10. Remember, taking the time to check your gauge now will ensure your blanket turns out just right!
Step‑by‑Step Pattern for Fast and Easy Crochet Baby Blanket
Row 1: Foundation Chain and Setup
Start by making a foundation chain in multiples of 6 plus 1 for the desired width of your blanket. In this pattern, aim for about 60 chains for a standard size. Once your chain is complete, turn your work; this will be the base to crochet the beautiful ripple stitch, giving your blanket that cozy texture.
Row 2: First Ripple Row
Begin your first row by working a double crochet (dc) into the 4th chain from your hook. This counts as your first dc. Crochet 1 dc into the next 2 chains, then work 3 dc into the next chain to create your ripple. Skip 2 chains, and then repeat this pattern across the row. Ending the row, you should have a lovely wave formation with 10 ripples (making sure to finish with 1 dc in the last chain).
Row 3: Continue Ripple Pattern
For the second row, chain 3 (counts as first dc) and turn your work. Into the top of each ripple from the previous row, work 1 dc, and into the center of each ripple, crochet 3 dc. Skip over the troughs between ripples as you continue this pattern across the entire row. Your work should maintain the defined waves, resulting in 10 ripples once again (10 ripples count).
Row 4: Repeat Ripple Rows
Continue repeating Row 2 and Row 3 until your blanket reaches your desired length. Remember to maintain the count of 10 ripples in each row. The texture will start to form beautifully with depth as your baby blanket develops those playful bobble-like characteristics, giving it a warm and inviting feel.
Step 5: Finishing the Blanket
Once your desired length is achieved, it’s time to finish your crochet baby blanket. Work a final row of single crochet (sc) stitches across the top and bottom edges for a clean finish. Make sure to crochet 1 sc in each dc and 2 sc in the tops of the center 3 dc of each ripple to keep the border aligned with the ripples.
Step 6: Simple Edging
For the edging, chain 1 and sc all around the blanket. On the corners, you may add 3 sc to create a smooth rounded edge. This will enhance the overall look of your baby blanket while providing stability to your lovely bobble-like texture. After completing the edging, fasten off your yarn, weave in loose ends, and your fast and easy crochet baby blanket is ready to snuggle with!
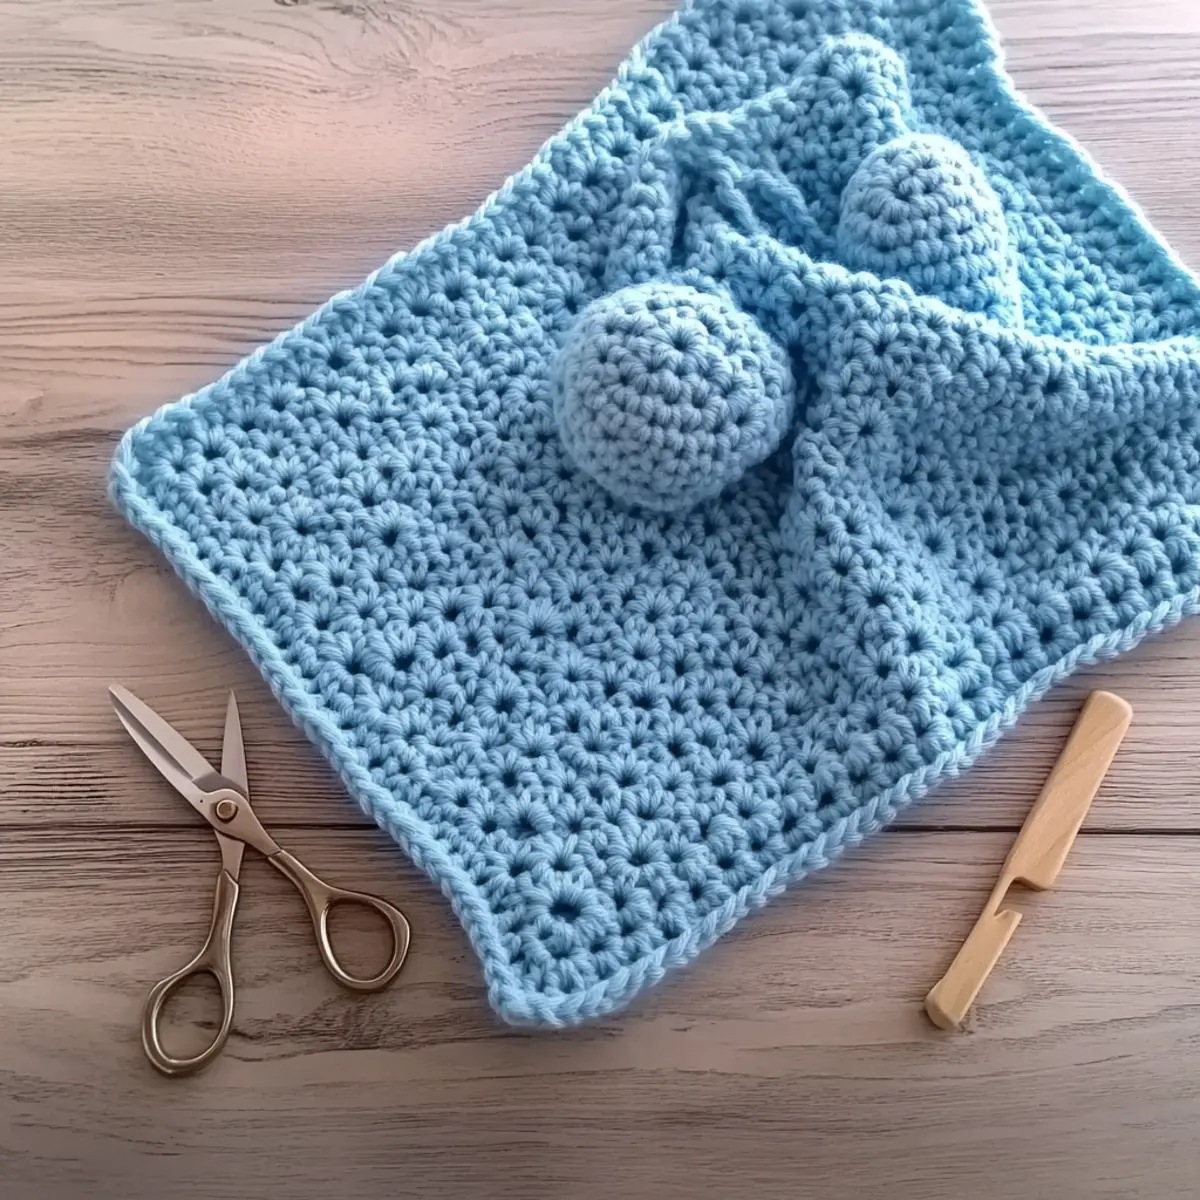
Variations & Substitutions
Feel free to explore these delightful twists to personalize your crochet baby blanket!
-
Yarn Weight Swap: Try a lighter yarn for a breathable, airy blanket perfect for warmer climates. This adjustment offers a different drape while preserving the charm.
-
Cotton vs Acrylic: Swap bulky acrylic yarn for cotton for a softer, more hypoallergenic option. This choice is ideal for sensitive skin and adds a fresh feel.
-
Color-Blocking Ideas: Alternate between two or more colors to create a vibrant color-blocked effect. Imagine the delight of little ones seeing their favorite hues come to life!
-
Kid-Friendly Size: Adjust the blanket dimensions by adding or removing foundation chains. A mini version could become a fantastic lovey for toddlers, enhancing comfort during adventures.
-
Textural Twist: Add fun pom-poms or fringe along the edges for an adventurous twist! These embellishments will surely capture attention and add playful texture.
-
Border Variations: Consider finishing with a scalloped or shell stitch border for an extra layer of beauty. Such details elevate any project from ordinary to extraordinary.
-
Themed Designs: Create seasonal themes using holiday colors or motifs, perfect for baby showers or festive events. Your blanket can reflect cherished memories and celebrations.
For those looking to explore even more exciting patterns, don’t forget to check out the Amigurumi Duck for a whimsical touch or learn about the Invisible Join Seamless technique for a flawless finish!
How to Wash and Care for Your Baby Blanket
Machine Washing: Use cold water on a gentle cycle to preserve the texture of your crochet baby blanket. Avoid agitation to prevent felting or pilling.
Hand Washing: For the best results, hand wash using cool water and a mild detergent. This method is gentle and protects the integrity of the bobble-like design.
Drying/Blocking: Lay your finished blanket flat to dry, reshaping it as needed to maintain its cozy appearance. Avoid hanging to prevent stretching.
Storage: Store your blanket in a cool, dry place, away from direct sunlight. This will help maintain the vibrant color and plush texture over time.
Expert Tips for the Best Baby Blanket
• Consistent Tension: Maintain an even tension throughout your work to ensure a smooth, uniform texture. Loose stitches can lead to a misshapen blanket.
• Count Your Stitches: At the end of every row, count your stitches to avoid warping. Losing count may result in irregular edges.
• Gauge Matters: Always check your gauge, especially if using different yarn. Adjust your hook size to match the recommended gauge for a perfect fit.
• Ending with Style: When finishing your blanket, ensure your last round of single crochets is tight and neat for a polished look.
• Color Coordination: Experiment with color combinations for a unique flair, but stick to your tension. Variations can enhance the cozy aesthetic of your blanket.
Fast and Easy Crochet Baby Blanket for Beginners FAQs
Can I substitute the yarn type?
Absolutely! You can substitute bulky yarn with any similar weight, such as thick acrylic or wool. Just keep in mind that different fibers may affect the drape and feel of your blanket, so test a small swatch to see how it holds up.
How can I make the blanket larger or smaller?
To make your blanket larger, simply increase the number of foundation chain stitches in multiples of the stitch count for your pattern. Conversely, reduce the foundation chain for a smaller blanket. Remember, the more rows you add, the thicker and cozier it will be!
Why is my blanket curling at the edges?
Don’t panic! Curling can happen, usually due to inconsistent tension or not enough stitches along the edge. Make sure you’re counting your stitches at the end of each row. If your work resembles a bowl, consider using a larger hook size to help prevent curling.
What hook size should I use?
For this pattern, a K (6.5 mm) crochet hook is recommended. However, if your stitches feel too tight or loose when you check your gauge, feel free to adjust your hook size to ensure the perfect fit!
How do I fix dropped stitches?
It’s an easy fix! If you notice a dropped stitch, simply use your hook to pull the yarn back through the stitch and rework it. You can also use a yarn needle to weave in any loose ends for a seamless look.
Can I wash my finished blanket?
Yes, you can! Hand wash your blanket in cool water to maintain its shape. Be sure to lay it flat to dry, as this helps preserve the lovely texture you’ve created while crocheting.
Leave a Reply