
As I cozied up with my favorite yarn one evening, the idea of creating festive amigurumi ghosts danced into my mind. These charming, spooky-cute creations are perfect for Halloween or to add a whimsical touch to your home all year round. This beginner-friendly amigurumi ghost pattern is a delight to work on, crafting quickly with simple single crochet techniques that even the newest crafters can master. With multiple size options and customizable accessories like whimsical witch hats and bows, you have the perfect chance to express your creativity. Not only will you whip these adorable ghosts up in no time, but they also make excellent gifts for friends and family who adore handmade treasures. Ready to transform your yarn stash into quirky little specters? Let’s get crocheting!
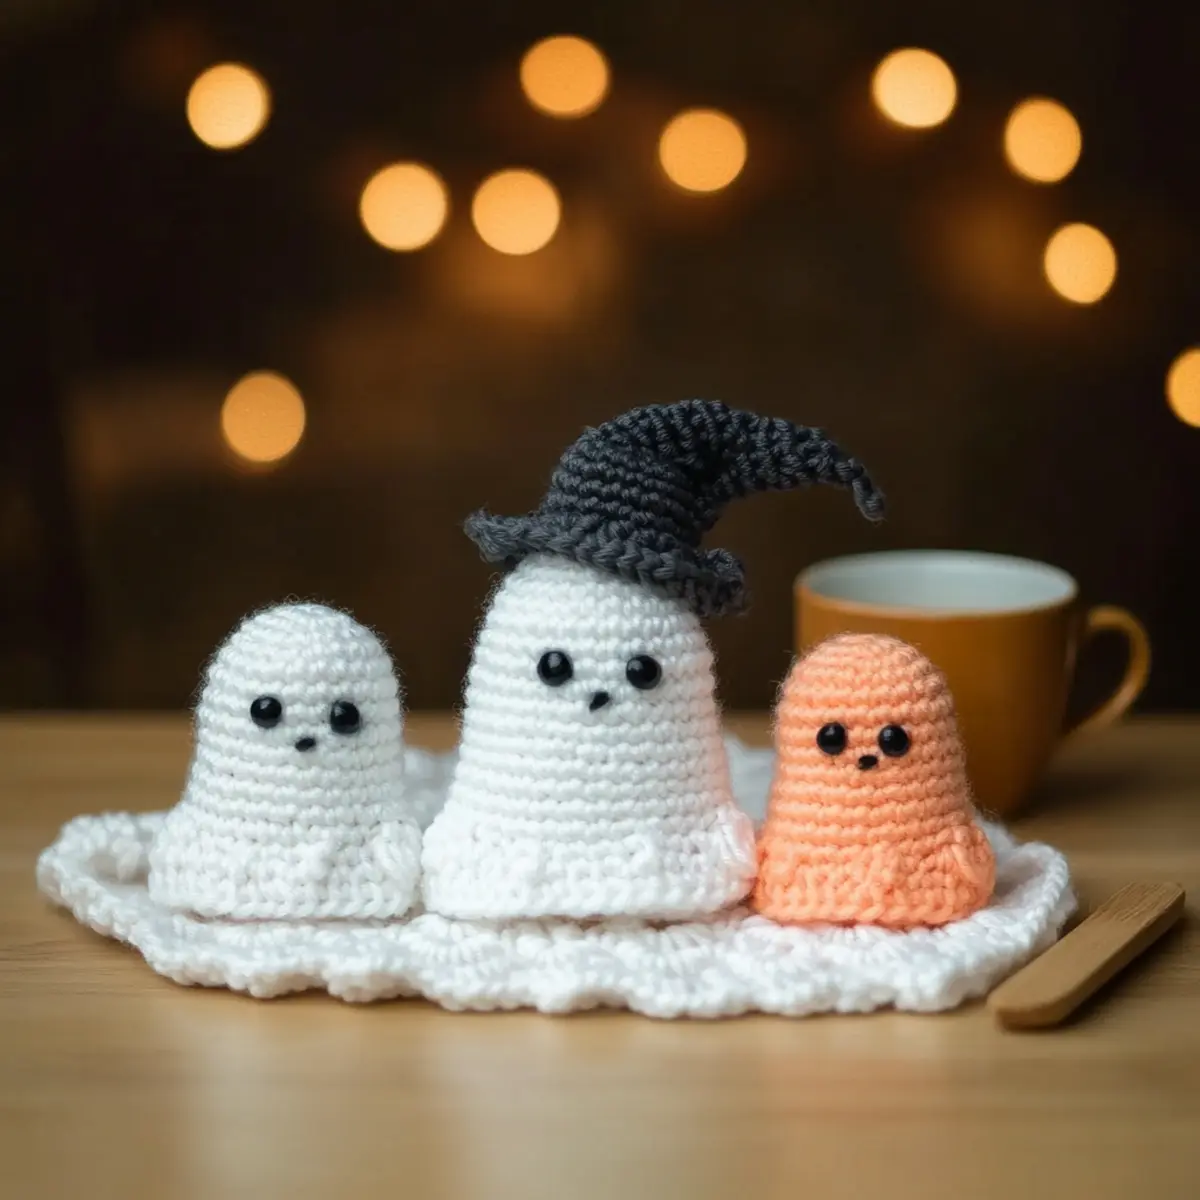
Amigurumi Ghost Materials & Tools
Create your adorable amigurumi ghosts with these essential materials and tools!
Yarn
- Worsted Weight Yarn – Use 100% Acrylic or a similar fiber for the perfect soft texture and durability, with approximately 100 yards needed for a single ghost.
Hook & Tools
- 3.75mm (US size F/5) Hook – Ideal for worsted weight yarn; adjust the size as needed based on your yarn choice for the amigurumi ghost.
- Stitch Marker – Helpful for keeping track of your rounds, ensuring your ghost keeps its lovely shape.
- Tapestry Needle – Perfect for weaving in ends and assembling your ghost once completed.
- Safety Eyes – Optional for adding a cute face, or embroider as an alternative for baby-safe versions.
Happy crocheting, and let your creativity run wild with these spooky-cute projects!
Why You’ll Adore These Ghost Patterns?
Charming Designs: These spooky-cute amigurumi ghosts are irresistibly adorable, making them a fun addition to any decor.
Beginner-Friendly: With easy-to-follow instructions and simple stitches, even novice crocheters will find success while making these whimsical creations.
Quick Project: You can complete these ghosts in just a few hours, which is perfect for last-minute decorations or gifts!
Customizable Options: Personalize your ghosts with delightful accessories like a witch hat or a colorful bow—let your creativity shine! Add unique touches that fit your home decor or seasonal themes.
Perfectly Playful: The soft, squishy texture of the finished ghosts adds a whimsical charm that will make everyone smile. These little specters are ready for hugs and cozy corners!
Get inspired to whip up these fun projects, and make sure to check out the Amigurumi Duck Cozy for even more adorable crochet ideas!
Gauge & Sizing Notes
Don’t skip the gauge swatch! Ensuring your tension is correct is crucial for your adorable beginner-friendly amigurumi ghost patterns, as it directly affects the size and overall look of your ghosts. For this project, aim for a gauge of 4×4 inches (10×10 cm) = 12 stitches by 10 rows using worsted weight yarn with the specified hook size. If you want to adjust the size, simply increase your starting chain in multiples of 6 + 2 for wider ghosts. If your swatch turns out smaller than expected, try going up a hook size; conversely, if it’s too large, switch to a smaller hook. Happy crocheting!
Step‑by‑Step Pattern for Adorable Beginner-Friendly Amigurumi Ghost Patterns
Row 1: Start the Ghost Body
Begin with a magic ring and work 6 single crochets (sc) into the ring. Pull the ring tight to close, ensuring there are no gaps. This forms the foundation of your adorable ghost. Your work should create a small, tightly formed circle that will begin to rise as you add more stitches. (6 sts)
Row 2: Increase for Roundness
In this round, make an increase in each stitch, which means 2 sc in each stitch around. This will give your ghost its rounded shape, essential for the cute curvy look. At the end of this round, you will have a total of 12 stitches, starting to build the body shape. (12 sts)
Row 3: Continue Body Expansion
For this round, simply sc in each of the 12 stitches around. Maintaining the ghost’s round shape is important, so make sure to keep your tension even. This round creates the bulk of your ghost’s body and allows it to begin standing up. (12 sts)
Row 4: More Increases
In this round, work (sc 1, inc) across the row, meaning you will single crochet once before making an increase. Repeat this pattern around, giving your ghost a charming, bulbous body that’s perfect for its spooky aesthetic. At the end, you’ll notice the growing width of your ghost. (18 sts)
Row 5: Shape the Height
Continue working by doing 5 sc in each stitch around for the next 4 rounds to build the height of your ghost. This will ensure that your project retains a lovely, crooked ghost shape as you crochet. Your work should feel more cozy and squishy with each round. (24 sts)
Row 6: Tailoring the Shape
In the next round, follow the pattern with (sc 5, inc) across. This will further expand the body while maintaining the adorable proportions needed for the finished amigurumi ghost. Be sure to keep track of your increases as you go! (30 sts)
Row 7: Completing the Body
For the following rounds, simply sc in each stitch around for 5 rounds. This solidifies the ghost’s body and allows you to focus on other elements like accessories. By the end of this stage, your ghost should be taking form with its delightful plump appearance. (30 sts)
Row 8: Finishing Touches
For the final round, work in (sc 5, dec) to taper the body slightly before closing off. This last detail helps your ghost start to get that classic droopy shape. You will notice the gradual bringing together of your stitches at this point. (24 sts)
Step 1: Adding Accessories
To create your ghost’s whimsical accessories, start with the witch hat or bow details, following separate instructions for each. For the witch hat, begin by making a magic ring and adding gradually to form the point. For a bow, simply chain and stitch to your ghost, showcasing your creativity and making it even more charming.
Step 2: Finishing the Project
Finally, weave in all ends using the tapestry needle and attach safety eyes or embroider features as desired, adding personality to your cute ghost. Your work should now fully embody an adorable spooky ghost ready for display. Be proud, as this project showcases both your crochet skills and creativity!
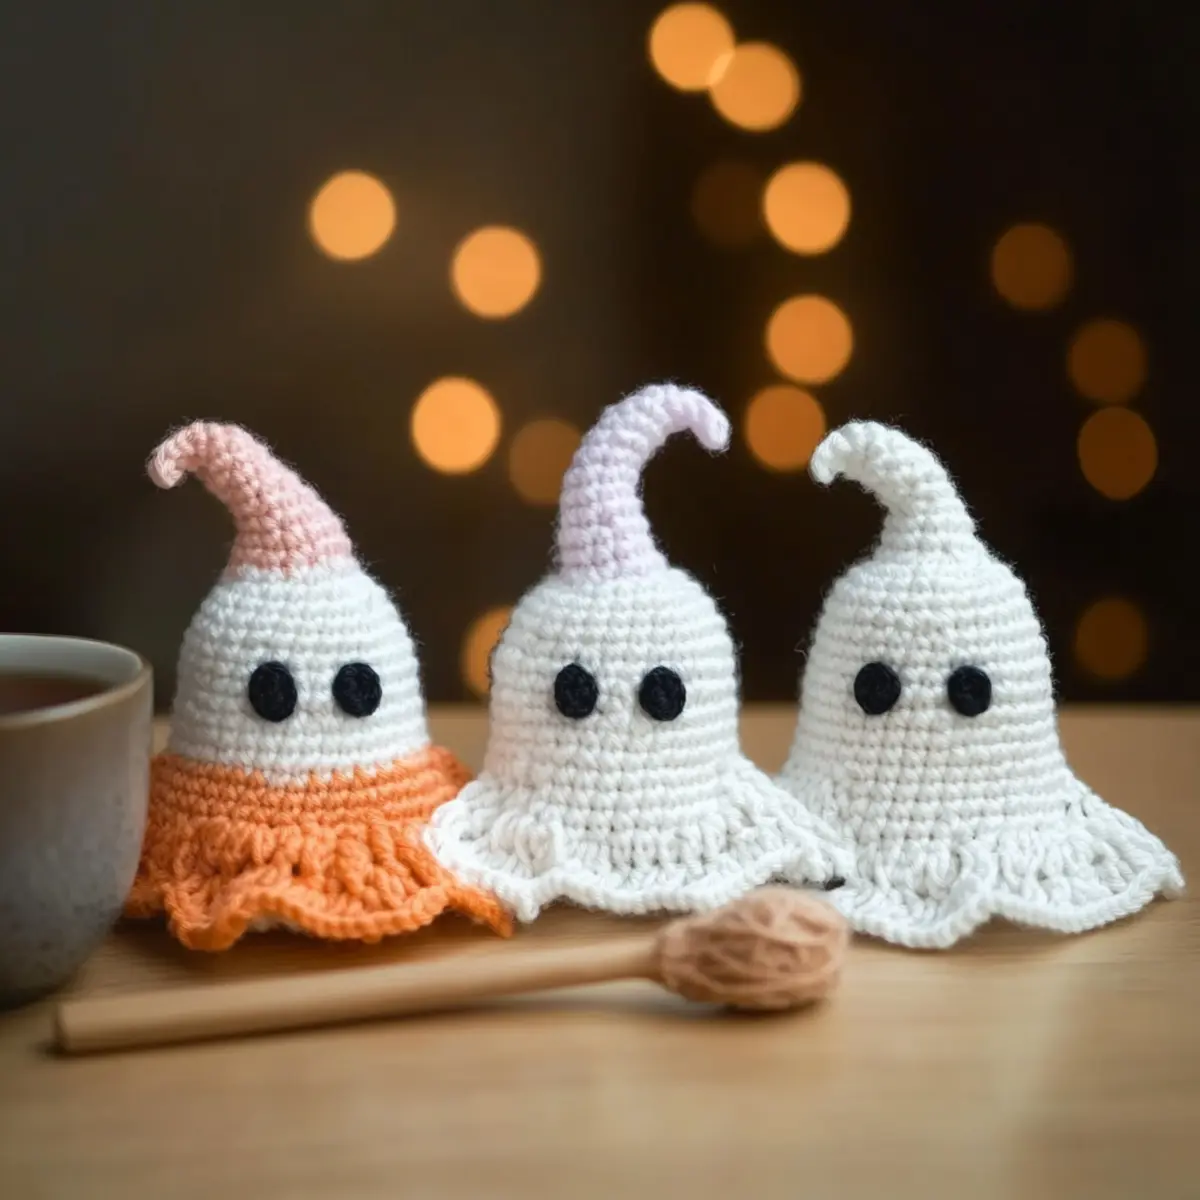
Expert Tips for Amigurumi Ghosts
-
Ticklish Tension: Keep your tension consistent to ensure your ghosts don’t end up lumpy. Practice before starting; it helps achieve a uniform look throughout.
-
Stitch Counting: Always count your stitches at the end of each round. This ensures you maintain symmetry and structure. It’s an easy mistake to lose track, especially when you’re eager to finish!
-
Pinch for Shape: To create that delightful droopy ghost silhouette, pinch your fabric along increase rounds. This method adds character without needing to sew!
-
Finishing Touches: Weave in your ends with a tapestry needle carefully to avoid unraveling. Take your time; this small detail can elevate your overall finish.
-
Safety First: If opting for safety eyes, ensure they’re securely attached to keep little ones safe. Alternatively, embroider eyes for a sealed design. Stay true to the cozy spirit of these spooky creations!
Care Instructions for Amigurumi Ghosts
-
Hand Washing: Gently hand wash your amigurumi ghosts in cold water using a mild detergent to keep their soft texture intact. Avoid machine washing to prevent damage.
-
Avoid Agitation: When washing, ensure you avoid agitation to prevent felting or pilling. Treat your ghosts delicately to preserve their adorable droopy shape.
-
Drying: Lay your finished ghosts flat on a clean towel to air dry. Avoid hanging, as this can distort their shape—keeping them cozy and cute!
-
Storage: Store your amigurumi ghosts in a cool, dry place. For long-term storage, use breathable fabric bags to protect them from dust while maintaining their delightful appearance.
Variations & Substitutions for Amigurumi Ghosts
Embrace your creativity and let your imagination run wild with these crochet variations tailored just for you!
-
Yarn Weight Swap: Opt for a lighter DK yarn for smaller ghosts or bulky for larger ones. It’s a simple switch that will give you varied results!
-
Fiber Alternatives: Try a blend of cotton and acrylic for a different texture. It creates a lovely drape and unique plushiness for your spooky friends.
-
Color Blocking: Mix and match colors for each ghost to create a whimsical collection. Pair classic white with pastels or vibrant hues and watch your ghosts dance!
-
Accessory Customization: Experiment with different hat designs or bow styles. Play with seasonal colors to match the time of year, making your ghosts even more enchanting.
-
Size Adjustments: By adjusting hook size and yarn weight, you can create a whole family of ghosts—from charming miniatures to grand specters!
-
Textured Embellishments: Add fun edges like pom-poms or fringes to your ghosts. These playful touches give them character and charm that captivates the eye.
-
Unique Faces: Personalize each ghost with embroidered expressions or safety eyes. This little change gives them individual personalities and adds to the whimsy.
-
Grouping for Décor: Create a delightful grouping of varying sizes and colors. Arranging them together makes a playful statement piece for any room—perfect for seasonal decor!
As you dive into these variations, don’t forget to explore the beautiful techniques found in the Invisible Join Seamless for crafting those flawless edges! Whether you’re adding a witch hat or a playful bow, your custom ghosts will bring holiday magic to your home decor!
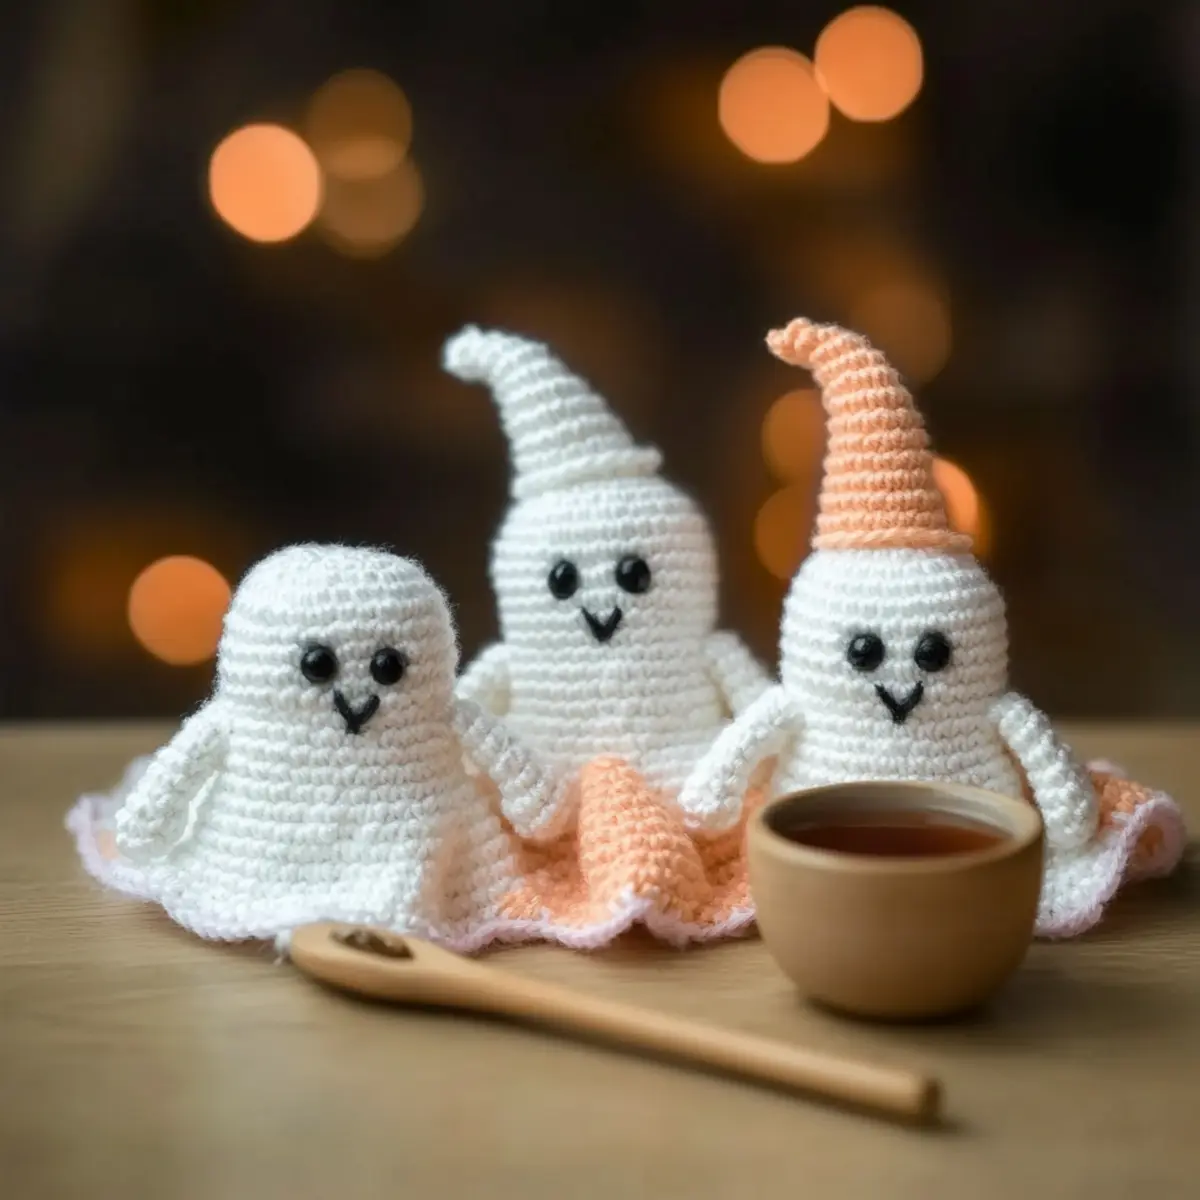
Adorable Beginner-Friendly Amigurumi Ghost Patterns FAQs
Can I substitute the yarn I already have for this pattern?
Absolutely! You can use any worsted weight yarn, such as cotton or bamboo, although 100% acrylic is recommended for its squishy texture. Just keep in mind that if you choose a different fiber type, the drape and appearance may vary slightly.
How can I adjust the size of my amigurumi ghost?
To make your ghost bigger or smaller, simply adjust your yarn weight accordingly. For a tiny ghost, opt for a DK weight yarn, while using bulky yarn will give you a larger ghost. Additionally, you can increase the number of rounds in the body for more height.
Why is my amigurumi ghost curling at the edges?
Don’t panic! If your work is curling like a bowl, it may be due to tension issues or not counting your stitches correctly. Make sure your tension is consistent and count your stitches at the end of each round. If needed, try using a smaller hook size to tighten your stitches.
What hook size should I use?
For this pattern, a 3.75 mm (US size F/5) hook is recommended. However, feel free to adjust based on your yarn choice; using a larger hook may give you a looser tension and a different ghost appearance. It’s always best to check your gauge!
How do I fix a dropped stitch?
It’s an easy fix! Just use your tapestry needle to pull the dropped stitch back up to the current row. Then, carefully work it back into the body of your ghost by securing it with a slip stitch where necessary. This helps maintain your ghost’s shape and integrity.
Can I add other accessories or details to the ghosts?
Absolutely! Adding whimsical accessories like a witch hat or a cute bow is a fantastic way to personalize your ghosts. You can choose colors that match your decor or themed holidays. Creativity is key, so have fun with your embellishments!
Leave a Reply