
In a flurry of colors and textures, crocheting a 3D Flower Granny Square becomes an irresistible passion that showcases your creativity! This delightful pattern, perfect for beginners, invites you to explore a world of cheerful motifs that can brighten any space. With its playful bobble stitches and a charming granny border, this textured design works up quickly, making it an ideal stash-buster for your leftover yarn. Whether you’re crafting cozy blanket squares or stylish bags, you’ll find endless possibilities to personalize each piece. Get ready to unleash your inner artist as you stitch together layers of color and dimension, creating a beautiful addition to your crochet collection. Let’s dive in and start making these vibrant squares that are sure to bring a smile with every stitch!
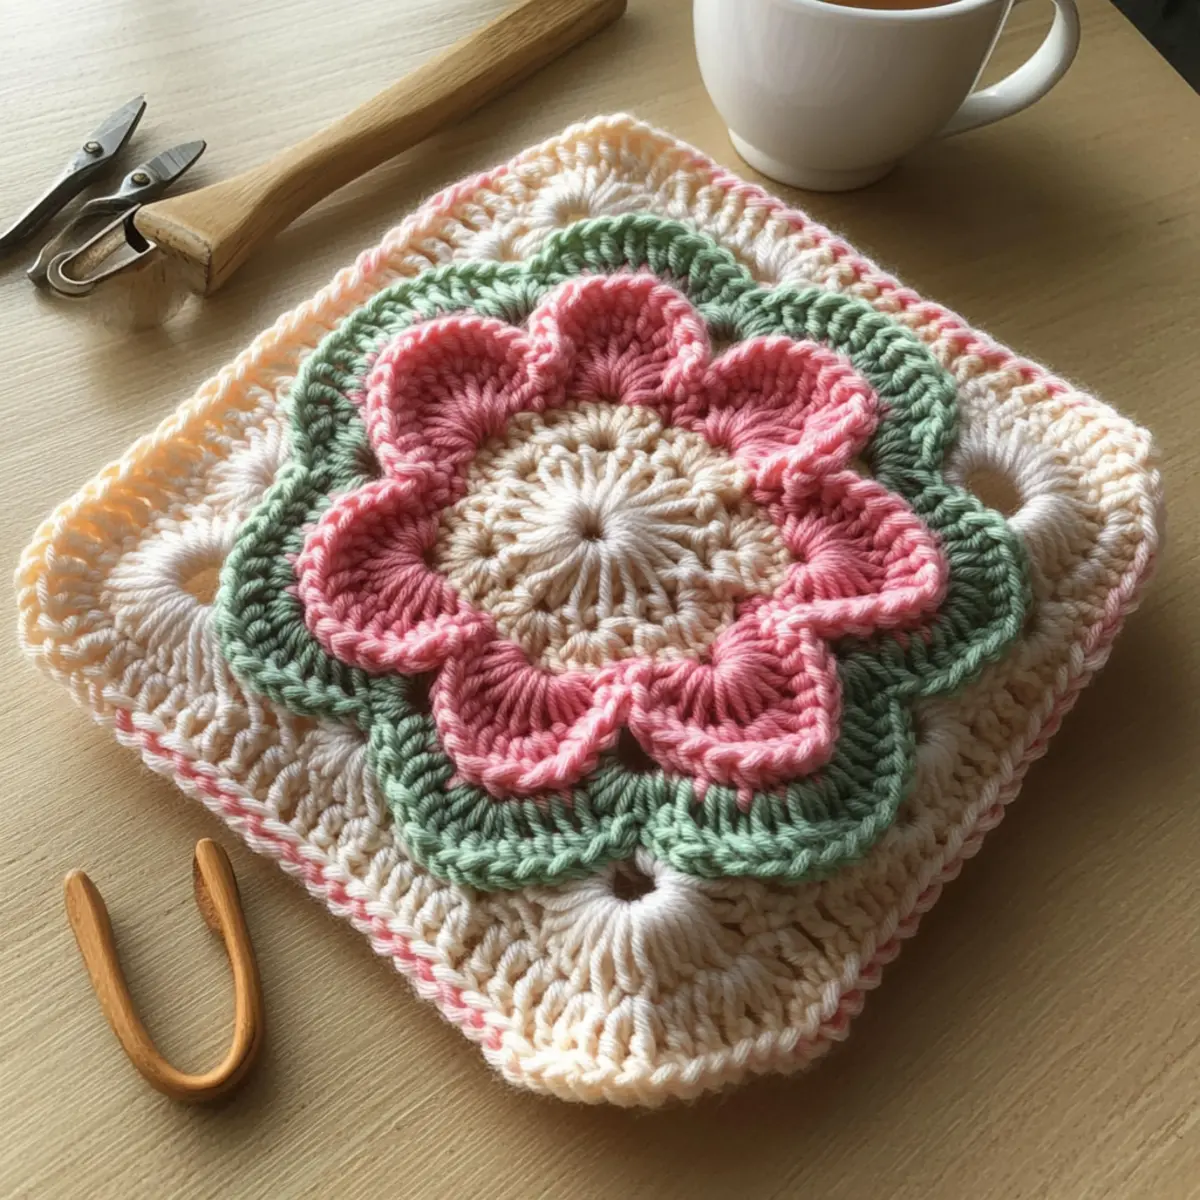
3D Flower Granny Square Materials & Tools
Create your vibrant crochet masterpiece with these essential materials!
Yarn
- DK Weight Yarn – Use 3 colors of DK weight yarn, approximately 25-30 yards each, for a cheerful 3D Flower Granny Square.
Tools & Notions
- 3.00 mm (C/2) Hook – This hook size is perfect for achieving the right tension and texture in your stitches.
- Stitch Markers (Optional) – Helpful for keeping track of rounds, especially as a beginner!
- Tapestry Needle – Essential for weaving in ends and finishing your square crisply.
Why Is This Crochet Pattern So Fun?
**Vibrant **colors: The 3D Flower Granny Square bursts with personality, allowing you to express your unique style through cheerful motifs.
Beginner-friendly: This pattern utilizes simple stitches, making it easy for newcomers to dive right in and create something beautiful.
Textured beauty: With its delightful bobble stitches and dynamic granny border, each square boasts a visual depth that enhances any project.
Quick to make: Perfect for that instant gratification, you can whip up these squares in no time, making them ideal for last-minute gifts or cozy throws.
Versatile: Use your squares to create a range of projects, from blankets to stylish bags—endless possibilities await! Feel inspired to experiment with your favorite color combinations or enhance your crafting skills with our other fun patterns.
Gauge & Sizing Notes
Don’t skip the gauge swatch! It’s crucial for the success of your 3D Flower Granny Square. Aim for a standard gauge of 4×4 inches (10×10 cm) to equal 14 double crochets by 8 rows. If you find your tension isn’t matching this gauge, it may affect how your squares fit together, especially if joining multiple squares in your project. To make this granny square larger, adjust your starting chain in multiples of 3; conversely, if the swatch is too small, simply try using a larger hook size for an easier, looser stitch. Remember, consistent tension will lead to beautifully uniform squares that are a delight to showcase!
Step‑by‑Step Pattern for 3D Flower Granny Square
Round 1: Create the Foundation
Start by making a slip knot and chaining 5. Slip stitch into the first chain to form a ring. Inside this ring, work [2-dc bobble, ch 3] for a total of 8 bobbles. Your work should be a round of bobbles evenly spaced, ensuring a nice shape, with 8 total bobbles (8 sts).
Round 2: Form the Petals
Join white yarn to any ch-3 space from Round 1. Chain 3 (counts as first tr), then work [ch 3, 3 tr, ch 3, sl st] into that same space to create a petal. Repeat this in each of the remaining ch-3 spaces to form 8 petals around the square. Your work should now have a lovely floral appearance (8 petals).
Round 3: Establish the Gaps
Join blue yarn in any chain-1 space from Round 2. Work 1 sc into the chain-1 space, then chain 4. Skip the next petal and sc in the next chain-1 space, repeating [sc, ch 4] around for a total of 8 gaps between petals. The gaps between your work will add dimension to the square as you progress (8 gaps).
Round 4: Begin the Granny Border
Continue with blue yarn; in any ch-4 space from Round 3, work [3 dc, ch 1, 3 dc] to form a corner. In the next ch-4 space, work 3 dc and then ch 1. Repeat this sequence around, with 3 dc in each ch-4 space and corners completed in every ch-4 space. Your edges will start to take form with a lovely granny stitch look (60 sts).
Round 5: Add Depth to the Border
In this round, continue using blue. For each ch-1 space from Round 4, work [5 dc], then ch 1. As you get to the corners, work the same 3 dc, ch 1, 3 dc sequence. This round will enhance the texture and dimension of your border, creating a lovely depth to your 3D Flower Granny Square (84 sts).
Round 6: Finalize the Granny Border
Join white yarn in any corner space. Work [3 dc, ch 1, 3 dc] in each corner as before, and then work 1 dc in each dc across the edges. This final layer will tidy up the square, giving it a polished granny square look with defined edges, preparing for the finish (108 sts).
Round 7: Finishing Touches
For finishing, sl st to the top of the first dc to join. Cut yarn, leaving a long tail for weaving in ends. Gently block your square to achieve uniform edges and enhance the 3D flower shape. Your beautiful 3D Flower Granny Square is complete and ready to showcase your creativity!
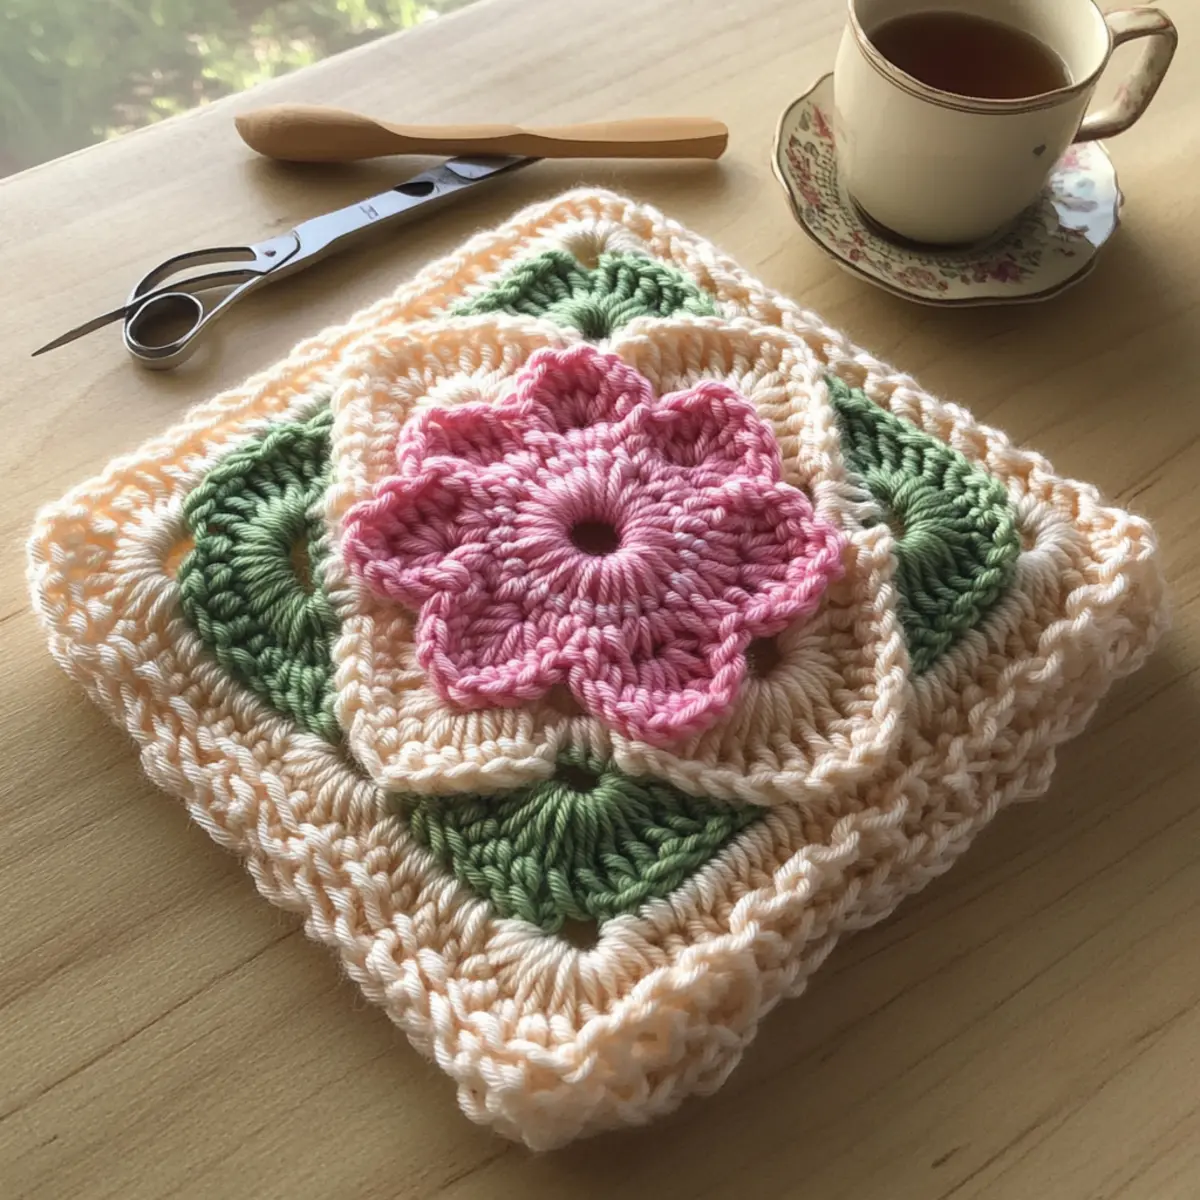
Expert Tips for 3D Flower Granny Square
-
Count Carefully: Keeping track of your stitches is essential. Use a stitch marker to mark the beginning of each round to prevent any lost stitches.
-
Maintain Tension: Consistent tension creates a polished look. Experiment with how tight or loose you hold your yarn while working, especially with treble stitches.
-
Pull Bobbles Tight: For beautifully defined bobbles, pull them snugly as you work. This technique gives your square dimension without excess bulk.
-
Block Your Squares: Blocking helps achieve uniform edges and smooths out any irregularities. Gently reshape each square after you finish crocheting to enhance their visual appeal.
-
Join Squares Properly: If crafting a larger project, use slip stitches or single crochet to join your squares tightly. This ensures a neat finish and prevents gaps.
Variations & Substitutions
Explore beautiful ways to customize your 3D Flower Granny Square!
- Yarn Substitutions: Switch to sport weight for a lighter, drapier square that adds a breezy feel to your projects.
- Color Blocking: Try alternating colors every round for a fun, dynamic look that showcases your creativity and keeps things lively.
- Fiber Alternatives: Use cotton yarn for a breathable square that holds its shape well in warm weather projects or add a touch of luxury with a bamboo blend.
- Size Adjustments: For larger squares, simply add extra rounds—increase by four rounds for a blanket perfect for snuggling.
- Adding Texture: Incorporate fringe along the edges to elevate the square’s dimensions, adding a whimsical element to your creation.
- Floral Center: Replace the bobble stitches with a flower motif for a different take on the center, giving your square a fresh aesthetic.
- Explore Borders: Experiment with a scalloped or picot border instead of the granny stitch edge for a dainty finish that enhances the square’s charm.
- Make It a Motif: Instead of just one square, create an entire set of mismatched squares for a unique patchwork blanket or tote and explore all the playful combinations.
Embrace the freedom of creating, and if you’re interested in more inspiring designs, take a glance at our beginner-friendly crochet patterns or explore tips on how to mix and match yarn colors effortlessly. Happy stitching!
Care Instructions for 3D Flower Granny Square
Hand Washing: Gently hand wash your finished squares in cold water with a mild detergent to maintain the vibrant colors and texture. Avoid agitation to prevent felting.
Drying/Blocking: After washing, reshape your squares and lay them flat on a towel to air dry. This will help maintain the structure and beautiful 3D effects of the granny square.
Storage: Store your finished squares in a cool, dry place away from direct sunlight to preserve their colors and prevent any damage. Keep them neatly folded to avoid creases.
Avoid Heat: Do not use heat when drying or blocking the 3D Flower Granny Square. Heat can alter the yarn’s texture and lead to undesirable wrinkles or shrinkage.
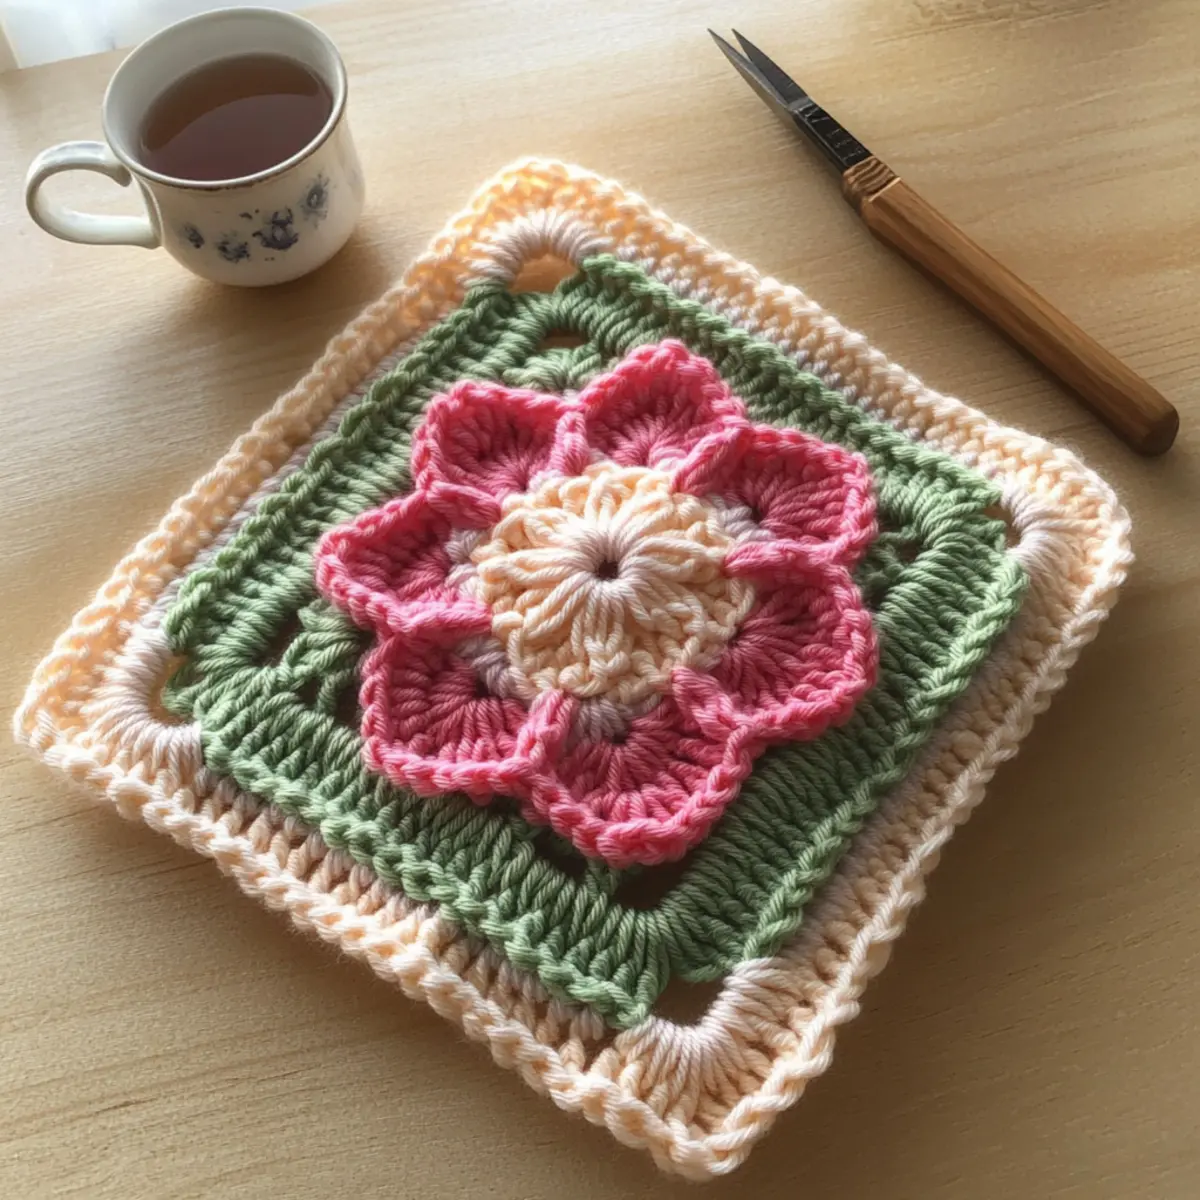
3D Flower Granny Square FAQs
Can I use different yarn types for this pattern?
Absolutely! While DK weight yarn is recommended, you can certainly substitute it with light worsted or worsted weight yarn. Just remember that your square may end up larger or smaller, depending on the yarn’s thickness. A cotton yarn can give a lovely drape, while acrylic offers cozy warmth.
How can I make my 3D Flower Granny Square larger or smaller?
To adjust your square size, you can add extra rounds. Each round typically adds about 0.5 inches, so if you want a larger square, simply repeat the rounds! For a smaller version, you can use a lighter yarn and a smaller hook, or reduce the number of rounds. Just remember to keep an eye on your stitch count!
What can I do if my work is curling?
Don’t panic! Curling often occurs because of tight tension, particularly with bobble stitches. To fix this, check your tension while working, and try using a larger hook size! If your square is already made, blocking it can help it lay flat.
Which hook size is best for this pattern?
For the 3D Flower Granny Square, a 3.00 mm (C/2) hook is ideal, but feel free to experiment! If you’re using a heavier yarn, a larger hook will create a looser and airier square. Always check your gauge if you’re concerned about the final size!
How do I fix dropped stitches in my granny square?
It’s an easy fix! Simply locate the dropped stitch, pull the working yarn back to the row beneath, and complete the stitch as you normally would. If the stitch is especially tricky, you may use a tapestry needle to weave it back into place.
Could I use different stitch patterns within the square?
Definitely! This pattern is versatile, allowing you to mix in other stitches like half double crochet or even different granny square techniques to create a unique look. Just keep in mind that varying stitches may affect the overall tension and size of your square.
Leave a Reply