
With a gentle squish and playful bounce, the crochet cluster stitch welcomes you into a world of textured creativity! This beginner-friendly crochet lesson will guide you through the magic of the cluster stitch, bringing charm to your cozy projects like scarves and blankets. Perfect for enhancing your yarn stash, this versatile stitch is not only reversible, but also packed with personality, offering a beautiful fabric that gleams with warmth and character. As you master fun variations—like the 2dcCL or the 4dcCL—you’ll quickly see how easy it is to elevate your crochet skills. Ready to create something special? Let’s dive in and enjoy the delightful journey of crocheting clusters together!
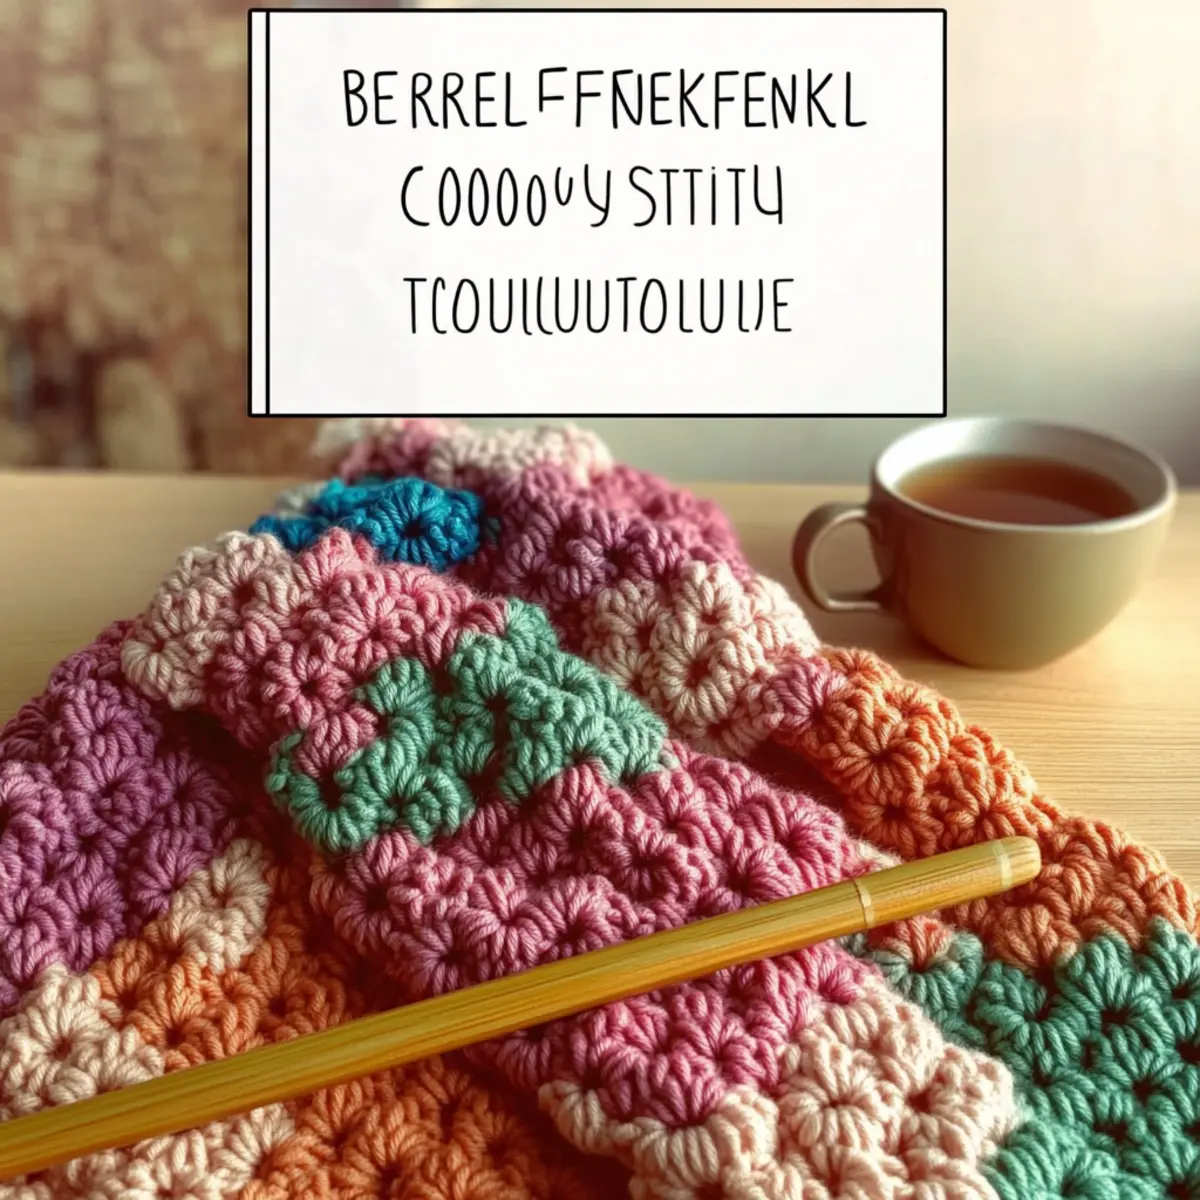
Beginner-Friendly Crochet Cluster Stitch Materials & Tools
-
Yarn
• Worsted Weight Yarn – Look for acrylic or cotton fibers, crafting a delightful texture perfect for cozy accessories.
• 100-150 yards – This yardage addresses the needs of a sample project, making it a great choice for beginners. -
Tools & Notions
• 5.5 mm (I/9) Hook – This is the ideal size for achieving the perfect tension with the cluster stitch.
• Stitch Markers – Use these handy helpers to easily track your rounds throughout your project.
• Tapestry Needle – A must-have for weaving in ends and finishing off your beautiful cluster stitch creations.
With these materials in hand, you’re all set to explore the enchanting world of the cluster stitch!
Why is the Cluster Stitch a Must-Try?
Versatile for Any Project: The crochet cluster stitch is perfect for creating everything from cozy blankets to trendy accessories, allowing you to adapt it to your unique style.
Beginner-Friendly: With its clear step-by-step tutorial, even novice crocheters can grasp this stitch quickly, boosting confidence and creativity!
Reversible Beauty: The reversible nature means both sides look stunning—ideal for shawls, scarves, and home decor.
Experiment with Variations: Try your hand at different cluster sizes, such as the 2dcCL or 4dcCL, to create depth and texture in your projects.
Aesthetically Pleasing Fabric: The dense, squishy texture adds warmth and comfort, making your finished items not just look fabulous, but feel fantastic too!
Ready to start your crochet cluster journey? Check out our beginner-friendly crochet projects to find the perfect pattern to showcase your new skill!
Gauge & Sizing Notes
Don’t skip the gauge swatch! Ensuring the correct tension is essential for achieving the desired fit and drape in your Beginner-Friendly Crochet Cluster Stitch projects. For this tutorial, aim for a gauge of 12 stitches by 10 rows in a 4×4 inch (10×10 cm) square. If you’d like to make your project larger, increase your starting chain in multiples of 2 for each row, or adjust the number of rounds accordingly to absorb the texture beautifully. If your swatch is too small, simply try going up a hook size for a looser fabric, allowing your crochet clusters to shine in their full glory!
Step‑by‑Step Pattern for Beginner-Friendly Crochet Cluster Stitch Variations Guide
Row 1: Foundation Chain
Begin by making a foundation chain of 30 chains. This will serve as the base for your crochet cluster stitch rows. Be sure to maintain a comfortable tension to ensure your work lays flat. Once completed, your chain should measure approximately 10 inches in length.
Row 2: First Row of Clusters
In the 4th chain from your hook, yarn over and work a cluster stitch (2dcCL) by inserting the hook into the chain, yarn over, pulling up a loop (3 loops on hook). Yarn over again, pull through 2 loops, then repeat in the same chain for a total of 3 clusters. Continue this pattern across the row until you reach the end, ensuring you have 14 clusters formed (14 clusters).
Row 3: Transition to Next Rows
For Row 3, chain 3 (counts as the first dc), turn your work, and start your first cluster in the first cluster of the previous row. Continue working 2dcCL into each cluster from Row 2 until you reach the end. Your work should begin to develop a lovely bumpy texture with the clusters emerging beautifully (14 clusters).
Row 4: Adding Depth with 3dcCL
Now, let’s add depth! Chain 3 and turn your work. In the first cluster, start a 3dcCL (3 double crochet cluster) instead of the 2dcCL. To do this, yarn over twice, insert your hook into the same cluster, yarn over, and pull up a loop (4 loops on hook). Yarn over and pull through 2 loops three times. Repeat this cluster in each subsequent cluster across the row to create a thicker texture (14 clusters).
Row 5: Creating Reversible Texture
To highlight the reversible aspect, chain 3, turn your work, and repeat the 3dcCL in the first cluster again. Continue working 3dcCL across each cluster from Row 4. This will enhance the lushness of your fabric, making both sides look stunning. Your project should feel dense and cozy at this stage (14 clusters).
Row 6: Finalizing the Sample
For the last row, chain 1 and turn your work. Work a sc (single crochet) in each cluster across. This will help to finish off the edge and give your project a neat appearance. Feel free to adjust the stitch counts according to your project needs. Your cluster stitch sample should now have a beautiful, fluffy top with a sturdy bottom (30 sts).
Step 7: Weaving in Ends
Once your crochet cluster stitch sample is complete, it’s time to weave in the ends. Use a tapestry needle to gently weave the tail ends into the fabric, securing them. Make sure to weave in at least an inch for a stable finish. With your ends securely tucked away, your beginner-friendly crochet cluster stitch project is ready to shine!
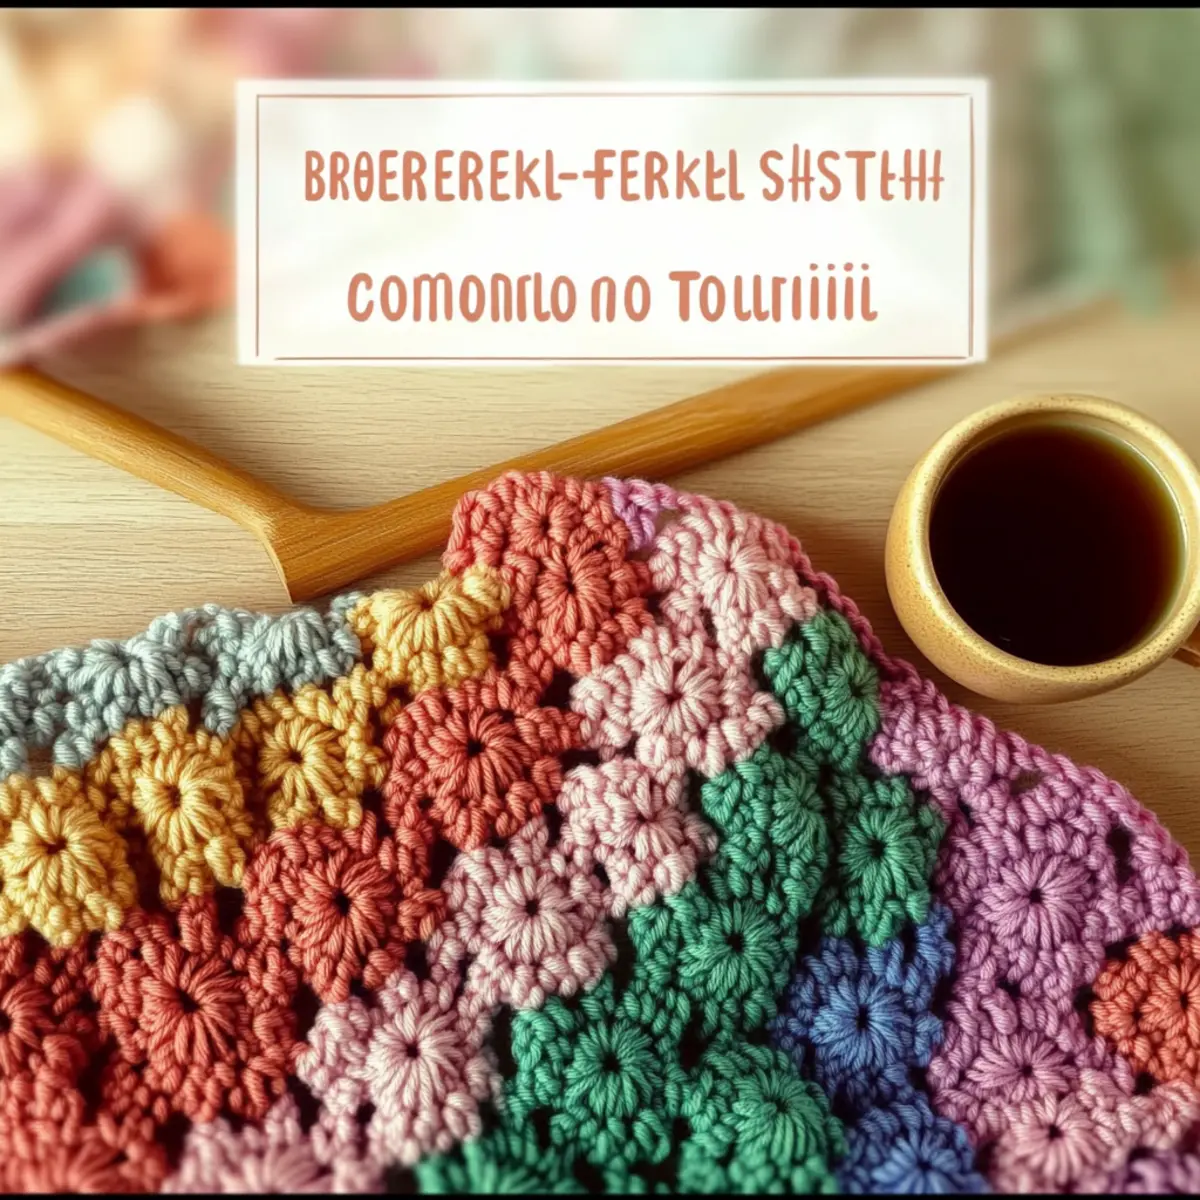
Crochet Cluster Stitch Variations
Dive deep into the world of crochet creativity and invite your imagination to flourish with personalized twists!
-
Yarn Weight Swaps: Use a lighter yarn like DK for a more delicate look, perfect for lightweight summer accessories.
-
Fiber Alternatives: Experiment with cotton for a breathable fabric, ideal for stylish dishcloths or summer shawls. Cotton adds a lovely sheen.
-
Color-Blocking Ideas: Alternate colors every few clusters to create bold stripes. This fun technique can really brighten up your blanket or scarf!
-
Sizing Adjustments: Change the hook size to create larger or smaller items. A bigger hook will yield a more airy feel—perfect for shawls.
-
Cluster Variations: Try increasing the number of double crochets in your clusters; a 5dcCL will add extra texture and body to your projects.
-
Pom-Pom Finishes: Add a playful pom-pom to the end of a scarf or hat using leftover yarn. It’s a charming detail that elevates your work!
-
Elegant Borders: Consider a decorative border to finish items with style. Simple shells or a scalloped edge can frame your cluster stitch beautifully.
-
Fringe Accents: Attach fringe to the ends of your crochet projects for a trendy bohemian touch. It’s a great way to use up extra yarn and add movement!
Explore more ways to enhance your crochet journey by checking out our insightful tips on beginner-friendly crochet projects and discover how to elevate your crafting experience. Each stitch is a step towards your own unique creations!
How to Wash and Care for Your Crochet Cluster Stitch
Machine Washing: Use a gentle cycle with cold water for acrylic projects to avoid agitation that can lead to felting or pilling.
Hand Washing: For cotton items, hand wash in cold water with mild detergent. Gently swish your piece and avoid twisting to maintain its integrity.
Drying/Blocking: Lay your crochet piece flat to dry, reshaping as necessary. Avoid hanging, as this can stretch the fabric out of shape.
Storage: When storing, keep your crochet cluster stitch creations in a cool, dry place, away from direct sunlight to protect the colors and fibers.
Expert Tips for Cluster Stitch
- Stay Counted: Always count your stitches at the end of each round. This helps maintain your shape and prevents warping your work as you create those lovely crochet clusters.
- Practice Makes Perfect: Before diving into your main project, practice the cluster stitch on a small swatch. This builds confidence and helps avoid mistakes when working on larger pieces.
- Mind the Tension: Keep your tension consistent throughout your work. Loose stitches can lead to an uneven appearance, while overly tight stitches can make your fabric stiff and difficult to work with.
- Secure Finishing: When finishing off your clusters, weave in ends securely with a tapestry needle to ensure longevity in your finished piece. This is especially important for items that will see regular use!
- Swatch It Out: Before starting your larger project, make a tension swatch! It will help ensure your finished item meets size requirements, especially when using varying yarns.
- Embrace Mistakes: If you drop a stitch or forget a cluster, don’t fret! Just unravel and start again—each mistake is a step towards becoming a more skilled crocheter.
Dive into creating with confidence as you crochet those beautiful clusters!
Beginner-Friendly Crochet Cluster Stitch Tutorial FAQs
Can I substitute acrylic yarn with cotton for this project?
Absolutely! While the pattern recommends worsted weight acrylic or cotton yarn, you can choose cotton for a more breathable fabric. Just remember that the texture may differ slightly, and your final project might drape differently, but it can be a beautiful choice for warmer weather accessories.
How can I adjust the size of my crochet project using the cluster stitch?
To make your project larger, simply add more clusters by increasing your starting chain. For instance, if you’re using the cluster stitch in a blanket, make sure your initial chain is a multiple of the stitch count required for the clusters plus any additional stitches you need to reach your desired width—typically something like chain in multiples of 3 + 1.
Why is my work curling when I use the cluster stitch?
Don’t panic! Curling often occurs due to tight stitches, which can be resolved by adjusting your tension. Ensure you’re not pulling too tightly when making each cluster. A quick fix is to relax your grip on the yarn and try it again; practicing on a larger swatch can help you find that sweet spot!
What size hook should I use for the cluster stitch variations?
For a beginner-friendly experience, I recommend using a size 5.5 mm (I/9) hook, which works beautifully with worsted weight yarn. If you’re using a different yarn weight, you might consider adjusting the hook size accordingly—just make sure to check your tension!
How do I fix dropped stitches in my cluster stitch pattern?
It’s an easy fix! Simply unravel to the last completed stitch and rework your clusters. If you notice a dropped stitch in a cluster, you can also insert your hook back into the stitch, yarn over, and pull through as if you were redoing that section. Take your time, and don’t let mistakes discourage you!
What should I do if my gauge isn’t matching the recommended tension?
No worries! A mismatch in gauge is common, especially when experimenting with different yarns. If your gauge is larger, try using a smaller hook size; if it’s smaller, switch to a larger one. Always remember to do a tension swatch before jumping into your project to ensure your finished piece will turn out as intended!
Leave a Reply