
As I sifted through my yarn stash, a brilliant idea sparked—what if I turned those colorful remnants into a stunning Granny Square Crochet Dress? This delightful project not only allows me to showcase my creativity with a fun join-as-you-go technique but also transforms leftover yarn into a flattering piece that curves around the body beautifully. Perfect for crafters of all levels, this dress features an easy-to-follow tutorial, ensuring that both beginners and seasoned crocheters can embrace its charm. Plus, with multiple size options, you can adjust the fit to your liking, making it the ultimate stash-buster. Ready to make your wardrobe more vibrant and unique? Let’s dive into the cozy world of granny squares and bring this dress to life!
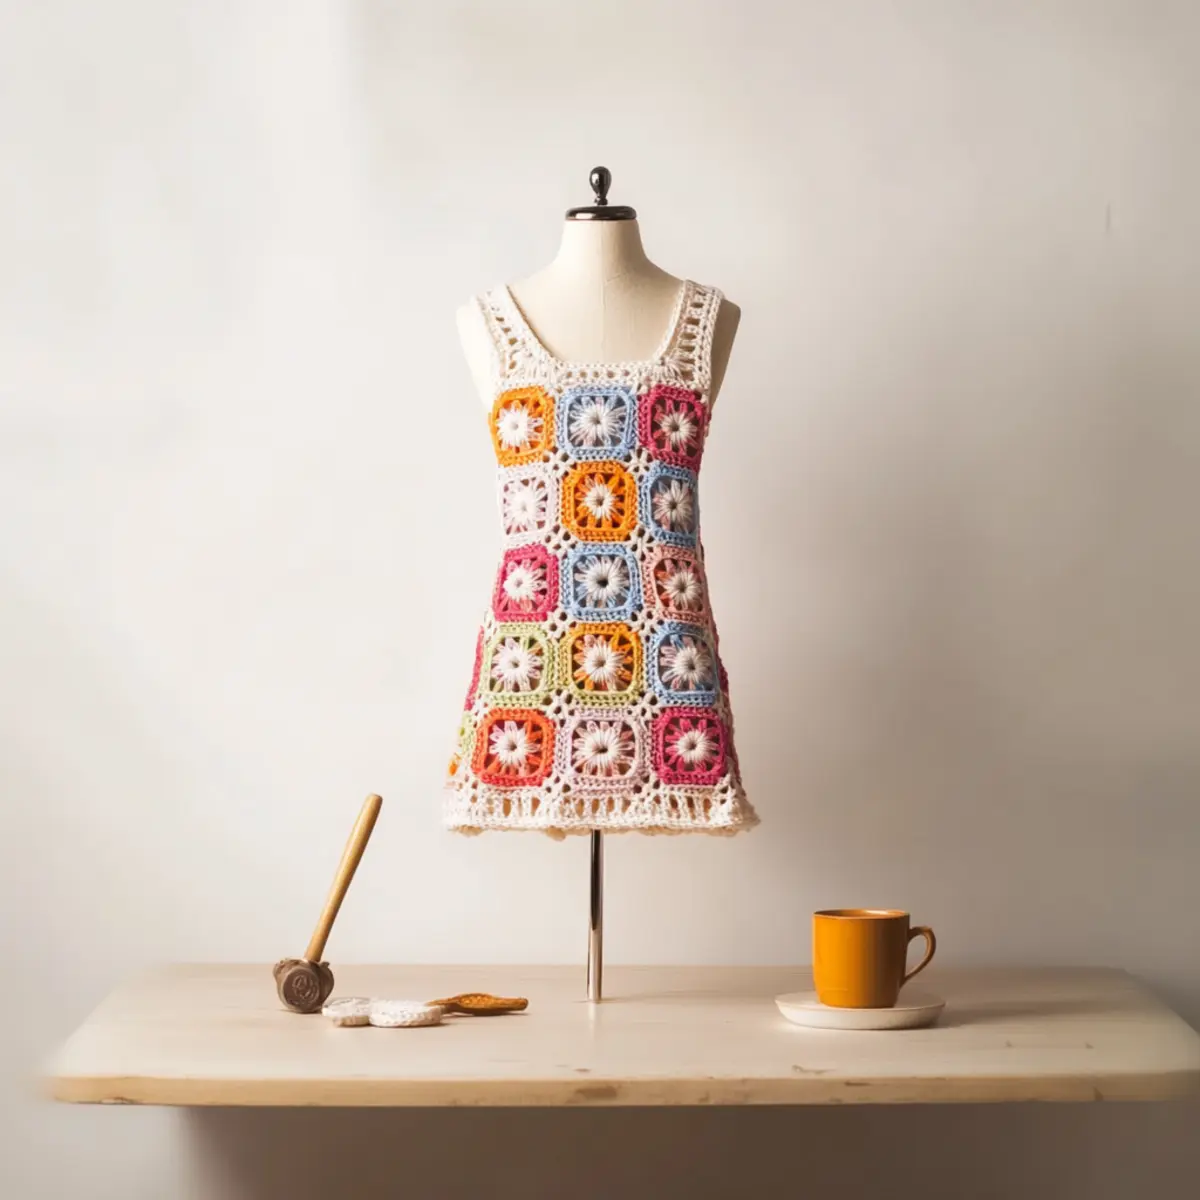
Granny Square Crochet Dress Materials & Tools
Note: Gather these essentials to create your stunning Granny Square Crochet Dress using the join-as-you-go technique!
Yarn
- 8/8 Cotton Yarn – This is your main yarn; feel free to mix colors to brighten up your dress!
Tools & Notions
- 4.0mm (G) Hook – Ideal for working with cotton yarn for a comfortable tension.
- Stitch Markers – Keep track of your rows and stitches for perfect squares.
- Tapestry Needle – Use this for weaving in any ends and securing your squares.
- Buttons (7 total) – 4 pink and 3 light blue (2-3 cm / 1 in) for decorative accents.
Get ready to unleash your creativity and craft a gorgeous dress that celebrates your unique style!
Why is This Dress a Must-Crochet?
Unique Design: This Granny Square Crochet Dress showcases a stunning patchwork of colors, making it a great conversation starter.
Join-as-You-Go Technique: Embrace a seamless and efficient method to connect squares, saving time and yarn! No more cutting and weaving ends—just pure crocheting joy.
Flattering Fit: Crafted for all body types, this dress features detailed waist shaping for an elegant silhouette that flatters every curve.
Beginner-Friendly: With straightforward instructions and a detailed tutorial, even novice crocheters will find this project approachable and rewarding.
Stash-Buster Opportunity: Transform those leftover yarns into a beautiful piece—this project is a fabulous way to utilize your craft stash creatively!
Get started on your crochet adventure and make your wardrobe shine! If you need more inspiration, check out our top crochet patterns for ideas.
Gauge & Sizing Notes
Don’t skip the gauge swatch! Checking your tension is crucial for creating the perfect fit with your Granny Square Crochet Dress. The standard gauge measurement for this project is a 4×4 inch (10×10 cm) square that includes 14 double crochets across and 8 rows down. If you’d like to adjust the sizing, simply increase the starting chain in multiples of 6 to make the dress wider or narrower as needed. If your tension doesn’t match this gauge, don’t worry! If your swatch is too small, try going up a hook size for better results. Happy crocheting!
Step‑by‑Step Pattern for Granny Square Crochet Dress with Join-As-You-Go Technique
Row 1: Starting Your Granny Square
Begin your Granny Square by making a magic ring (or ch 4, join with sl st to form a ring). Inside the ring, work 3 dc (double crochet) to create the first cluster, then ch 2 to form the corner. Make 3 dc into the ring, then ch 2 again. Repeat this sequence twice more for a total of 4 clusters and 4 ch-2 spaces. Join with a sl st to the top of the first 3 dc (total 12 sts).
Row 2: Expanding Rows
Ch 3 (counts as first dc), then 2 dc in the first ch-2 space. Ch 2, work 3 dc in the same space to form a corner. In each ch-2 space, repeat (3 dc, ch 2, 3 dc) to create corners, and between corners, work 3 dc for straight sections. At the end of the row, join with a sl st to the top of the initial ch-3. You should have 24 stitches (total).
Row 3: Adding More Depth
Ch 3, then 2 dc in the same ch-2 corner space. In each straight section, work 3 dc. Join each corner again with (3 dc, ch 2, 3 dc). As you complete this row, count your stitches to see 36 in total (including the corners), and your square should start to curl slightly as it grows larger.
Row 4: Finishing Squares
Continue expanding your granny square by repeating Row 3. In each ch-2 corner space, work (3 dc, ch 2, 3 dc) and in between, work 3 dc. Join at the end with a sl st to the ch-3 at the top. At this stage, your work should look larger and have 48 stitches total (with added corners made).
Step 5: Join-as-You-Go Technique
After completing the desired number of squares, begin joining them by working sl st in the outer stitches of adjacent squares. Position them at the corners and side edges, ensuring a neat appearance while connecting. This method maintains your yarn without cutting, creating a seamless look throughout your Granny Square Crochet Dress.
Step 6: Shaping the Waist
To create defined waist shaping, start decreasing rows by working fewer clusters in each corner (e.g., work (2 dc, ch 2, 2 dc) instead of 3). Keep checking the fit, adjusting the corners and stitches to create an elegant waistline that flatters your silhouette.
Step 7: Completing the Dress Length
Continue adding rows until you reach your desired dress length. For larger sizes, increase your square count to accommodate your hips. Remember to keep checking the length against your own measurements. The dress will take shape beautifully as you add each granny square row.
Step 8: Edging the Dress
Finally, to finish your Granny Square Crochet Dress, add a simple edge by single crocheting (sc) around the entire hemline. Work evenly and make sure to create a neat finish. Add any buttons you wish for flair. Your dress is now complete, showcasing a stunning design and perfect for showing off your crochet skills!
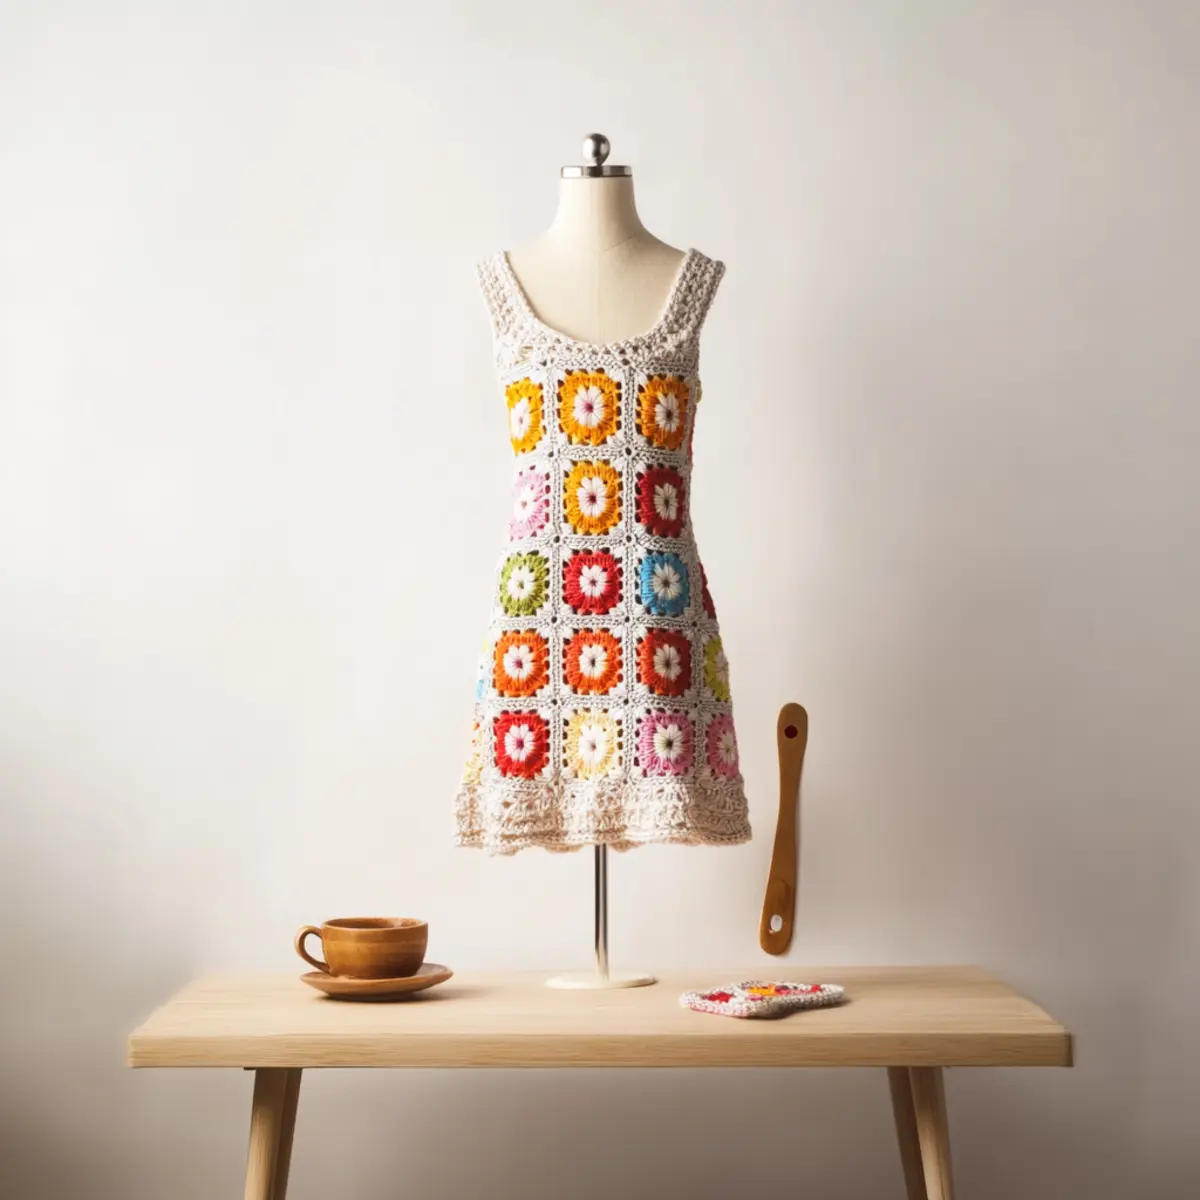
Care Instructions for Granny Square Crochet Dress
-
Hand Washing: To preserve the beauty and structure of your dress, hand wash it gently in cold water with a mild detergent. Avoid wringing or twisting to prevent distortion.
-
Drying/Blocking: Lay the dress flat on a clean, dry towel to dry. This helps maintain the shape and prevent stretching, ensuring your crochet dress looks stunning for years to come.
-
Storage: Store your dress in a cool, dry place away from direct sunlight. Use a breathable garment bag to protect it from dust while keeping the cotton yarn safe.
-
Avoid Heat: Never machine wash or dry the dress, as high temperatures can lead to felting or warping of the cotton yarn, diminishing its lovely shape.
Granny Square Dress Variations & Substitutions
Feel free to make this delightful dress your own with these fun variations and substitutions!
- Yarn Weight Swaps: Consider using a lighter weight yarn for a summer version. This will provide a breezy feel while keeping the same gorgeous design.
- Fiber Alternatives: Opt for acrylic yarn for a budget-friendly choice—it’s sturdy and comes in various colors, allowing for endless creativity.
- Color Blocking: Play with color combinations! Create vertical stripes or fun gradients to add a lively twist that reflects your style.
- Length Modifications: Easily adjust the length of your dress by adding or omitting rows of granny squares. Embrace a mini dress style or go full length!
- Sizing Adjustments: If you’re in between sizes, don’t hesitate to customize the number of squares in the bodice. This quick fix can enhance fit and comfort.
- Textured Additions: Add playful pom-poms or delicate fringe to the hem for an eye-catching touch. These little details can lend a unique flair to your creation.
- Interactive Borders: Consider adding a contrasting border around the neckline or hemlines. This can provide a polished finish that elevates the entire look.
- Button Variation: Choose buttons in stunning metallic or wooden finishes for a charming rustic appeal, complementing your selected yarn colors beautifully.
Having fun while crocheting is vital, so let your creativity flow! For more ideas, browse our collection of top crochet patterns and see what inspires you next!
Expert Tips for Granny Square Dress
-
Mind Your Tension: Ensure that your tension is consistent throughout the project. Uneven tension can lead to misshaped squares that don’t connect well!
-
Count Your Stitches: To prevent losing count, mark your rows with stitch markers or a notepad. This helps maintain the correct stitch count and ensures a perfect fit.
-
Secure Your Ends: Don’t skip weaving in ends! It’s easy to forget, but leaving them loose can cause unraveling, affecting the overall look of your beautiful crochet dress.
-
Join Wisely: Remember, when using the join-as-you-go technique, don’t cut your yarn between squares unless necessary. This will minimize waste and save you time!
-
Check Your Sizing: Before finishing, try on the dress to ensure the waist shaping is correct. Small adjustments can make a big difference in fit and comfort!
Dive into your crochet project with confidence!
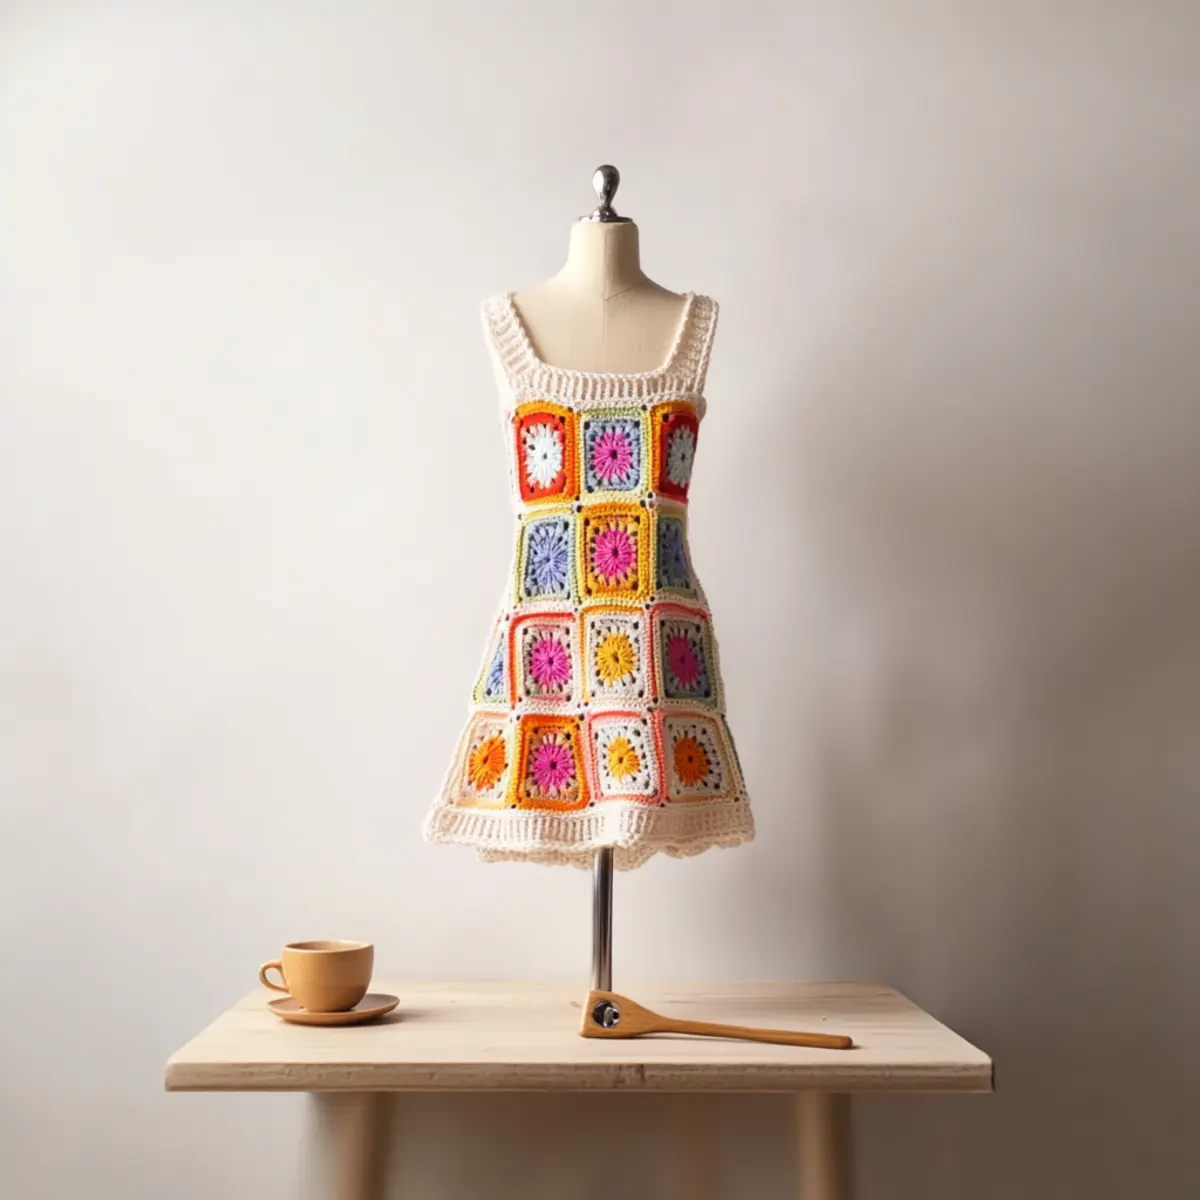
Granny Square Crochet Dress with Join-As-You-Go Technique FAQs
Can I substitute yarn types for this project?
Absolutely! While the pattern calls for 8/8 cotton yarn, you can use other yarns like acrylic or bamboo. Just remember that different fibers may affect the drape and fit, so it’s a good idea to check your gauge and adjust your hook size accordingly!
How do I adjust the sizing for my Granny Square Dress?
To modify the size, you can always add or omit granny squares. For a larger fit, increase the number of squares in both the width and length. If you’re going smaller, simply decrease the number of squares or adjust the number of stitches in each square. A handy rule is to keep your squares in multiples of 3 for even sizing!
Why is my work curling at the edges?
Don’t panic! If your dress edges are curling like a bowl, it’s likely due to tension issues. Check that your stitches are uniform and not too tight. You might also want to try blocking your squares before assembly to help them lay flat.
What size hook should I use?
For this project, a 4 mm / US G/6 / UK 6 hook is recommended. However, if you find your stitches too tight or loose, don’t hesitate to experiment with a different hook size. Just keep checking your gauge to ensure a fantastic fit!
How do I fix dropped stitches in my granny square?
It’s an easy fix! Simply pick up the dropped stitch and work it back into place with a slip stitch or sc, depending on the stitch height. If the stitch has unraveled, carefully rework that section while maintaining your pattern’s flow. Always keep yarn handy to mend those little mishaps!
What should I do if my waist shaping doesn’t seem to fit right?
Check your gauge before you begin. If your dress feels too tight or loose around the waist, you may need to adjust your stitch count in that area. Remember to try on your dress during the process to make small, progressive adjustments for the best fit possible!
Leave a Reply