
As I sat in my cozy corner, surrounded by skeins of vibrant yarn, I felt an urgent need to bring the beauty of spring indoors. This enticing urge birthed the Charming 3D Tulip Granny Square—a delightful project that celebrates floral elegance and bright hues. With its eye-catching red tulip and textured sage leaves contrasting beautifully against a cream backdrop, this pattern captures the essence of a blooming garden effortlessly. Perfect for beginners, it works up quickly, making it a fabulous gift for Mother’s Day or a charming addition to your home décor. Whether you’re looking to brighten up your own space or create heartfelt handmade treasures, this project serves up both a lovely aesthetic and the satisfying joy of crochet. Ready to dive into the world of flowers and yarn? Let’s get stitching!
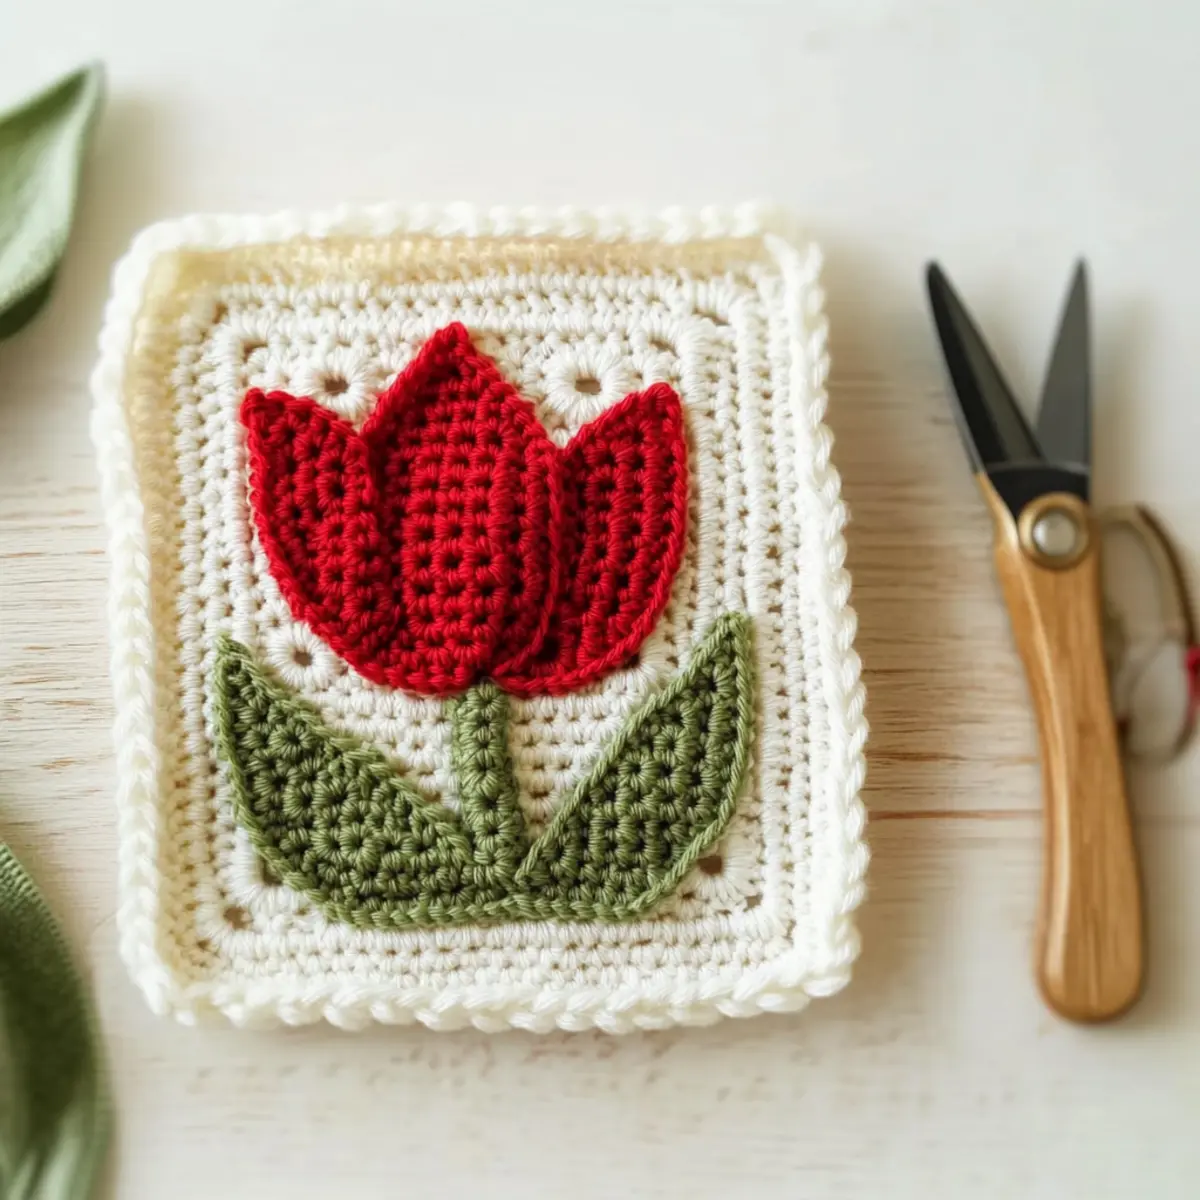
Charming 3D Tulip Granny Square Materials & Tools
Dive into the joy of crafting with these materials to create your stunning tulip-inspired square!
Yarn
- Worsted Weight Yarn – Select three colors of your choice (acrylic or cotton recommended) with approximately 50-70 yards per color to create a vibrant design.
Tools & Notions
- 4.0mm (G/6) Hook – This size is ideal for working up the lovely textures and 3D effects in the tulip granny square.
- Darning Needle – Perfect for weaving in those ends and finishing your square beautifully.
- Scissors – Handy for snipping yarns and making clean cuts as you go.
Get ready to crochet your lovely spring-inspired project!
Why Is This Pattern Perfect for You?
Simplicity Matters: The Charming 3D Tulip Granny Square uses just basic stitches like double crochet and single crochet, making it ideal for beginners eager to expand their skills.
Quick & Rewarding: This pattern works up swiftly, allowing you to create stunning squares in no time—perfect for last-minute gifts or cozy throws!
Natural Aesthetic: The combination of soft cream, vibrant red, and lush sage lends a fresh, garden-inspired vibe that will brighten any space.
Customization Galore: Feel free to play with colors and sizes! Whether you prefer a pastel palette or bold hues, the variations are endless, enabling you to truly make it your own.
Perfect for Special Occasions: Whether for Mother’s Day gifts or personal decor, this pattern adds a heartfelt touch to any occasion. So grab your yarn and check out our crochet tips for additional guidance!
Gauge & Sizing Notes
Don’t skip the gauge swatch! Ensuring your tension is accurate is crucial for the Charming 3D Tulip Granny Square, as the finished size will be affected by your crochet gauge. A standard gauge measurement for this project is 4×4 inches (10×10 cm), which equals approximately 12 stitches by 10 rows in double crochet. If you want to adjust the size of your granny square, increase your starting chain in multiples of 4 for a wider square. Conversely, if your tension swatch is smaller than expected, simply go up a hook size to achieve the desired dimensions. Happy crocheting!
Step‑by‑Step Pattern for Charming 3D Tulip Granny Square
Row 1: Start the Flower Center
Begin with a magic loop. Chain (ch) 3 (counts as first double crochet, dc), then work 11 dc into the loop. Pull the loop tight to close, then slip stitch (sl st) to the top of the beginning ch-3. Your work should now resemble a small circle with 12 dc.
Row 2: Create the Petals
Ch 3 (counts as dc) and make 2 dc in each of the next 11 stitches, creating a total of 24 dc for the petals. Slip stitch to the top of the first ch-3. Your petal shapes should begin to form and look puffy, adding a nice dimension to your flower.
Row 3: Shape the Leaves
Change to a sage green yarn. Slip stitch to the next dc, chain (ch) 5, then work 1 sc in the second ch from the hook, 1 hdc in the next, and 2 dc in the last ch. Slip stitch back into the next dc of the flower. Repeat on the other side to form the second leaf. Your work should have lush green leaves attached to the flower now.
Round 1: Start the Granny Square
Attach your cream yarn to the base of the flower. Chain 3 (counts as first dc) and work 2 dc into the same stitch, then chain 2. In the next space, work 3 dc, chain 2, repeat until you have four corners, making sure to join with a sl st to the top of the initial ch-3. Your project should now look like a blossoming square around the flower.
Round 2: Expand the Granny Square
Ch 3, dc in the same corner space. In each corner space, work (2 dc, ch 2, 2 dc). Between corners, work 3 dc. Repeat for all sides, joining with a sl st to the top of the ch-3. Your square should begin to take shape, with a beautiful frame around the tulip flower.
Round 3: Create Textural Details
Continue with your cream yarn. Ch 3, then make 2 dc in the corner, followed by 1 dc in each dc on the sides between corners. In the corners, still work (2 dc, ch 2, 2 dc). Join with a sl st. The project should feel full and textured, showcasing the lovely flower in a vibrant square.
Step 1: Final Touches
Finish your charming 3D Tulip Granny Square by trimming your yarn and weaving in any loose ends with a darning needle. Block your square gently to maintain the shape, measuring about 4.33 x 4.33 inches. Your fully assembled square should beautifully highlight the tulip flower, ready to brighten your space!
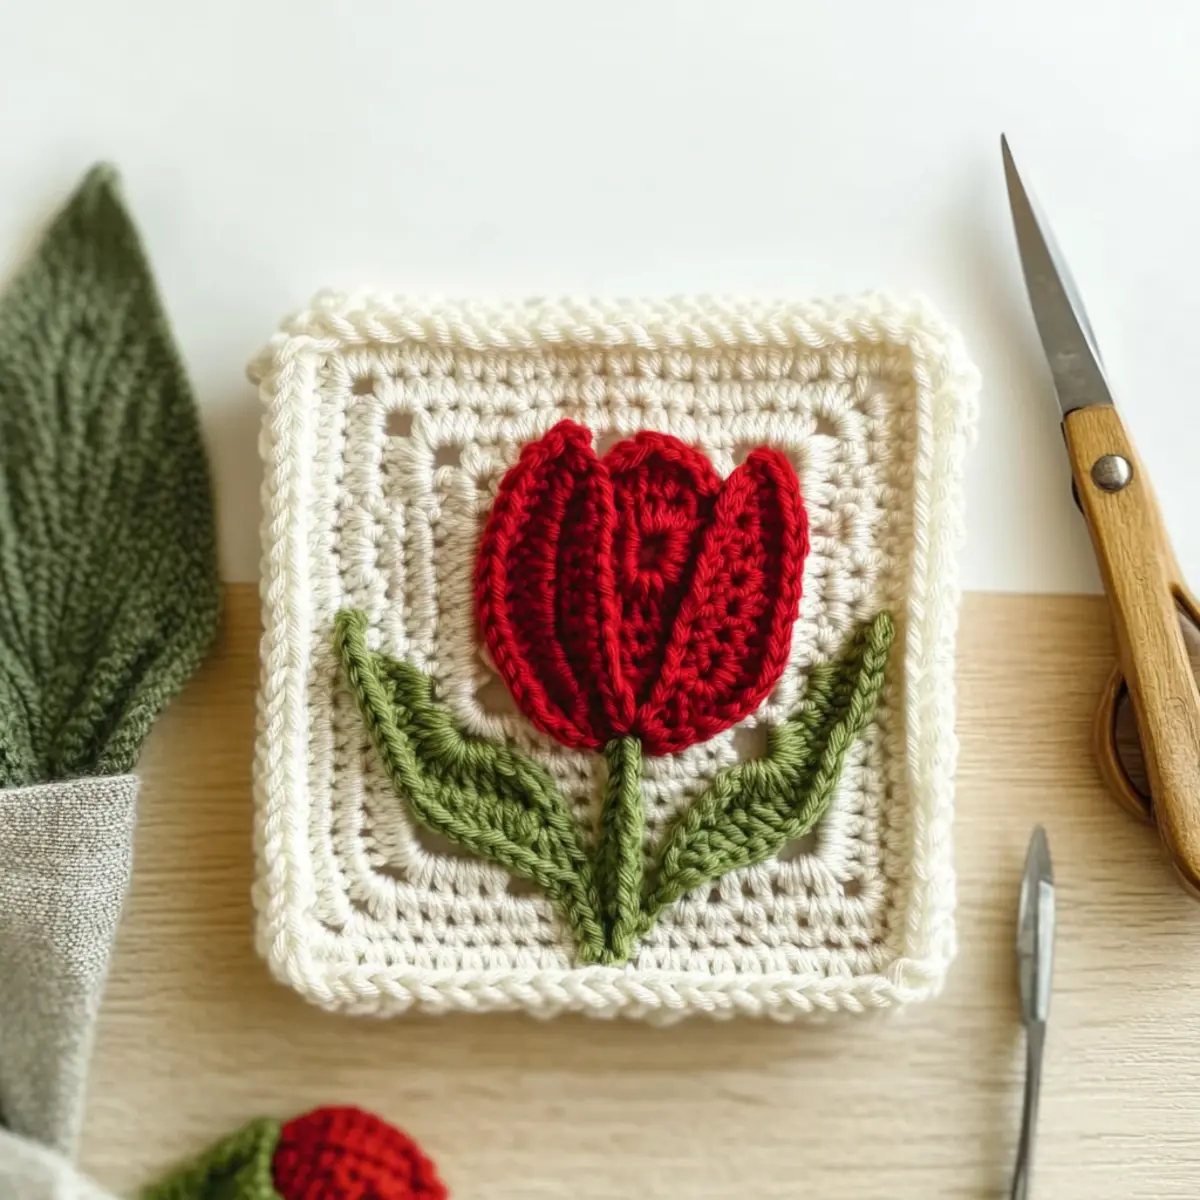
Variations & Substitutions for Your Tulip Granny Square
Feel free to explore different avenues for creating your own unique version of the Tulip Granny Square!
-
Yarn Weight Swaps: Experiment with lighter or heavier yarn weights to find the right thickness for your project. Changing the weight can dramatically affect the square’s drape and size.
-
Fiber Alternatives: Try using natural cotton for a breathable, eco-friendly touch instead of traditional acrylic. Cotton provides a delightful softness, perfect for warmer months.
-
Color Blocking: Create a vibrant color-blocked version by using different colors for each round of the granny square. This playful approach invites creativity and adds a personal flair to your project.
-
Size Adjustments: To make a larger square, simply add more rounds. Conversely, for a smaller motif, start with fewer rounds—adaptable for various finishing needs!
-
Textured Borders: Consider adding a textured border with puff stitches or a simple scalloped edge to elevate your design. This added detail can enhance the overall look and frame the tulip beautifully.
-
Add Fringe: Customize your square with playful fringe around the edges for a boho-chic vibe. It’s a fun way to include texture while keeping it fresh.
-
Pom-Pom Accents: Incorporate pom-poms at the corners of your square for a cute, whimsical touch! These little details can transform your creation into a cherished, happy piece.
For more creative ideas, don’t forget to check out our crochet tips and variations on other motifs to keep your crochet experience exciting!
How to Wash and Care for Your Tulip Granny Square
Hand Washing: Gently hand wash in cool water with a mild detergent to preserve the 3D effects of your tulip and maintain its vibrant colors.
Drying/Blocking: Lay your finished Tulip Granny Square flat on a clean, dry towel to air dry. Avoid hanging to prevent stretching and maintain its shape.
Storage: Keep your square in a cool, dry place, away from direct sunlight, to protect the colors and fibers from fading or damage.
Avoid Agitation: When washing, avoid any agitation to prevent felting or pilling, ensuring your square remains soft and beautiful for years to come.
Expert Tips for the Best Tulip Granny Square
-
Check Your Tension: Ensure your square measures roughly 4.33 x 4.33 inches by checking your tension regularly throughout the project.
-
Count Stitches: After every round, take a moment to count your stitches to maintain the square’s shape and prevent mistakes.
-
Zoom In on Details: If you encounter tricky stitches, click on the tutorial images to zoom in, which helps clarify complex techniques for the tulip motif.
-
Secure Loose Ends: Use a darning needle to weave in loose ends thoroughly; this neatens your finished project and enhances its durability.
-
Take Breaks: Crochet in short sessions to avoid fatigue—this keeps your focus sharp, reducing the chance of losing count or dropping stitches.
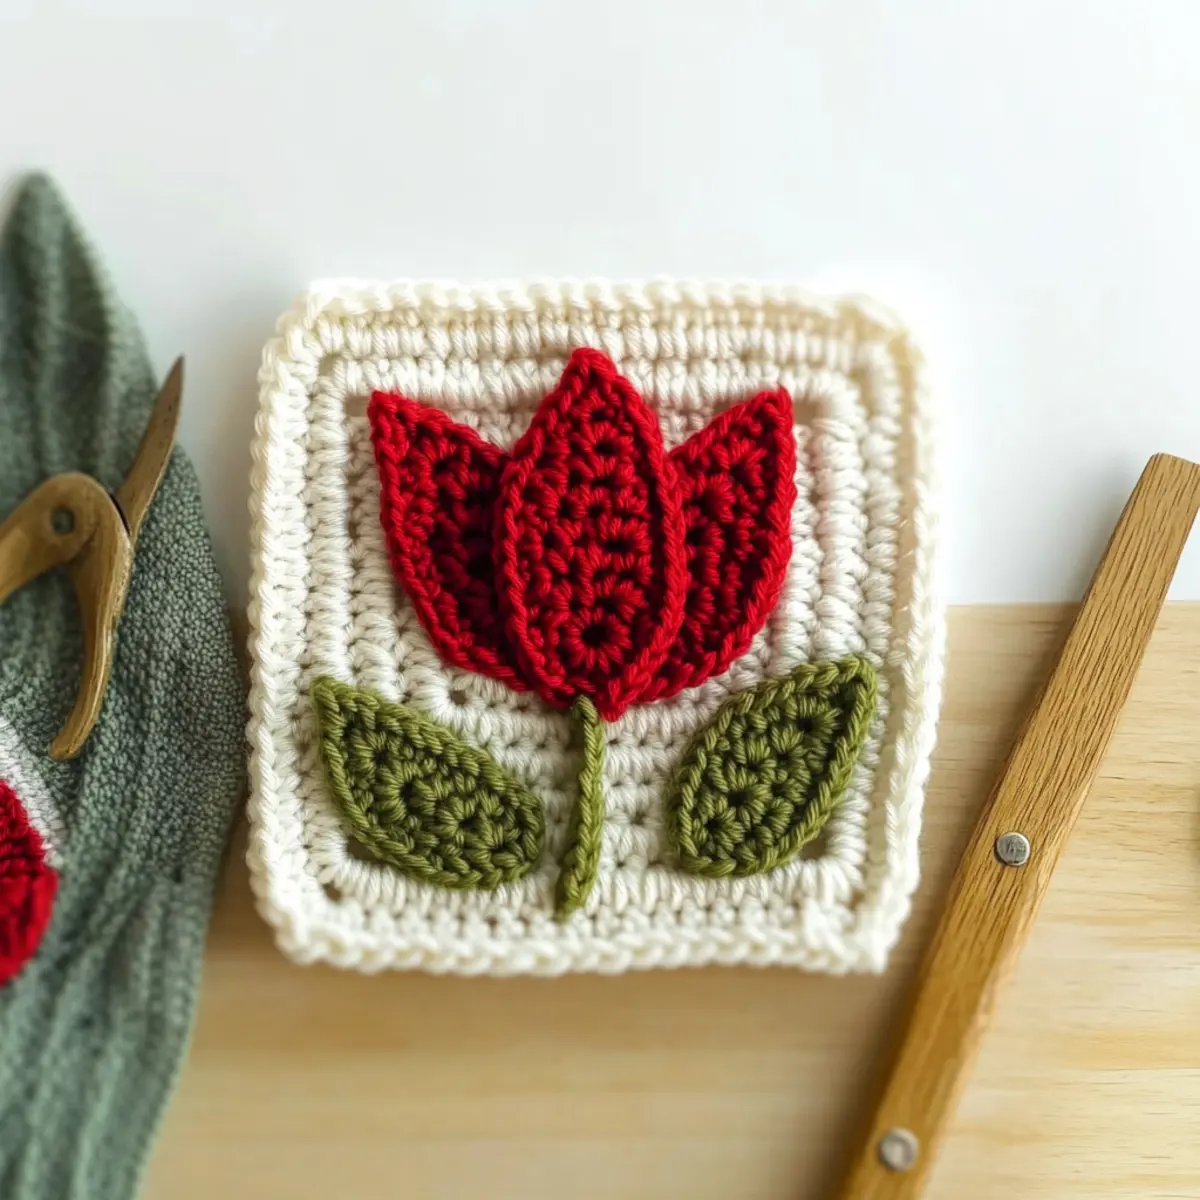
Charming 3D Tulip Granny Square FAQs
Can I substitute yarn types for this project?
Absolutely! While I recommend using worsted weight acrylic or cotton for the Charming 3D Tulip Granny Square, you can substitute with other fiber types like bamboo or wool. Just be aware that different fibers may change the drape and texture of your square, so check your gauge to ensure it measures approximately 4.33 x 4.33 inches.
How do I make my Granny Square bigger or smaller?
It’s easy to adjust the size! To make it bigger, simply add more rounds to your granny square, repeating the pattern for each additional round. To make it smaller, you can reduce the number of rounds or work fewer stitches in each corner. Remember to keep an eye on your stitch count for a balanced shape!
Why is my work curling at the edges?
Don’t panic! Curling edges are a common issue in crocheted squares. This often happens due to uneven tension or not enough stitches being added in the corners. Try adding extra double crochets in the corner stitches or check your tension by making a few practice squares to ensure your work lays flat.
What hook size should I use for the Charming 3D Tulip Granny Square?
I recommend using a 4.0 mm (G/6) hook for this pattern. This size is perfect for working with worsted weight yarn and ensures your stitches have enough elasticity while remaining secure. If you find your tension is too loose or tight, feel free to adjust your hook size accordingly.
How do I fix dropped stitches in my square?
It’s an easy fix! Simply locate the dropped stitch and use your darning needle to carefully lift it back up to the top of the fabric. Alternatively, you can re-crochet the section with dropped stitches by unraveling back to the problematic row and reworking it. Just remember to keep a consistent tension as you go!
Can I add embellishments or variations to my Tulip Granny Square?
Yes, definitely! Experimenting with embellishments like buttons or embroidered details can take your Charming 3D Tulip Granny Square to the next level. You can also try different color combinations or even add more petals to create a fuller flower effect. The possibilities are endless and allow you to personalize your square beautifully!
Leave a Reply