
As I sift through my colorful yarn stash, I can’t help but feel a thrill of excitement at the abundance of possibilities. This “Quick and Easy Flower Granny Square Crochet Pattern” brings that very joy to life! Perfect for those who love to spend a cozy afternoon crafting, these delightful squares are a fantastic way to use up those stray bits of yarn that have been waiting for the right project. Beginner-friendly and versatile, they whip up in no time, allowing you to create charming, vibrant pieces that can be transformed into blankets, bags, or home decor with ease. Each square can be personalized with different colors and sizes, ensuring your project is uniquely yours. Ready to start stitching those cheerful flower squares? Let’s dive in and watch the magic unfold!
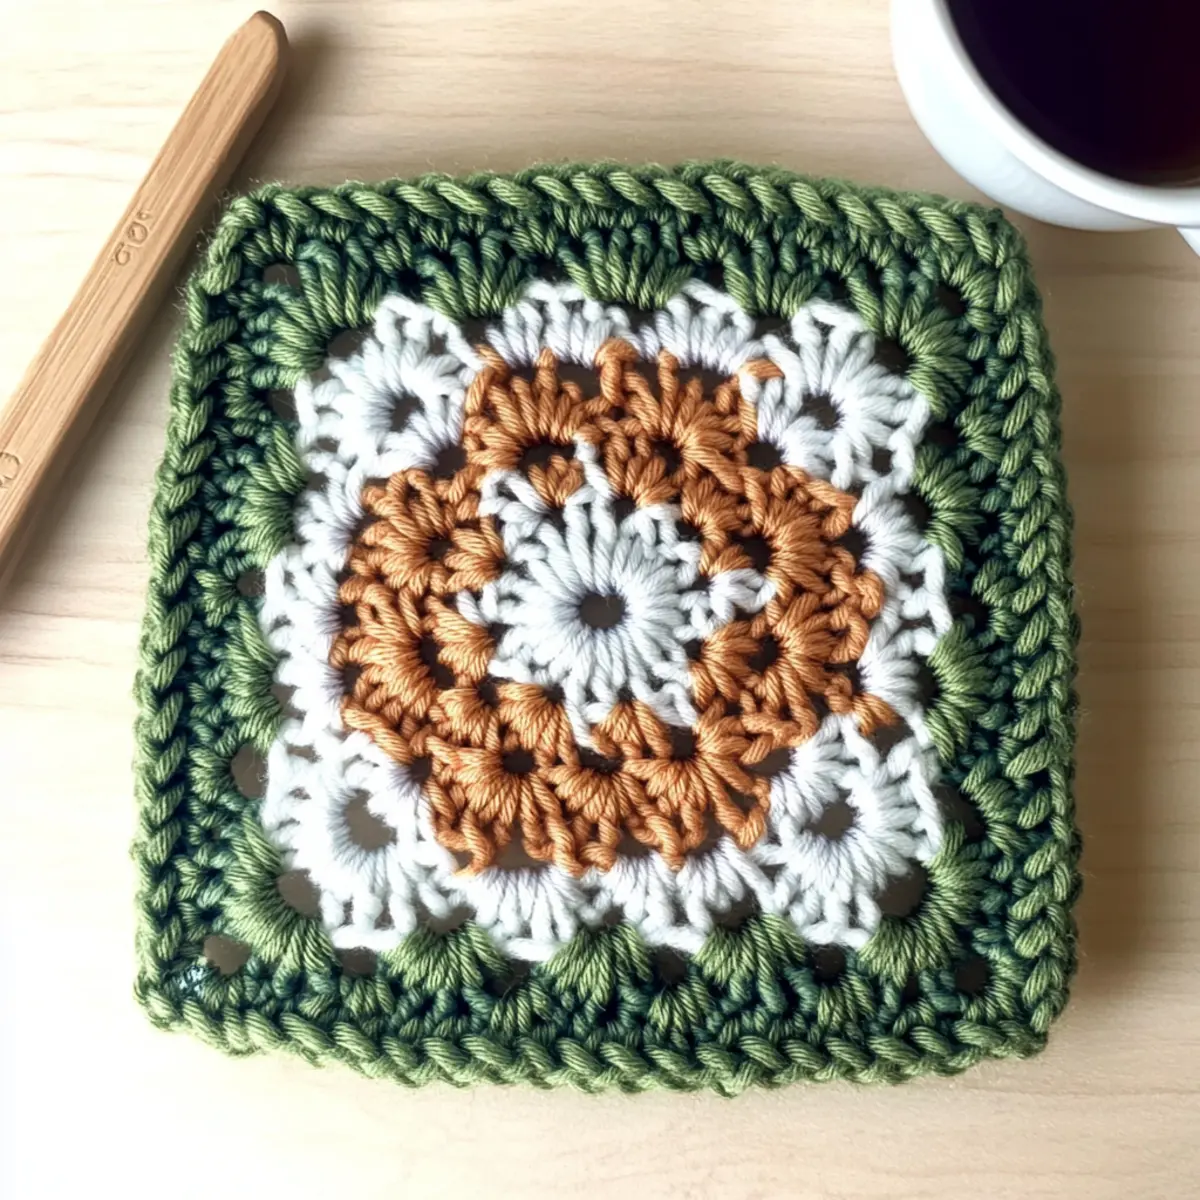
Cozy Flower Granny Square Materials & Tools
Note: This cozy flower granny square pattern is versatile and perfect for using various yarn weights!
Yarn
• Light to Super Bulky Yarn – Yarn weights from #3 to #6 work brilliantly, allowing you to choose based on your desired size.
Tools & Notions
• 10mm (N) Crochet Hook – Ideal for working with super bulky yarn; adjust hook size based on yarn thickness for best results.
• Stitch Markers – Use to keep track of your rounds and ensure your square maintains its lovely shape.
• Tapestry Needle – Essential for weaving in ends and finishing your beautiful squares with care.
Why Should You Try This Pattern?
Quick & Easy: This pattern is absolutely beginner-friendly, featuring simple stitches that allow you to achieve beautiful results in no time.
Versatile Design: Create stunning variations in color and size, making each flower square a unique masterpiece that reflects your style.
Perfect for Scraps: This project is an excellent way to use up leftover yarn, contributing to your stash-busting goals while adding vibrancy to your crafts!
Fun to Customize: Change the yarn weight and adjust the rounds to achieve different sizes, from small coasters to larger squares for blankets— the choice is yours!
Charming Aesthetic: With its cheerful floral design, these granny squares will brighten up any room and bring warmth to your DIY projects, perfect for beginners and experts alike.
Time-Saving Project: With quick completion times, you can whip up several squares in one sitting, making it a satisfying option for crafters looking for a rewarding and speedy project!
Gauge & Sizing Notes
Don’t skip the gauge swatch! Checking your tension is crucial for the Cozy Flower Granny Square crochet project, as it ensures your squares turn out beautifully sized and shaped. For a standard gauge, aim for a 4×4 inch (10×10 cm) square that measures approximately 12 double crochets by 8 rows. If you want to adjust sizing, increase your starting chain in multiples of 12 for larger squares or decrease for smaller ones. If your swatch is smaller than expected, simply try going up a hook size or changing your yarn tension. After all, the goal is to create lovely, consistent flower squares that reflect your unique style!
Step‑by‑Step Pattern for Quick and Easy Flower Granny Square
Round 1: Start the Center
Begin with a magic ring, ch 3 (counts as dc), then work 11 dc into the ring. Pull the yarn to close the loop tightly. Join with a sl st in the top of the initial ch 3, creating a base for your flower granny square. You should have a total of 12 stitches in this round, and your work should resemble a small circle.
Round 2: Create the Petals
Join a new color in any space between stitches. Ch 3 (counts as dc), then work 1 dc in the same space. In the next space, work 2 dc. Repeat this across all spaces, ensuring the petals form. Join with a sl st in the top of the initial ch 3. At the end of this round, you will have 24 stitches, and the flower shape should become more pronounced.
Round 3: Expand the Flower Shape
Join another new color. Ch 3 (counts as dc) and work 2 dc in the same space. In the next space, work 3 dc. Repeat this across all spaces around the circle, repeating the pattern of adding more stitches to each segment of the flower. Conclude this round with a sl st in the top of the initial ch 3, leading to a total of 36 stitches. Your flower granny square will start to take on a lovely flower-like form.
Round 4: Form the Square
Ch 3 (counts as dc) without joining a new color. In the same space, work 2 dc. In the next two spaces, place 3 dc each. In the corner space, work (3 tr, ch 2, 3 tr) to create the corner. Repeat this sequence around your square and join with a sl st at the end. This round finishes shaping your flower granny square, and you’ll see clear corners starting to emerge. Be sure to tie off and weave in any ends for a polished look.
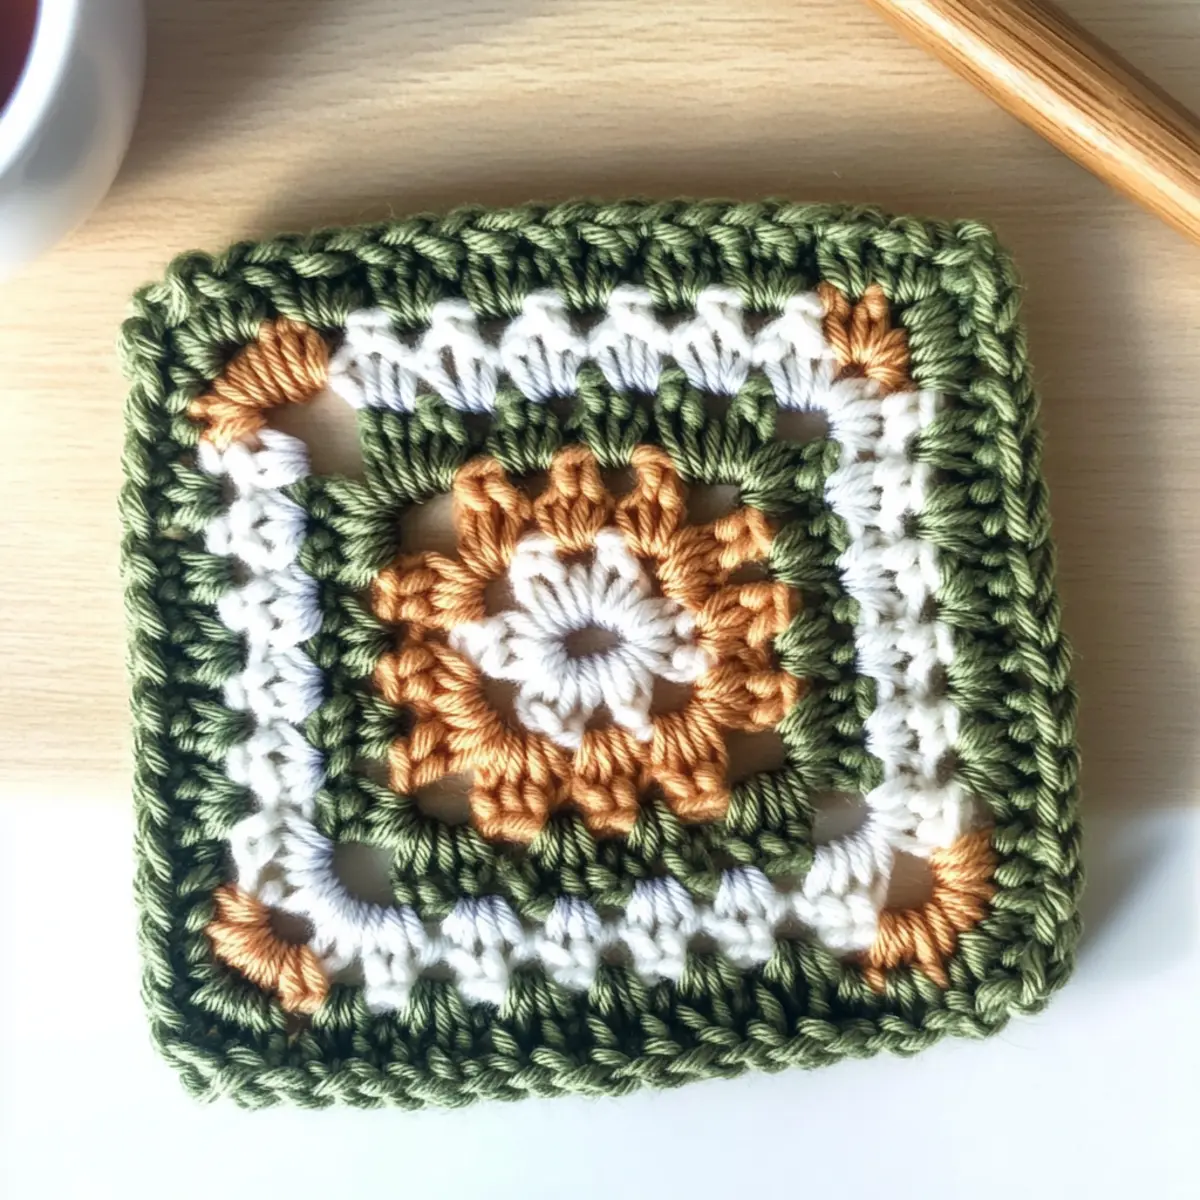
Expert Tips for Flower Granny Squares
-
Stitch Count: Always double-check your stitch count at the end of each round to ensure your square retains its intended shape and size.
-
Yarn Weight Matters: Choose a yarn weight that matches your desired final dimensions; using the right yarn will help avoid droopy or overly stiff squares.
-
Check Your Tension: If your squares seem inconsistent, adjusting your hook size can improve tension, giving you a more uniform look across your flower granny squares.
-
Join with Ease: When changing colors, make sure to join your new yarn in a clean, even manner to prevent any gaps, keeping your squares looking polished.
-
Weave In Ends: After finishing, take the time to neatly weave in your ends to ensure a clean finish that maintains the beauty of your flower granny squares.
Flower Granny Square Variations
Explore delightful ways to customize your flower granny squares and unleash your creativity!
-
Yarn Weight Variations:
Use yarn weights from #3 to #6 for different sizes. Lighter yarns yield smaller squares, while heavier weights create larger, fluffier blooms. -
Fiber Alternatives:
Switch from acrylic to cotton for a softer touch. Cotton provides a lightweight feel, perfect for summer accessories like bags and coasters. -
Color-Blocking:
Try a color-blocked approach by alternating yarn colors every few rounds. This technique creates a stunning visual impact that draws the eye. -
Larger Squares:
To make bigger squares, add extra rounds. Simply insert a few more increases, and watch your cozy blankets come to life. -
Textured Enhancements:
Add a cute pom-pom or fun fringe to the corners of your squares. These little details can turn a lovely square into a charming statement piece. -
Solid Color Squares:
Keep it classic with solid color squares for a more uniform appearance. This option makes for a chic look that’s both modern and timeless. -
Border Magic:
Finish your squares with a contrasting border for an eye-catching look. A simple single crochet around the edge can elevate the design beautifully. -
Mini Squares:
Scale down your pattern for smaller squares to create coasters or appliques. They make for delightful gifts or embellishments on gifting bags!
Dive into these variations and enhance your crafting experience! And for more insights on color choices and advanced techniques, don’t forget to check out our tips on how to create a stunning crochet blanket and explore various yarn types to elevate your projects!
Washing & Care for Your Flower Granny Squares
-
Hand Washing: Use cold water and a gentle yarn-specific detergent to maintain the vibrant colors and texture of your flower granny squares. Avoid agitation to prevent felting.
-
Drying/Blocking: Lay your squares flat on a clean, dry surface after washing. This helps them retain their shape and prevents distortion while drying.
-
Storage: Keep your finished granny squares in a cool, dry place away from direct sunlight. Consider using a breathable bag to avoid moisture buildup and preserve their beauty.
-
Care Labels: Always refer to the specific care labels of your yarn to ensure the best washing and maintenance practices for your flower granny squares.
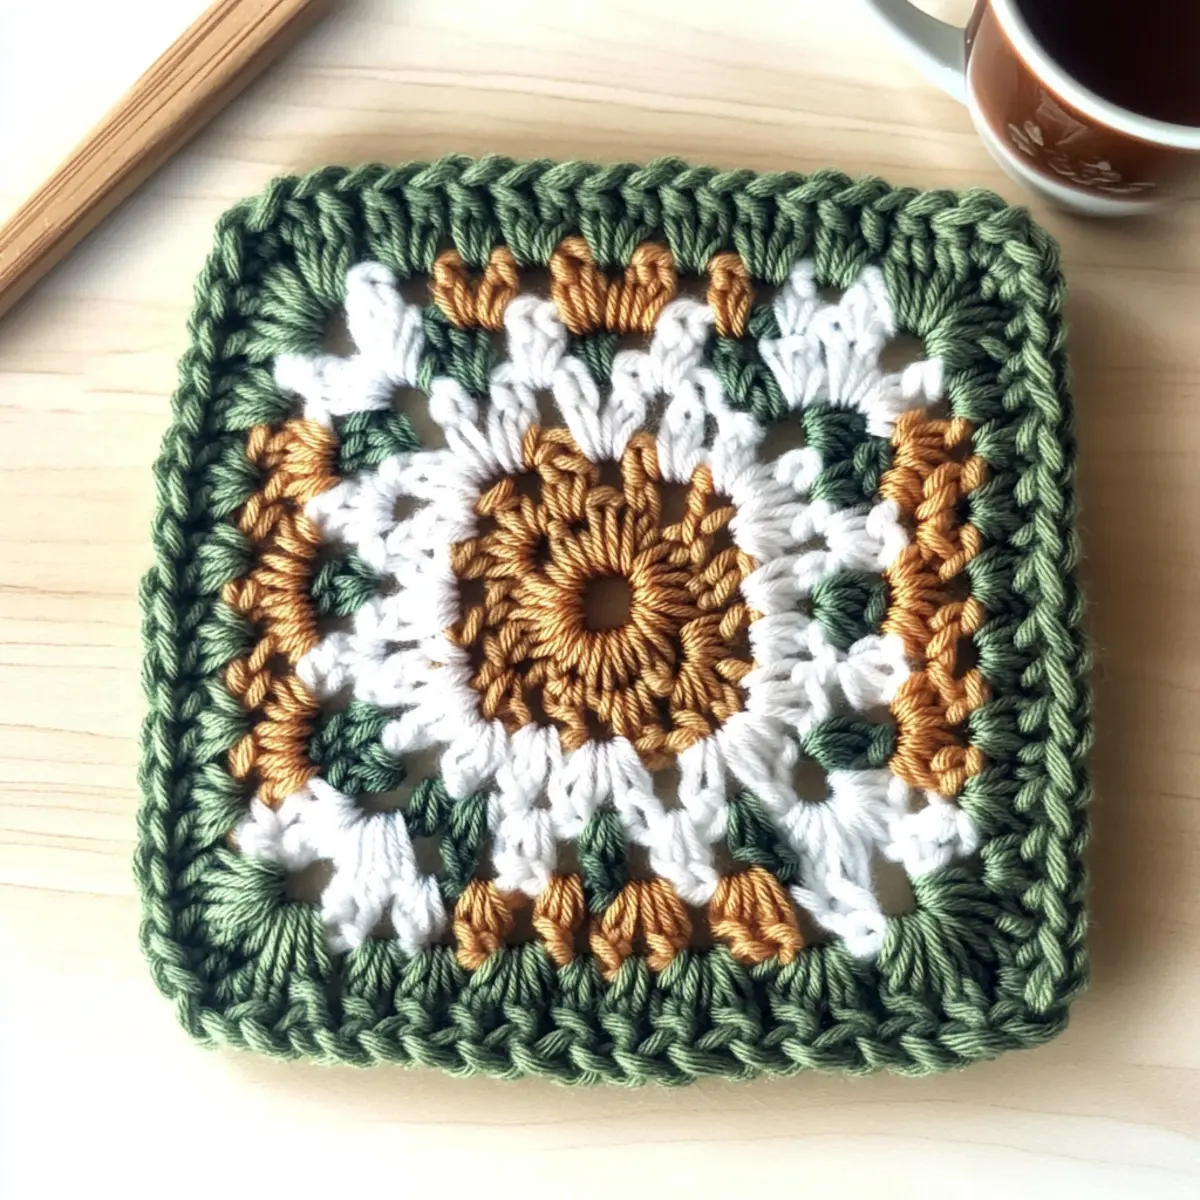
Quick and Easy Flower Granny Square Crochet Pattern FAQs
Can I use a different yarn weight for this pattern?
Absolutely! This pattern is designed to be versatile, so you can use any yarn weight from #3 (light) to #6 (super bulky). Just remember, altering the yarn weight will also change the final size of your granny square.
How can I make the squares smaller or larger?
To adjust the size of your square, simply modify the number of rounds you create. For smaller squares, you can cut back on the rounds, while using a thicker yarn and larger hook will yield bigger squares. Play around with it to find your perfect dimension!
Why is my flower granny square curling at the edges?
Don’t panic! This is a common issue that often occurs from either tension being too tight or not having enough stitches. Check your stitch count and adjust your hook size to see if that resolves the curling.
What size hook should I use for different yarn weights?
I recommend matching your hook size to your yarn weight. For example, if you’re using super bulky yarn, an N hook (10 mm) works well. As a rule of thumb, refer to the yarn label for suggested hook sizes!
How do I fix dropped stitches?
It’s an easy fix! To fix a dropped stitch, gently pull the working yarn until the stitch pops back up. Then, make sure to secure it by working it into the next stitches. Always keep an eye on your stitches as you work to prevent them from dropping in the first place.
What should I do if my stitches are uneven?
If your stitches appear inconsistent, try adjusting your tension. You may need to change your hook size or yarn weight to achieve a uniform look. Experimenting with tension until you’re comfortable is key to mastering those flower granny squares!
Leave a Reply