
Have you ever found yourself in need of a delightful, last-minute gift that screams charm? Meet your new favorite project: the Adorable Amigurumi Frog! This beginner-friendly crochet pattern is a breeze to follow and works up quickly, making it an excellent choice for those spontaneous crafting moments. Not only is this little stuffed toy undeniably cute, but you can also personalize it with various color combinations, allowing your creativity to leap to life! With its squishy texture and cuddly size, this amigurumi wonder is perfect for snuggling or adding a whimsical touch to your decor. So grab your yarn, and let’s hop into this fun and joyous creation together!
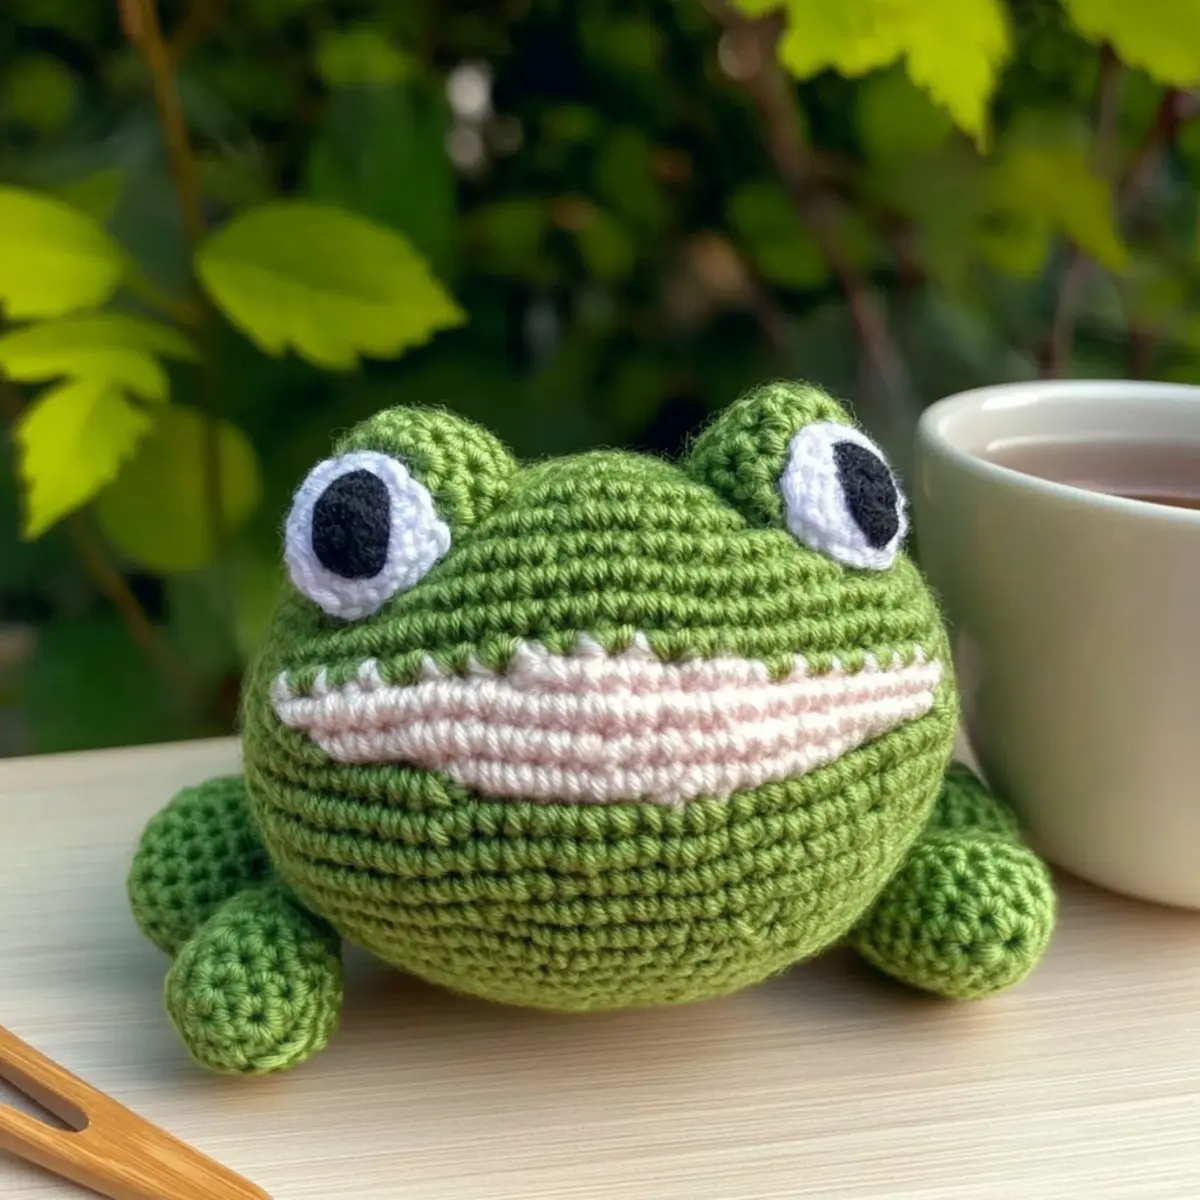
Amigurumi Frog Materials & Tools
Dive into creativity with these essentials for crafting your charming amigurumi frog!
Yarn
- Green Yarn – Worsted weight, acrylic, approx. 100 yards for the frog’s body.
- White Yarn – Worsted weight, acrylic, approx. 30 yards for the eyes and belly.
- Pink Yarn – Worsted weight, acrylic, approx. 10 yards for added features or decoration.
Tools & Notions
- 4 mm (G/6 Hook) – The perfect size to achieve a tight, cuddly finish for your amigurumi.
- Stitch Markers – Essential for keeping track of rounds as you crochet your adorable frog.
- Tapestry Needle – Needed for weaving in ends and sewing parts together with ease.
- Safety or Embroidered Eyes – Choose safety eyes for a quick finish or embroider eyes for a customized look on your frog’s face.
Gather these materials and embark on your journey to create this delightful stuffed toy!
Why Is This Amigurumi Frog Special?
Beginner-Friendly: This crochet pattern is designed with newcomers in mind, breaking down each step to ensure your success and boost your confidence.
Quick Project: With its rapid construction, you’ll be able to complete your adorable frog in just a couple of hours, making it the perfect choice for last-minute gifts or weekend crafting!
Customization Options: Want to make your frog unique? Feel free to experiment with various yarn colors and accessories like a crown or scarf to personalize your new pal.
Cuddly Texture: The use of worsted weight acrylic yarn provides a squishy yet sturdy finish, resulting in a delightful toy perfect for play or display.
Fun Decoration: This charming amigurumi will add a whimsical touch to any room, making it not just a toy, but a delightful decor piece that can brighten up your space.
Get started on your enchanting journey with the adorable amigurumi frog.
Gauge & Sizing Notes
Don’t skip the gauge swatch! Ensuring your tension is correct for this Adorable Amigurumi Frog project is crucial to achieving that perfectly cute and cuddly finish. A standard gauge measurement for this pattern is a 4×4 inch (10×10 cm) square = 16 single crochets by 20 rows. If you find that your swatch is smaller than this, try going up a hook size to loosen your tension. To adjust the size of your frog, consider modifying the number of rounds in the body or using a different yarn weight; increasing rounds in multiples of 2 will help you create a larger frog. Happy crocheting!
Step‑by‑Step Pattern for Adorable Amigurumi Frog
Round 1: Magic Ring Introduction
Start by creating a magic ring. Crochet 6 single crochets (sc) into the ring, ensuring it is tight. Pull the tail to close the ring, and slip stitch (sl st) to the first sc to join. Your work should form a small circle with 6 stitches (6 sts).
Round 2: Increasing the Body
Ch 1 to begin the second round, then work 2 sc in each stitch around. This will shape the base of your frog. Slip stitch into the first sc to close the round. You should have a total of 12 stitches (12 sts) forming a slightly larger circle.
Round 3: Continue Increasing
Ch 1, then 1 sc in the next stitch, 2 sc in the next stitch; repeat from * to * around. This creates a gentle increase, expanding your frog’s body. Join with a sl st to the first sc. Your circle should now have 18 stitches (18 sts) and will start to curve slightly.
Rounds 4-10: Forming the Body
Continue by crocheting in sc without increases for the next 7 rounds (Rounds 4-10). This will help form the main body of your amigurumi frog, maintaining 18 stitches per round. Your work should begin to take on a cup-like shape as you progress.
Round 11: Belly Color Change
For this round, switch to white yarn. Ch 1 and work 1 sc in each of the 18 stitches around. This will create a cute belly for your frog. Join with a sl st to the first sc. Your frog should now exhibit a distinct color contrast at the bottom.
Rounds 12-22: Shaping the Frog
Continue to crochet in sc using the white yarn for an additional 10 rounds. Keep the stitch count at 18. This will create the upper structure of your adorable amigurumi frog, filling in the body nicely. Your work should be thoroughly stuffed by now for a firm shape.
Rounds 23-31: Decreasing for Shape
Begin tapering your frog by chaining 1 and working 1 sc in the next 2 sts, then 1 dec; repeat from * to * around for Round 23. Slip stitch to join, then continue decreasing through rounds 24-31, ending with 6 stitches in the final round. Watch as the form of your frog becomes defined.
Step 1: Crocheting the Legs (x4)
To create the frog’s legs, start with green yarn and ch 4. Then, in the second ch from hook, work 1 sc, followed by 1 inc in the next stitch, 1 sc in the next, and finish with another inc. Join with a sl st, resulting in 8 stitches. Repeat this for a total of 4 legs.
Step 2: Attaching the Legs
Position your legs evenly around the body. Using a tapestry needle, sew each leg securely to the body at rounds 12-15. Ensure they are symmetrically placed so your frog is balanced. Your amigurumi frog should start looking complete and full of character now!
Step 3: Adding Eyes and Mouth
For the frog’s face, attach safety or embroidered eyes just above the belly. Then, using pink yarn, crochet a small smile with a simple chain stitch or backstitch. Ensure both features are positioned evenly to give your adorable amigurumi frog a friendly expression!
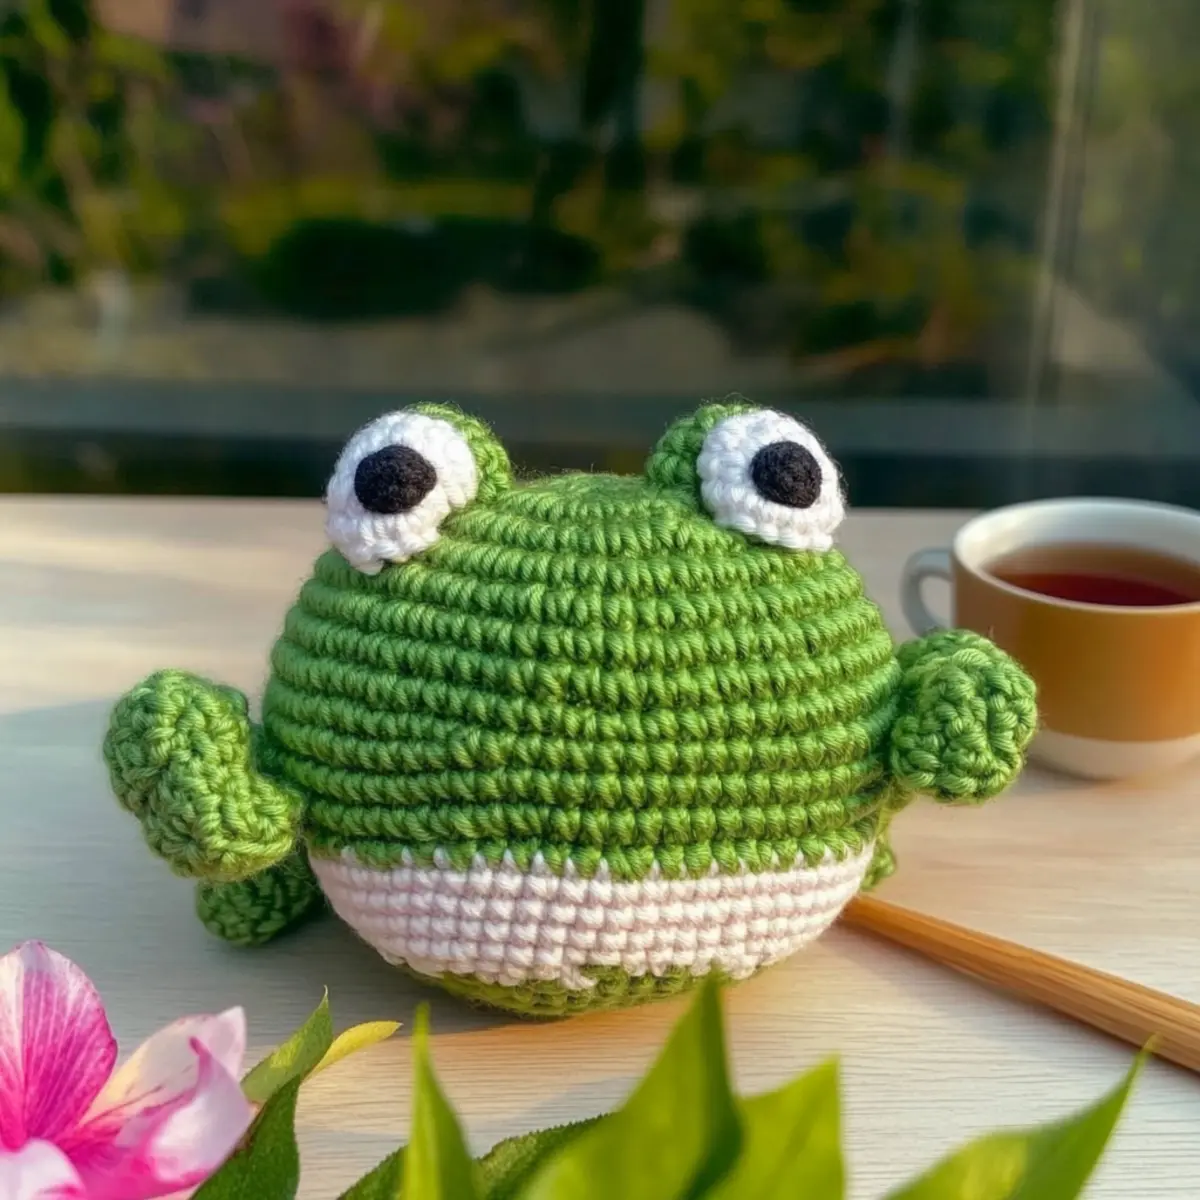
Washing & Care Instructions for Your Amigurumi Frog
-
Hand Washing: Gently hand wash your amigurumi frog in cool water using a mild detergent to preserve color and integrity. Avoid wringing to prevent distortion.
-
Drying: Reshape your frog and lay it flat on a clean towel to dry. This helps maintain its shape and prevents any stretching or damage.
-
Storage: When not in use, store your adorable amigurumi frog in a cool, dry place away from direct sunlight to keep colors vibrant and fabric fresh.
-
Avoid Excessive Sunlight: To prolong the life of your piece, keep your amigurumi frog out of direct sunlight when displayed. This prevents fading and maintains its adorable charm.
Variations & Substitutions
Feel free to let your creativity hop free with these customization ideas for your amigurumi frog!
-
Yarn Weight Swaps: Use a lighter weight yarn for a smaller frog or a chunky yarn for a larger cuddly buddy. This is a simple way to create variations in size without changing the pattern.
-
Color Combinations: Experiment with vibrant hues or pastel shades to create a whimsical palette. Think bright orange or soft lavender to bring out your frog’s personality!
-
Fiber Alternatives: Opt for cotton yarn for a summer theme or a soft plush yarn for an extra snuggly result. Different fibers can alter the look and feel, giving unique textures to your creation.
-
Adding Accessories: Transform your frog into a regal royal by adding a tiny crown or a bow tie. Small additions help personalize your amigurumi while making it a striking piece.
-
Texture Modifications: Consider adding a cute pom-pom tail or fringe to the frog’s limbs for added flair. These little changes add delightful texture, making your frog stand out.
-
Size Adjustments: If you want a petite piece, reduce the number of rounds for a smaller frog. This gives you control over your project size without complicating things.
-
Character Variations: Explore a different character by changing colors; for instance, a cheerful pink frog or a seasonal-themed pal can be a fun twist. Your frog can embody any mood or occasion!
-
Embellished Features: Mix embroidered or safety eyes to give your frog a unique expression. Different facial features can completely change the personality of your amigurumi friend!
Embrace your artistic side, and check out more tips on customizing your crochet patterns for endless inspiration!
Expert Tips for Your Amigurumi Frog
-
Count Your Stitches: Regularly count your stitches at the end of each round to maintain the frog’s shape and avoid any unwanted widening or tapering.
-
Use Stitch Markers: Place a stitch marker at the beginning of each round to easily keep track, especially during color changes and increases.
-
Tight Tension: Crochet tightly to prevent gaps in your finished toy. This ensures a nice, plump figure that holds its shape well when stuffed.
-
Even Stuffing: Distribute stuffing evenly throughout the body and limbs for a consistent, cuddly texture. Feel free to add more or less stuffing to achieve your preferred squishiness!
-
Secure Finishing: Weave in all ends securely with your tapestry needle to ensure durability. This will also help maintain your frog’s charming appearance over time.
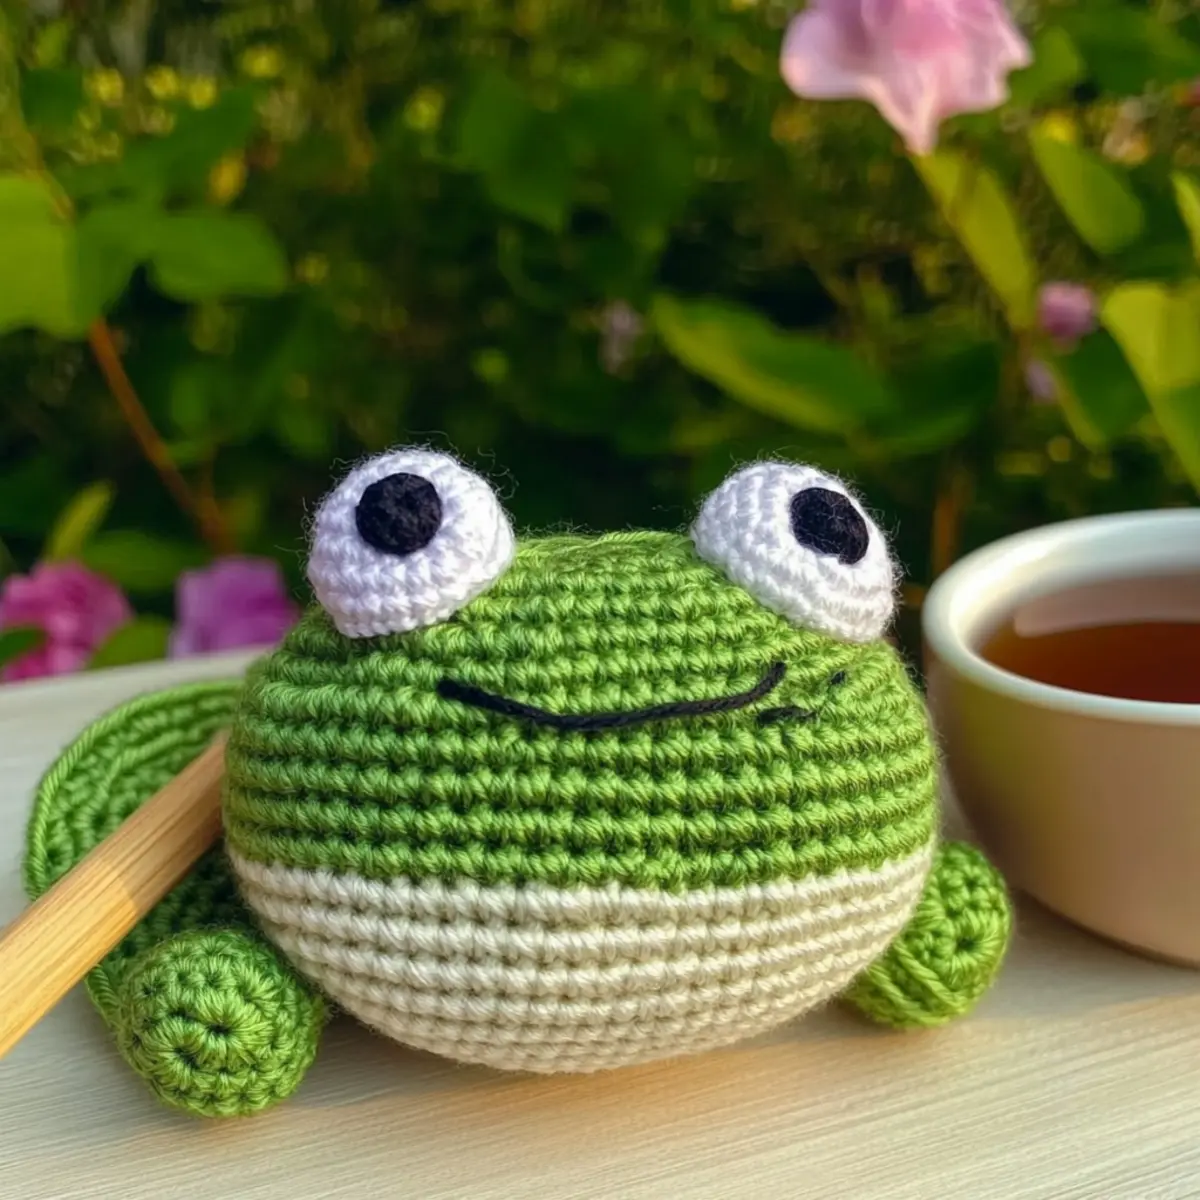
Adorable Amigurumi Frog FAQs
Can I use a different type of yarn for this project?
Absolutely! While worsted weight acrylic is recommended for the best results, you can substitute it with other yarns like cotton or a blend. Just ensure it has similar weight and gauge to maintain the frog’s size and texture.
How can I adjust the size of my amigurumi frog?
To make your frog bigger or smaller, consider using a different yarn weight and a corresponding hook size. For example, using bulky yarn will yield a larger frog, while a lighter yarn can create a smaller version. You can also modify the number of rounds in the body and legs for additional sizing adjustments.
Why does my amigurumi frog keep curling at the edges?
Don’t panic! If your project is curling like a bowl, it may be due to uneven tension during crocheting. Make sure your tension is consistent, and try using a larger hook to see if that helps. Regular stitch counting can also help you catch any discrepancies early.
What should I do if I drop a stitch?
It’s an easy fix! Simply locate the dropped stitch and use your tapestry needle or hook to pull the strand back through to the front. You can also use a stitch marker to keep track of your rows and avoid dropping stitches in the future.
What hook size should I use for this pattern?
For this adorable amigurumi frog, a 4 mm (G/6) hook is recommended to ensure the right tension and fabric density. If you’re using a different yarn weight, adjust your hook size accordingly to preserve the overall look.
How can I ensure my frog holds its shape?
To achieve a nice, plump shape, crochet tightly and make sure to stuff evenly. Avoid overly loose stitches that can create gaps, and check your progress at each round to keep the dimensions just right!
Leave a Reply