
As I sat on my cozy couch, the gentle rhythm of my hook against the yarn was a soothing counterpoint to the world outside. Today, I’m thrilled to share with you my latest creation—a Stylish Herringbone Crochet Drawstring Bag that balances both functionality and flair. The unique herringbone stitch adds an elegant touch, perfect for making this bag your go-to accessory for any occasion. Not only is this project incredibly versatile and easy to customize, but it also works up quickly, making it a rewarding endeavor for both beginners and seasoned crafters alike. With a step-by-step video tutorial included, you’ll feel confident every stitch of the way. Let’s dive into creating a beautiful bag that showcases your personal style while being practical for everyday use. Ready to get started?
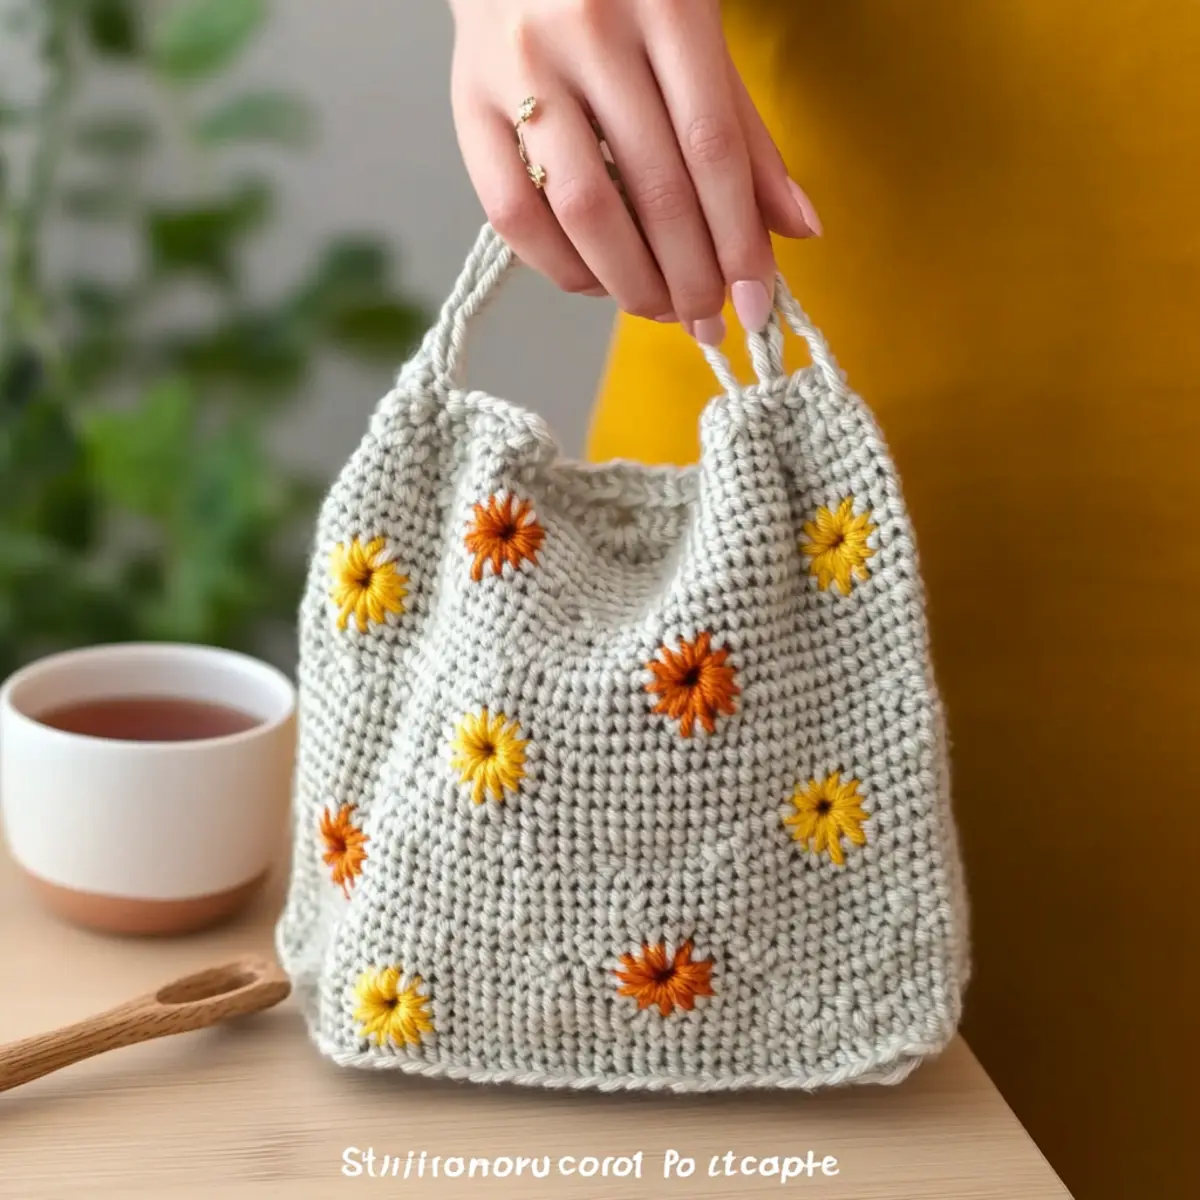
Herringbone Crochet Drawstring Bag Materials & Tools
Yarn
• Fingering Weight Yarn – Approximately 188 meters is needed for the main body; I recommend using Scheepjes Catona for its 100% mercerized cotton quality.
Tools & Notions
• 4.0mm (G) Hook – This size is ideal for working the herringbone stitches beautifully.
• 3.0mm (D) Hook – If you prefer to use a smaller hook for the initial chain and I-cord.
• Stitch Markers – Great for keeping track of your progress and stitch counts.
• Tapestry Needle – Essential for weaving in ends and sewing pieces together.
• Scissors – A must-have for cutting yarn as you finish your project.
Why is This Bag Perfect for You?
Versatile Design: This drawstring bag shines in its flexibility, easily transforming to suit any occasion or outfit. Quick to Create: With a simple herringbone stitch and detailed video tutorial, you’ll find this project both rewarding and straightforward. Stylish Look: The unique texture elevates a basic accessory into a chic statement piece. Customization Options: Feel free to express yourself by tweaking size, yarn color, and embellishments. Join the crafty fun and make your own stunning bag today! Plus, if you’re looking for more ideas, check out our guide on Crochet Accessories.
Gauge & Sizing Notes
Don’t skip the gauge swatch! Checking your tension is crucial for the Stylish Herringbone Crochet Drawstring Bag, ensuring the right fit and aesthetic appeal. A standard gauge for this project is 22 stitches x 16 rows in a 4×4 inch (10×10 cm) square using a 4 mm hook. To adjust the size of your bag, simply increase your starting chain in multiples of 4 for width or add more rows for height. If your swatch turns out smaller than this, you may want to go up a hook size; conversely, if it’s larger, consider going down a size. Happy crocheting!
Step‑by‑Step Pattern for Stylish Herringbone Crochet Drawstring Bag
Row 1: Foundation Chain
Begin by making a slipknot and chain 30. This foundation chain sets the width for your drawstring bag. Adjust the number of chains as desired for a wider or narrower bag, keeping in mind that the final width will depend on how tightly you work your herringbone stitches. Your chain should lay flat and straight.
Row 2: Work Herringbone Stitch
In the second chain from the hook, work your first herringbone single crochet (Hsc). Continue to work Hsc across the chain, inserting your hook into the next stitch, pulling up a loop, and then pulling this loop through both loops on your hook. You should have 29 Hsc at the end of this row (29 sts). Your work should start to show a nice texture.
Row 3: Continue Herringbone Stitches
Chain 1 and turn your work. Begin the next row by working Hsc into each stitch across, maintaining the same stitch count as the previous row. This texture builds, creating the body of your Stylish Herringbone Crochet Drawstring Bag. Continue this until the piece measures approximately 19 cm (7.48 inches) tall.
Row 4: Shape the Body
After reaching the desired height, chain 1 and turn. Work Hsc across to keep creating a sturdy fabric. For added reinforcement, consider working an extra row if you feel the bag requires more support, maintaining consistent stitch count. Your creation should still have a lovely drape.
Step 5: Create the Casing
To form the drawstring casing, chain 1 and work slip stitches (sl st) across the top edge of the bag. This slightly gathers the fabric, making an elegant finish for ticket access or for threading through the drawstring later. Make sure to create enough room for the drawstring in the casing.
Step 6: Fold and Join
Fold the bag in half with the right sides facing each other. Use the mattress stitch to join the side seams, ensuring a clean and invisible finish. Gently pull on both sides to align properly, and check that your bag is forming a structured shape.
Step 7: Create I-Cords
For the drawstrings, using a 3 mm hook, chain 4 and work an Hsc in each chain for about 90 cm (35 inches). Repeat to create a total of two I-cords for drawstrings and one extra for a shoulder strap if desired. Ensure they are evenly tightened for a polished look.
Step 8: Thread the Drawstrings
Thread the two I-cords through the casing you created earlier. Pull the strings evenly to adjust the opening. This will allow you to cinch your bag shut securely and stylishly. You can also embellish the ends of your drawstrings with a decorative knot or bead for added flair.
Step 9: Secure the Strap
If you generated a strap I-cord, attach it to the sides of your bag using slip stitches to secure it firmly. Make sure the strap is centered and evenly attached for comfort while carrying. Your Stylish Herringbone Crochet Drawstring Bag should be taking shape beautifully.
Step 10: Final Touches
Block your finished bag to shape it as desired. This helps even out stitches and provides a polished finish. Consider customizing your bag with embroidery or fabric patches to express your personal style. Your creation is now ready for everyday adventures!
Variations & Substitutions
Bring your crochet creativity to life by exploring these delightful variations!
-
Yarn Substitutions: Switch to a worsted weight yarn for a sturdier bag; try acrylic for easy care and vibrant colors.
-
Color Blocking: Use multiple yarn colors to create sections or stripes for a playful or elegant look.
-
Size Adjustments: Modify the number of starting chains for a larger bag that can carry all your daily essentials or a smaller version for quick outings.
-
Texture Enhancements: Add a fun fringe along the bottom edge for a bohemian flair, or consider a delicate border for a polished finish.
-
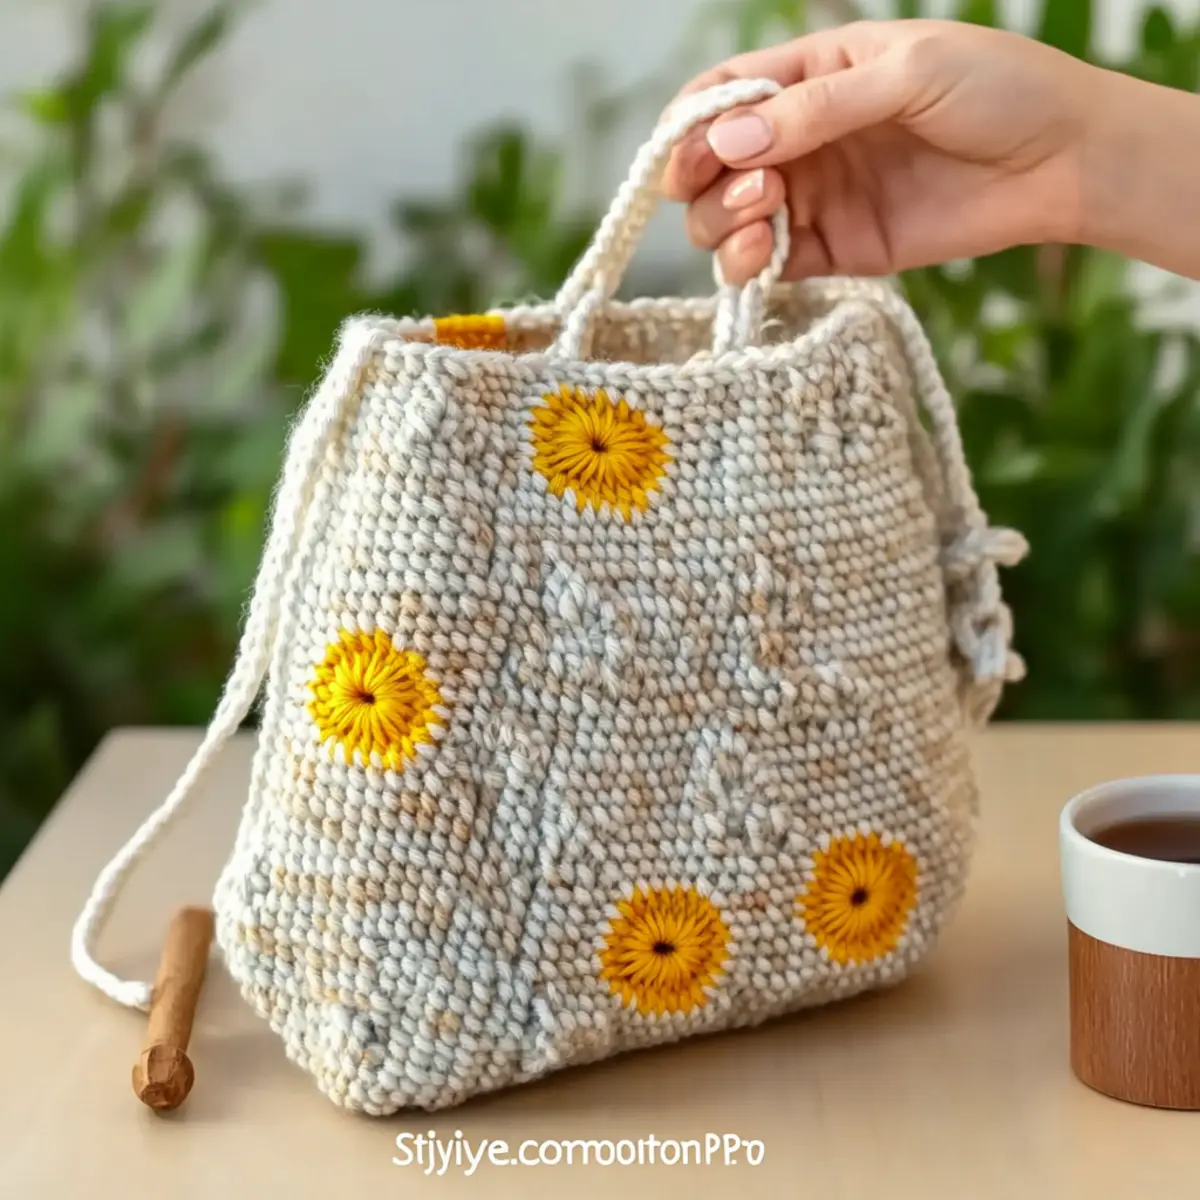
Embellishment Options: Personalize your bag with embroidered flowers or a few strategically placed beads for a touch of glamour. This simple addition can transform your bag into a unique treasure.
-
I-Cord Variants: Instead of standard I-cords, try a twisted version for a more dynamic drawstring that adds a charming touch.
-
Experiment with Fibers: Consider using cotton or bamboo yarn for a lightweight summer bag, providing breathability and a touch of luxury.
-
Playful Pompoms: Attach fluffy pom-poms to the drawstrings to create a whimsical aesthetic that’s sure to turn heads.
Feel free to explore these options for your project and remember, there’s so much joy in creating something uniquely yours! If you’re eager for more projects, check out our Crochet Accessories guide for further inspiration.
How to Wash and Care for Your Herringbone Crochet Drawstring Bag
Hand Washing: Gently hand wash your drawstring bag in cool water. This ensures that the herringbone stitch maintains its integrity without causing any felting or pilling.
Drying: After washing, lay your bag flat to dry. Avoid hanging it up, as this may distort its shape and texture.
Blocking: Consider blocking your bag after it dries to give it a polished finish and to smooth out any uneven stitches.
Storage: Store your bag in a cool, dry place away from direct sunlight to preserve the color and quality of the yarn over time.
Expert Tips for Your Drawstring Bag
• Count Stitches: Regularly count your stitches at the end of each row to maintain even tension, preventing any warping of your herringbone crochet bag.
• Watch for Twist: Ensure your foundation chain isn’t twisted before starting your herringbone stitch; this can save a lot of trouble later in your project!
• Block Your Bag: After finishing, take the time to block your drawstring bag. This helps even out stitches and gives your project a polished, professional look.
• Gauge Matters: Pay close attention to your gauge. A tension swatch can prevent surprises; if using different yarn, adjust your starting chains for the perfect fit.
• Stay Inspired: Don’t hesitate to add your unique flair with embellishments like beads or embroidery. Customization is key to making this versatile drawstring bag truly yours!
Stylish Herringbone Crochet Drawstring Bag FAQs
Can I substitute acrylic yarn for the suggested cotton yarn?
Absolutely! While Scheepjes Catona is a 100% mercerized cotton, feel free to use acrylic if you prefer. Just keep in mind that acrylic may alter the bag’s drape and durability slightly. Ensure that your yarn weight matches (fingering weight) to maintain proper size and tension.
How do I adjust the size of my drawstring bag?
It’s easy to customize the size! To make the bag taller, simply increase the number of starting chains or add more rows to the body section. If you want a wider bag, adjust your foundation chain in multiples of 3 + 1, then increase the rows accordingly. Just remember to keep track of your tensions!
Why is my work curling at the edges?
Don’t panic! Curling often happens when the foundation chain is too tight. Try relaxing your grip while crocheting or using a larger hook for the initial chain. Also, blocking the finished piece can help smooth out any curling issues and give it a crisp finish.
Which hook size should I use for this project?
For the main body, I recommend using a 4 mm (US size G) hook to create that lovely herringbone stitch. For the initial chain and I-cords, a 3 mm (US size D) hook is suggested to ensure your drawstrings are not overly loose. It’s all about achieving the perfect tension!
How do I fix dropped stitches in my herringbone crochet?
It’s an easy fix! Just use a tapestry needle to carefully pull the dropped stitch back up to the correct row. If you find multiple stitches have dropped, you can crochet back down or unravel to the last complete row and redo those stitches. Always check your work frequently to catch these issues early on!
What if my gauge doesn’t match?
If your gauge doesn’t match the recommended 22 sts x 16 rows in 4” using a 4 mm hook, take a moment to do a tension swatch. Adjust your hook size up or down to achieve the required gauge, or change the number of starting chains to fit your desired size. Remember, achieving the right gauge is key to a perfect fit!
Leave a Reply