
Sitting by the window with a steaming cup of tea, I’ve found myself enchanted by the world of crochet and the delightful possibilities it brings. Today, I’m excited to share my pattern for a free beginner-friendly amigurumi Harry Potter doll that adds a sprinkle of magic to your yarn collection. Perfectly sized at 8.5 cm, this whimsical project works up quickly and is a fantastic way to use up that acrylic stash you’ve been saving for a special occasion. Plus, with its detailed character design, this little doll makes a charming gift or collectible for any Potterhead. I can’t wait for you to dive into this delightful crafting adventure—let’s stitch our way into a world of wonder!
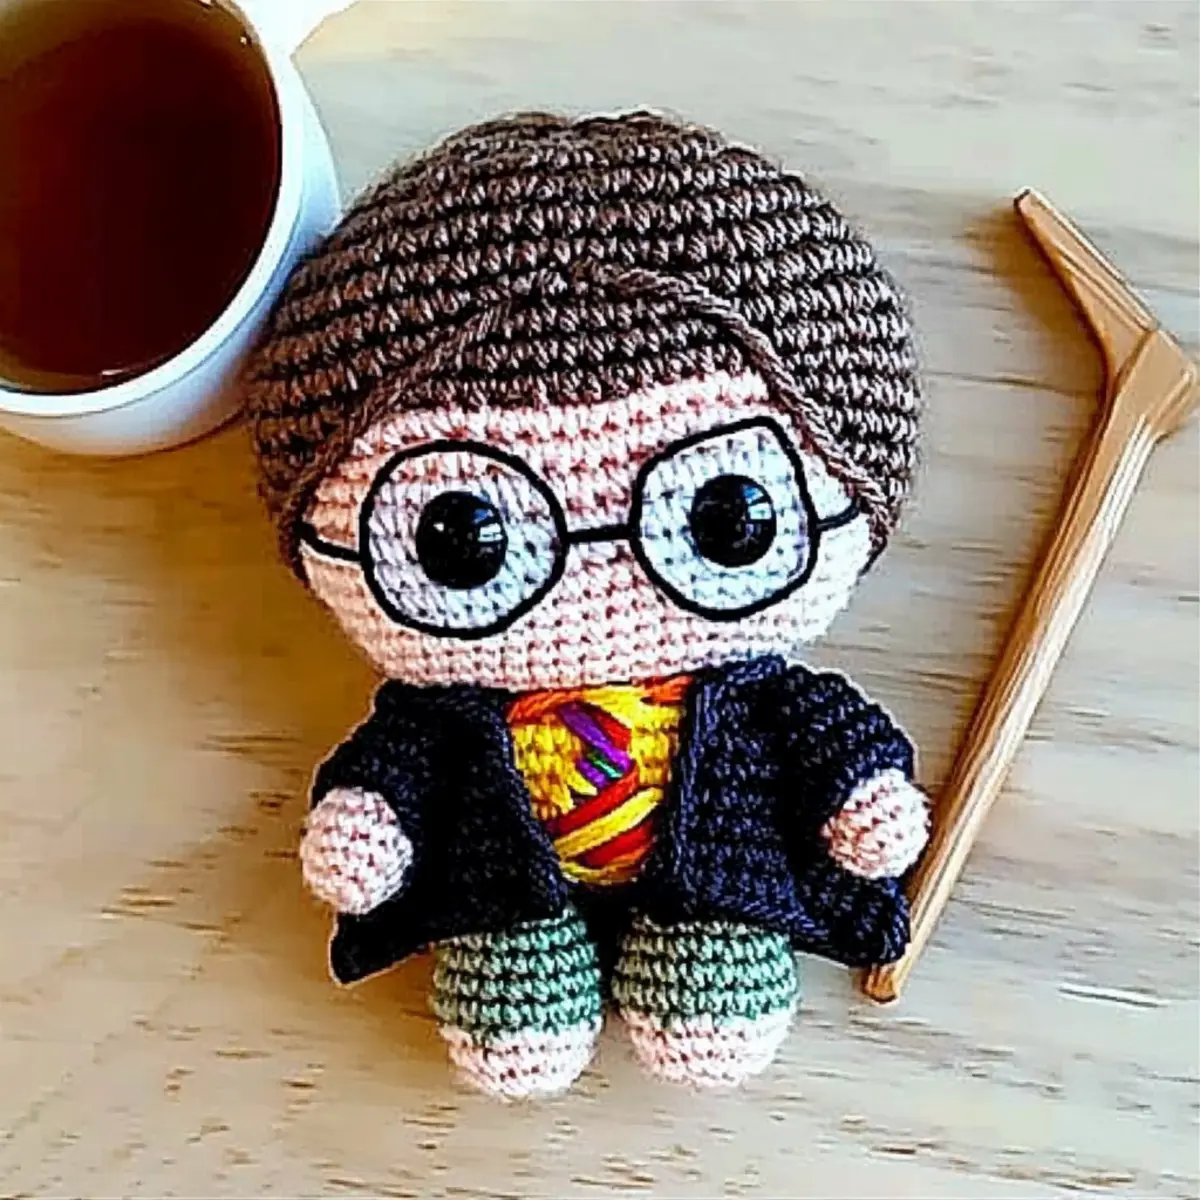
Amigurumi Harry Potter Doll Materials & Tools
Note: Gather your supplies to embark on this delightful free amigurumi project!
Yarn
- Chantilly (7563) – 100% acrylic, approximately 25-50 meters; this soft yarn adds charm to your doll’s body.
- Brigadeiro (7569) – 100% acrylic, approximately 25-50 meters; perfect for creating adorable facial features.
- Pedreira (8008) – 100% acrylic, approximately 25-50 meters; ideal for the doll’s outfit details.
- Red (3402) – Optional, 100% acrylic for scarf; substitute with any red yarn for creative flair.
- Solar (1317) – Optional, 100% acrylic for scarf; feel free to mix and match colors for a unique style!
Tools & Notions
- 1.75 mm (US 00) Hook – A great size for tight stitches that help shape your doll effectively.
- 2.5 mm (US B) Hook – Use for larger parts or if you want a looser stitch; great for beginners.
- Safety Eyes (10 mm) – Adds character to your doll; place between rows 10 and 11 for an authentic look.
- Tapestry Needle – Essential for sewing pieces together and weaving in ends with ease.
- Stitch Markers – Helpful for keeping track of your rounds and maintaining stitch count.
- Scissors – A must-have for trimming yarn and finishing touches.
- Stuffing – Use small amounts to keep the doll’s shape, ensuring it’s huggable and adorable.
- Silicone Glue – Perfect for attaching hair and ensuring everything stays in place.
Why You’ll Adore This Amigurumi Doll?
Whimsical Design: This amigurumi Harry Potter doll captures the essence of your favorite character, bringing a magical touch to your collection.
Beginner-Friendly: Perfect for novices, this pattern guides you through each step, allowing you to create something special without feeling overwhelmed.
Charming Details: From safety eyes to distinctive hairstyles, every little feature enhances the doll’s appeal, making it a standout in your yarn arsenal!
Quick to Create: With a petite size of just 8.5 cm, this project works up rapidly, making it ideal for quick gifts or last-minute crafting sessions.
Endless Customization: Feel free to personalize the doll with different colors and accessories. Check out my other patterns for even more ideas on how to get creative!
A Cozy Keepsake: The soft, squishy texture of the finished doll ensures it’s not just an aesthetic piece but also huggable and beloved.
Gauge & Sizing Notes
Don’t skip the gauge swatch! Checking your crochet gauge is essential for crafting the perfect amigurumi Harry Potter doll, ensuring your finished piece is both charming and in proportion. For this pattern, aim for a 4×4 inch (10×10 cm) square that equals 18 single crochets by 20 rows. If you find your tension is tighter or looser than this, you can adjust your size accordingly—consider increasing your starting chain or adjusting the rounds. For instance, to make your doll taller, add extra rounds in groups of 4 until you reach your desired height. If your swatch is smaller than expected, simply try going up a hook size!
Step‑by‑Step Pattern for Free Beginner-Friendly Amigurumi Harry Potter Doll
Round 1: Start the Body
Begin your amigurumi Harry Potter doll with a magic ring (MR). Inside the ring, work 8 single crochets (sc) to establish the basic form. Pull the yarn tail to tighten the ring, ensuring no gaps remain. Your work should start to resemble a small circle. (8 sts)
Round 2: Increase the Body
For the next round, make 2 sc in each stitch around, increasing the body width. This will begin to give your doll some shape and dimension. Remember to count your stitches—after this round, you should have 16 stitches. (16 sts)
Round 3: Continue Body Increases
In Round 3, alternate between 1 sc and 2 sc in the next stitch, repeating this pattern around. This will create a gradual bulge for the body of your doll. Your doll should appear more defined now, and you should end this round with 24 stitches. (24 sts)
Rounds 4-6: Straighten the Body
For these rounds, work 1 sc in each stitch around without increasing. Continue this straight section until your body measures approximately 4 cm. This creates a stable base. After Round 6, you will still have 24 stitches. (24 sts)
Round 7: Begin to Shape the Neck
In Round 7, start shaping the neck by crocheting 1 sc in the first 6 stitches, then 2 sc in the next stitch, repeating until the end. This helps transition from the body to the head. Your stitch count should now be 30 stitches. (30 sts)
Round 8: Shape the Head
For Round 8, crochet 1 sc in the next 7 stitches, followed by 2 sc in the next stitch. Continue this pattern until the round is complete. This round will make the head appear more full, with a total of 36 stitches. (36 sts)
Rounds 9-12: Complete the Head
Work 1 sc in each stitch around for the next four rounds (Rounds 9–12). This will establish a rounded head at about 6 cm. Ensure that your ends are secured by checking your stitch count remains at 36. (36 sts)
Round 13: Start Decreasing for the Head
To begin shaping the top of the head, crochet 1 sc in the first 8 stitches, then 1 dec (decrease) in the following stitch. This round will begin to round off the head. Your total should now drop to 30 stitches. (30 sts)
Round 14: Continue Decreasing
In Round 14, crochet 1 sc in the first 7 stitches and then 1 dec. Repeat this pattern around. The head should start to become smaller and more defined. You should now have 24 stitches remaining. (24 sts)
Round 15: Final Decrease Round
For your last decrease round, crochet 1 sc in 6 stitches followed by 1 dec. This last decrease will create a nice rounded crown for the head. You should have 20 stitches remaining after this round. (20 sts)
Round 16: Close the Head
In Round 16, crochet 1 sc in 5 stitches followed by 1 dec, and finish with a dec at the end of the round. This will tidy up the head’s shape and make it ready for the finishing touches. Your final head stitch count will be 16. (16 sts)
Assembly Step: Attach Eyes and Features
Now that the head is complete, attach the safety eyes between Rows 10 and 11, spacing them evenly. Embroider the nose and eyebrows using black yarn, giving your amigurumi Harry Potter a characterable look.
Step: Create Limbs
For the arms and legs, use 2.5 mm hook and crochet 6 sc into a magic ring. Work 4 rounds straight, keeping your stitch count at 6 per round. This solid construction ensures the limbs support your doll well.
Step: Make the Scarf
To create a cozy scarf, use a simple chain stitch with your chosen color. Aim for about 30 chain stitches to create a suitable length. Once finished, sew or wrap the scarf around the doll’s neck for that magical touch.
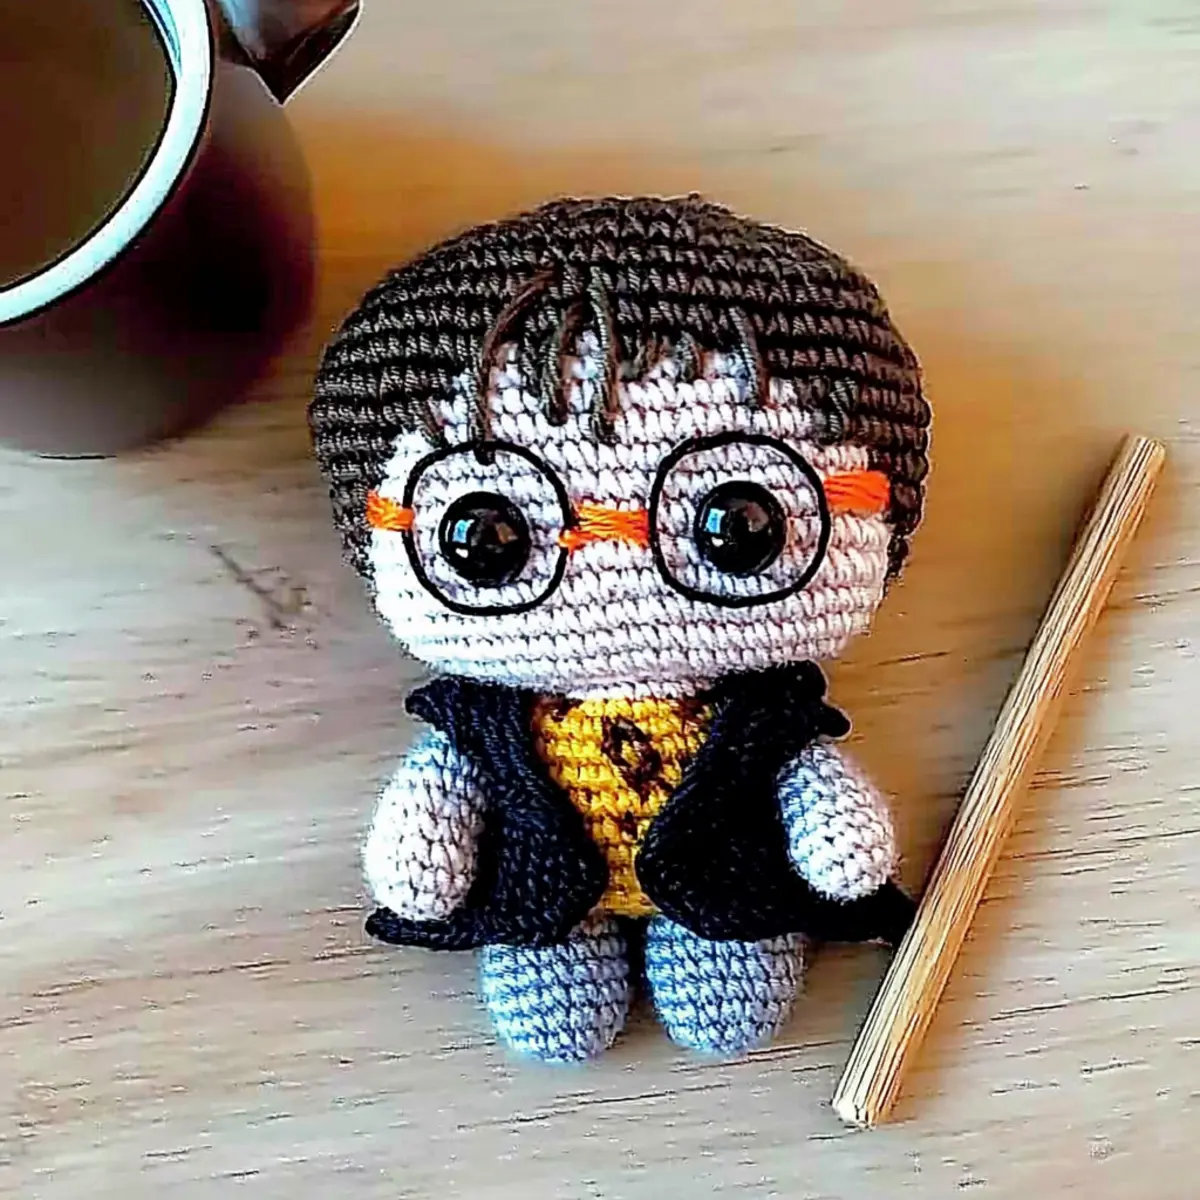
Expert Tips for Amigurumi Doll
-
Keep Tension Even: Maintain consistent tension throughout your stitches to achieve a neat finish. This will enhance the overall look of your amigurumi Harry Potter doll.
-
Count Your Stitches: Regularly count your stitches at the end of each round. This habit helps prevent you from losing count and ensures your doll retains its charming shape.
-
Use Minimal Filling: When stuffing the plush sections, use very little filling. This helps the doll maintain its shape and prevents distortion of the features.
-
Secure Eyes Properly: Ensure your safety eyes are securely attached between rows 10 and 11. This adds character and prevents them from coming loose during play.
-
Finish Neatly: Weave in any loose ends meticulously to maintain the clean aesthetic of your doll. This attention to detail will make a big difference in the final presentation.
How to Wash and Care for Your Amigurumi Doll
Hand Washing: Gently hand wash your amigurumi Harry Potter doll using cold water and mild soap. Avoid agitating it to prevent any felting or pilling of the yarn.
Drying/Blocking: Lay your doll flat on a clean, dry towel to maintain its shape while drying. Avoid hanging it up, as this can stretch out the limbs.
Storage: When not in use, store your doll in a cool, dry place, away from direct sunlight, to prevent fading and keep its colors vibrant.
Regular Maintenance: Lightly dust the doll with a soft cloth to keep it looking fresh. If needed, spot clean any stains with a damp cloth to maintain its charm.
Variations & Substitutions for Amigurumi
Feel free to let your imagination run wild as you put your personal spin on this charming crochet project!
- Yarn Substitutions: Explore different yarn brands that closely match the recommended fibers for similar results and textures.
- Texture Additions: Try adding a pom-pom or fringe for a fun twist on your doll’s scarf. It adds an element of playfulness!
- Color Block: Use a mix of your favorite colors to create a vibrant scarf. Imagine the tales your doll could tell wearing a rainbow!
- Sizing Adjustments: Want a bigger doll? Simply use a thicker yarn and a larger hook to create a more substantial Harry Potter companion.
- Facial Variations: Customize the expressions on your doll by varying mouth and eyebrow designs. Each doll can reflect a different personality!
- Accessory Ideas: Consider crocheting a tiny wand or glasses to add more character details. What adventures might they go on?
- Beyond Harry: Create dolls inspired by other characters from the series. Check out my inspired patterns to expand your collection!
- Color Gradient: Mix shades within the same color family for a lovely gradient effect on the doll’s clothing. Each stitch can blend effortlessly into the next!
Embarking on these variations not only ignites your creativity but also makes each amigurumi uniquely yours!
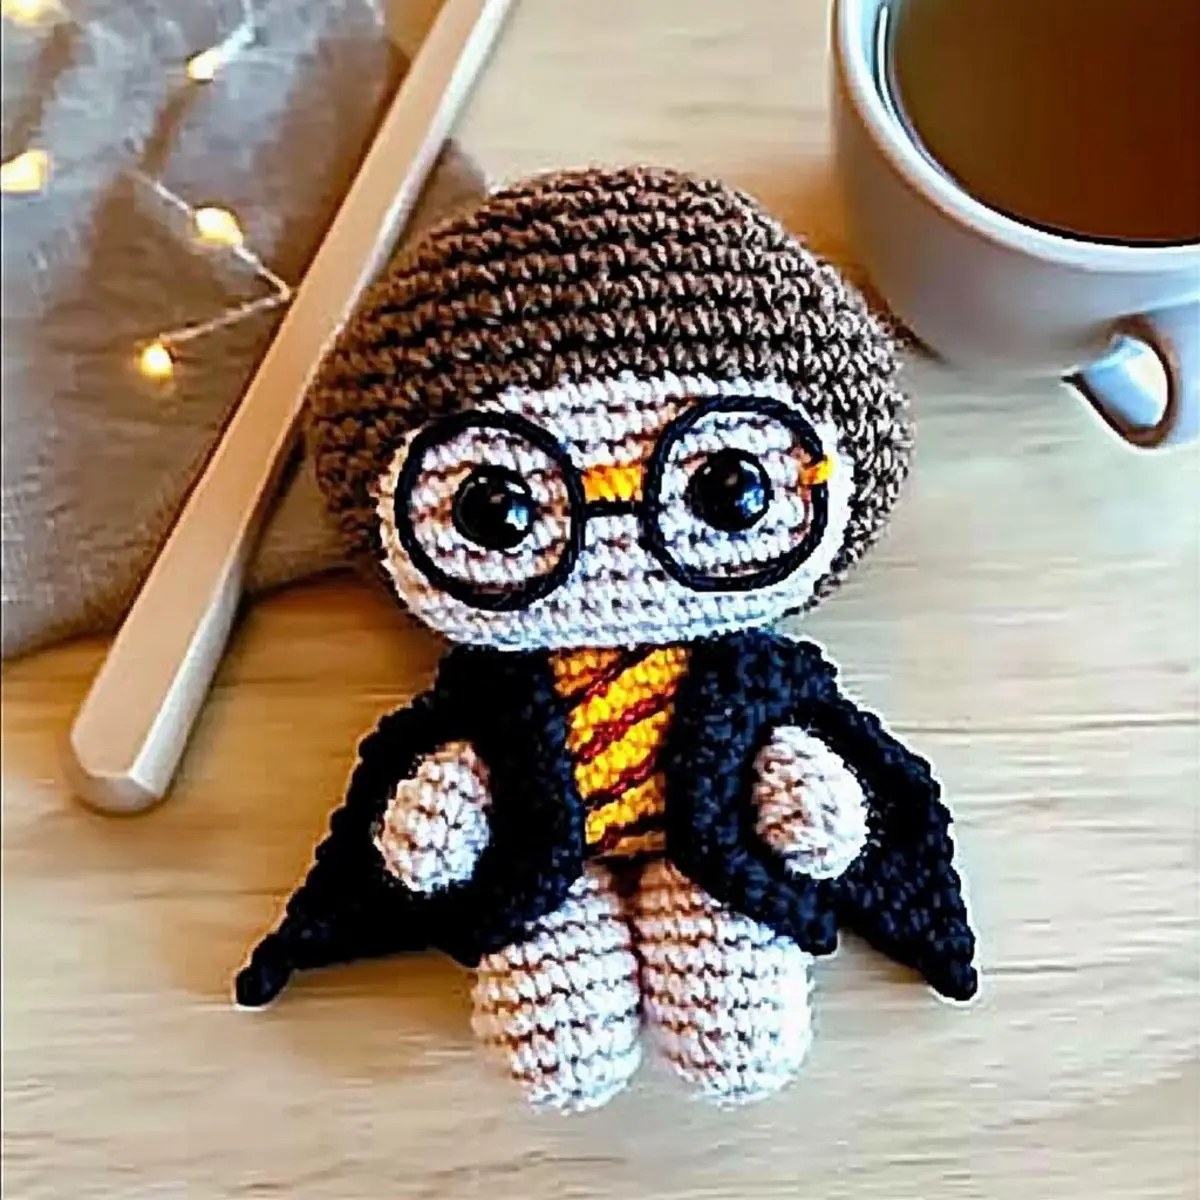
Free Beginner-Friendly Amigurumi Harry Potter Doll FAQs
Can I use a different yarn than the one listed?
Absolutely! While I recommend acrylic yarn for its durability and structure, you can experiment with cotton or blends. Just keep in mind that your finished doll may differ in texture and finish, so it’s a good idea to check your gauge if you substitute.
How do I resize the amigurumi doll if I want it larger or smaller?
To adjust the size, you can either use a thicker yarn and a larger hook or decrease your yarn weight with a smaller hook. If you choose to go bigger, simply remember to follow the increase pattern until you reach your desired size, but keep in mind that this might affect the amount of yarn you’ll need!
Why is my work curling at the edges?
Don’t panic! If your amigurumi edges are curling, it may be due to tight tension or too few increases. Make sure you’re not overly tightening your stitches. Try working with a looser tension for the rows, or adding an extra increase to your rounds to flatten things out.
What size hook should I use for this project?
For this pattern, a 1.75 mm (US 00) crochet hook will give you the tiny, neat stitches you need for details, while a 2.5 mm (US B) hook can be used for larger parts if you want to work up a little quicker. Just be sure to check your gauge to ensure everything stays in proportion!
How do I fix a dropped stitch in my amigurumi?
It’s an easy fix! Simply use your tapestry needle to pick up the dropped stitch and pull it back through the previous stitch or round. If it’s an ongoing issue, try checking your tension to keep everything snug and secure.
Can I change the color of the scarf or other details?
Yes, definitely! Feel free to customize the scarf colors and any other details to match your style or favorite character. Just remember that any changes might alter the amount of yarn you use, so plan accordingly!
Leave a Reply