
As I nestled into my favorite spot with a soft blanket wrapped around my legs, I longed for a project that would transport me back to my childhood wonder—where stories leaped off the pages and into my imagination. That’s when I discovered “Grandma Elara’s Enchanted Storybook Doll.” This delightful amigurumi pattern offers a satisfying challenge for intermediate crocheters while sparking joy and creativity for adventurous beginners. With her charming spectacles and whimsical storybook, this doll isn’t just a neat piece of art; she’s a tangible embodiment of storytelling magic that you can customize to reflect your own personal style. You’ll love how quickly she works up, making her the perfect cozy project to keep your creative spirit alive. Ready to bring Grandma Elara to life and fill your space with a sprinkle of enchantment? Let’s get crocheting!
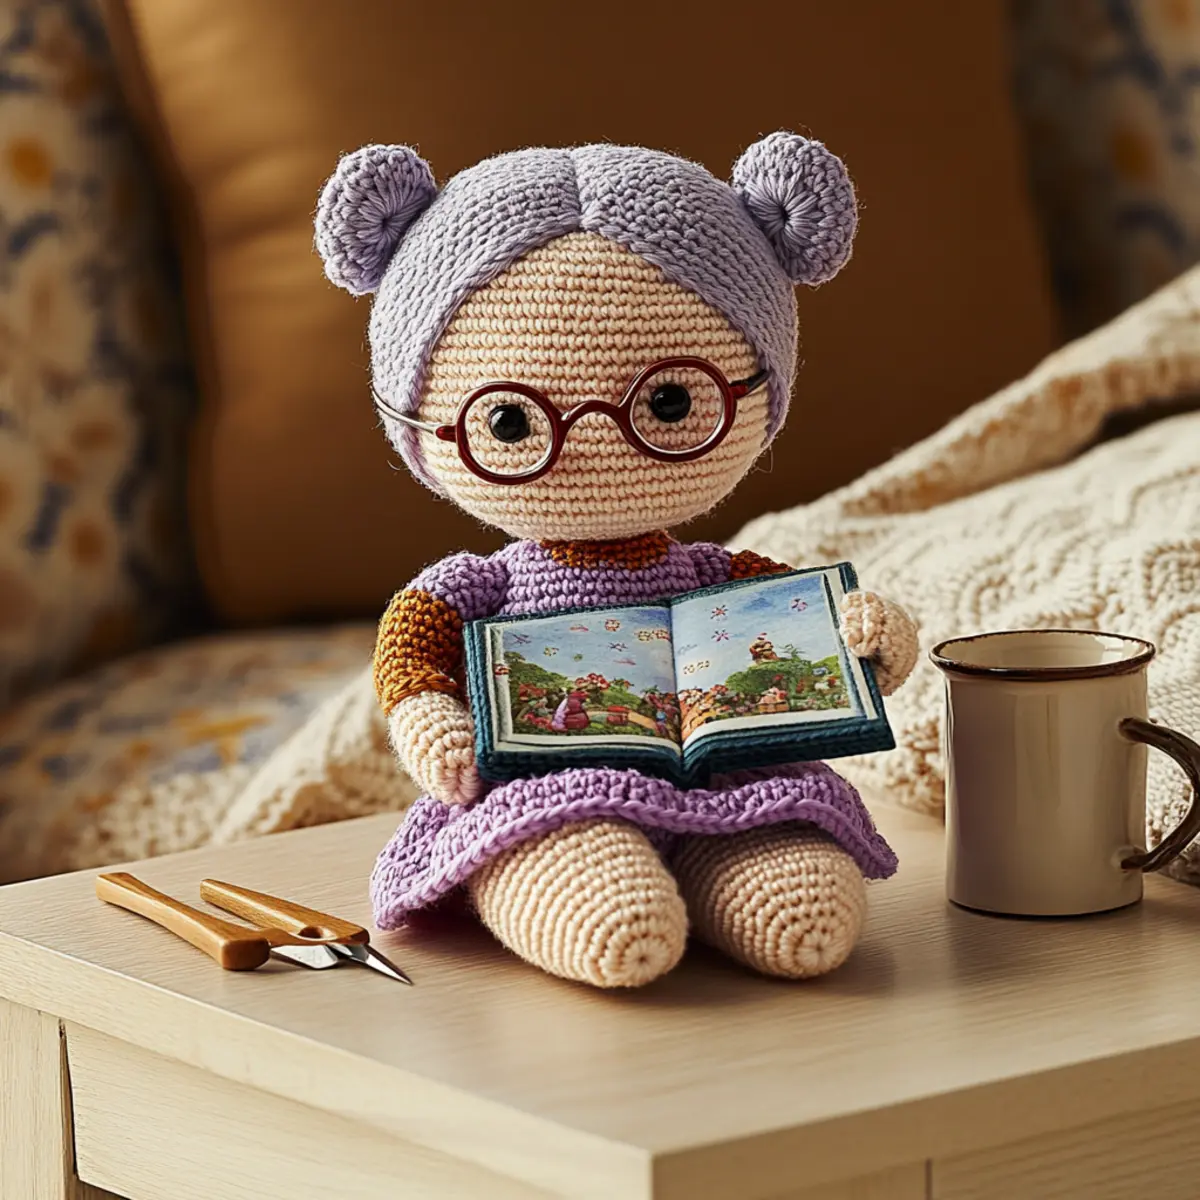
Grandma Elara’s Enchanted Doll Materials & Tools
• Dive into your magical crafting journey with this cozy amigurumi doll pattern!
Yarn
• Skin Tone Yarn – Weight category 4 (worsted), cotton/acrylic blend, approximately 100 yards for a soft and inviting texture.
• Dress Color Yarn – Weight category 4 (worsted), cotton/acrylic blend, approximately 100 yards, perfect for that charming outfit.
• Hair Color Yarn – Weight category 4 (worsted), cotton/acrylic blend, approximately 75 yards to create Grandma Elara’s lovely locks.
• Storybook Cover Color Yarn – Weight category 4 (worsted), cotton/acrylic blend, approximately 50 yards for a vibrant storybook.
• Accent Colors (optional) – Play with additional colors for a personalized touch on your doll.
Tools & Notions
• 3.5 mm (E/4) Hook – Ideal for creating those intricate stitches that bring your doll to life.
• 4 mm (G/6) Hook – A perfect alternative if you prefer a slightly different tension.
• Stitch Markers – Keep track of your rounds and avoid any unintentional stitch counts.
• Tapestry Needle – Essential for weaving in ends and assembling your Grandma Elara.
• Safety Eyes (if desired) – Add a touch of whimsy to her character with these cute features.
• Fiber Fill Stuffing – Make your doll soft and squishy for cuddly comfort.
• Fabric Stiffener (optional) – Use for her spectacles to ensure they hold their enchanting shape.
Ready to infuse your craft space with stories and creativity? Grab your materials and let’s get crocheting!
Why Will You Adore This Doll?
Whimsical Design: The charming character of Grandma Elara captures the heart with her delightful smile and tiny spectacles, inviting nostalgia and creativity.
Magic of Storytelling: This pattern goes beyond crafting; it transforms into a storytelling companion that sparks the imagination of both creator and recipient.
Quick and Rewarding: With straightforward assembly and clear instructions, this project satisfies your crochet cravings in no time, perfect for a cozy evening at home.
Unique Personalization: Customize Grandma Elara’s attire and accessories with different yarn colors and styles to make her uniquely yours. Don’t forget to check out our tips on customization ideas to elevate your creation!
Perfect Keepsake: The soft, squishy texture makes this doll not only a beautiful decoration but also a perfect cuddly keepsake, destined to be cherished for years to come.
Gauge & Sizing Notes
Don’t skip the gauge swatch! Checking your crochet gauge is essential for ensuring that Grandma Elara’s Enchanted Storybook Doll turns out just the right size. Aim for a tension swatch of 4×4 inches (10×10 cm), which should equal 10 single crochets by 10 rows. If you’re looking to make the doll larger, simply increase your starting chain in multiples of 10 for the body or adjust your rounds accordingly. Conversely, if your tension is too tight, try using a larger hook size to achieve the desired measurements. Remember, each stitch counts in bringing Grandma Elara to life!
Step‑by‑Step Pattern for Grandma Elara’s Enchanted Storybook Doll
Row 1: Head – Start with a Magic Ring
Begin with a magic ring, ch 1, then work 6 sc into the ring (6 sts). Pull the ring tight. Your work should form a small circle. This will be the foundation for Grandma Elara’s head, which you will shape through a series of increases in the following rounds.
Row 2: Head – Increase Round
Ch 1, inc in each stitch around (12 sts). This means you’ll make two sc into each of the original 6 stitches. Your head should start to grow slightly larger and rounder at this point, giving it a fuller shape that will accommodate her charming features.
Row 3: Head – Continue to Increase
Ch 1, sc in the next stitch, inc in the following stitch repeat around (18 sts). The head will expand further, and you should notice the circle becoming more prominent. Keep your tension even for a smooth transition to the next parts of the doll.
Row 4: Head – Increase Again
Ch 1, sc in the next 2 stitches, inc in the next stitch repeat around (24 sts). Your work should now resemble a nice round dome. Adjust your yarn tension as needed to ensure consistency and prepare for the transitions that will form Grandma Elara’s features.
Row 5: Head – Begin to Shape
Ch 1, sc in each stitch around (24 sts). This round is essential as it establishes the height of the head. Your work should look like a nice rounded cap. Keep an eye on your stitch count to maintain the shape as you continue with more rows.
Row 6: Head – Decrease Round
Ch 1, sc in the next 2 stitches, dec repeat around (18 sts). This round begins to taper the head slightly. You’ll see the top start to narrow, creating a more natural shape for Grandma Elara’s head.
Row 7: Head – Final Decrease
Ch 1, sc in the next stitch, dec repeat around (12 sts). Stuff the head firmly with fiber fill, ensuring it’s well packed but not overly tight. At this stage, your head should feel rounded and ready to add features like safety eyes.
Row 8: Body – Start at the Neck
Ch 1, sc in each stitch around (12 sts). You will now extend from the head to the body. Your work should remain seamless at this point, connecting the neck smoothly to the body.
Row 9: Body – Increase for a Pear Shape
Ch 1, sc in the next stitch, inc repeat around (18 sts). This round will aid in creating the fuller shape of Grandma Elara’s body. The doll should start to have a more defined pear-like shape as the body takes form.
Row 10: Body – Continue to Form Shape
Ch 1, sc in each stitch around (18 sts). Maintain the pear shape by keeping your tensions even. You should see the body start to broaden and it will be ready for stuffing once you finish the next decreases.
Row 11: Body – Decrease for Tapering
Ch 1, sc in the next 2 stitches, dec repeat around (12 sts). The body begins to taper off at the bottom. Remember to keep a gentle grip while continuing the crochet as your structure firms up, leading to a smooth transition to the next rounds.
Row 12: Body – Final Round
Ch 1, sc in each stitch around (12 sts). Stuff the body with fill during this round as it becomes sturdy. Grandma Elara’s warm torso will take shape, providing a comfy structure for her lovely attire.
Step 13: Arms – Create the First Arm
Ch 1, make 6 sc in a magic ring (6 sts). This creates the first arm piece for Grandma Elara. The arm should be small and delicate, ready to bring her character to life. Be mindful to keep your stitches tight to avoid any gaps.
Step 14: Arms – Increase Around
Ch 1, inc in each stitch around (12 sts). This round enhances the arm’s plush look. You should notice it starting to puff out gently, which will give Grandma Elara’s arms a soft and cozy appearance.
Step 15: Arms – Lengthening the Arm
Ch 1, sc in each stitch around (12 sts). This round helps establish the length of the arm. With your hook gliding through each stitch, to create a snug, short arm that mirrors Grandma Elara’s whimsical charm.
Step 16: Arms – Final Decrease Round
Ch 1, sc in the next stitch, dec repeat around (8 sts). Stuff lightly to create a soft arm while keeping the shape. You should see the arm starting to taper slightly as you prepare to finish it off.
Step 17: Legs – Create the First Leg
Ch 1, make 6 sc in a magic ring (6 sts). Similar to the arms, the legs will serve as sturdy bases for Grandma Elara’s poseability. The small circle sets a great start to shaping her legs, which will give her a strong stance.
Step 18: Legs – Increase for Fullness
Ch 1, inc in each stitch around (12 sts). Your leg will start filling out to match her arms. This stage contributes to a robust yet adorable look. Keep your work tight to maintain a cozy appearance.
Step 19: Legs – Lengthen the Leg
Ch 1, sc in each stitch around (12 sts). This establishes the length. The leg should appear round and plush, setting the foundation for Grandma Elara to stand or sit, depending on how you want to pose her.
Step 20: Legs – Final Round
Ch 1, sc in the next stitch, dec repeat around (8 sts). Stuff the leg lightly before closing it off. At this point, your leg should have a sweet plumpness that pairs nicely with the entire doll’s silhouette.
Step 21: Hair – Start with a Magic Ring
Ch 1, make 8 hdc in a magic ring (8 sts). This initial round begins shaping Grandma Elara’s hair. With her head ready, the hair will bring out her unique character and welcoming charm, setting the stage for a delightful finish.
Step 22: Hair – Increase for Volume
Ch 1, inc in each stitch around (16 sts). As you see the strands forming, it creates a voluminous look that will beautifully frame Elara’s face. Imagine how she will look once the finishing touches come together.
Step 23: Hair – Continue to Form Style
Ch 1, hdc in each stitch around (16 sts). With each stitch, you enhance the texture of her hair. Your work should take on a lovely rounded shape that you can style further with assorted techniques or stitches.
Step 24: Hair – Final Touches
Ch 1, hdc in the next stitch, dec repeat around (12 sts). Attach securely to the head. Add any additional textures or styles you like to make Grandma Elara’s hair uniquely yours. This crowning moment will give her the whimsical flair she deserves.
Step 25: Accessories – Create Spectacles
Ch 1, ch 10, sl st in the second ch from the hook and each remaining ch (9 sts). Form a small loop for delightful specs. Add a bit of fabric stiffener if you’d like to keep them sturdy. These accessories will brighten Grandma Elara’s character beautifully.
Step 26: Accessories – Create Storybook
Ch 1, make 10 sc across in first chain (10 sts), turn. This creates the core of the storybook. Make sure to add shades of color for an enchanting look. Maintain consistent stitch tension for a cohesive finish across the book’s cover.
Step 27: Accessories – Finish Book with Pairing
Ch 1, make 10 more sc across in the next chain (10 sts). Your storybook will appear lush and colorful, ready to accompany Grandma Elara while she shares magical stories. Its small size enhances the whimsical feel of this enchanting doll.
Step 28: Assembly – Attach Body Parts
Position the head on the body and sew securely while ensuring it’s aligned. Pin before securing each piece to ensure a neat assembly of Grandma Elara. You should see her warmth and personality start to radiate once everything is stitched together.
Step 29: Assembly – Add Arms and Legs
Attach the arms and legs firmly to the body. Position with grace to enhance the poseability of Grandma Elara. Each limb should align comfortably to sustain her enchanting storytelling pose, reflecting her cozy character.
Step 30: Finishing Touches – Add Eyes and Features
Embroider or attach safety eyes as desired. Add any final facial features or other embellishments. This step breathes life into Grandma Elara, completing her transformation into a charming storyteller filled with warmth and personality.
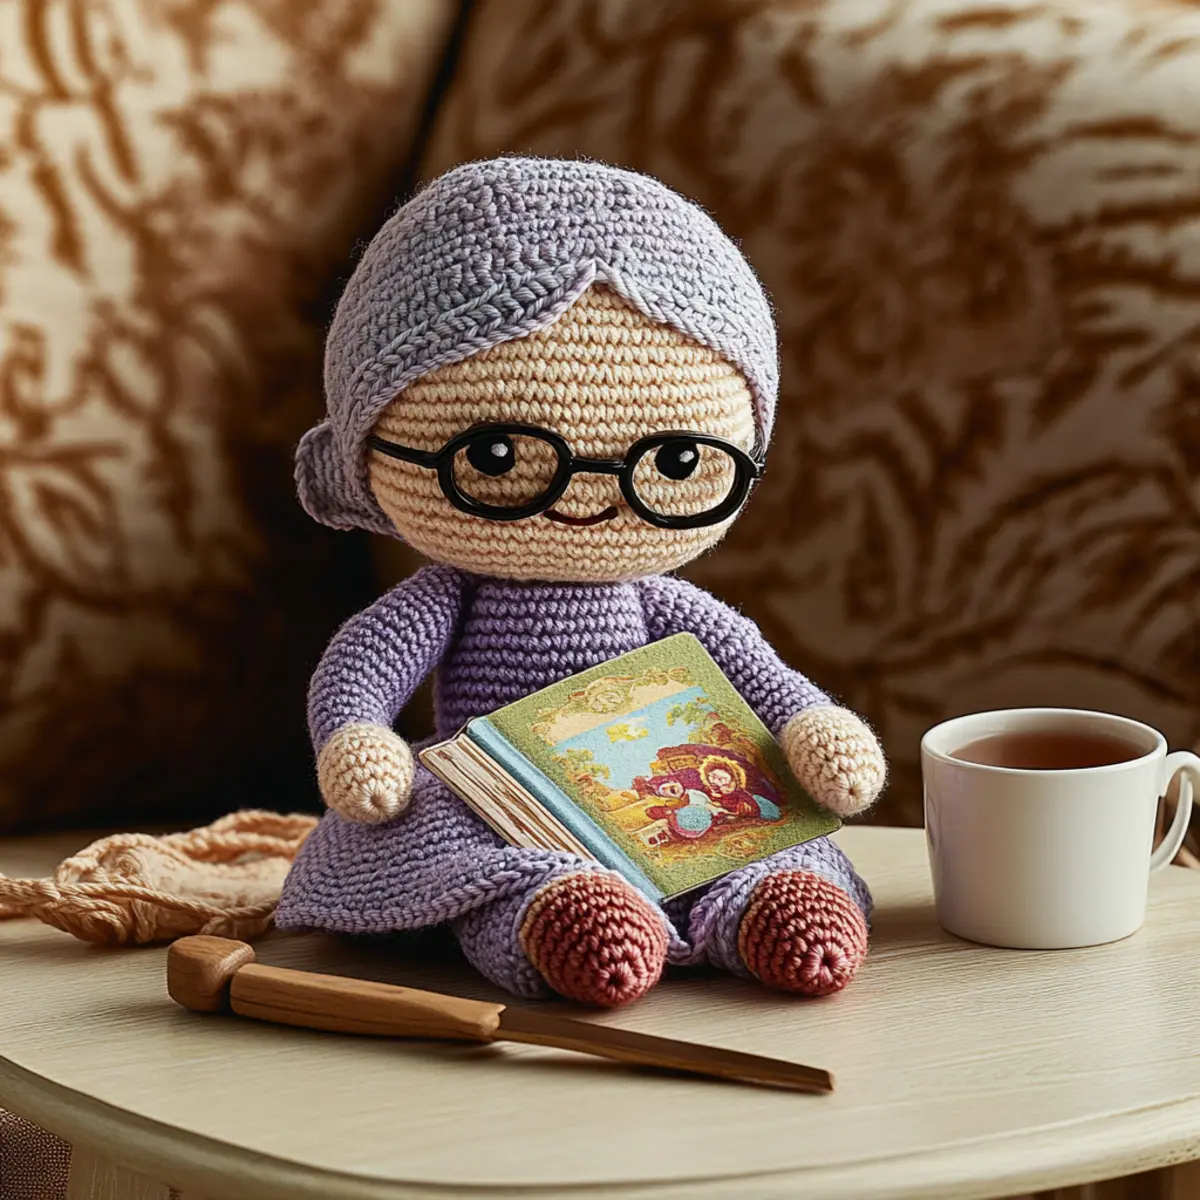
How to Wash and Care for Your Amigurumi Doll
-
Spot Cleaning: Gently spot clean Grandma Elara using mild soap and a damp cloth. Avoid soaking to preserve her vibrant colors and cozy texture.
-
Air Drying: After cleaning, lay your amigurumi doll flat to air dry. This prevents warping and keeps her lovely shape intact, ensuring her durability for storytelling adventures.
-
Storage: When not in use, store Grandma Elara in a cool, dry place away from direct sunlight. This keeps her yarn fresh and minimizes fading over time.
-
Preventing Dust Buildup: To keep your finished doll looking her best, regularly dust her off with a soft brush or cloth. It’s a little care that makes a big difference!
Expert Tips for Grandma Elara
-
Stitch Count: Always count your stitches: Checking your stitch count at the end of each round helps prevent warping and maintains the doll’s overall shape.
-
Consistent Tension: Keep an eye on tension: Even tensions across your stitches will create a more polished and professional look for Grandma Elara.
-
Pinning for Precision: Pin parts before sewing: Arrange and pin sections before attaching them to ensure proper alignment and placement for a flawless finish.
-
Stuffing Technique: Adjust stuffing firmness: Customize the softness of your doll by varying the amount of fiber fill. Too much can make it stiff, while too little may flatten your creation.
-
Finishing Touches: Embrace decorative details: Take your time with embellishments such as spectacles and storybooks, as these elements bring Grandma Elara’s character to life and add pops of charm.
Variations & Substitutions for Grandma Elara
Invite your creativity to dance as you explore delightful customizations for your crochet doll.
-
Yarn Swaps: Try a different yarn weight for a varied finish, like lightweight cotton for a delicate touch or chunky yarn for a cozy feel. Each fiber brings its own warmth and texture to the doll.
-
Color Play: Experiment with unexpected colors for Grandma Elara’s attire. Use vibrant hues to reflect your personality or soft pastels for a dreamy look. Your choices will infuse her with unique character!
-
Texture Additions: Enhance visual interest by adding fringe to her dress or a pom-pom to her hat. These playful elements create delightful textures and turn heads.
-
Size Variations: Adjust your hook size for larger or smaller versions of Grandma Elara. This allows you to create a family of dolls, each with its own charm, perfect for storytelling adventures.
-
Accentuate with Accessories: Create additional accessories like a scarf or a different style of spectacles. These delightful details make Grandma Elara even more enchanting and personal.
-
Eye Style Changes: Switch between safety eyes and embroidered eyes for a range of expressions. Different eye techniques can elevate her charm and create unique interpretations of her character.
-
Layered Outfits: Crochet multiple outfits for your doll, allowing her to change with the seasons or mood. Think of caps and shawls that echo the spirit of Grandma Elara’s whimsical tales.
For more personalized ideas on illuminating your crafting journey, don’t forget to dive into our exploration of customization ideas!
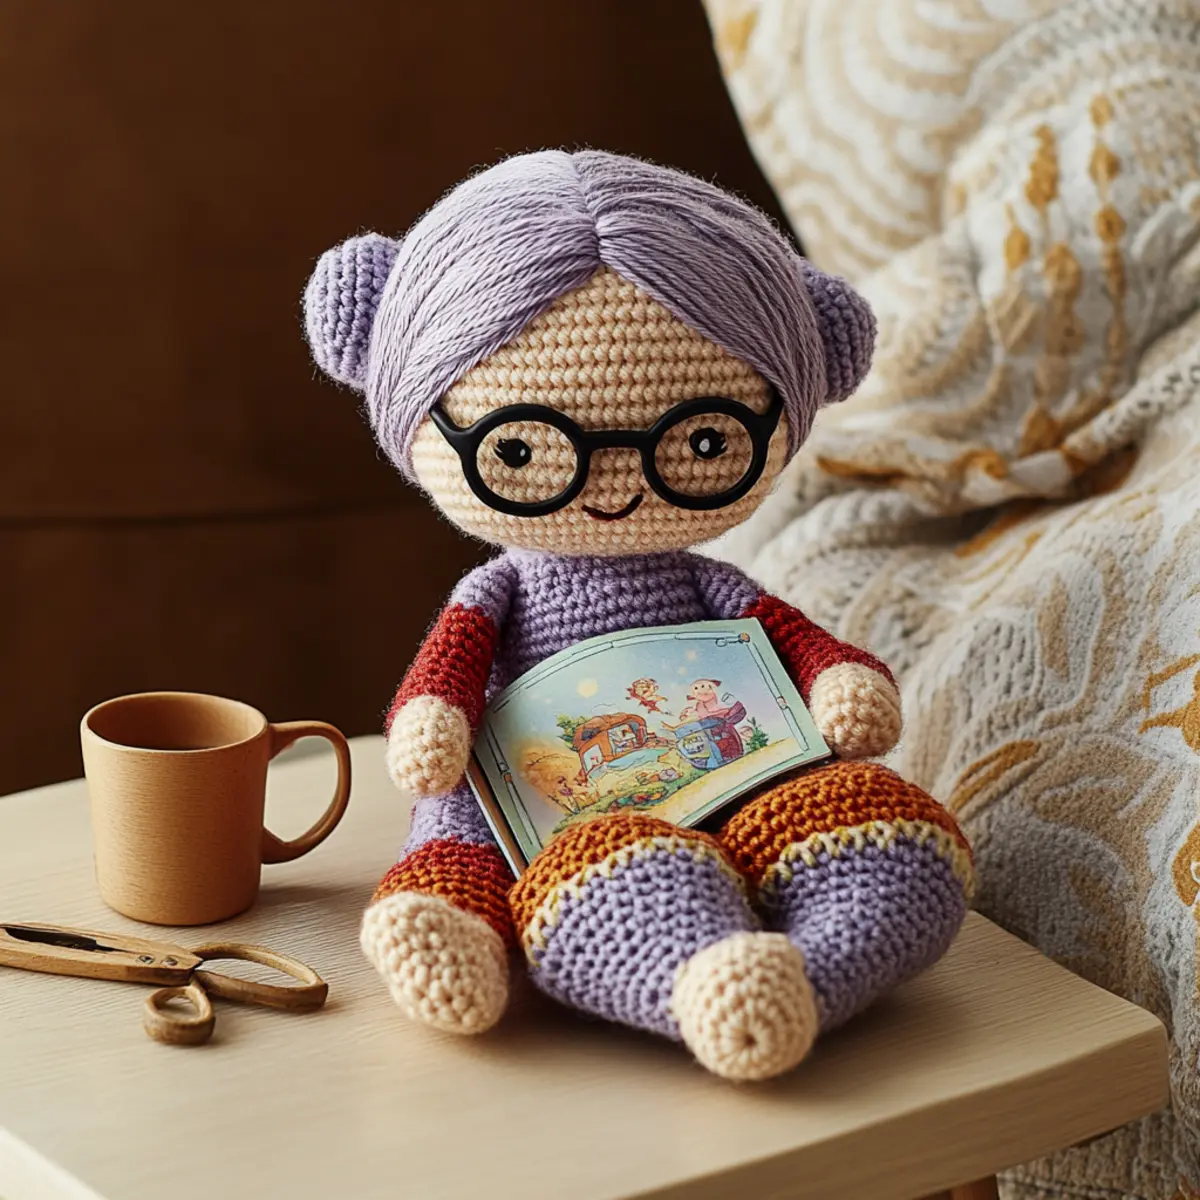
Grandma Elara’s Enchanted Storybook Doll FAQs
Can I substitute yarn types for this pattern?
Absolutely! While the pattern suggests a cotton/acrylic blend, you can certainly explore alternatives like100% acrylic or even a soft wool if you prefer. Just keep in mind that different yarns may alter the final texture and drape, so check your gauge as needed!
How can I resize the doll?
Don’t panic! If you’d like a larger or smaller version of Grandma Elara, simply adjust your hook size. Going up a hook size will yield a bigger doll, while going down will create a smaller one. Remember to adjust your stitch counts accordingly, especially if you’re altering the proportions!
Why is my work curling?
If you find your work curling, it may be due to too tight a tension or an incorrect stitch count. Make sure you maintain a consistent tension throughout. If your last round is too tight, try switching to a larger hook or relaxing your grip during crocheting!
What hook size should I use for this pattern?
This pattern recommends a 3.5 mm (E/4) or 4 mm (G/6) hook, which works well for the suggested yarn weight. If you’re substituting yarn, it’s wise to choose a hook size that fits your new yarn’s weight to maintain the same overall look and feel.
I’ve dropped a stitch—how do I fix it?
Don’t worry! Dropped stitches happen to the best of us. Simply locate the stitch, and using a tapestry needle, pull the working yarn through the stitch. Gently pull the yarn to tighten, and then continue crocheting as normal. It’s an easy fix that many of us encounter!
Can I embellish Grandma Elara with additional accessories?
Absolutely! Personalizing Grandma Elara with different accessories like hats, scarves, or even additional books can add charm and character. Feel free to experiment with your favorite motifs and designs for a truly unique creation!
Leave a Reply