
As I sat with my yarn, the soft fibers slipping through my fingers, a sudden inspiration struck me – why not create a flourish of color for my coffee table? Enter the Beginner-Friendly Daisy Coasters, a quick and adorable project that breathes life into any space. This design not only showcases a beautiful floral motif but also makes it easy for beginners to enjoy the crafting process without feeling overwhelmed. You’ll love how swiftly these coasters come together, making them perfect for gifting or brightening up your home. Whether you’re preparing for a cozy gathering or simply want to elevate your decor, join me in stitching these charming coasters and let your creativity bloom!
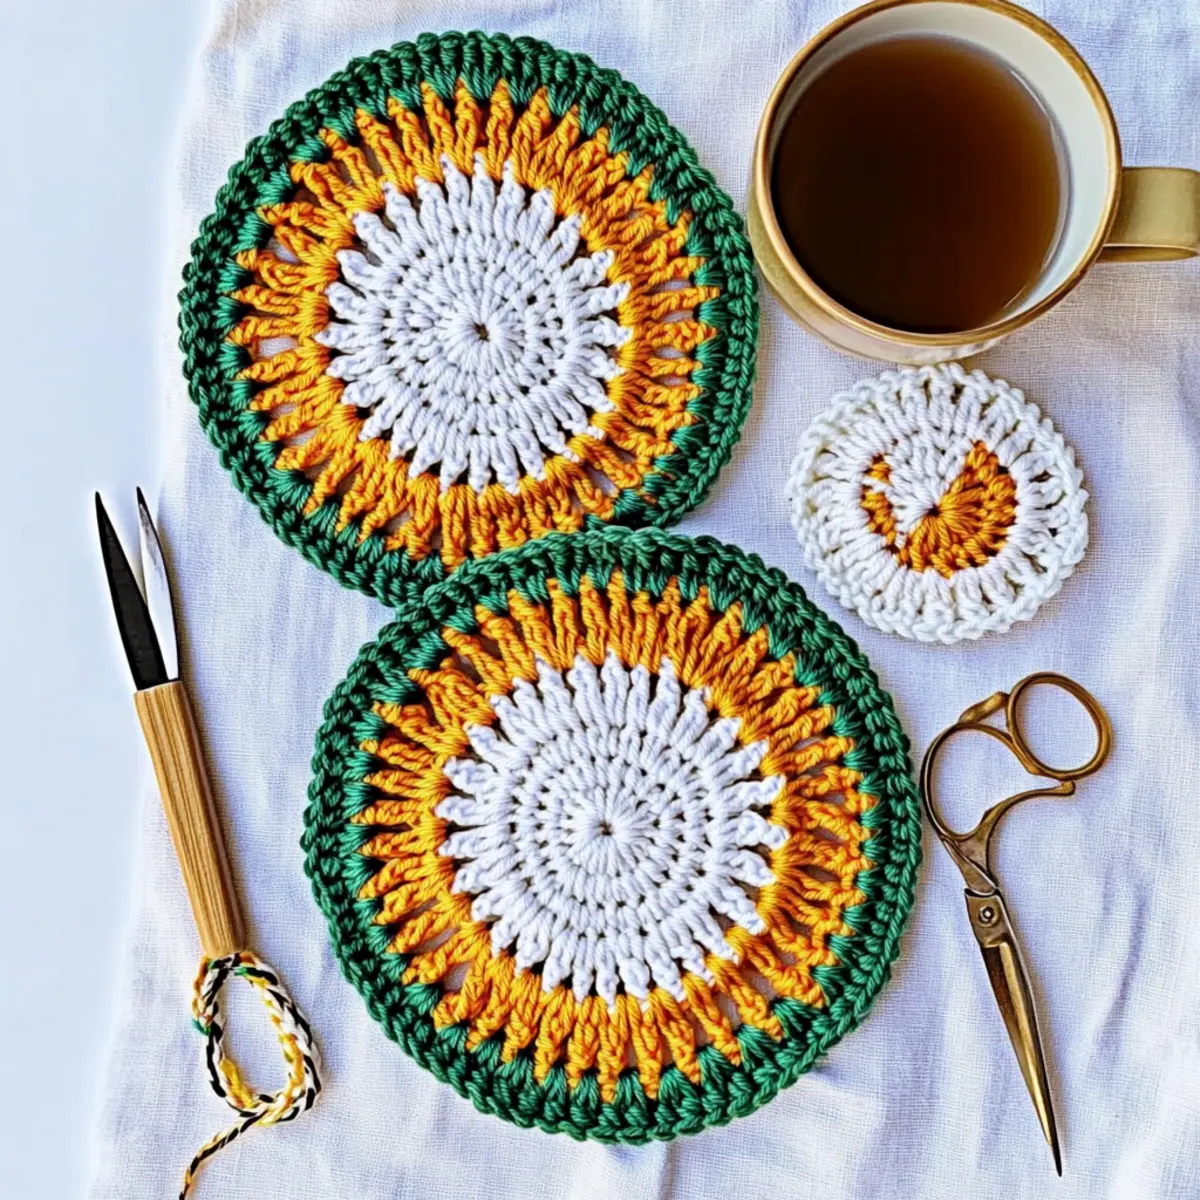
Beginner-Friendly Daisy Coasters Materials & Tools
Note: Gather these essentials to start crafting your beautiful Daisy Coasters!
Yarn
• Worsted Weight Yarn – Choose cotton or acrylic blends for a soft feel and durability, approximately 50 yards needed for 4 coasters.
Tools & Notions
• 5.0mm (H) Hook – This size is perfect for creating the daisy’s delicate petals.
• Stitch Markers – Helpful for tracking your rounds and ensuring consistent petal shapes.
• Tapestry Needle – Use this for weaving in ends to complete your coasters effortlessly.
Let’s get ready to bring some floral charm into your home decor!
Why Make Daisy Coasters?
Simplicity at Its Best: This pattern is incredibly beginner-friendly, utilizing basic crochet stitches that make it accessible for everyone.
Quick Project: With just around 50 yards needed for 4 coasters, you’ll be amazed at how fast you can whip these up, perfect for last-minute gifts.
Beautiful Design: The charming floral motif adds a delightful touch to your home décor, making these coasters a joy to create and display.
Versatile Customization: Feel free to swap colors for a unique look or adjust sizes—your creativity knows no bounds!
Perfect for Any Occasion: Whether it’s for a cozy gathering or everyday use, these coasters elevate your table setting effortlessly. Explore more quick projects like the Lightweight Crochet Beach Cover-Up for your summer outings!
Gauge & Sizing Notes
Don’t skip the gauge swatch! Ensuring your tension is correct is vital for the Beginner-Friendly Daisy Coasters because it directly impacts the final size and shape of your coasters. A standard gauge measurement for this project is a 4×4 inch (10×10 cm) square = 12 double crochets by 10 rows. To make your coasters larger, simply increase your starting chain in multiples of 12 and adjust the rounds as needed; for example, if you want a bigger diameter, adding an extra round can help. If your tension doesn’t match this gauge, don’t worry! If your swatch is smaller, try going up a hook size to achieve the desired measurements. Happy crocheting!
Step‑by‑Step Pattern for Beginner-Friendly Daisy Coasters
Row 1: Start with a Magic Ring
Begin by creating a magic ring. Chain 2 to start. Into the ring, work 12 double crochet (dc) stitches. Pull the tail of the ring to close it tightly. This forms the center of your daisy flower. Your work should create a neat circle at this stage. (12 sts)
Round 2: Form the Petals
Chain 2, then work (1 dc, ch 1, 1 dc) into the same stitch for a petal. Skip the next stitch and repeat this pattern around, creating a total of 6 petals. Join with a slip stitch (sl st) to complete the round. Your coaster will have a lovely scalloped edge beginning to form. (6 petals)
Round 3: Additional Petal Rounds
To add depth, slip stitch to the first petal. Chain 2, then work (2 dc, ch 1, 2 dc) into the same petal stitch to create a new petal. Continue this pattern in each petal, resulting in a beautiful, full daisy appearance. Join with a sl st to close the round. (12 petals)
Round 4: Final Rounds for Definition
Slip stitch to the first petal again. Chain 1 and work 1 single crochet (sc) in each petal around, forming a solid border. This gives stability to your daisy coasters while enhancing the floral design. Join with a sl st. Your edges should look defined and polished at this point. (12 sc)
Step 5: Finishing Touches
Fasten off your yarn. Weave in all loose ends using a tapestry needle to secure your work. Ensure your coasters are neat and tidy before showcasing or gifting them. Your beautiful Beginner-Friendly Daisy Coasters are complete, ready to elevate your decor or serve as a heartfelt present!
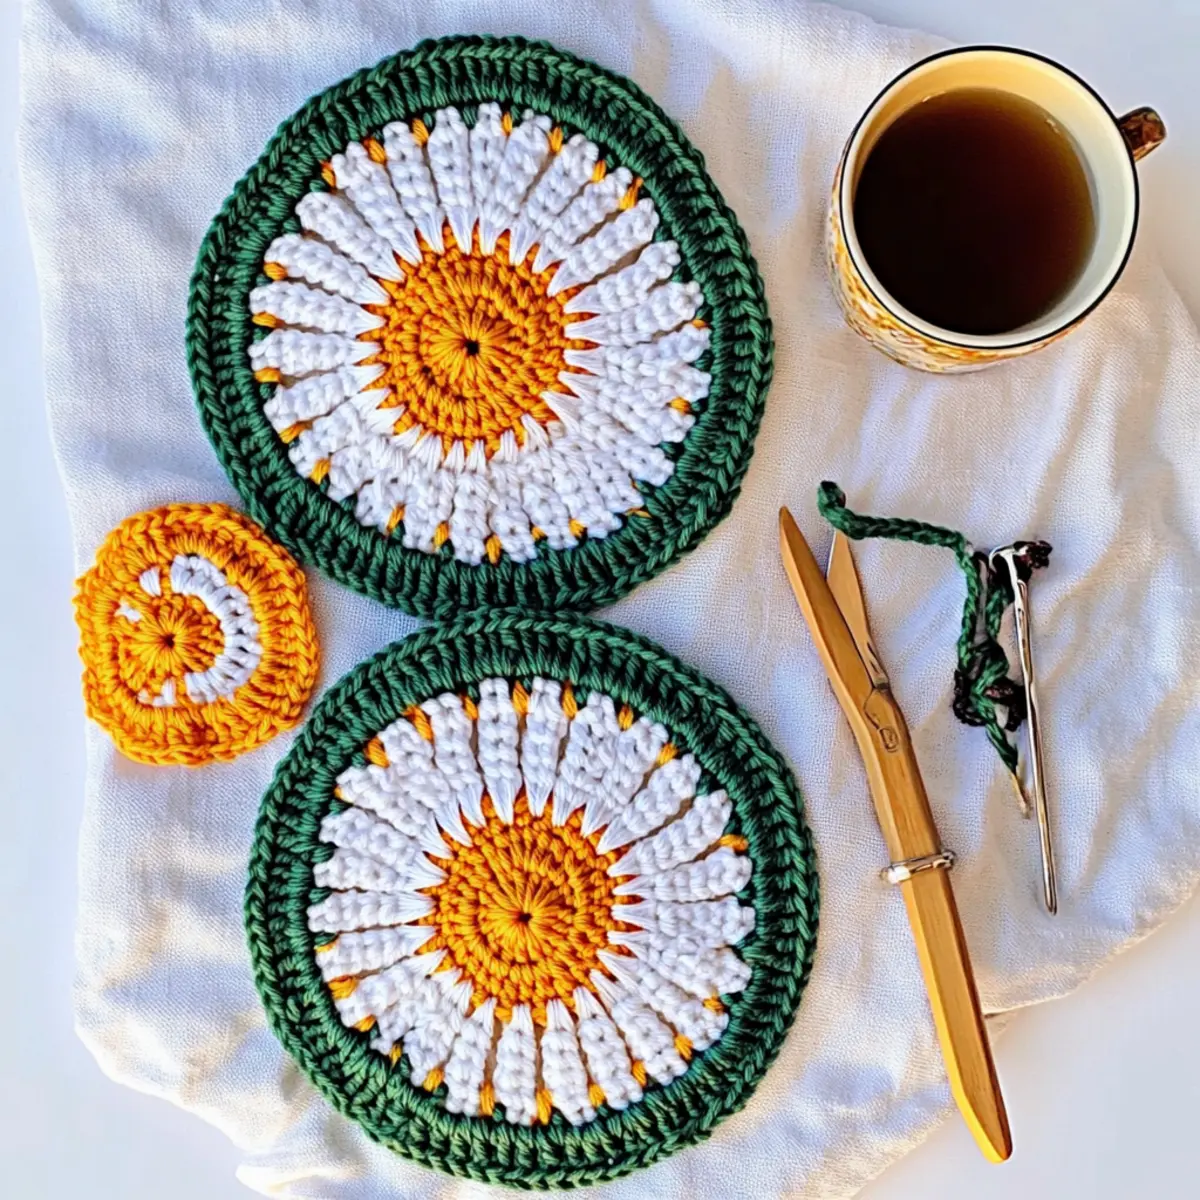
Daisy Coasters Variations & Substitutions
Feel free to explore your creativity and make these Daisy Coasters truly your own with these delightful customization ideas!
- Yarn Weight Swap: Use a lighter DK weight for a delicate look, making coasters perfect for hot summer days.
- Fiber Alternatives: Experiment with cotton for absorbency or acrylic for durability, adjusting the texture to suit your needs.
- Color-Blocking: Incorporate two or more colors in each round for a playful striped effect that adds a fun twist to every coaster.
- Size Adjustments: Increase the number of rounds to create larger coasters perfect for bigger mugs or serving dishes.
- Texture Modifications: Top your coasters off with pom-poms or fringe for a playful touch, adding charm and personality.
- Beautiful Borders: Add a simple crab stitch or contrasting edge to give your coasters a polished, finished look.
- Festive Patterns: For holidays, try incorporating red and green yarn for a joyful holiday spirit; your coasters will make great decorations!
- Mix and Match: Explore other quick projects like the Amigurumi Duck Cozy for unique gifts that pair beautifully with your new coasters.
Let your imagination run wild as you craft these coasters, transforming them into charming pieces that reflect your personal style!
Washing & Care for Daisy Coasters
-
Hand Washing: Wash your Daisy Coasters in cool water with a gentle detergent to preserve the beautiful design. Avoid agitating to prevent any felting or misshaping.
-
Drying: After washing, lay your coasters flat on a clean, dry surface to maintain their shape. Avoid hanging them to prevent stretching.
-
Storage: Store your coasters in a cool, dry place away from direct sunlight to prevent any fading of colors and maintain their vibrant appeal.
-
Freshening Up: If needed, you can lightly steam your coasters to smooth out any wrinkles or creases, keeping them looking fresh and inviting!
Expert Tips for Daisy Coasters
-
Consistent Tension: Maintain even tension while crocheting to ensure that all your petals have a uniform shape, enhancing the overall design of your Daisy Coasters.
-
Stitch Counting: After each round, take a moment to count your stitches. This simple practice helps prevent mistakes that can lead to a warped appearance in your coasters.
-
Secure Finishing: When you finish your coasters, make sure to weave in all ends securely to avoid any unraveling during use. This step is essential in keeping your project looking neat.
-
Color Alternation: If you’re alternating colors, plan your color changes in advance for a stunning effect. This method can truly showcase your creativity while making the coasters even more eye-catching.
-
Practice and Patience: Don’t worry if your first few rounds aren’t perfect. Each stitch brings you closer to mastering the technique, so enjoy the process and embrace any imperfections!
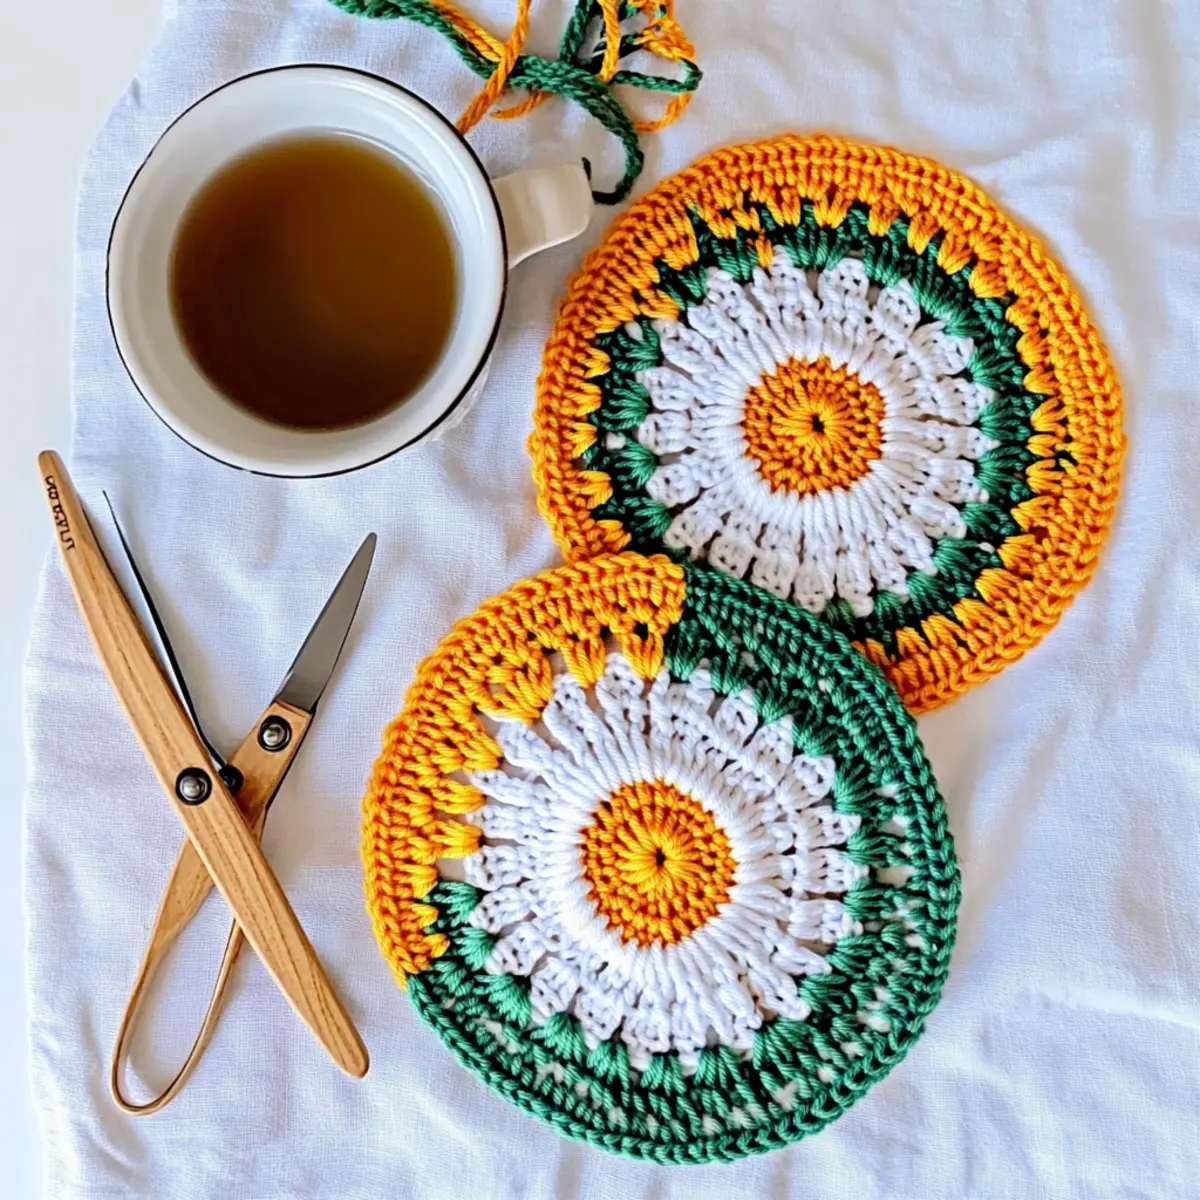
Beginner-Friendly Daisy Coasters FAQs
Can I substitute yarn for this project?
Absolutely! While the pattern suggests worsted weight yarn (4), you can easily swap acrylic for cotton or vice versa. Just keep in mind that this might affect the final appearance and texture of your coasters, so always check your gauge!
How can I adjust the size of my coasters?
If you’d like larger coasters, simply increase the number of rounds you crochet! You’ll want to make sure that the number of stitches in each round remains consistent with the original pattern, particularly maintaining the petal structure.
Why is my work curling?
Don’t panic! Curling can occur if your tension is too tight or if you’re not counting stitches accurately. Try relaxing your grip slightly as you crochet or ensure you’re using the right hook size to alleviate this.
What hook size should I use for the Daisy Coasters?
For this pattern, I recommend a 5 mm (H/8) hook. If you find your tension is too tight or too loose, you might want to adjust to a larger or smaller hook size to achieve a nice, even finish.
How do I fix dropped stitches in my project?
It’s an easy fix! Simply locate the dropped stitch and use a tapestry needle to pull the working yarn through it, then secure it back into place by following the stitch pattern. Make sure to check your stitches from time to time to prevent further mishaps!
Can I use a different stitch pattern for the coasters?
Definitely! While this pattern uses basic stitches, feel free to explore different stitch techniques like shell stitches or popcorn stitches for a fun twist. Just keep the overall structure in mind, and enjoy experimenting!
Leave a Reply