
As I sat in my favorite nook, the soft glow of afternoon light splashing across my workspace, the joy of creating something beautiful washed over me. The Crochet Lace Stitch has become one of my go-to patterns, turning simple yarn into stunning decorative pieces for the home. This beginner-friendly stitch is perfect for crafting eye-catching shawls or delicate curtains, making it a versatile choice for any crochet project. Plus, its intricate petal-like clusters give your creations a light, airy feel that brings a touch of elegance to any space. Whether you’re a newbie looking to expand your skills or an experienced crocheter seeking a quick and satisfying project, this pattern is bound to inspire your next crafting adventure. Let’s dive in and start stitching something lovely together!
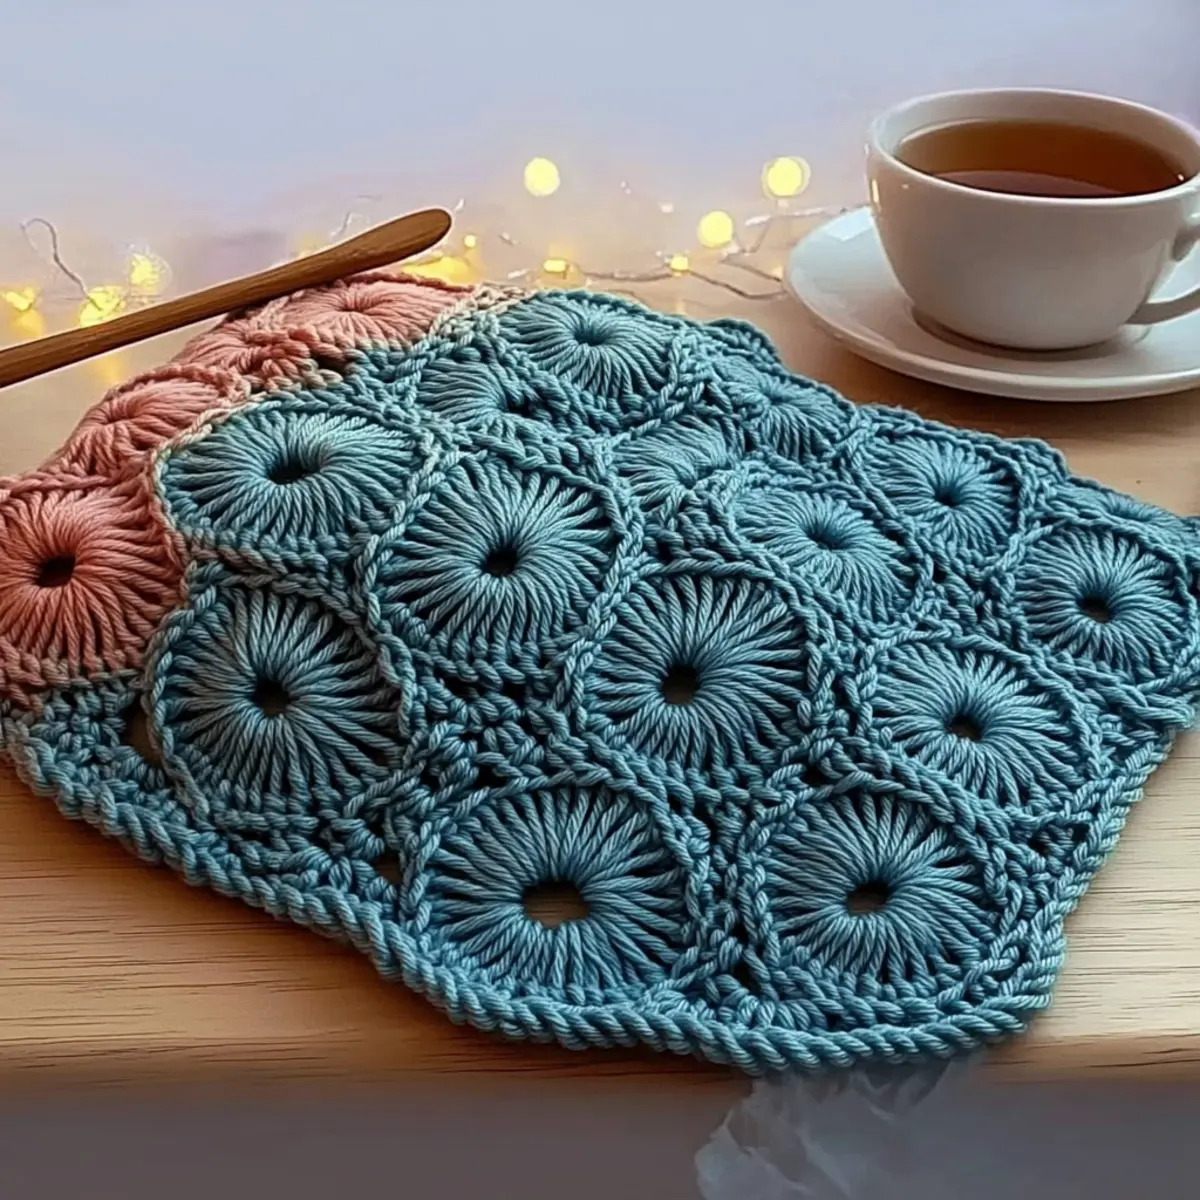
Beginner-Friendly Crochet Lace Stitch Materials & Tools
Note: Gather these supplies and get ready to create beautiful home decor with this versatile lace pattern!
Yarn
• DK Weight Yarn – Choose mercerized cotton with 250-300 yards (approx. 229-274 meters) to highlight the lace’s delicate beauty.
Tools & Notions
• 3.5mm (US E/4) Hook – This size is ideal for maintaining a firm yet lacy tension in your fabric.
• Locking Stitch Marker – Use it to easily track your pattern repeats, ensuring every stitch counts!
• Tapestry Needle – Perfect for weaving in those pesky ends and finishing your project with care.
Why Is This Lace Stitch So Special?
Elegance in Every Stitch: This Crochet Lace Stitch radiates sophistication with its delicate, petal-like clusters, instantly elevating any project.
Versatility Beyond Compare: Use it for shawls, table runners, or dreamy curtains; the possibilities are endless!
Beginner-Friendly Crafting: Designed with novices in mind, this pattern provides an enjoyable experience without overwhelming complexity.
Light as Air Texture: The airy quality of the lace ensures a soft drape, perfect for home decor that feels inviting and cozy.
Quick Results: With repetitive rows making progress easy, you’ll finish stunning pieces in no time!
Explore more beginner-friendly crochet patterns to enrich your skills and create gorgeous home accessories!
Gauge & Sizing Notes
Don’t skip the gauge swatch! Ensuring the correct tension is vital for the Elegant Crochet Lace Stitch project, as it directly impacts the final look and fit of your piece. For this pattern, aim for a gauge of 4×4 inches (10×10 cm) = 14 double crochets by 8 rows. If you wish to adjust the size of your creation, simply increase your starting chain in multiples of 6 for wider pieces, or reduce it accordingly for narrower trims. If your tension swatch comes out too small, don’t worry—just try using a larger hook size. Happy crocheting!
Step‑by‑Step Pattern for Elegant Crochet Lace Stitch for Decorative Home Accessories
Row 1: Foundation Chain
Begin by creating a foundation chain of 36 (or a multiple of 6 for your desired width). This chain will form the base of your Crochet Lace Stitch project, which accommodates the petal-like clusters. Ensure the chain remains loose enough to allow for flexibility in subsequent rows as your piece begins to take shape.
Row 2: First Petal Cluster
In the fourth chain from your hook, make a double crochet (dc), followed by two more dc in the same space, creating your first petal cluster. Skip the next two chains and make a single crochet (sc) in the following chain. Repeat this pattern across until you’ve formed a total of six petal clusters, ending with a sc in the last chain. Your row should have 6 petal clusters and 5 sc (6 clusters + 5 sc = 11 main stitch points).
Row 3: Building the Lace
Turn your work and chain 3 (counts as 1 dc). In the first sc, work 3 dc to create the next petal cluster. Skipping the first two clusters from the previous row, place an sc in the next sc. Repeat these steps across the row, creating a stack of petal clusters in every sc. You should now have 6 petal clusters (each separated by an sc) in this row.
Row 4: Continue the Texture
For Row 4, turn your project and chain 3 again. In the first sc from the previous row, create 3 dc. Proceed to sc in the next sc as before, repeating this until you reach the end of the row. Your final stitch count for this row should also consist of 6 petal clusters and 5 sc. This will beautifully extend the texture of your Crochet Lace Stitch.
Row 5: Adding More Depth
Turn your work, chain 3, and in the first sc, crochet 3 dc to form another petal cluster. This row mimics the previous rows, stacking your clusters directly above one another. Sc in the next sc, and continue until the end of the row, reinforcing your lace stitches’ staggered appearance. You should again have 6 petal clusters and 5 sc, growing the dimensionality of your lace.
Row 6: Repeating the Pattern
Continue this pattern, alternating between creating new petal clusters in sc and stacking them in the dc of previous rows for a total of six repetitive rows, building the beautiful lacework. Remember to keep counting stitches, ensuring an even structure. Each row will solidify the visual rhythm essential in the Elegant Crochet Lace Stitch.
Final Rows: Length Adjustment
Keep repeating Row 2 through Row 6 until your piece reaches the desired length for your home accessory project. Adjust the row count based on the specific item you are creating, be it a shawl, table runner, or curtains. Finish with a final row to solidify your work and prepare for finishing touches.
Finishing Touch: Edging
To complete your project, chain 1 and work a round of sc evenly around the piece. This will add a polished finish and help retain the lace shape. At the corners, make 3 sc in the same stitch to maintain smooth curves. Your decorative piece is now ready to shine in your lovely home!
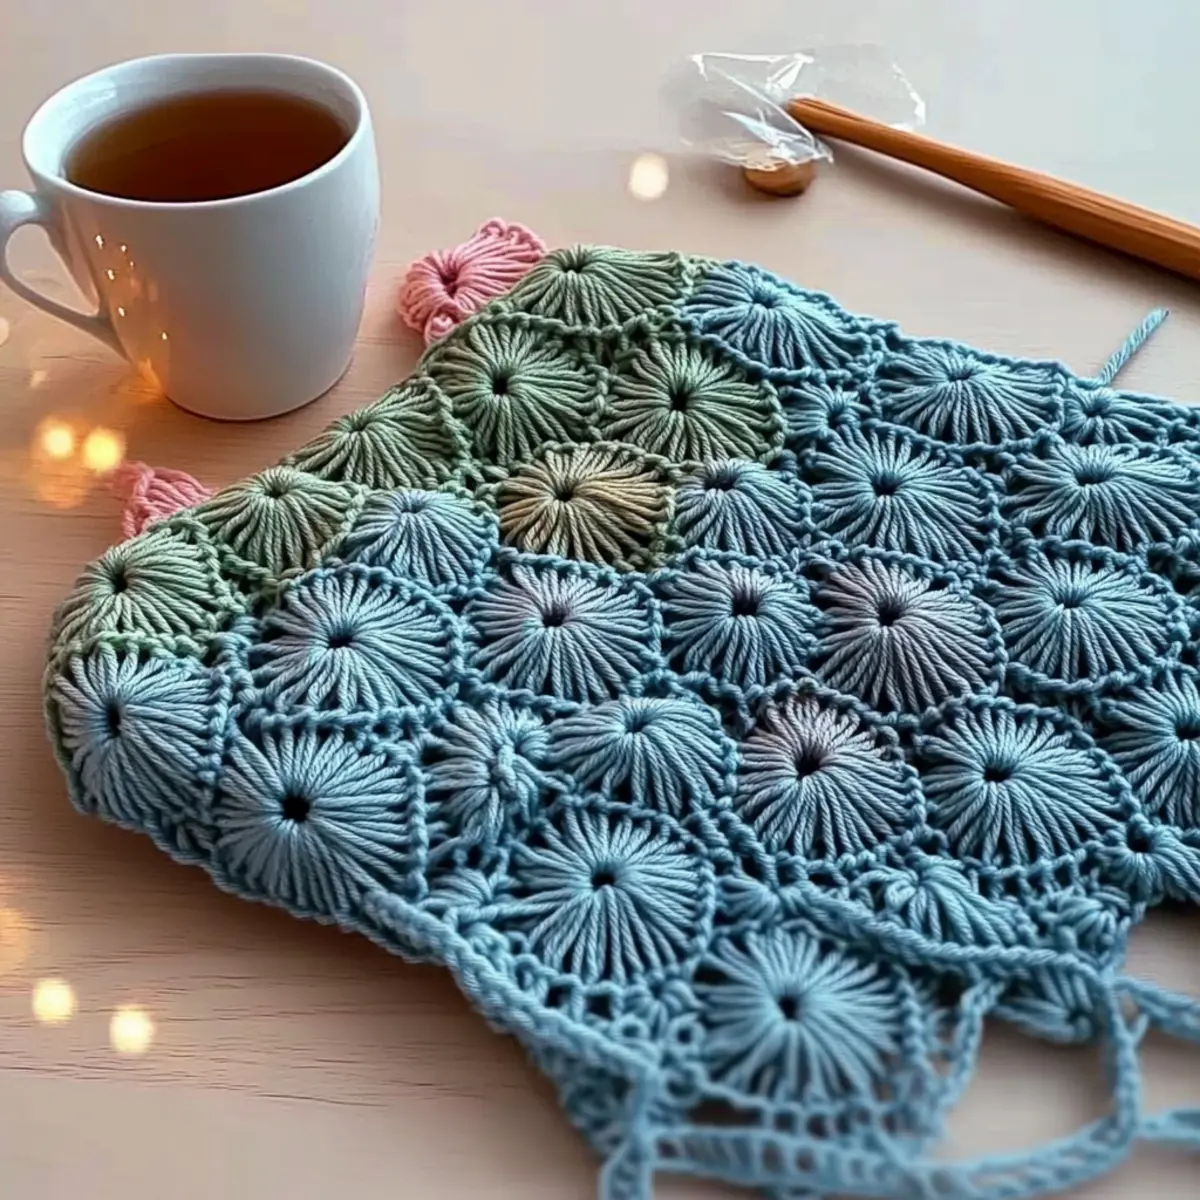
How to Wash and Care for Your Crochet Lace Stitch
-
Hand Washing: Always hand wash your finished projects in cool water with a gentle soap to preserve the delicate nature of the lace. This prevents any distortion to the intricate petal-like clusters.
-
Drying/Blocking: After washing, lay your piece flat on a clean towel and gently roll it up to remove excess water. Once damp, pin it to the desired shape and allow it to dry completely.
-
Storage: To maintain the beauty of your crochet lace stitch, store your finished items folded or rolled instead of hanging, which could lead to stretching or creasing.
-
Avoid Machine Washing: Never machine wash your delicate lace projects, as agitation can cause felting or pilling, ruining the elegant texture you worked hard to create.
Variations & Substitutions
Feel free to let your creativity shine as you customize this enchanting lace stitch!
-
Yarn Weight Swaps: Switch to a sport weight for a cozier feel, perfect for warm autumn shawls or blankets.
-
Fiber Alternatives: Try using bamboo yarn for a silky sheen and drape, complementing the lace’s airy nature beautifully.
-
Color-Blocking Ideas: Incorporate vibrant color blocks to create a modern twist on classic lace decor. Your home will radiate with personality!
-
Wider or Narrower Projects: Adjust your foundation chain for wider table runners or narrower trims like bookmarkers for a thoughtful gift idea.
-
Texture Modifications: Add fringe to your shawls or pom-poms to cushion covers for extra flair and tactile allure—great for styling your living room!
-
Border Enhancements: Crochet a contrasting border for finishing touches on shawls or curtains, providing a polished and elegant look.
-
Holiday Themed Colors: Craft seasonal decor by choosing yarn in festive hues. Imagine a lace table runner in shimmering reds and greens for Christmas gatherings!
Perfect your crafting with quality beginner-friendly crochet patterns that will inspire you as you explore new decorative possibilities!
Expert Tips for Crochet Lace Stitch
-
Count Your Stitches: Regularly check your stitch count at the end of each row to ensure you’re on track. Losing count can lead to uneven edges.
-
Maintain Tension: Consistent tension is key for the delicate, airy look of this lace stitch. Practice with a tension swatch if needed for best results.
-
Wet Blocking Essential: After finishing, wet block your projects to achieve beautifully defined petal shapes. Soak, press out excess water, and pin flat to dry.
-
Use Stitch Markers: Place a locking stitch marker at the start of each row to help track your progress, making it easier to spot mistakes.
-
Careful with Ends: When weaving in yarn tails, ensure they’re fully secured without bunching the delicate fabric. This helps maintain the aesthetic of your crochet lace stitch.
Embrace these tips and let your creativity flow as you explore this delightful crochet lace stitch!
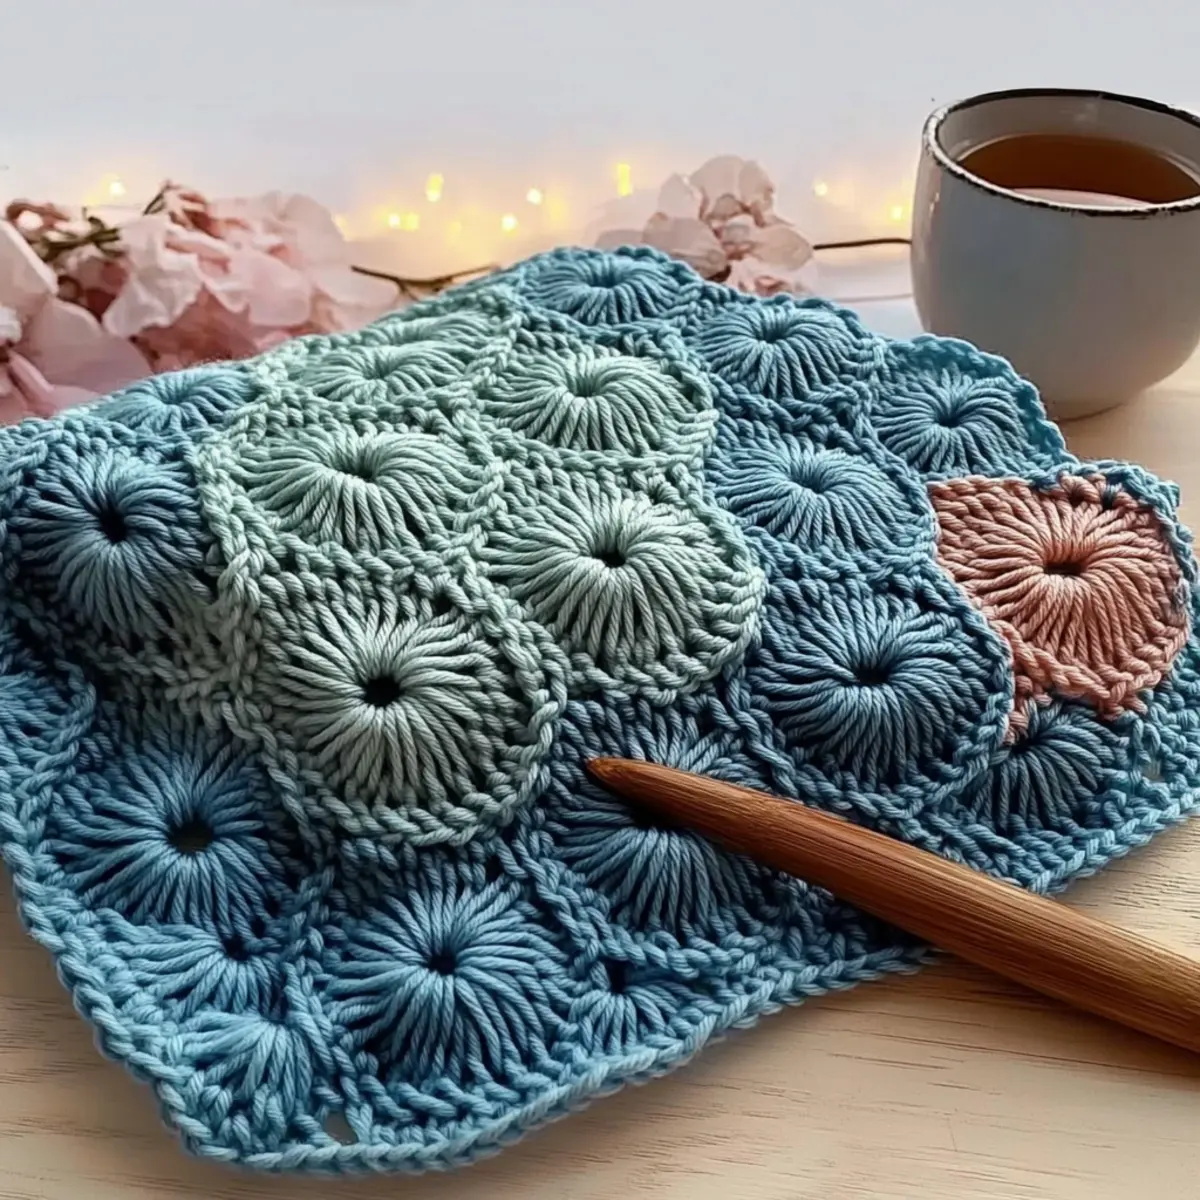
Elegant Crochet Lace Stitch for Decorative Home Accessories FAQs
Can I substitute the recommended yarn with something else?
Absolutely! While DK weight mercerized cotton is ideal for the Crochet Lace Stitch due to its sheen and structure, you can experiment with cotton blends or even a soft acrylic yarn. Just ensure that the yarn maintains a similar weight and drape for the best results.
How do I adjust the size of my lace project?
Don’t panic! To make your piece larger or smaller, simply adjust the foundation chain, keeping in mind that it should remain a multiple of the designated number from the pattern. For a wider shawl or runner, add more chain stitches, while for a narrower trim, reduce the count accordingly.
Why is my work curling at the edges?
This is a common issue, but it’s an easy fix! Curling often occurs due to uneven tension. Make sure to maintain consistent tension throughout your work. Wet blocking your finished piece can also help flatten those edges and enhance the lace’s beauty.
What crochet hook size should I use for this stitch?
For the Elegant Crochet Lace Stitch, a 3.5mm (US E/4) hook is recommended. This size creates the proper tension to ensure your lace is both airy and structured. If you find your fabric is too tight or too loose, feel free to adjust your hook size accordingly.
How do I fix a dropped stitch in my lace pattern?
Don’t worry, fixing a dropped stitch is easier than you think! Gently pull the yarn back to drop the stitch down to the row where it originated. Use a tapestry needle to pick up and rework the stitch, reintroducing it into the correct location to ensure a seamless look.
Is there a gauge I should check before starting?
While a specific gauge isn’t provided, I recommend testing your tension with a small swatch before diving into your project. It’s a great way to ensure your fabric has the desired airy quality and fits your vision for the crochet lace stitch piece!
Leave a Reply