
There’s something delightfully enchanting about crafting tiny characters with just a hook and yarn, especially when they take the form of these adorable ghost amigurumi. Perfect for year-round decor, these little specters are a cute twist on traditional hauntingly spooky designs. Featuring two charming styles—a playful ghost with a maple leaf hairstyle and another donned with a dapper bow tie—this beginner-friendly crochet project offers endless customization. Not only are they a fantastic stash-buster, but they also work up quickly, giving you a quick sense of accomplishment as you bring each ghost to life. Plus, they make safe and cuddly companions for all ages. Let’s dive into this whimsical world where every stitch creates a friendly spirit just waiting to brighten up your space!
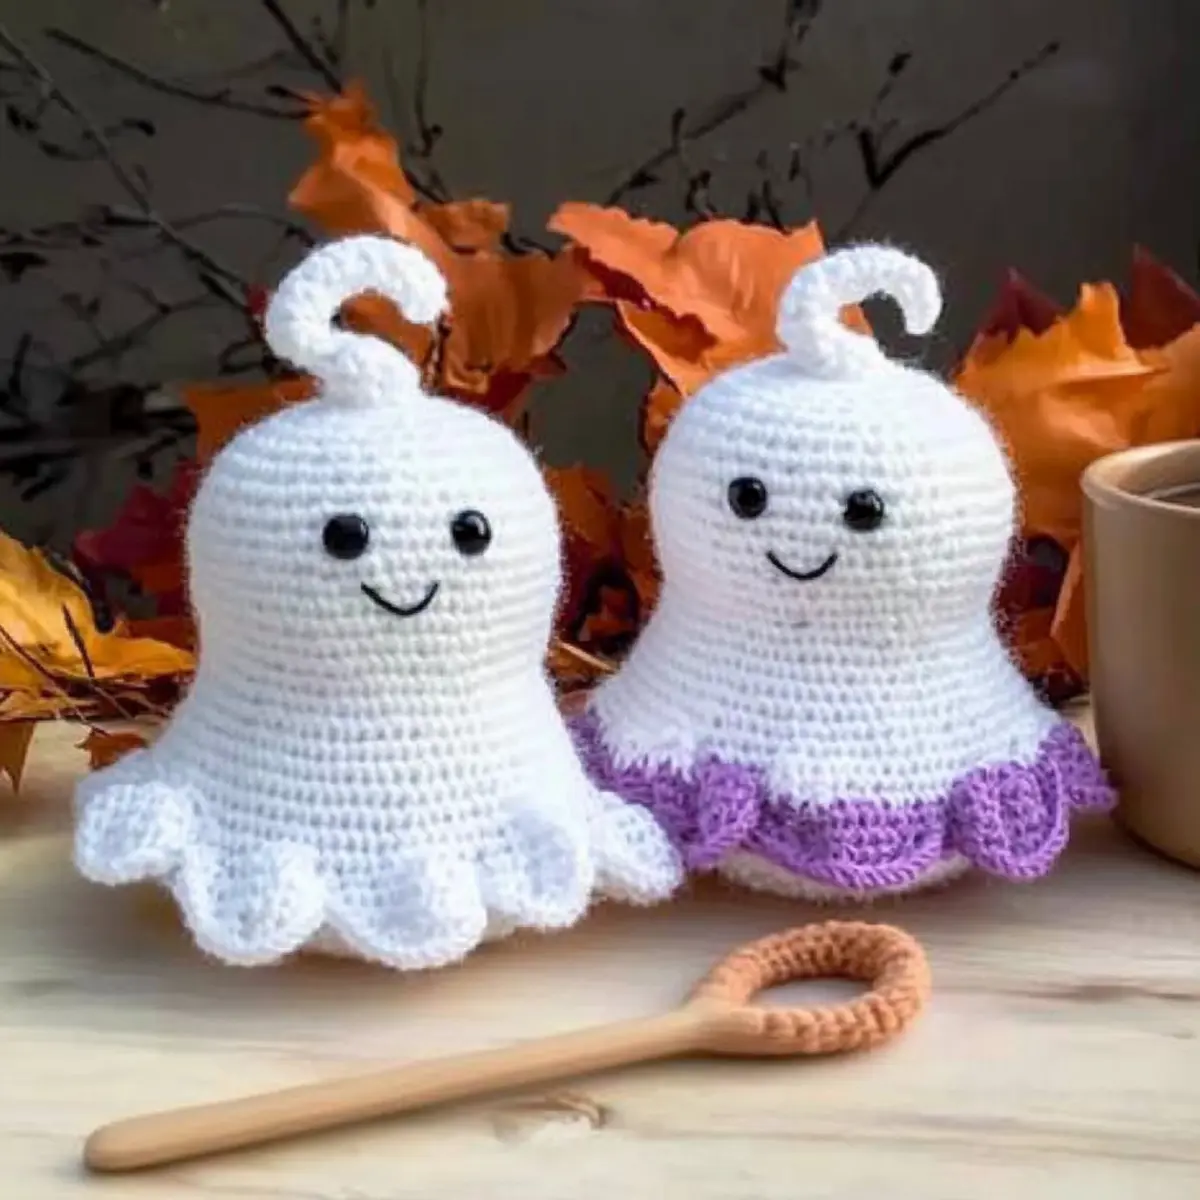
Ghost Amigurumi Materials & Tools
Create your very own charming ghost with these essential materials!
Yarn
- Worsted Weight Yarn (White) – Approximately 150 yards will be needed for the main ghost body.
- Bottom Color Yarn – Choose a color for the ghost’s base to match your decor.
- Hair Color Yarn (if applicable) – Pick a fun color that complements your ghost’s personality.
- Bow Tie Color Yarn (if applicable) – Add a stylish touch with a color of your choosing.
- Maple Leaf Color Yarn (if applicable) – Get creative with colors for a seasonal leaf embellishment.
Tools & Notions
- 3.5 mm (E) Hook – Use this size to keep your stitches tight and even.
- Stitch Markers – These will help keep track of your rounds easily.
- Tapestry Needle – Perfect for weaving in ends for a polished look.
- Safety Eyes – Recommended for older kids; embroider for younger children’s safety.
- Polyfill Stuffing – Needed to give your ghost a cuddly and plush shape.
Happy crocheting as you whip up your adorable ghost amigurumi!
Why Is This Amigurumi Pattern a Must-Try?
Adorable Design: These ghost amigurumi are irresistibly cute rather than scary, making them perfect for all ages and occasions.
Quick & Easy: With beginner-friendly stitches, this project is perfect for crafters of all skill levels, allowing you to whip up a new friend in no time!
Customization Galore: Choose between fun styles—add a maple leaf hairstyle or a dapper bow tie to personalize your ghost.
Stash-Busting Fun: This pattern uses minimal yarn, making it an excellent option for using up leftover scraps from previous projects—check out our tips on stashing yarn.
Safe for Kids: Opt for embroidery instead of safety eyes for a child-safe touch, ensuring your creations are cuddly and secure.
Craft your own whimsical ghost and fill your home with a delightful charm that feels cozy year-round!
Gauge & Sizing Notes
Don’t skip the gauge swatch! Ensuring your tension is just right for the Cute Crochet Ghost Amigurumi will make all the difference in your project’s success. Aim for a standard gauge of 4×4 inches (10×10 cm), which should equal approximately 14 single crochets by 8 rows. If your tension swatch is too small or too large, you can easily adjust your sizing; to make this ghost ami larger, increase your starting chain in multiples of 6. Conversely, if you find your stitches are tighter than desired, simply go up a hook size for a more relaxed fit. Happy crocheting!
Step‑by‑Step Pattern for Cute Crochet Ghost Amigurumi
Row 1: Start the Magic Ring
Begin by creating a magic ring with your white yarn. Ch 1, then work 6 sc into the ring. Pull the tail of the ring to tighten. This will form the base of your ghost’s body, which should appear joined and compact (6 sts).
Row 2: Increase in Round 2
For Row 2, make 2 sc in each stitch around to start shaping the ghost’s body. You will double the stitch count, so by the end of this round, you should have a total of 12 sts. Your work will begin to round out nicely.
Row 3: Continue Increasing
In Row 3, work 1 sc in the first stitch, then 2 sc in the next. Repeat this pattern around. This will increase your total to 18 sts, giving your ghost a fuller shape. As you crochet, notice how it starts to take form and stand out.
Row 4: Sc All Around
For Row 4, crochet 1 sc in each stitch around (18 sts). This round will help solidify your ghost’s structure. Your work should look like a nice, even circle at this stage.
Row 5: More Increases
In Row 5, follow the pattern of 2 sc in the first stitch, then 1 sc in the next 2 stitches. Repeat this sequence for a total of 24 sts. This will create a delightful rounded shape for the body of your cute crochet ghost.
Row 6-10: Shape the Body
From Row 6 to Row 10, simply sc in each stitch around (24 sts). This section builds height for your ghost while maintaining its round shape. Your piece should feel firm and start to curve upward as you finish this part of the ghost amigurumi.
Row 11: Insert Safety Eyes
At this stage, place safety eyes between rounds 11 and 12, spaced 5 stitches apart for ample room. Continue by sc around to secure the eyes. Your ghost should now have a delightful, friendly expression as the shaping begins to elevate its character.
Row 12: Decreasing for Top
In Row 12, start decreasing by working 1 sc in the first 2 stitches, then work a dec in the next. Repeat this pattern, ending with 18 sts. You’ll notice the top of your ghost beginning to taper off slightly toward the end of this round.
Row 13: Final Shaping
For Row 13, sc in the first stitch, then dec in the next, repeating around. This will take your total down to 12 sts. Your cute crochet ghost should now have a delightful form as the top starts to come together.
Row 14: Stuff and Finish
Stuff the plush body of your ghost with polyfill to achieve the desired plumpness while keeping the top open. Now finish off with a sc around to close up the top completely. Your ghost’s body should feel rounded and useable now.
Step 1: Add the Wavy Line
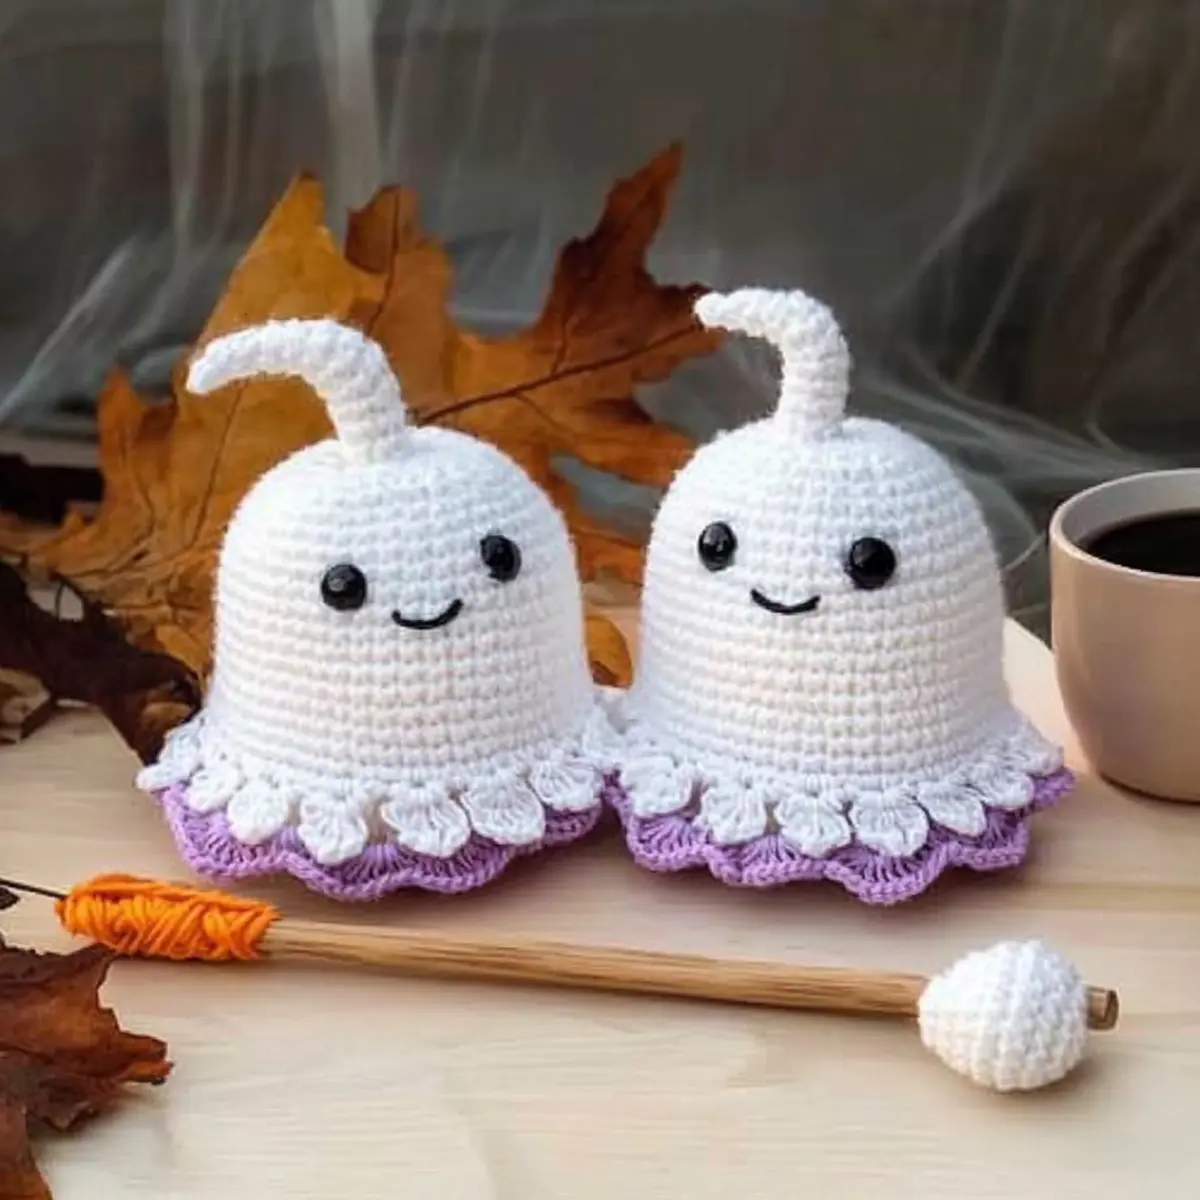
Turn your ghost upside down. Attach yarn at the bottom center, and create wave lines by working (sc, dc, tr) in sequence, allowing them to create a fun, flaring effect. This is an opportunity for creativity, so enjoy it!
Step 2: Finish the Base
Along the bottom loops, crochet in sc to finalize the base of the ghost body. This step ensures that your ghost will stand flat and secure. After this row, the base will look tidy and your ghost will now have a polished finish.
Step 3: Hair (Optional)
To create hair, begin with another magic ring. Work 6 hdc into the ring for a thicker volume, then pull tight. You can attach this to the top of your ghost to offer a maple leaf hairstyle or simply improvise with different yarn colors!
Step 4: Bow Tie (Optional)
For a bow tie, create a magic ring and work 3 tr into the ring, followed by 3 sl st to close it. Leave a tail for attaching. This little accessory will give your ghost a fun personality that is perfect for any decor.
Step 5: Maple Leaf (Optional)
Craft a maple leaf by starting with a magic ring and following various stitches like (ch, dc, tr). This optional decoration adds an extra touch of charm to your ghost amigurumi, allowing for a whimsical custom look.
Expert Tips for Ghost Amigurumi
-
Tension Matters: Ensure consistent tension throughout your project to maintain an even and smooth appearance, enhancing the cute look of your ghost amigurumi.
-
Count Carefully: Keep track of your stitch counts after each round to prevent losing shape and size. A small miscount can lead to an uneven ghost!
-
Safety First: When making these for children, embroider the eyes instead of using safety eyes to ensure the added safety of your lovely creations.
-
Finishing Touches: Take time to neatly weave in ends. This not only improves the overall look but also keeps the plushie safe and secure.
-
Customize Creatively: Don’t hesitate to experiment with different yarn colors for the body and accessories to make each ghost amigurumi a unique addition to your decor.
How to Wash and Care for Your Ghost Amigurumi
-
Spot Cleaning: For light dirt or stains, gently spot clean your ghost amigurumi with a damp cloth and a mild detergent to keep it fresh without compromising its shape.
-
Hand Washing: If the entire piece needs attention, hand wash using cold water and mild detergent, avoiding agitation to preserve the delicate yarn.
-
Drying/Blocking: Lay your ghost flat to dry in a shaded area, ensuring it keeps its lovely form and doesn’t stretch or lose its cute features.
-
Storage: When not on display, store your ghost amigurumi in a cool, dry place, ideally in a breathable bag, to maintain its charm and protect against dust.
Crochet Amigurumi Variations & Substitutions
Let your creativity shine as you personalize this delightful crochet pattern!
-
Yarn Swaps: Opt for cotton yarn for a cooler, crisper finish that’s perfect for warm seasons. Its breathable texture can make your ghosts even more charming.
-
Color Play: Experiment with vibrant yarns to create a rainbow of ghosts! Seasonal colors can give your decor a fresh vibe—think pastels for spring or rich hues for an autumnal feel.
-
Texture Twist: Add a delicate fringe to the bottom of your ghost or try a wavy border around its base. These little details can elevate the charm of your amigurumi.
-
Larger Look: Use bulky yarn with a larger hook to create a huggable version of your ghost. This adjustment can also make for an eye-catching centerpiece.
-
Size Adjustment: To create a family of ghosts, adjust the yarn weight and hook size accordingly, crafting mini and maxi versions. It’s a fun way to mix and match!
-
Accessory Addition: Embellish your ghost with fun extras like tiny hats or scarves. Consider adding a small pumpkin for a seasonal flair—check out our guide on seasonal crochet accessories.
-
Character Upgrade: Turn your ghosts into themed characters! With a few extra rounds and yarn choices, they could become a mischievous monster or a friendly pumpkin.
-
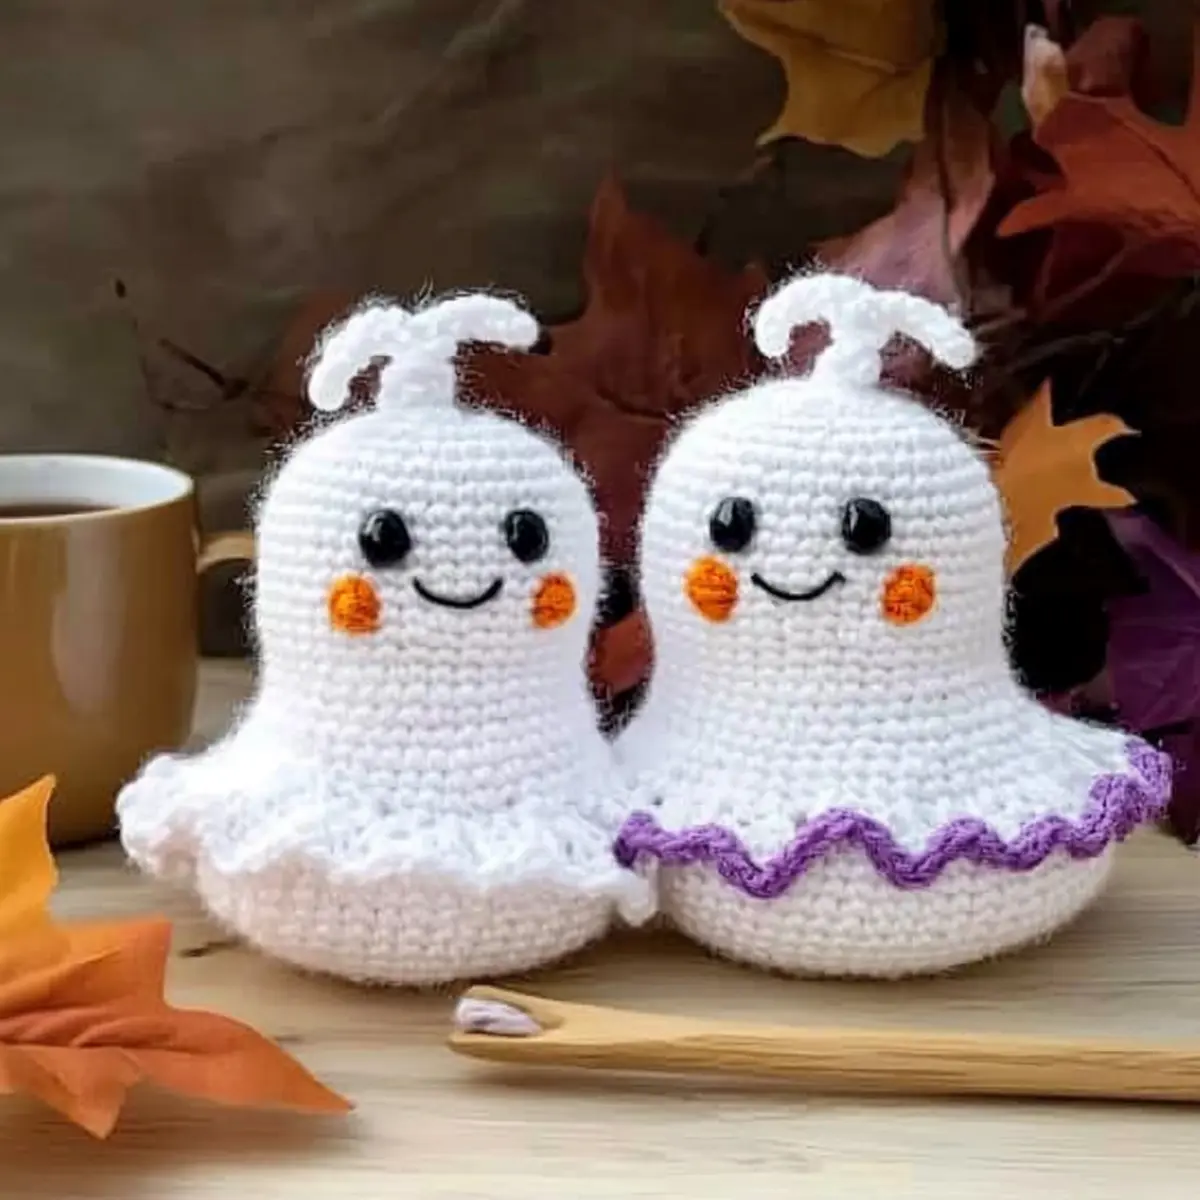
Facial Expressions: Customize their personalities with different eye placements or stitched smiles. Each ghost can tell its own story, so let your imagination run wild!
Cute Crochet Ghost Amigurumi FAQs
Can I use a different yarn other than worsted weight for my ghost amigurumi?
Absolutely! While I recommend sticking to a worsted weight yarn for the best results, you can substitute with similar types, like a chunky yarn for a larger ghost or a finer yarn for a smaller design. Just be sure to adjust your hook size accordingly to maintain the desired structure.
How do I make my ghost amigurumi bigger or smaller?
To adjust the size, you can change the yarn weight and the hook size. For a larger ghost, use a thicker yarn and a larger hook, while a smaller one can be achieved with a thinner yarn and an appropriately sized hook. Remember to adjust your stitch count to accommodate the change!
Why is my ghost’s body curling?
Don’t panic! If your ghost is curling inward, it usually means the tension is too tight or you may be missing some increases. Make sure to check your tension and that you’re following the pattern instructions carefully, especially in the head and body rounds where increases occur.
What hook size should I use for this pattern?
The recommended hook size for the ghost amigurumi is a 3.5 mm (E) / US letter E-4. However, if you decide to use a different yarn weight, make sure to adjust your hook size accordingly for the best results, ensuring the stitches are neither too loose nor too tight.
How do I fix dropped stitches in my crochet work?
It’s an easy fix! If you drop a stitch, simply use your hook to pull it back up. You can also weave the yarn down into the fabric to create a secure stitch again. Just take care to tighten the surrounding stitches to maintain the piece’s shape.
Can I add other features to personalize my ghost amigurumi?
Of course! This pattern is all about customization. You can add different embellishments, such as personalized accessories or unique colors, to make each ghost special. Feel free to experiment and make it your own—let your creativity shine!
Leave a Reply