
As the crisp autumn breeze rolls in, there’s nothing quite like warming up with some yarn and dreams of cozy decor. I’m excited to share my latest creation, the Charming Crochet Scarecrow, which effortlessly adds a sprinkle of seasonal charm to any home. This beginner-friendly pattern is not only quick to work up but also allows for endless customization, making it perfect for crafting unique gifts or festive displays. Whether you’re a seasoned crocheter or just starting your yarn journey, you’ll love how easily this scarecrow translates your creative ideas into reality. With vibrant colors and adorable features, it’s time to grab your supplies and bring this whimsical creation to life—let’s get stitching!
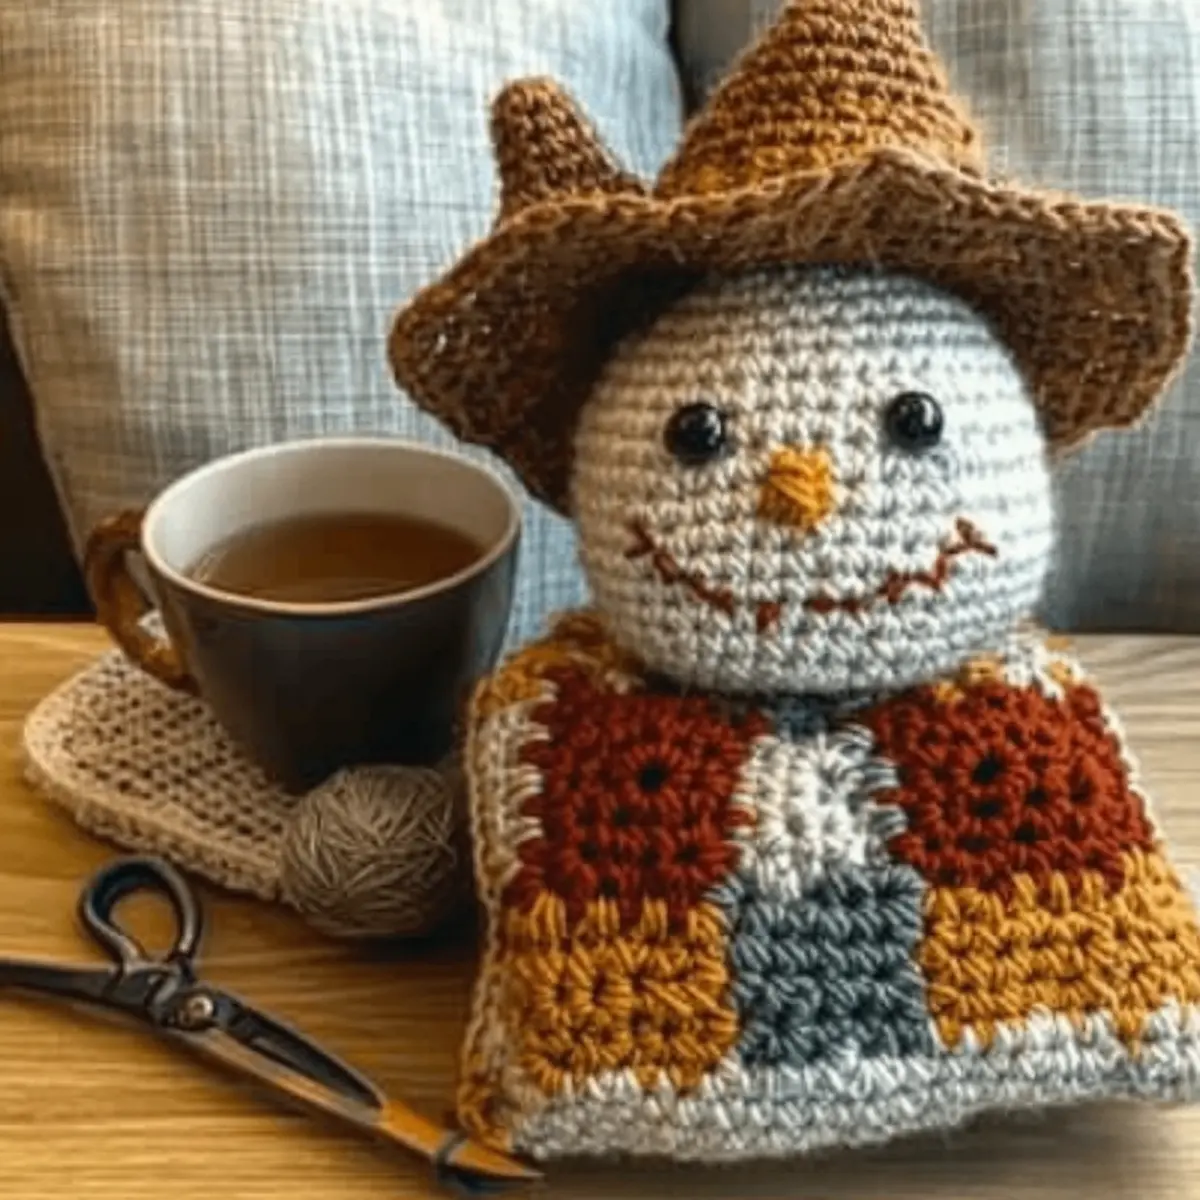
Charming Crochet Scarecrow Materials & Tools
Note: Gather these materials to bring your artistic vision of the charming crochet scarecrow to life!
Yarn
• Worsted Weight Yarn – Choose cotton, acrylic, or a blend for a balance of comfort and durability; you’ll need approximately 100-200 yards depending on size and colors.
Tools & Notions
• 4.0 mm (G/6) Hook – Use this size or as indicated on your yarn label for the perfect tension.
• Scissors – Essential for cutting yarn cleanly as you work on your scarecrow.
• Yarn Needle – Great for sewing pieces together and weaving in those pesky ends.
• Stitch Markers – Keep your place and track your rounds as you crochet seamlessly.
• Fiberfill or Soft Stuffing – Helps shape your scarecrow and gives it that adorable puffiness.
• Optional Embellishments – Use buttons, felt pieces, or embroidery thread to craft charming facial features and decorations for a personal touch.
Why Is This Scarecrow Special?
Charming Details: This handmade crochet scarecrow stands out with its delightful design and vibrant colors, perfect for brightening any autumn decor.
Beginner-Friendly: Using simple stitches, even novices can feel like pros as they follow along, ensuring a fun crafting experience.
Customizable: Easily modify colors, sizes, and even accessories to match your home’s aesthetic or seasonal themes.
Quick Project: Create this festive decoration in just a few hours, making it ideal for last-minute gifts or seasonal decor.
Cozy Aesthetic: The texture and vibrant hues lend a warm touch, transforming your space into a lively autumn wonderland. Whether you’re looking to experiment with leftover yarn or personalize outfits for added charm, this scarecrow is your perfect crafting companion!
Gauge & Sizing Notes
Don’t skip the gauge swatch! It’s essential for ensuring your Charming Crochet Scarecrow turns out just as delightful as you envision. Aim for a standard gauge of 4×4 inch (10×10 cm) square = 14 single crochets by 16 rows. To adjust the size of your scarecrow, consider increasing your starting chain in multiples of 4 for a wider body or changing the length of your legs and arms according to your preferred dimensions. If your gauge swatch is too small, it may help to go up a hook size; conversely, if it’s too large, try a smaller hook. Happy stitching!
Step‑by‑Step Pattern for Charming Crochet Scarecrow
Row 1: Head Construction
Start with a magic ring and work 6 sc into the ring (6 sts). Pull the ring tight to close. In the next round, increase by working 2 sc in each stitch around (12 sts). Continue to round 3, where you work 1 sc, inc in each stitch around (18 sts). Your work should begin to form a small sphere for the head.
Row 2: Expanding the Head
For round 4, work 2 sc, inc in each stitch around (24 sts). Then, round 5 will be 3 sc, inc (30 sts). As you progress, your head should take on a lovely rounded shape, getting larger with each round. Keep your tension consistent for a neat finish.
Row 3: Complete the Head
Round 6 involves working in the back loops only to create a textured look; crochet 4 sc, inc (36 sts). Next, work rounds 7-9 with 1 sc in every stitch around (36 sts). Your head should now be well-formed and a good surface for embellishments later on.
Row 4: Starting the Body
Change to the body color, and in round 10, crochet 1 sc, inc around (54 sts). You’ll notice the shaping begins to dip as you transition. In round 11, work 5 sc, inc (60 sts). This section will give your scarecrow a solid base, perfect for adding cute details.
Row 5: Creating the Body Shape
In round 12, keep it simple with 1 sc in every stitch (60 sts). To taper the body, round 13 will be 5 sc, dec (54 sts), followed by round 14 with 4 sc, dec (48 sts). Your scarecrow’s body will start to narrow nicely, ready for the arms.
Row 6: Arms and Legs (Make 2 Each)
For the arms, start with a new yarn color. In round 1, work 6 sc into a magic ring (6 sts). Increase progressively by working in rounds, with the last round being 2 sc, inc (12 sts). For legs, repeat this process, making them slightly longer by totaling 15 stitches in the final round.
Row 7: Crochet the Hat
For the hat, begin with a magic ring and work 8 sc (8 sts). Increase to 16 in the next round 1 sc, inc (16 sts). Continue increasing to 24 and then switch to a square shape by working around – your hat should have a wide brim, protruding nicely at the top as you crochet.
Step 8: Assembly
Begin assembling your scarecrow by using a yarn needle. Sew the head to the body, ensuring it aligns well. Secure the arms and legs to the body with stitches, and position the hat carefully on the head. Make sure each element fits snugly together, forming a cohesive figure.
Step 9: Adding Facial Features
Use embroidery thread or buttons to create eyes and a mouth. Sewing on features is a chance to be creative and whimsical. You might want to add some cheeky rosy buttons or stitch a charming smile, enhancing the personality of your charming crochet scarecrow.
Step 10: Finishing Touches
Complete your scarecrow by adding any extra decorative elements, using leftover yarn or felt pieces. Maybe add a small scarf or embellish with seasonal extras. Ensure all ties and stitches are secure, and your scarecrow is ready to brighten up your fall decor or to be gifted to someone special!
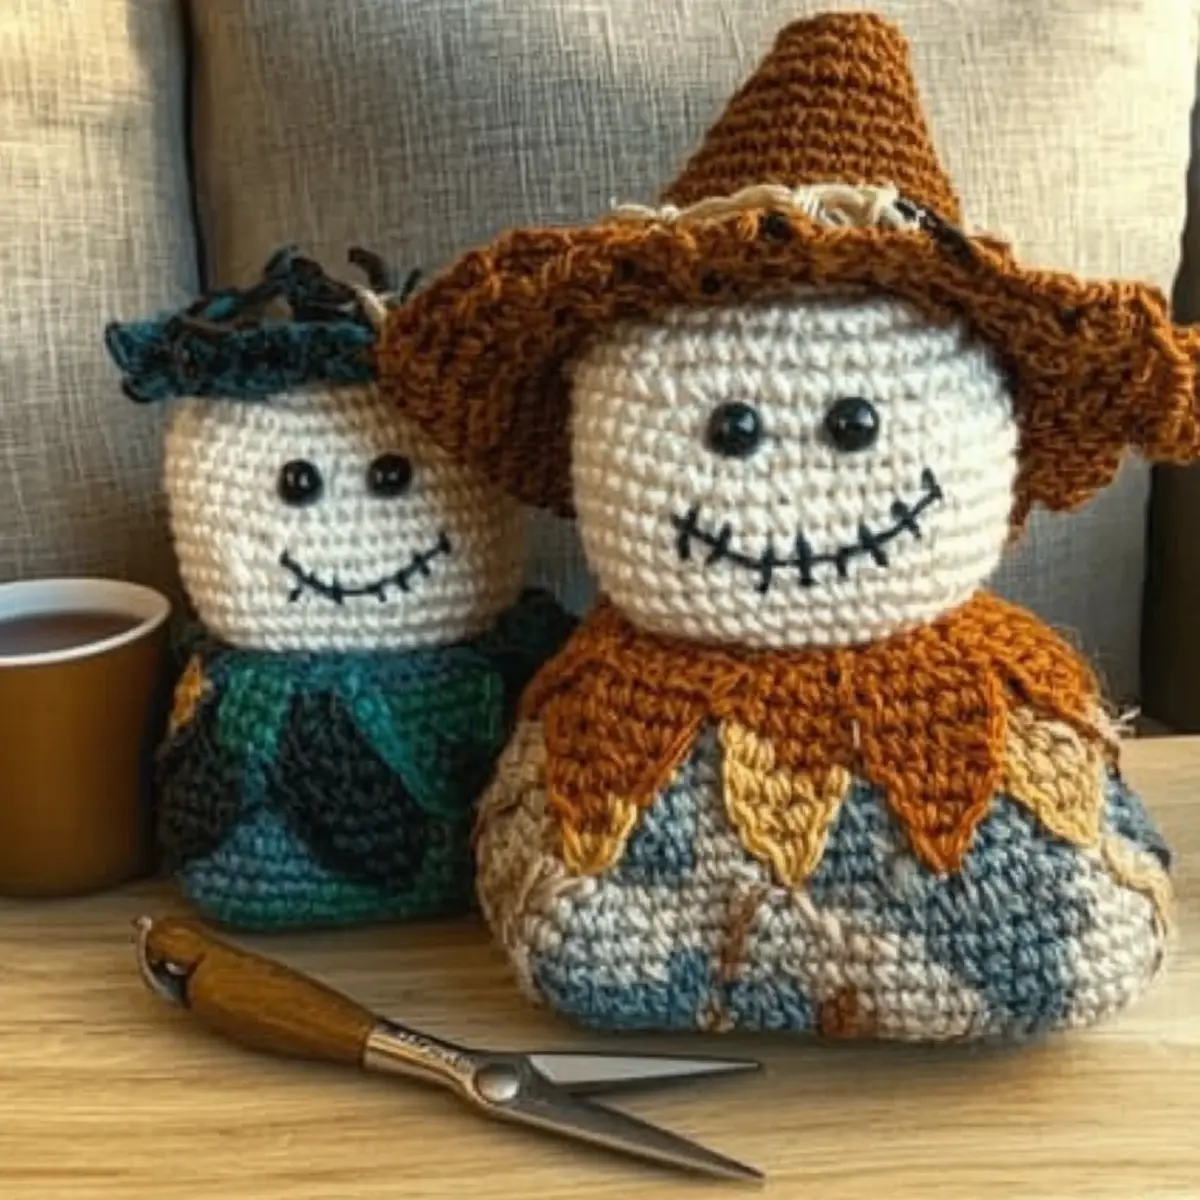
Washing & Care Instructions for Your Crochet Scarecrow
- Hand Washing: Gently hand wash your scarecrow in cold water with a mild soap. Avoid agitating too much to prevent any pilling or felting.
- Drying: Air dry your scarecrow completely by laying it flat on a clean, dry towel. This helps maintain its shape and charm over time.
- Storing: When not in use, store your scarecrow in a cool, dry place to protect it from dust and damage. Proper storage ensures it stays as lovely as the day you finished it!
- Maintenance: Occasionally check your crochet scarecrow for any loose pieces or stitches, especially if it’s displayed in a high-traffic area. Regular gentle care keeps it looking its best!
Expert Tips for the Crochet Scarecrow
- Stitch Consistency: Ensure even tension throughout your work to maintain the scarecrow’s shape, avoiding any lopsided results.
- Count Carefully: Keep track of your stitch count, especially when working in rounds. Mistakes can lead to uneven features!
- Use Stitch Markers: When crocheting in the round for the body or hat, place markers to help you identify the start and end of each round.
- Stuff Gradually: Add stuffing in small amounts to your scarecrow, as overstuffing can distort the shape and affect its balance.
- Secure Finishing: When attaching pieces, securely weave in the ends to prevent any parts from coming apart, ensuring your project lasts through the seasons.
Crochet Scarecrow Variations & Substitutions
Feel the creative spark as you personalize your crochet project with these fun twists!
-
Yarn Substitutions: Opt for a soft cotton blend for a cozy feel instead of acrylic for extra warmth.
-
Different Fiber Types: Try using a wool yarn to add a rustic charm, lending a natural texture to your scarecrow.
-
Color-Blocking Ideas: Consider bright, contrasting colors for each section to make your scarecrow’s outfit pop and capture the season’s spirit!
-
Size Adjustments: Create a mini scarecrow using lighter yarn and a smaller hook for cute desk or table decor.
-
Texture Modifications: Add a whimsical fringe to the hat to mimic straw. It’s a playful detail that brings your scarecrow to life.
-
Facial Feature Variety: Use felt cutouts or stitched details for a more defined face, making each scarecrow uniquely yours.
-
Seasonal Accessory Options: Crochet a small pumpkin or autumn leaves to group with your scarecrow, perfect for year-round decorations.
-
Interactive Elements: Add a small loop on the hat for hanging, turning your scarecrow into a delightful ornament for the holidays.
Remember, crafting is all about expressing your personality—don’t be afraid to play around! For more inspiration, check out how to experiment with colors and add delightful accessories to your creations.
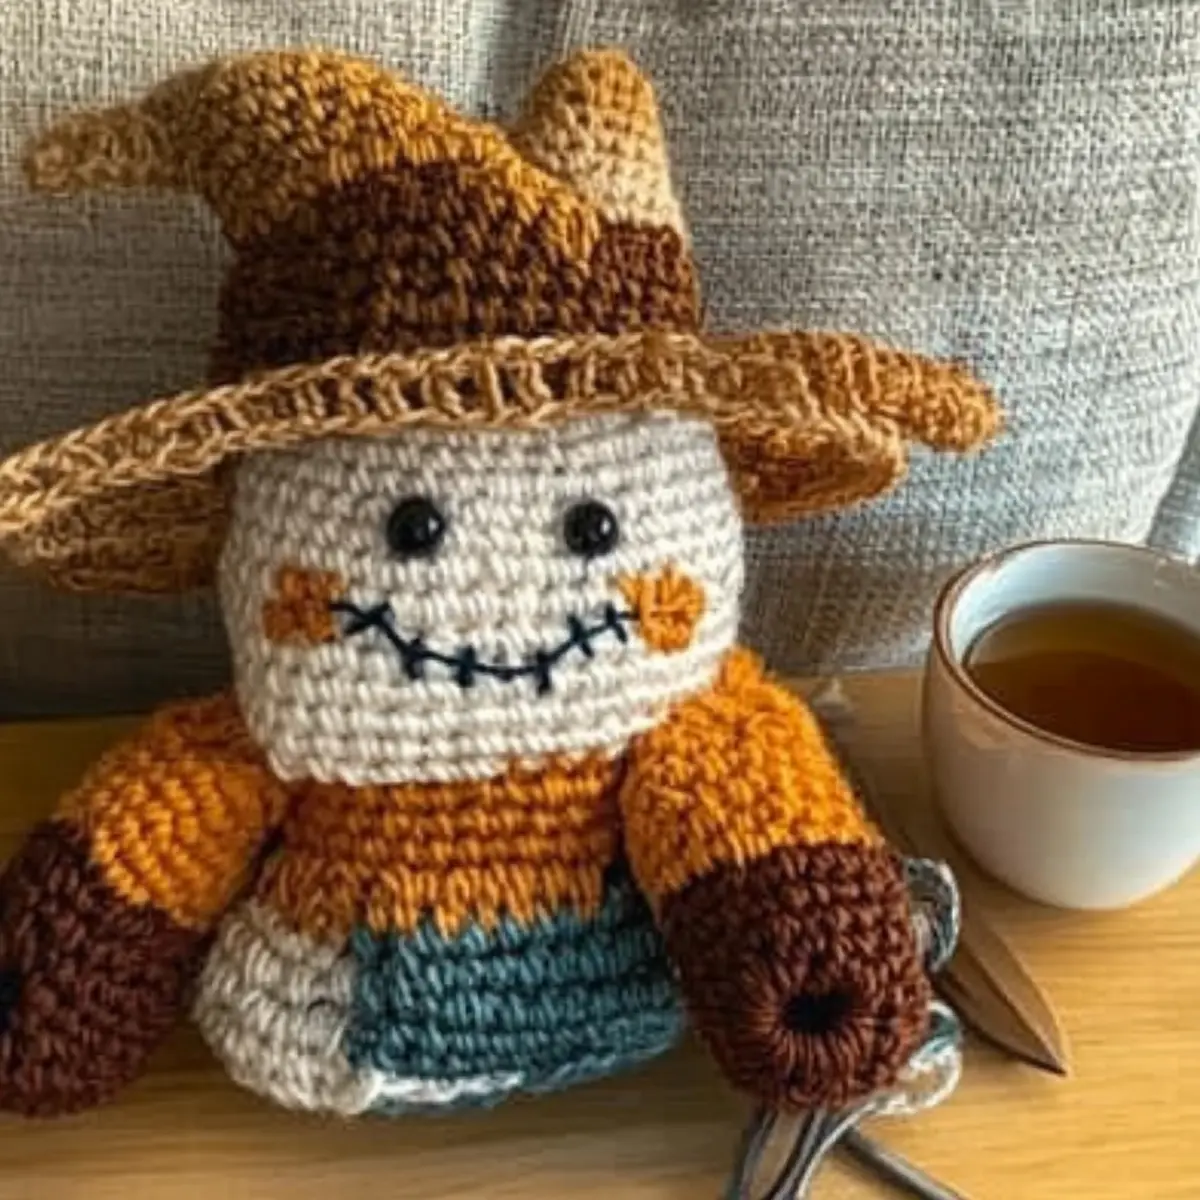
Charming Crochet Scarecrow: A Step-by-Step Guide for All Skill Levels FAQs
Can I substitute yarn types when making the scarecrow?
Absolutely! While the pattern suggests using worsted weight yarn in cotton or acrylic, you can definitely experiment with blends or even other fibers like bamboo. Just remember to check the weight and adjust your hook size if necessary to maintain the desired tension.
How can I adjust the size of my scarecrow?
If you want to make your scarecrow bigger or smaller, it’s quite simple! For a larger version, increase the number of rounds in the head and body, and consider using a thicker yarn. To downsize, use a lighter weight yarn and reduce the stitch counts as you work; just keep an eye on your overall shape!
Why is my work curling up while I crochet the scarecrow?
Don’t panic! If your work resembles a bowl, it may be due to too tight stitches or using a hook that’s too small. Try loosening your tension a bit or switching to a larger hook. Also, make sure you’re following the stitch count precisely—this will keep everything flat and even!
What hook size should I use for this pattern?
The pattern recommends a 4.0 mm (G/6) hook, but if your yarn label indicates a different size for worsted weight yarn, you can adjust accordingly. I recommend checking your gauge first to ensure your stitches match the intended dimensions!
How do I fix a dropped stitch on my scarecrow?
It’s an easy fix! Simply locate the stitch that has been dropped, use your crochet hook to pull it back up through the last row, and continue crocheting. If you need extra support, you can always chain a stitch to reinforce the area!
What should I do if my scarecrow looks unbalanced?
If your scarecrow is leaning or doesn’t stand straight, it may be due to uneven stuffing. Try adjusting the stuffing, adding in small amounts at a time. You might also need to adjust the shaping of the base to ensure it has a proper flat surface to stand on!
Leave a Reply