
As I settled into my favorite cozy nook with a skein of soft yarn in hand, I found myself inspired to create something extra special: the Cow Lovey Crochet Pattern! This charming project beautifully merges the whimsical appeal of amigurumi with the gentle warmth of a granny square blanket, making it a memorable gift for any baby shower. What I love most about this intermediate-level pattern is how quickly it works up and the creative opportunities it presents—choose your colors and bring this snuggly companion to life! Perfectly crafted for little ones, this lovey not only delights with its adorable design but also features a comforting texture that’s sure to become a cherished part of their early years. Are you ready to stitch up some cuddly cuteness? Let’s get started!
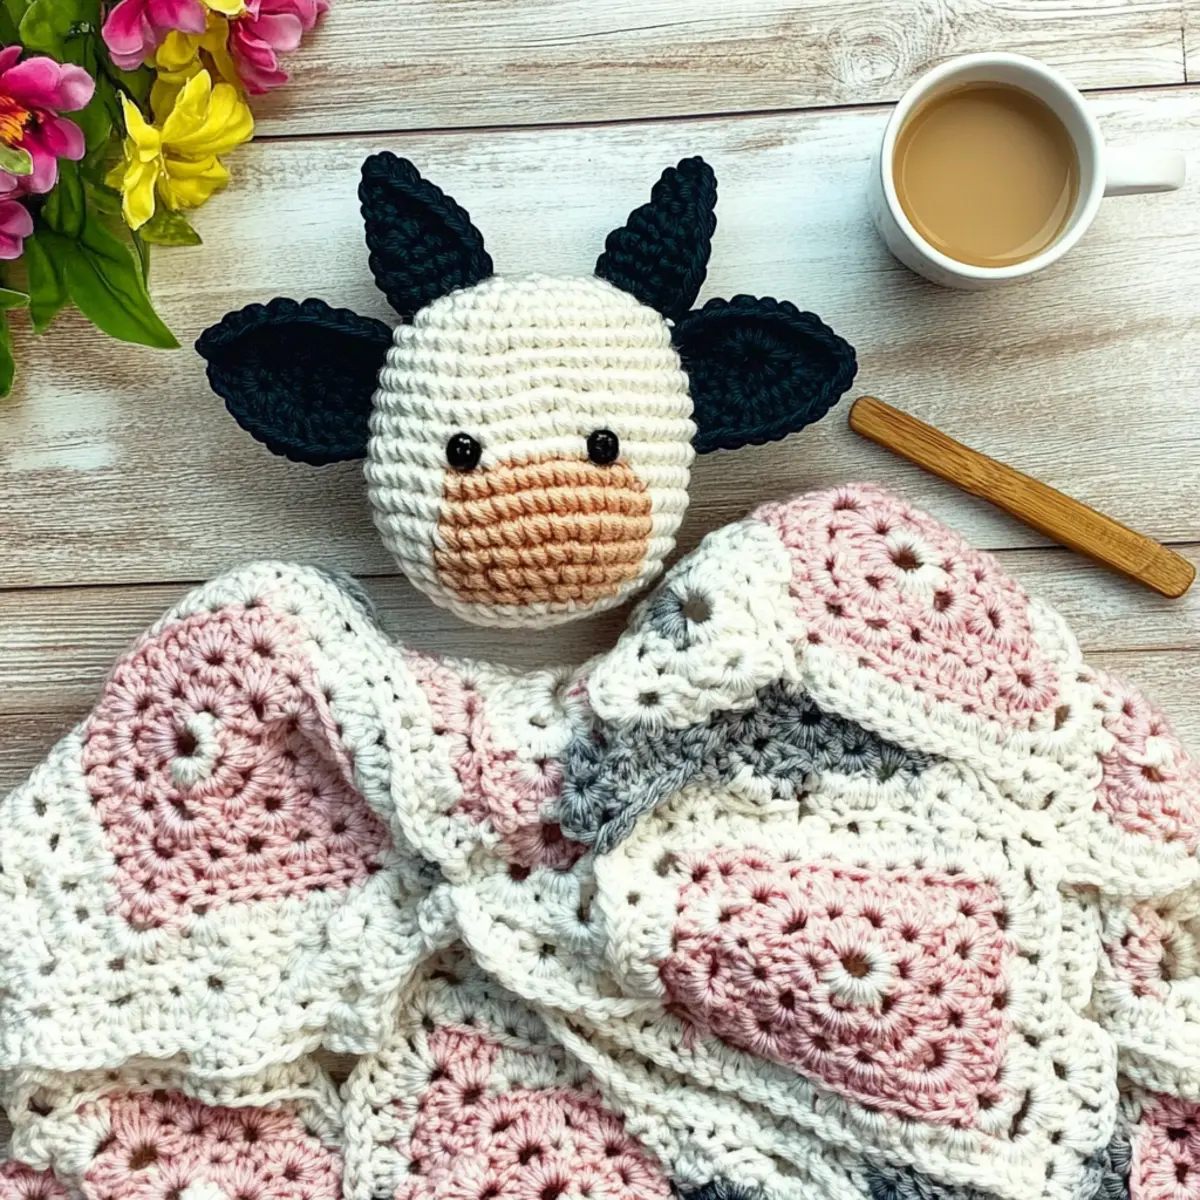
Cow Lovey Crochet Materials & Tools
Create your own lovely cow with these essential materials and tools!
Yarn
- Sport Weight Yarn (#2) – Approximately 300-400 yards for the cow body and 200-300 yards for the blanket; perfect for a soft finish.
- Light Worsted Weight Yarn (#3) – A cozy alternative if you want a bit more thickness without losing that soft touch.
Tools & Notions
- 3 mm (C/2) Crochet Hook – Ideal for the body to give a detailed and snug look.
- 4 mm (G/6) Crochet Hook – Perfect for the granny square blanket, ensuring that the stitches maintain a lovely drape.
- Stitch Markers – Use these to track your rounds; they’re invaluable when working in continuous spirals.
- Tapestry Needle – For weaving in ends and sewing pieces together; a crafter’s best friend!
- Safety Eyes (optional) – Add a whimsical touch to your cow, making it even more lovable.
- Stuffing – Essential for the amigurumi parts to ensure your cow is huggably plump.
Get ready to bring your Cow Lovey to life with these delightful materials!
Why Choose the Cow Lovey Pattern?
Charm and Cuteness: This adorable cow lovey blends the whimsical nature of amigurumi with a classic granny square blanket, making it an eye-catching gift for any little one.
Quick and Fun: With its straightforward construction, this intermediate-level pattern works up quickly, so you’ll have a delightful gift ready in no time—perfect for those last-minute baby showers!
Textured Warmth: The soft, cuddly texture of the finished lovey ensures it’s not just a decorative piece, but a comforting companion for babies to snuggle with.
Creative Freedom: Customize your cow lovey with different colors to match any nursery theme or personal style—imagine creating a vibrant rainbow cow! If you’re interested in more ideas, check out our guide on color combinations for crochet projects.
Versatile Size Options: The blanket size can be easily adjusted, allowing you to make it just right for any toddler or baby—big enough to wrap around them, but small enough to be portable.
Perfect for Gifting: This delightful lovey is not just a project; it’s a heartfelt gift that will be cherished for years to come, making it a memorable addition to any little one’s collection.
Gauge & Sizing Notes
Don’t skip the gauge swatch! Ensuring your tension is just right for the Cow Lovey Crochet Pattern is crucial for achieving the desired size and look. Aim for a gauge of approximately 4×4 inches (10×10 cm), which should equal about 12 single crochets across by 12 rows. If you want to adjust the blanket size, simply add or reduce rounds in multiples of 4 to make it larger or smaller. If your swatch comes up too small, try using a larger hook size to loosen your tension. Remember, a well-checked gauge is the secret to a perfectly adorable lovey!
Step‑by‑Step Pattern for Cow Lovey Crochet Pattern
Round 1: Start the Head
Begin with a magic ring and work 6 sc into the ring. Pull the ring tight to close. This will form the foundation for the cow’s head. Make sure your work is tight enough, as it will serve as the amigurumi base. Your work should appear as a small circle (6 sts).
Round 2: Increase for Shape
Ch 1, then inc in each st around (12 sts). Place a stitch marker to denote the start of each round. Your work should start to take on a rounded shape as you build up the head.
Round 3: Continue Shaping
Ch 1, *sc in the next st, inc in the following st; repeat from * around (18 sts). This round shapes the head further. You should notice the enlargement of your piece while still keeping it circular.
Round 4: Form the Face
Ch 1, *sc in the next 2 sts, inc in the next st; repeat from * around (24 sts). As you complete this round, the cow’s head should be rounding out nicely, ready for the facial features.
Round 5: Beginning the Horns
Ch 1, *sc in the next 3 sts, inc in the next st; repeat from * around (30 sts). You will begin to see the cow’s features becoming more defined—your piece should feel substantial now.
Rounds 6-9: Create the Body
Ch 1, sc in each st around for 4 rounds (30 sts each). This section forms the cow’s neck and shoulders, adding bulk and structure to your amigurumi creation. Your work should now resemble a more pronounced shape as it progresses.
Round 10: Preparing for Decreases
Ch 1, *sc in the next 3 sts, inv dec; repeat from * around (24 sts). As your work moves to the body, it is essential to start defining the silhouette properly. Be mindful of the smoothness of your decreases.
Round 11: Continue with Decreasing
Ch 1, *sc in the next 2 sts, inv dec; repeat from * around (18 sts). By this round, your cow’s body should begin tapering for the final shaping. Your work should appear more spherical as you continue.
Round 12: Complete the Body
Ch 1, sc in the next st, inv dec around (12 sts). Ensure all stuffing is secure; this round will finalize the body shape. Your amigurumi cow’s body should now be compact and fully formed, ready for assembly.
Step 1: Assemble the Parts
Begin stitching the head to the body using a yarn needle. Use a whip stitch to sew securely, ensuring the head is proportionate. Check your placement for evenness as you form the cow’s full shape.
Step 2: Attach the Ears
To make the ears, create 2 small pieces of crochet. Attach them to the sides of the head with a whip stitch. You may want to adjust their positioning for a beloved floppy look, reinforcing your cow’s character.
Step 3: Create the Blanket Base
Switch to your 4 mm hook for the granny square blanket. Start with a magic ring and chain 3 (counts as dc), then work 2 dc into the ring (3 dc total). Your work should form a small circle at this point.
Round 1: Build the Square
Ch 3 (counts as dc), work 2 dc into the ring, *ch 2, 3 dc into the ring; repeat from * around. Join with a sl st to the top of ch 3 (12 dc and 2 ch spaces). This round establishes the granny square corners.
Round 2: Expanding the Square
Sl st to the first ch-2 space, ch 3 (counts as dc), work 2 dc, ch 2, 3 dc in the same space. Move to the next ch-2 space and repeat. Join with sl st to ch 3. This round expands your square, creating distinct corners.
Rounds 3-5: Alternating Colors
Continue to repeat Round 2, alternating colors as desired with each round. Each round should maintain the counts with 3 dc in each corner. After 5 rounds, your blanket should feel thicker and have an appealing texture.
Final Round: Border
Ch 1, sc evenly around the entire blanket, adding 3 sc in each corner for a smooth edge. This final round ensures your blanket has a neat finish, and should enhance the tactile sense of your Cow Lovey for the perfect gift.
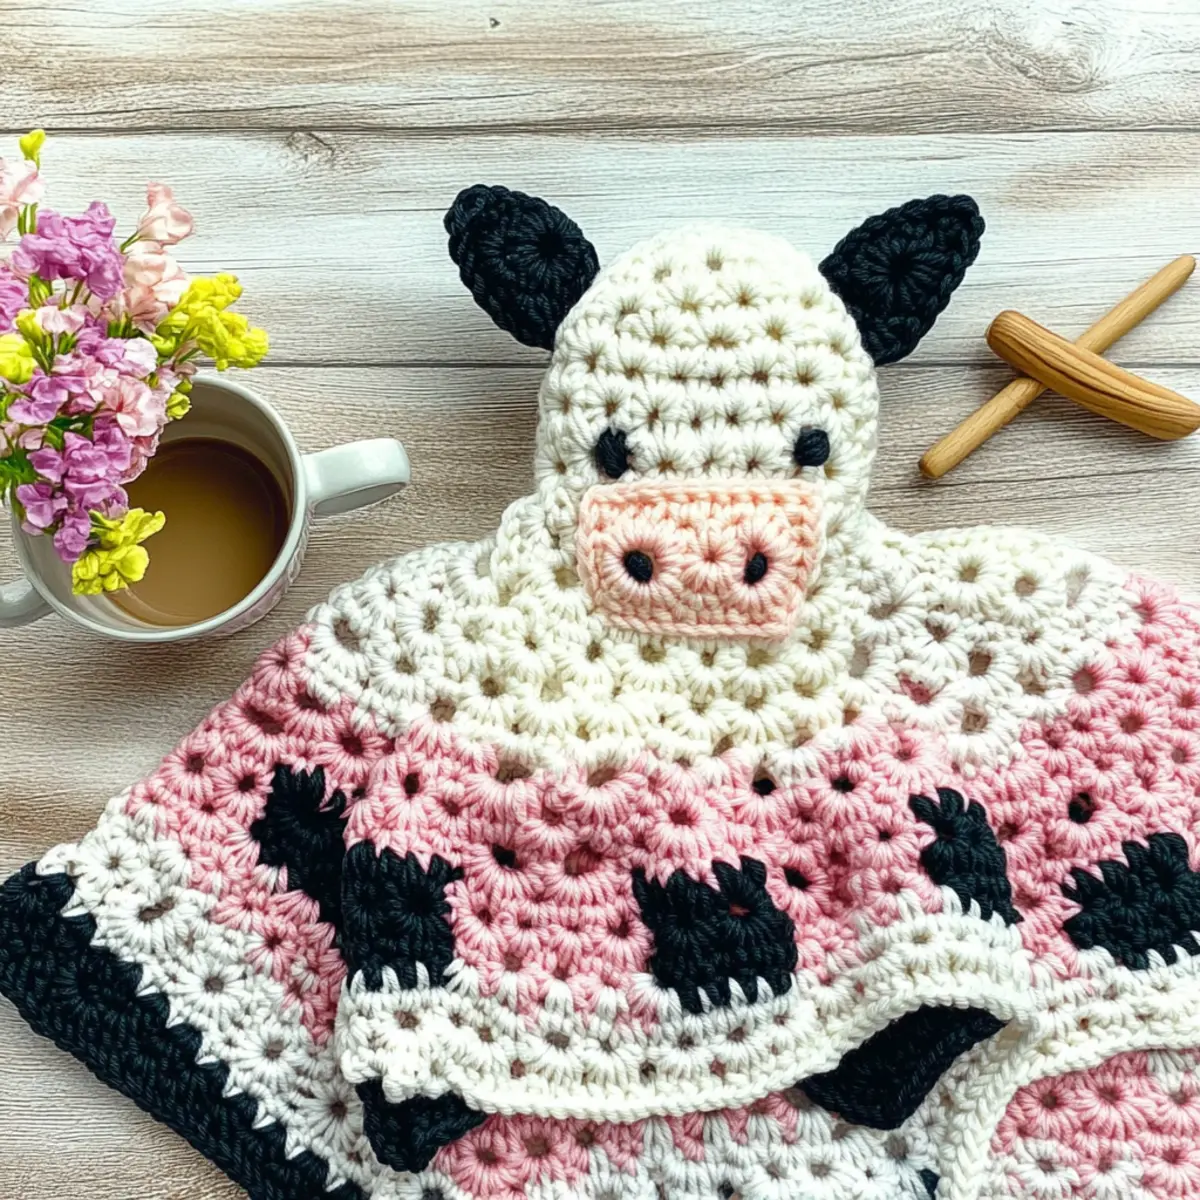
How to Wash and Care for Your Cow Lovey
- Machine Washing: Use a gentle cycle with cold water to avoid shrinking or damaging the yarn. If possible, place your cow lovey in a mesh laundry bag for extra protection.
- Hand Washing: For best care, hand wash in cold water using a mild detergent. Gently squeeze without agitation to prevent felting or pilling.
- Drying/Blocking: Lay your cow lovey flat on a clean towel to dry, reshaping the blanket as necessary. Avoid hanging to prevent stretching out the form.
- Storage: Keep your lovey in a cool, dry place when not in use. This will help maintain its soft texture and prevent any potential damage from environmental factors.
Expert Tips for the Cow Lovey
- Stay Tension Consistent: Keep your tension even throughout the project to ensure all pieces fit together nicely. Loose stitches can lead to gaps or an uneven finish.
- Count Carefully: Regularly count your stitches at the end of each round. It’s easy to slip up, but maintaining a consistent count helps avoid shape distortion.
- Use Stitch Markers: Place a stitch marker at the beginning of each round. This practice helps you keep track of your work and prevents confusion as you crochet.
- Stuffing Check: Before closing off amigurumi parts, check for proper stuffing fullness. Target a plump yet firm shape to give your cow lovey its delightful cuddly form.
- Reassess After Rounds: After completing several rounds of the blanket, lay it flat to check its shape. Adjust your tension if necessary to maintain that perfect granny square form.
Cow Lovey Variations & Substitutions
Unleash your creativity with this delightful crochet project and make it uniquely yours!
-
Yarn Substitutions: Feel free to swap sport weight yarn for worsted weight for a thicker cuddle. Just adjust your hook size accordingly.
-
Color Block Bliss: Introduce playful colors in the blanket’s granny square rounds, creating a vibrant patchwork effect that’s totally eye-catching. Imagine how wonderful it would be to craft a rainbow masterpiece!
-
Texture Twist: Add a soft border using a contrasting yarn for a polished finish, enhancing the tactile experience for little hands to explore.
-
Size Adjustments: Make it larger by simply adding extra granny square rounds or creating smaller motifs for a travel-friendly lovey. This allows for flexibility depending on the little one’s needs.
-
Fiber Alternatives: Consider using cotton yarn for a lightweight option that’s breathable, perfect for warmer climates or summer babies. This practical change ensures year-round comfort.
-
Pom-Pom Play: Attach adorable pom-poms to the corners of the blanket for a fun, playful touch. It’s a whimsical finish that will keep kids entertained.
-
Fringe Fun: Add fringes to the edges of the blanket for an extra layer of texture. The delightful swish of fringe will surely catch the eye of toddlers as they play.
-
Safety Eyes Options: If you’re customizing your lovey, think about using sewn-on features instead of safety eyes for added peace of mind. It’s a simple switch that makes this lovey even safer for the youngest of snuggly companions.
For more inspiration, you may want to check out our guide on choosing the right yarn for your project or explore innovative ways to sew on embellishments for that personal touch! Happy crocheting!
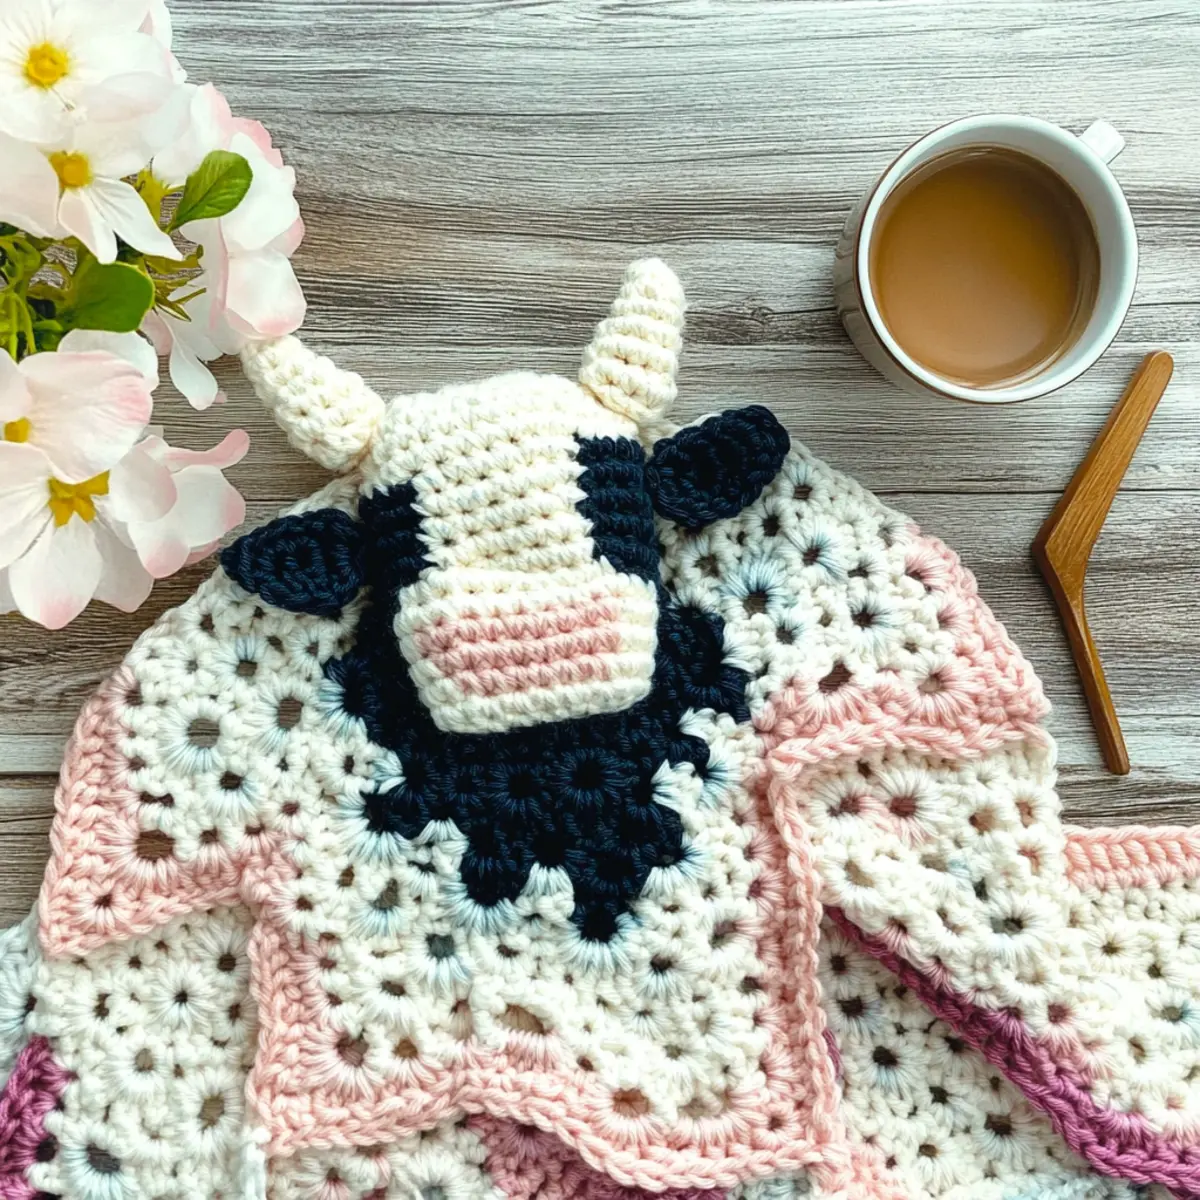
Cow Lovey Crochet Pattern FAQs
Can I use a different type of yarn?
Absolutely! If you don’t have sport weight or light worsted weight yarn on hand, you can substitute it with a different fiber. Just make sure to match the weight; for instance, a number 3 yarn could work well, but be mindful that changing yarn types may affect the overall size and drape of your lovey.
How do I make the blanket larger?
It’s an easy fix! To increase the size of your blanket, simply add extra rounds to your granny square pattern. Each round typically requires starting with a chain in multiples of 3. You can keep adding rounds until you reach your preferred size!
My work is curling at the edges; what should I do?
Don’t panic! Curling edges can happen when your tension is inconsistent or if you’re working with a hook that’s too small. Try blocking your finished work to help it lay flat. If it persists, consider checking your tension and choosing a larger hook size to remedy that curl.
What hook size should I use for this pattern?
For the body of the Cow Lovey, a 3 mm (C/2) hook is recommended. For the blanket, use a 4 mm (G/6) hook. Using the right hook size is crucial for achieving the best stitch definition and overall look of your project.
How do I fix dropped stitches in the amigurumi parts?
If you drop a stitch while crocheting the cow’s head or limbs, don’t despair! You can simply undo your work back to the last complete round and re-crochet those missed stitches. Alternatively, use a tapestry needle to pick up the dropped stitch and weave it back into place, ensuring that your amigurumi looks neat!
Can I add details to my cow lovey?
Absolutely! Personal touches always make your project special. You can use fabric paint, embroidery, or even sewn-on patches to add adorable features like nostrils, spots, or even a name. Just remember to securely attach any embellishments, especially if the lovey will be used by a baby.
Leave a Reply