
As the leaves turn golden and the air carries a hint of chill, there’s a whimsical joy in crafting that can spark your creativity. This season, I’m excited to share my Amigurumi Beetlejuice Doll pattern, a playful homage to the iconic character that fans adore. This project is perfect for Halloween decor or as a delightful collectible, making it a fantastic choice for crafters of all levels. It works up quickly, allowing you to create a charming piece that brings a smile to anyone who sees it. Plus, the squishy, cuddly texture will have your friends begging for their own version! Are you ready to unleash your creativity and give life to a little mischief? Let’s dive in!
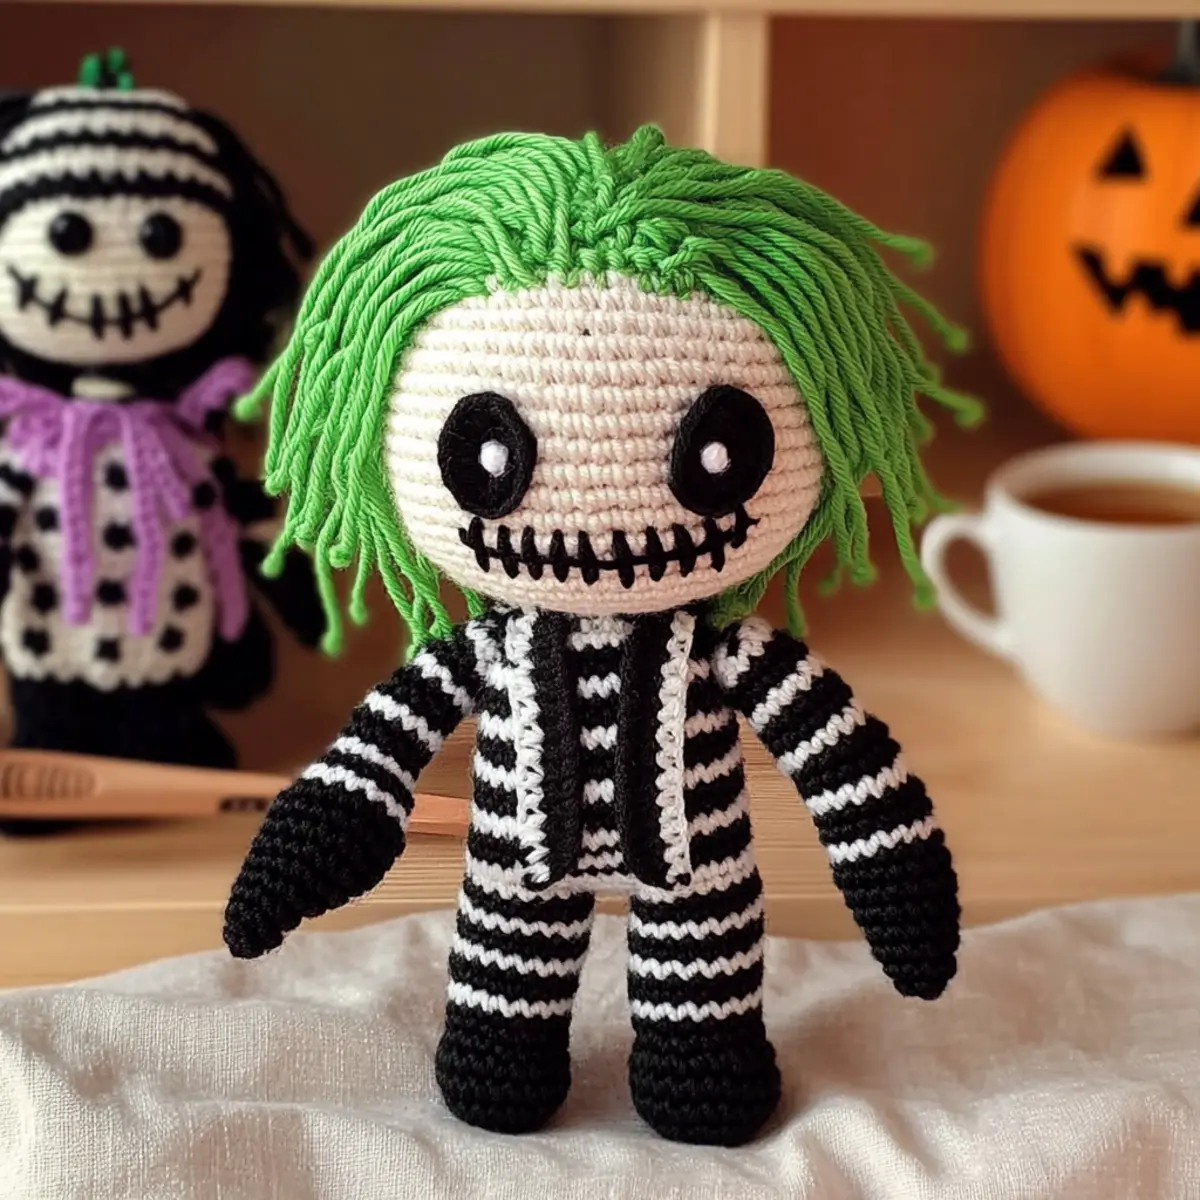
Amigurumi Beetlejuice Doll Materials & Tools
Get ready to craft your very own whimsical character!
Yarn
- Black Yarn – Worsted weight (4), acrylic, approx. 100 yards; perfect for creating Beetlejuice’s iconic stripes.
- White Yarn – Worsted weight (4), acrylic, approx. 100 yards; adds contrast to the doll’s striking appearance.
- Green Yarn – Worsted weight (4), acrylic, approx. 30 yards; use for a playful and vibrant hairstyle.
Tools & Notions
- 3.5 mm (E/4) Hook – Ideal for achieving the tight stitches needed for amigurumi.
- Safety Eyes (12mm) – Give your doll an expressive look with these charming safety eyes.
- Stitch Markers – Keep track of your rounds and maintain your crochet shape effortlessly.
- Tapestry Needle – Essential for stitching and assembly; helps weave in those pesky ends.
- Polyester Stuffing – Provides the cuddly body to your amigurumi, ensuring it’s huggable and soft!
With these materials in hand, you’ll be well on your way to crocheting your delightful Amigurumi Beetlejuice Doll!
Why Will You Love This Amigurumi?
Playful Charm: The Amigurumi Beetlejuice Doll showcases a whimsical design that captures the essence of the beloved character. Its adorable features make it an eye-catching piece for any Halloween setup or as a unique collectible.
Quick to Create: This project is designed for efficiency, utilizing basic crochet techniques that are ideal for both beginners and seasoned crafters. In no time, you’ll have a delightful doll ready to charm everyone!
Cuddly Texture: Crafted with soft acrylic yarn, this doll boasts a snug, huggable feel that’s perfect for little hands. The dense fabric not only looks great but also withstands play for years of enjoyment.
Creative Customization: Want to put your spin on it? Feel free to experiment with yarn colors or add personal touches like unique facial expressions! The possibilities are endless, inviting your creativity to shine.
Perfect Gift Idea: Whether for a spooky-themed celebration or a special occasion, this adorable doll makes for an unforgettable gift. Pair it with our simple Halloween crochet projects for even more fun!
Easy Assembly: With clear instructions and handy tips, you’ll love how straightforward the assembly process is. Just follow along, and you’ll have your Beetlejuice doll stitched together seamlessly!
Gauge & Sizing Notes
Don’t skip the gauge swatch! Ensuring the correct tension is vital for your Amigurumi Beetlejuice Doll, as it guarantees your finished project retains its shape and size. A standard gauge for this project is a 4×4 inch (10×10 cm) square, which should equal about 12 single crochets by 12 rows. If you’d like to make this doll larger or smaller, you can easily adjust the size by modifying your starting chain or adding additional rounds in multiples of 2. If your swatch is too tight, don’t worry! Simply switch to a larger hook size to achieve the perfect fit. Happy crocheting!
Step‑by‑Step Pattern for Whimsical Amigurumi Beetlejuice Doll
Row 1: Magic Ring for Head
Start with a magic ring. Work 6 single crochets (sc) into the ring, pulling it tight to form a small circle. This will create the foundation for your Amigurumi Beetlejuice doll’s head. Your work should be snug, ensuring no gaps remain in the stitches (6 sts).
Row 2: Increase for Shaping Head
In this row, work 2 single crochets (sc) in each stitch around to increase the size of the head. This will give your doll a rounded dome shape that is characteristic of amigurumi. Be sure to count your stitches as you go to maintain consistency (12 sts).
Row 3: Continuing the Head Increases
For this row, work 1 sc in the first stitch, then 2 sc in the next stitch around. This pattern will help to create a pleasingly round shape while controlling the head size. Continue to ensure your stitches are tight to keep the stuffing from peeking through (18 sts).
Row 4: Further Increases in Head
Now, work 1 sc in the first 2 stitches, then 2 sc in the next stitch around. This will expand the head slightly more, maintaining a rounded appearance. Regularly check your stitch count to keep the shape intact, and your work should be starting to curve nicely (24 sts).
Row 5: Solidify the Head
For this row, work 1 sc in each stitch around. This will give the head a solid base after the increases. Remember to maintain tight tension throughout so that your work stays neat and the stuffing is secure (24 sts).
Row 6–10: Shaping the Head
Continue working 5 more rows of 1 sc in each stitch around for a total of five rows. This portion of the Amigurumi Beetlejuice Doll’s head should now feel full and rounded. Your work should maintain its shape and have a good foundation for the following features (24 sts each row).
Row 11: Starting the Body
To transition into the body, change to black yarn. Work 1 sc in each stitch around for this round to create a uniform base for the Amigurumi’s striped suit. Make sure to keep your work tight as you begin this new color section (24 sts).
Row 12: Creating Stripes
Change to white yarn here. Work 1 sc in each stitch for this round while preparing to create the iconic Beetlejuice stripes. Your work should clearly display the color transition, and it should be flat as you move on (24 sts).
Row 13: Continue Stripes
Switch back to black yarn and repeat the pattern from Row 12 with 1 sc in each stitch around again. The stripes will start to emerge, enhancing the fun and recognizable look of your Beetlejuice doll (24 sts).
Row 14–20: Finish the Body
Repeat alternating black and white yarn for a total of 7 more rounds, showcasing your stripes every two rounds. This will create a visually striking design for the body of your Amigurumi Beetlejuice Doll. Your work should reflect the appropriate color changes distinctly by this point (24 sts each round).
Row 21: Edge the Body
For finishing touches on the body, work 1 sc in each stitch around using a white yarn. This edging will create a clean, polished look at the bottom of your doll’s body, tying the whole piece together (24 sts).
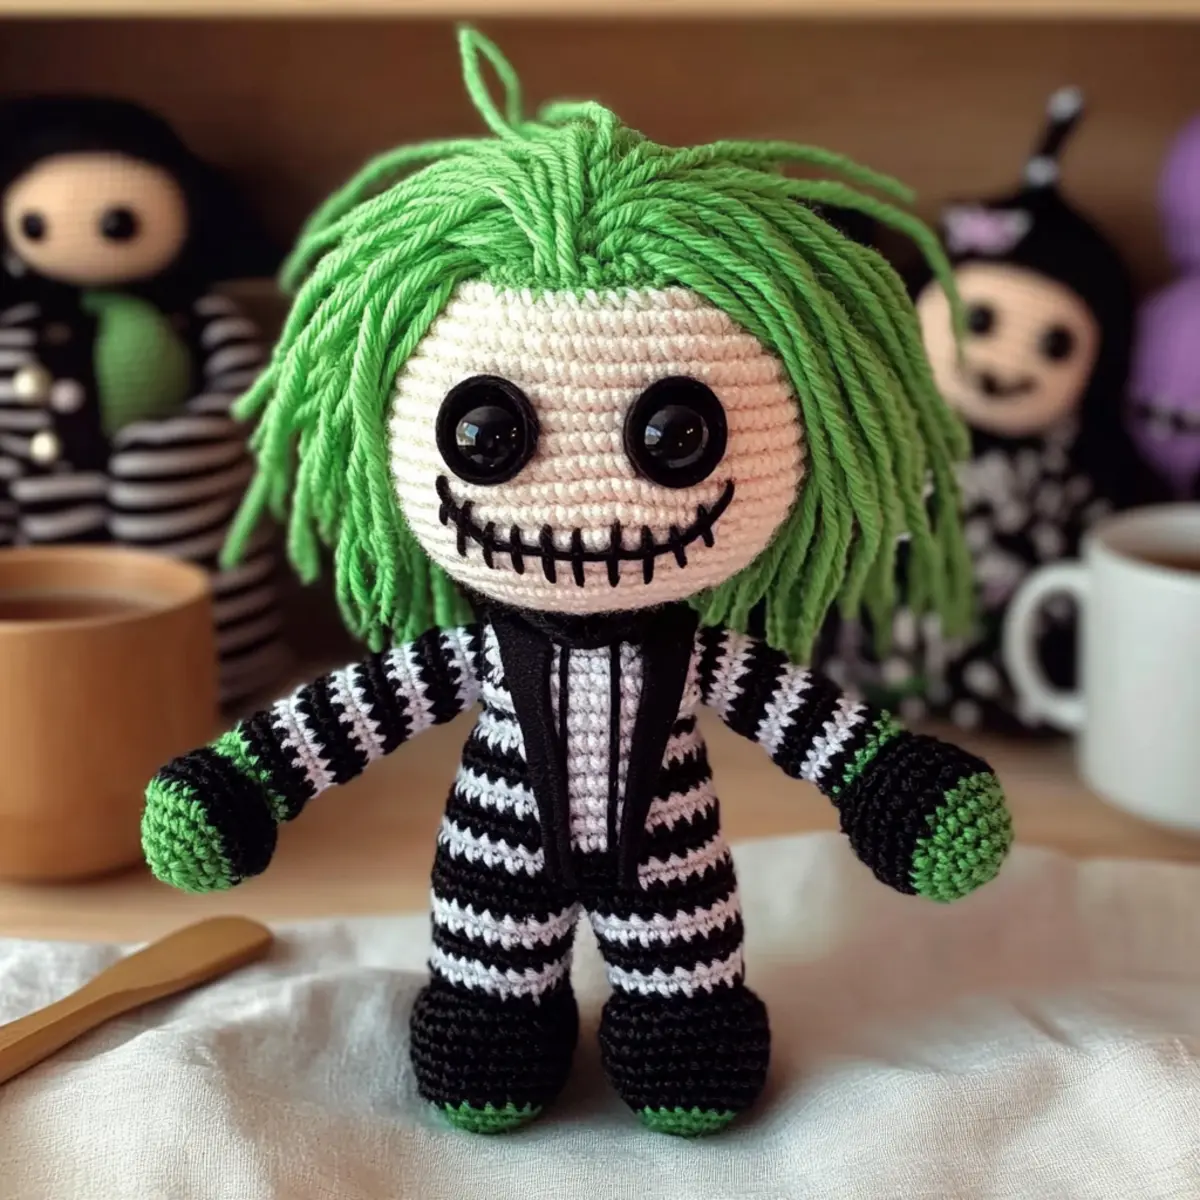
How to Wash and Care for Your Amigurumi Beetlejuice Doll
-
Hand Washing: Gently hand wash your Amigurumi Beetlejuice Doll in cold water using mild soap. Avoid strong agitation to maintain the doll’s structure and prevent pilling.
-
Drying/Blocking: After washing, lay the doll flat on a clean towel to air dry. This helps preserve its shape and ensures a soft, cuddly texture.
-
Storage: Store your Beetlejuice doll in a cool, dry place away from direct sunlight. This will prevent fading and keep the colors vibrant for years to come.
-
Avoiding Damage: Keep your doll away from pets or small children who might tug or pull. This will help maintain the integrity of your charming creation!
Variations & Substitutions for Amigurumi Beetlejuice
Unleash your creativity by adding unique twists to this delightful crochet pattern!
-
Yarn Weight Swap: Choose a lighter or heavier yarn for different sizes. Experimenting can lead to fun variations in scale!
-
Fiber Alternatives: Try cotton yarn for a lighter feel, or blend in wool for added warmth. Each fiber brings its own character to the doll.
-
Color Play: Use holiday-themed colors, like orange and purple for Halloween, or pastel shades for a more whimsical twist. Your imagination is the limit!
-
Height Adjustments: Adjust body and limb lengths by adding or removing rows. A taller Beetlejuice can add extra fun to your decor!
-
Facial Customization: Personalize expressions with embroidery techniques for a range of emotions, making your doll even more unique.
-
Texture Fun: Add playful details like a pom-pom for hair or fringed edges for an extra touch of whimsy. It’s these little accents that elevate your creation!
-
Creative Borders: Consider adding a decorative border around the doll’s outfit to enhance the striped suit’s charm. Simple stitches can make it pop!
-
Two-for-One: Make a matching accessory, like a mini pumpkin or a ghost friend, to accompany your Beetlejuice for an extra festive touch. Feel free to check out our guide on crafting adorable Halloween accessories for inspiration!
Expert Tips for Amigurumi
-
Tight Tension: Keep your tension tight to avoid stuffing peeking through. This ensures a polished look and sturdy finish for your Beetlejuice doll.
-
Count Often: Make it a habit to count your stitches regularly. This will help maintain the shape integrity and catch any errors early on.
-
Secure Assembly: When attaching limbs and features, use a whip stitch for extra security. This prevents pieces from coming loose during playtime.
-
Use Stitch Markers: Place stitch markers at the beginning of each round. This will help you easily keep track of your progress as you work through the amigurumi.
-
Stuff Well: Don’t shy away from using enough polyester stuffing to give your doll that lovable squishy feel. Just ensure it’s evenly distributed for a balanced shape.
-
Finishing Touches: After completing your doll, take some time to weave in all loose ends neatly. A clean finish enhances the overall look of your Amigurumi Beetlejuice Doll!
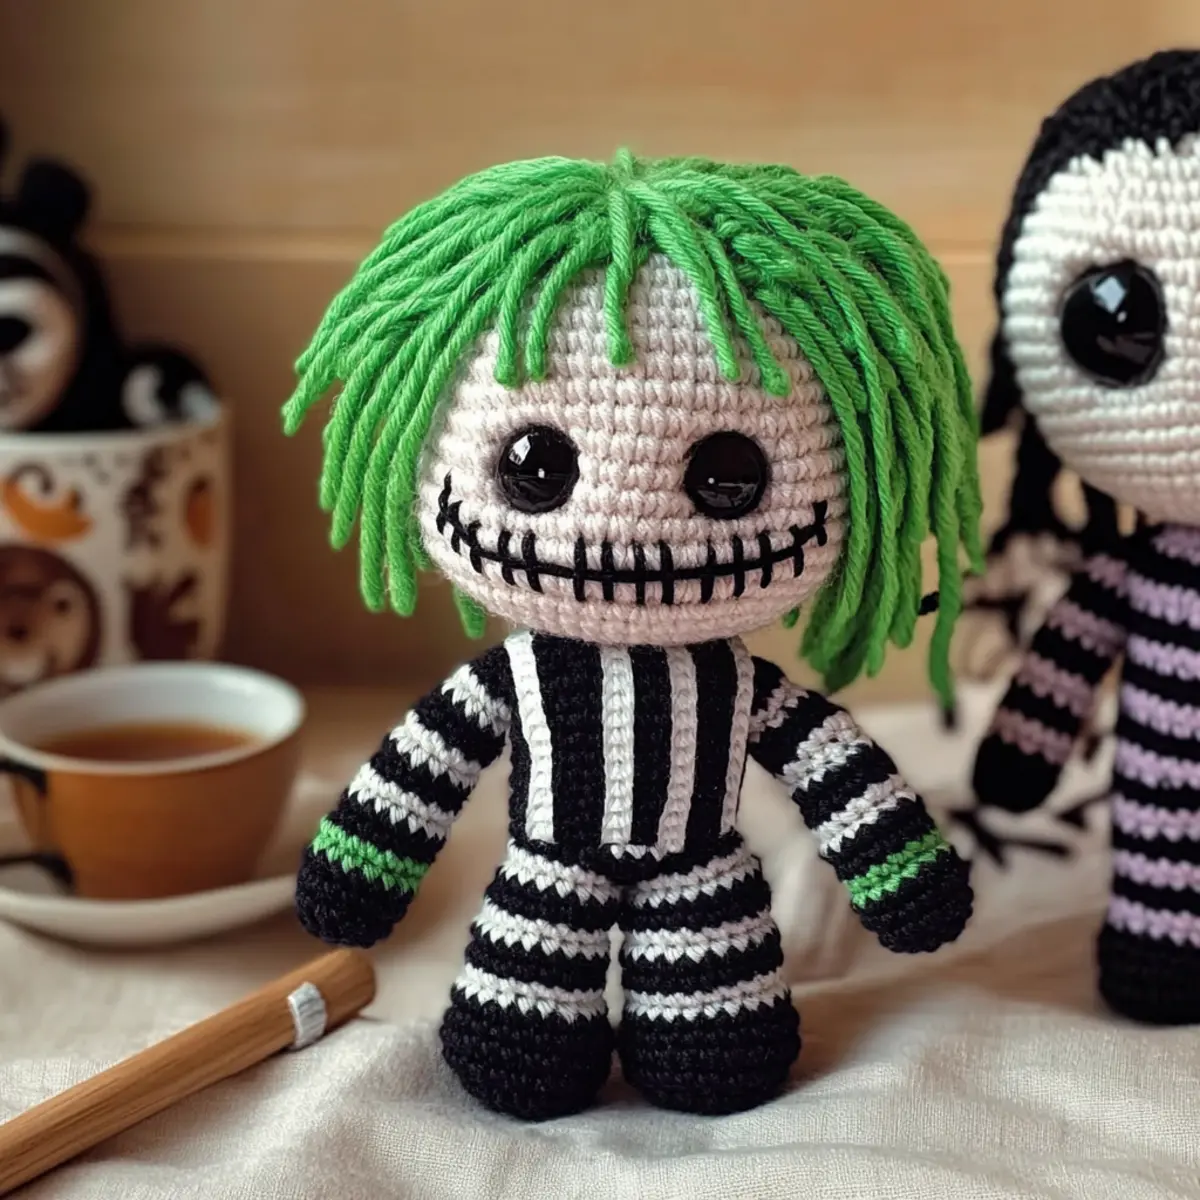
Amigurumi Beetlejuice Doll FAQs
Can I substitute the yarn for this pattern?
Absolutely! While the pattern calls for worsted weight acrylic, you can experiment with different fibers like cotton or blends. Just remember, the gauge might change, so be sure to check your tension, especially if you’re aiming for that cuddly feel.
How can I adjust the sizing of my Beetlejuice doll?
If you’d like to make your doll bigger or smaller, it’s quite simple! You can add or reduce the number of rows in the body and limbs. For example, adding a few more rows to each piece can enhance its height. Just keep in mind the overall proportions to maintain that playful charm!
What should I do if my work is curling up?
Don’t panic! This is a common issue in amigurumi. If your pieces are curling like a bowl, check your tension first. You might be crocheting too loosely. A tighter tension will help flatten your work, achieving that perfect shape!
What hook size should I use for this project?
For the Amigurumi Beetlejuice Doll, I recommend using a 3.5 mm (E/4) hook. This size complements worsted weight yarn nicely, producing a tight stitch that keeps your stuffing from peeking through.
How do I fix dropped stitches in amigurumi?
It’s an easy fix! Simply pull the yarn to catch the dropped stitch and insert your hook back into the appropriate loop. For any missing stitches in previous rounds, just crochet a slip stitch into the body to secure it. Keep going—you’ve got this!
Can I wash my finished amigurumi doll?
Yes! To keep your Amigurumi Beetlejuice Doll looking its best, hand wash gently in cold water and lay it flat to dry. This preserves the shape and integrity of your yarn, ensuring it remains a treasured collectible for years to come.
Leave a Reply