
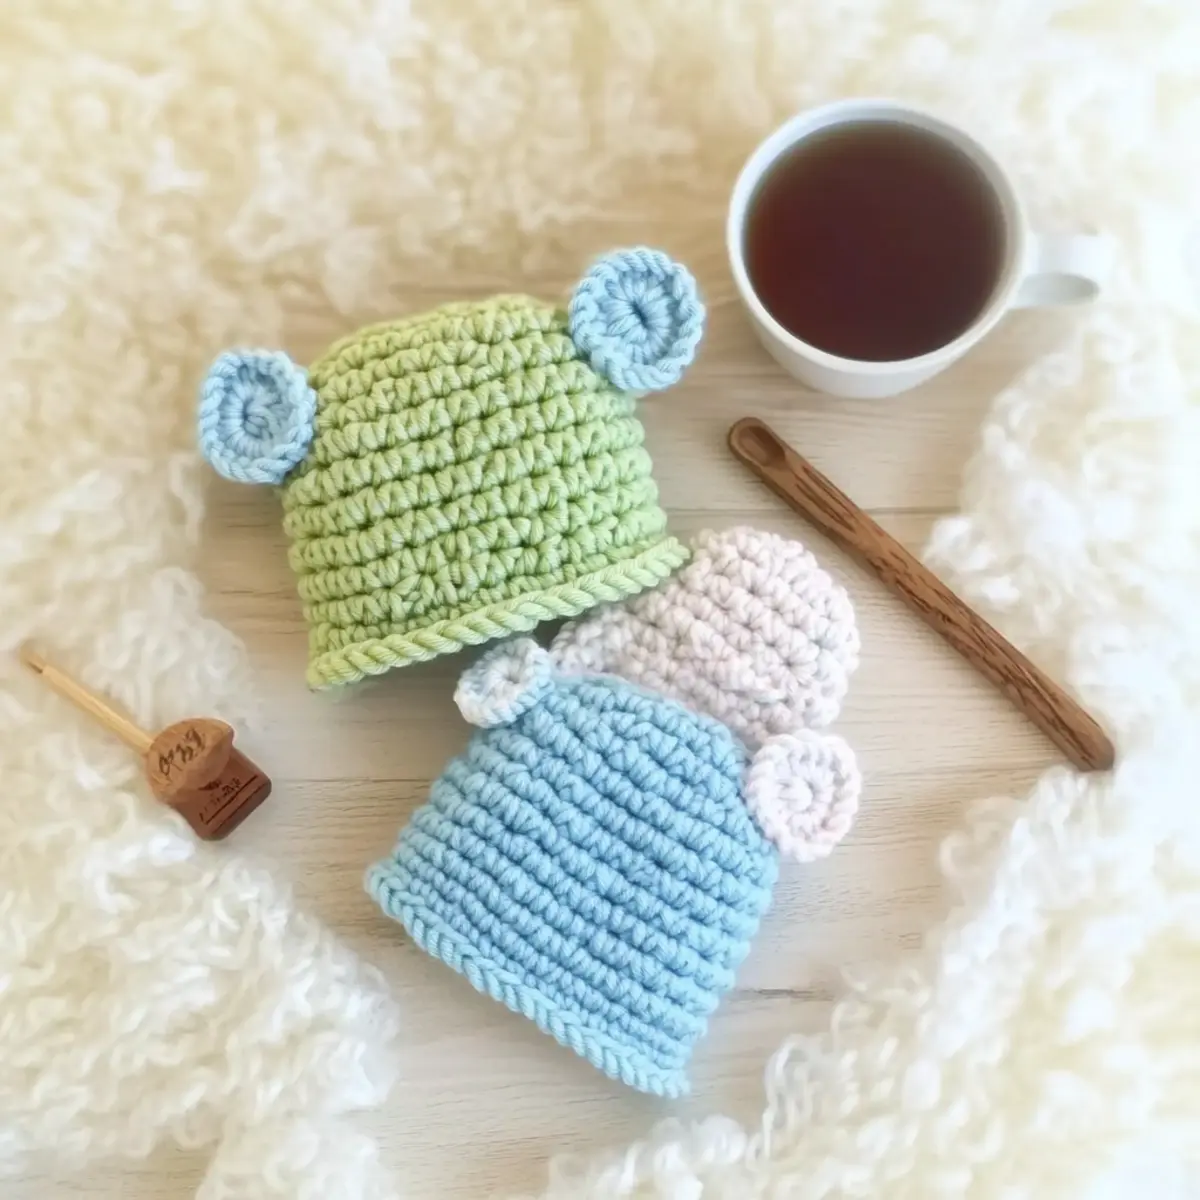
As the clock ticks down to that baby shower, the pressure mounts to find the perfect gift, but fear not! This adorable Baby Crochet Hat with Ears is here to save the day. Designed specifically for beginners, this quick and easy crochet pattern showcases the delightful texture of super bulky yarn while offering charming ear embellishments that are simply irresistible. Not only will it keep your little one cozy and snug, but it also makes for an adorable photo prop that captures precious moments. This project is a fantastic way to use leftover yarn and create something special in no time. So, let’s dive into the world of yarn and stitches and transform your creativity into a heartfelt gift!
Cozy Baby Crochet Hat Materials & Tools
-
Yarn
-
Bernat Baby Blanket Yarn – Super Bulky (Weight Category 6), requiring 30 to 45 yards depending on the size; perfect for using leftover yarn!
-
Hook
-
Size N/P (10mm) Crochet Hook – This size ensures your work progresses quickly with the super bulky yarn.
-
Notions
-
Tapestry Needle – Essential for weaving in ends and securing those adorable ear attachments.
-
Stitch Markers – Handy for keeping track of rounds, especially helpful during the first few rounds of the pattern.
Why is this Baby Hat Pattern Perfect?
Beginner-Friendly: This pattern is designed with novices in mind, making it an excellent first project for those new to crochet.
Quick & Efficient: Using super bulky yarn means you’ll whip this hat up in no time! Perfect for last-minute gifts or seasonal projects.
Adorable Design: The playful ear embellishments add a whimsical charm, ensuring your little one catches everyone’s eye in photos.
Cozy Texture: The use of Bernat Baby Blanket yarn yields a soft and squishy feel, providing warmth and comfort for any baby.
Endless Customization: Feel free to tweak the ear size or play with color patterns to make each hat uniquely yours. For more ideas, check out our section on Variation & Customization Ideas.
Whether you’re prepping for a baby shower or creating a sweet keepsake, this pattern is sure to delight!
Gauge & Sizing Notes
Don’t skip the gauge swatch! Ensuring your tension is just right is essential for creating the perfect fit for your cozy Baby Crochet Hat with Ears. Aim for a gauge of 12 stitches by 10 rows in a 4×4 inch (10×10 cm) square using Bernat Baby Blanket yarn and a size N/P (10mm) crochet hook. If you find your gauge is off, adjusting the size is simple: to make the hat larger, increase your initial chain in multiples of 12. Conversely, if your swatch is too small, try going up a hook size or loosening your tension for a snugger fit. Happy crocheting!
Step‑by‑Step Pattern for Adorable Baby Hat with Ears
Round 1: Starting Your Hat
Begin by making a magic ring (or alternatively, ch 4 and join) to create your base. Work 10 single crochets (sc) into the ring, pull tight to close. This forms the center of the baby crochet hat. Your work should be round and snug, ready for further increases (10 sts).
Round 2: Increasing
In this round, make two single crochets (inc) in each stitch around to expand the diameter of your hat. This increases the total stitch count significantly, forming a nice base that will fit snugly on a newborn. After completing this round, you should have 20 stitches and the work should flatten out as you’ve created a wider circle (20 sts).
Round 3: Continuing Increases
Now, work 1 single crochet in the first stitch, followed by an increase (sc, inc) in the next. Repeat this pattern around the entire round to further widen the baby hat. Ensure that your stitches are evenly spaced and maintain a consistent tension as you work. Your stitch count should now be at 30, with the circle becoming more defined (30 sts).
Round 4: Building Height
For this round, simply follow with one single crochet in each stitch around. This will establish the height of the hat. As you work, verify that your stitches are uniform and neatly placed. You will continue building the structure, maintaining the same stitch count of 30. Your work should start to look like a small cup (30 sts).
Round 5: More Height
Repeat the same as Round 4, adding one single crochet in each stitch around. Continue this until the hat reaches about 4.5 inches in height or to your desired length. This will ensure a cozy fit for your baby. After this round, your work should feel robust and develop the hat shape, maintaining a stitch count of 30 (30 sts).
Round 6: Preparing for Ears
To finish the body of your adorable baby hat, work 1 single crochet in the first 15 stitches, then chain 5 to make space for the ear on the left side. Skip the next 5 stitches and continue with 1 single crochet in the last 10 stitches of the round. This prepares your base for the playful ears to come. Your total stitch count remains 30 (30 sts).
Step 1: Creating the Left Ear
To form the first ear, attach yarn at the chain space created. Work 4 single crochets (sc) in the first chain, then continue back down the chain with 1 single crochet in each. Slip stitch to the base to secure. This should yield a cute ear shape measuring about 2 inches tall. Fasten off and weave in ends securely.
Step 2: Creating the Right Ear
Repeat the left ear process on the right side, reattaching your yarn at the chain space. Work in the same manner, ensuring both ears are even in size. This will perfectly balance your adorable crochet baby hat, making it irresistibly cute for any little one. Remember to fasten off and weave in all ends for a neat finish.
Final Step: Finishing Touches
Fold the hat flat to align and prepare for any additional embellishments, if desired. Finish with a slip stitch (sl st) around the hat’s opening to give it a polished look. Secure all ends thoroughly to ensure longevity in wear. Your cozy baby crochet hat with ears is now complete, ready to keep your little one warm and stylish!
Variations & Substitutions for Crochet Hat
Feel free to let your creativity shine as you customize your adorable baby hat!
-
Yarn Weight Swap: Experiment with a lighter yarn (like worsted weight) for a lighter feel. Adjust the hook size accordingly for a stable structure.
-
Fiber Alternatives: Consider using cotton yarn for a breathable option, especially for warmer climates. This will keep your little one comfortable and stylish.
-
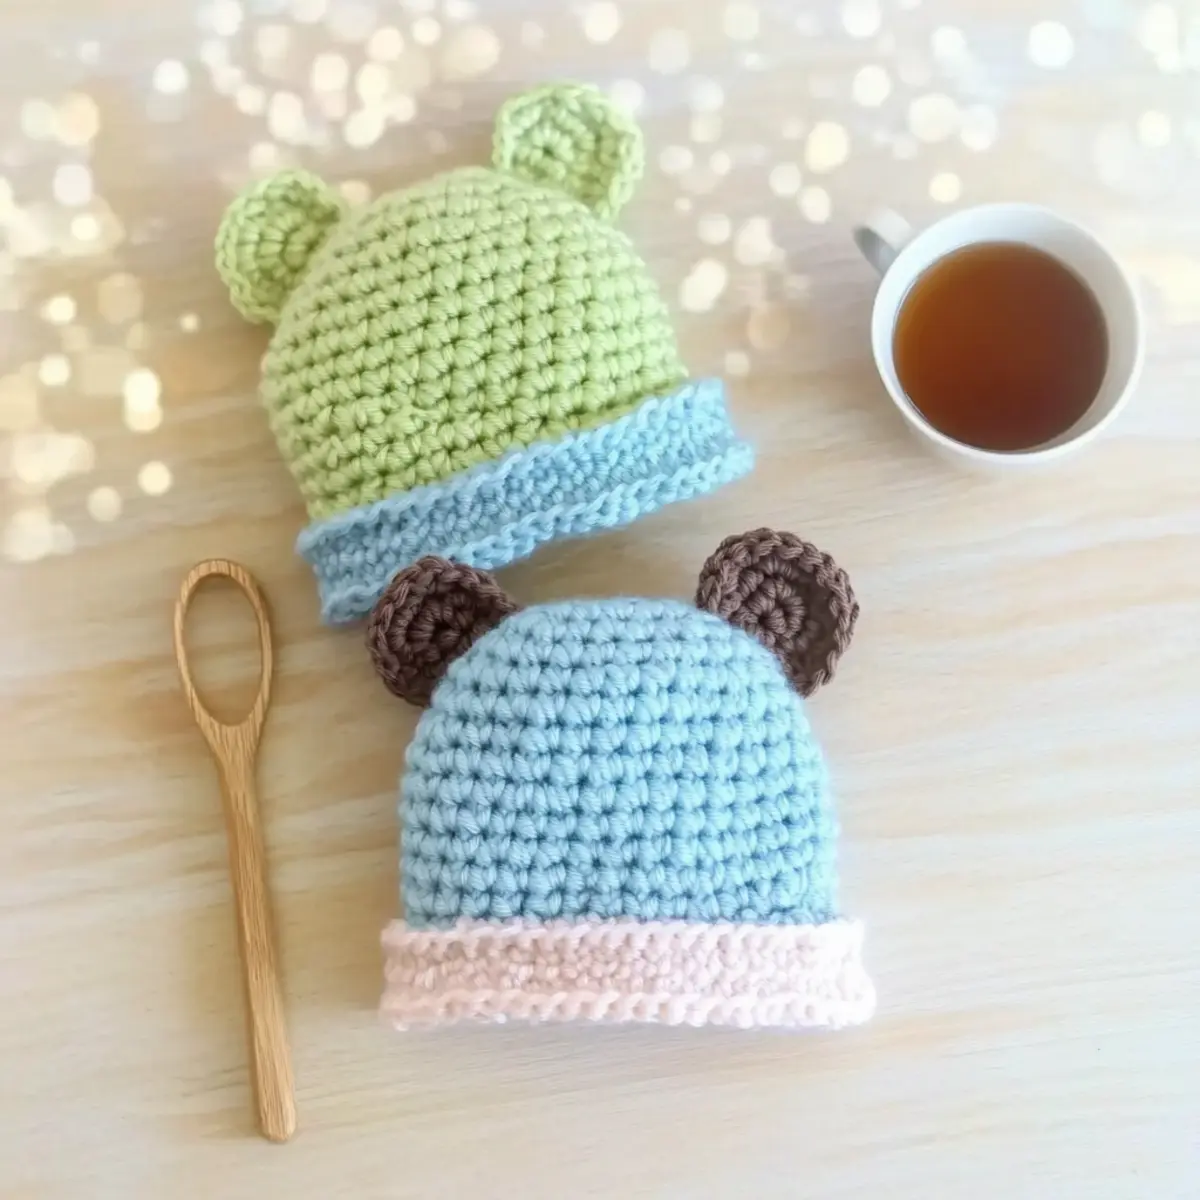
Color-Blocking Magic: Alternate colors every few rounds to create eye-catching blocks of color. This fun twist adds personality to your cozy creation.
-
Size Adjustments: Expand or reduce the number of rounds in the pattern to cater to different infant sizes. It’s easy and keeps your projects versatile!
-
Whimsical Ears: Play with the ear size—make them larger for a playful look or omit them completely for a classic style. The choice is yours!
-
Textured Finishes: Add fun textures by incorporating pom-poms or fringe at the base of the hat. A little flair goes a long way!
-
Embellished Beauty: Sew on cute buttons or decorative appliqués to personalize your hat. It’s a sweet way to make each one unique!
-
Stylish Borders: Finish your hat with a contrasting border for a polished look. A simple single crochet border adds a gorgeous, clean edge that stands out.
For more customization tips, check out our section on expert tips to further enhance your crochet journey. Let your yarn adventures flourish!
Expert Tips for the Cozy Baby Hat
-
Count Your Stitches: Keep track of your stitches at the end of each round to maintain the correct shape and avoid any misshaping.
-
Adjust Hook Size: If your hats come out smaller than expected, consider adjusting your hook size or yarn tension to ensure a perfect fit.
-
Secure the Magic Ring: Make sure your magic ring is tightly woven to prevent any unraveling, giving your finished hat durability and style.
-
Weave in Ends Properly: Take time to weave in all ends securely, especially around the ears, to avoid loose threads that can snag or irritate baby skin.
-
Test Your Tension: Conduct a gauge swatch before starting to ensure your tension matches the recommended gauge; this will help in achieving the correct size for the hat.
Washing & Care for Your Cozy Baby Crochet Hat
-
Machine Washing: Use a gentle cycle with cold water to preserve the soft texture of your yarn. Avoid agitation to prevent any felting or pilling.
-
Hand Washing: If you prefer, hand wash in cold water using a mild detergent. Gently squeeze out excess water without wringing to maintain the hat’s shape.
-
Drying/Blocking: Lay your hat flat on a clean towel to air dry. This helps to maintain the cozy structure and prevents stretching or distortion.
-
Storage: Store your crochet hat in a cool, dry place to keep it fresh and avoid any damage. Remember to keep it free from moisture and direct sunlight for longevity.
Cozy Baby Crochet Hat with Ears FAQs
Can I substitute different yarn types for this pattern?
Absolutely! While I recommend using Bernat Baby Blanket yarn for its softness, you can substitute other super bulky yarns. Just make sure to check that they adhere to the same weight category, or your final hat size may differ.
What if I want to adjust the size of the hat?
No problem! To make the hat larger, simply add extra rounds of single crochet before starting the ear attachments. For a smaller size, consider reducing the number of rounds or adjusting your gauge by using a smaller hook size. It’s all about that personal touch!
Why is my work curling at the edges?
Don’t panic! Curling often occurs when the tension is too tight or the stitches are too few. Try loosening your tension, or adding a few more increases in your initial rounds. If your circle is buckling like a bowl, it may also be beneficial to count your stitches to ensure you’re on track.
What hook size should I use for this baby hat?
I recommend using a Size N/P (10mm) crochet hook, as it’s ideal for working with super bulky yarn. This size helps you in achieving that quick, lovely finish while ensuring your stitches remain even and neat.
How do I fix dropped stitches while crocheting?
It’s an easy fix! If you’ve dropped a stitch, simply pull your yarn back to that point, pick up your dropped stitch using your hook, and re-crochet any stitches that were lost. Just remember, it happens to the best of us, so take a deep breath and keep going!
How do I care for my finished baby hat?
To keep your cozy baby hat in tip-top shape, I recommend hand washing it or using a gentle machine wash in cold water. After washing, lay it flat to dry to maintain the shape and texture of the yarn. It’s a simple way to keep it looking beautiful for the little one!
Leave a Reply