
As I sat down to crochet one evening, my fingers danced over the plush yarn, invoking warmth and nostalgia all at once. It’s the perfect moment to create something adorable and special—like our Quick No-Sew Amigurumi Pocket Capybara. In just 30 minutes, you can craft this delightful little creature, making it an ideal project for beginners or seasoned crafters looking to whip up a charming gift or party favor. The best part? This plush, snuggly capybara is not only quick to make, but it’s also satisfyingly no-sew, letting you focus on those cozy textures. With plush yarn in soft tones, this cutie doubles as a fun keychain, ensuring it will bring smiles and joy wherever it goes. Ready to bring this tiny friend to life? Let’s get stitching!
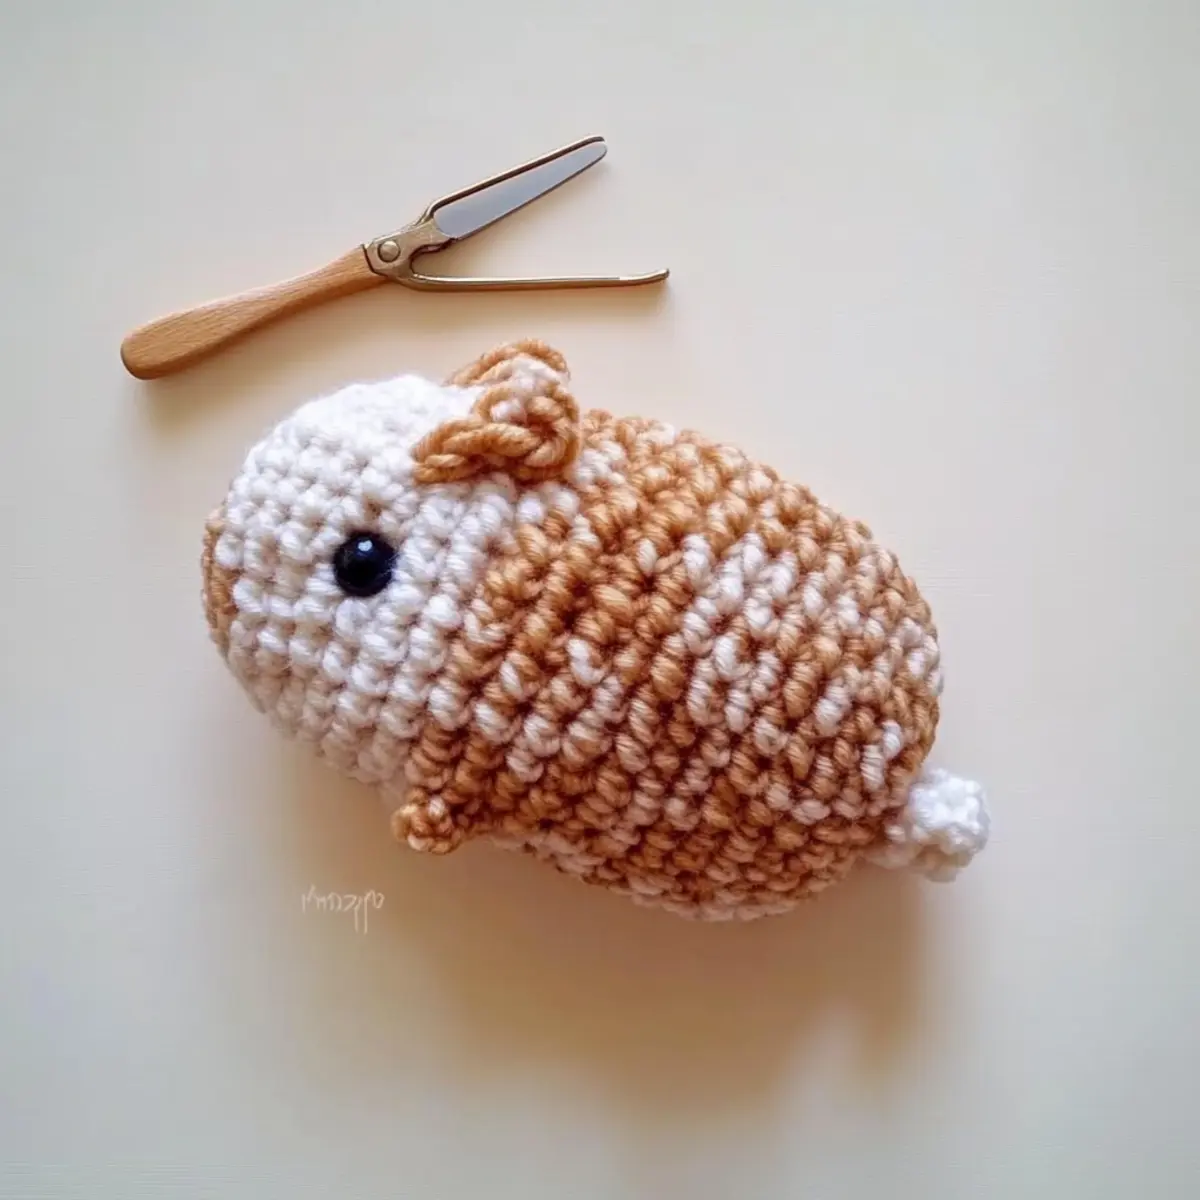
Quick No-Sew Amigurumi Pocket Capybara Materials & Tools
Note: Gather these easy-to-find supplies to bring your Pocket Capybara to life in no time!
-
Yarn
-
Super Bulky Weight 5 Chenille Velvet Yarn – Use approximately 50 yards each of beige and white for a soft and cuddly texture perfect for our cute capybara.
-
Tools & Notions
-
5mm (US H-8) Crochet Hook – This hook size is ideal for working with plush yarn to achieve the lovely squishiness you want.
-
10mm Plastic Safety Eyes – Securely attach these for those adorable eyes that bring your Pocket Capybara’s face to life!
-
Fiberfill Stuffing – Fill your capybara snugly to create that charming, plushy feel.
-
Yarn Needle – Use this for weaving in ends and ensuring your capybara is tightly closed.
-
Scissors – Snip those ends with a good pair for a clean finish!
Why is the Pocket Capybara a Must-Make?
Adorable Design: The Pocket Capybara is simply too cute to resist! Its charming size and features make it a perfect gift for anyone, especially children.
No-Sew Magic: Thanks to the no-sew design, you can finish this project in just 30 minutes, perfect for crafters who are short on time but still want to create something special.
Versatile Project: Whether you’re making it as a party favor or a delightful keychain, this capybara is a multi-talented companion that brightens up any space.
Plush Comfort: Made with soft chenille yarn, this plush amigurumi will make your heart melt, providing a cozy texture that’s perfect for cuddling.
Simple Instructions: With beginner-friendly steps, you can easily follow along and create a little masterpiece. Don’t forget to check out variation ideas for personal touches!
Gauge & Sizing Notes
Don’t skip the gauge swatch! Checking your tension is crucial for ensuring your Quick No-Sew Amigurumi Pocket Capybara turns out perfectly cute. Aim for a gauge of a 4×4 inch (10×10 cm) square that measures approximately 12 stitches by 10 rows in single crochet using super bulky weight 5 yarn. To adjust sizing, if you’d like your capybara to be larger or smaller, simply alter your starting chain in multiples of 12. If your swatch is coming out too small, consider going up a hook size to achieve that adorable plush look. Remember, every stitch counts when crafting this delightful little creature!
Step‑by‑Step Pattern for Quick No-Sew Amigurumi Pocket Capybara
Row 1: Create the Body Base
Begin by making a magic ring. Ch 1 and work 6 sc into the ring, pulling it tight to create a closed circle. This will form the base of your Pocket Capybara. Your work should be small and round, with 6 stitches counted (6 sts).
Row 2: Increase Round
Ch 1, then make 2 sc in each st around. This increases the body’s size while maintaining the circular shape. After this round, you should have 12 stitches, and the base will appear wider (12 sts).
Row 3: Continue Increasing
Ch 1, sc in the first st, inc in the next st; repeat from * around. This step adds a lovely rounded shape to your capybara’s body. Count your stitches to ensure you reach 18 total (18 sts).
Row 4: Shaping the Body
Ch 1, sc in the first 2 sts, inc in the next st; repeat from * around. This round gives your Pocket Capybara more width and roundness as it begins to take form. You should end this round with 24 stitches (24 sts).
Row 5-7: Creating the Body Height
Ch 1 and sc in each st around for the next three rounds. This helps build height without adding extra width, keeping your work evenly centered. After three rounds of straight sc, you should have 24 stitches each round (24 sts).
Row 8: Begin Decreasing
Ch 1, sc in the first 2 sts, dec; repeat from * around. This round helps shape the Pocket Capybara as it begins to taper towards the top. Count carefully to ensure you have 18 stitches remaining (18 sts).
Row 9: Continue Decreasing
Ch 1, sc in the first st, dec; repeat from * around. This tightens the structure of your capybara, preparing it for the final detailing. At this stage, your count should be 12 stitches (12 sts).
Row 10: Final Decrease Round
Ch 1, make 6 dec around to close the top of the Pocket Capybara. Pull your work taut as you go, ensuring a snug closure. You should have 6 stitches remaining (6 sts).
Step 11: Stuffing the Body
Before closing up the capybara completely, take your fiberfill stuffing and fill the body. Make sure it’s evenly distributed for a plush finish. The body should feel soft yet firm to the touch.
Step 12: Closing the Body
After stuffing, weave your yarn tail through the remaining stitches and pull tight to close. Secure the yarn with a few stitches before fastening off. The body will now be fully formed, retaining its adorable shape!
Step 13: Adding the Eyes
Using your yarn needle, securely attach the 10mm safety eyes about three rounds from the base, spaced evenly. Position them to give your Pocket Capybara a cute expression. This last touch captures its enchanting charm!
Step 14: Finishing Touches
Weave in any loose ends and make sure everything is secure. Your Quick No-Sew Amigurumi Pocket Capybara is ready to become a delightful keychain or party favor. It should be perfectly plush and irresistibly cute!
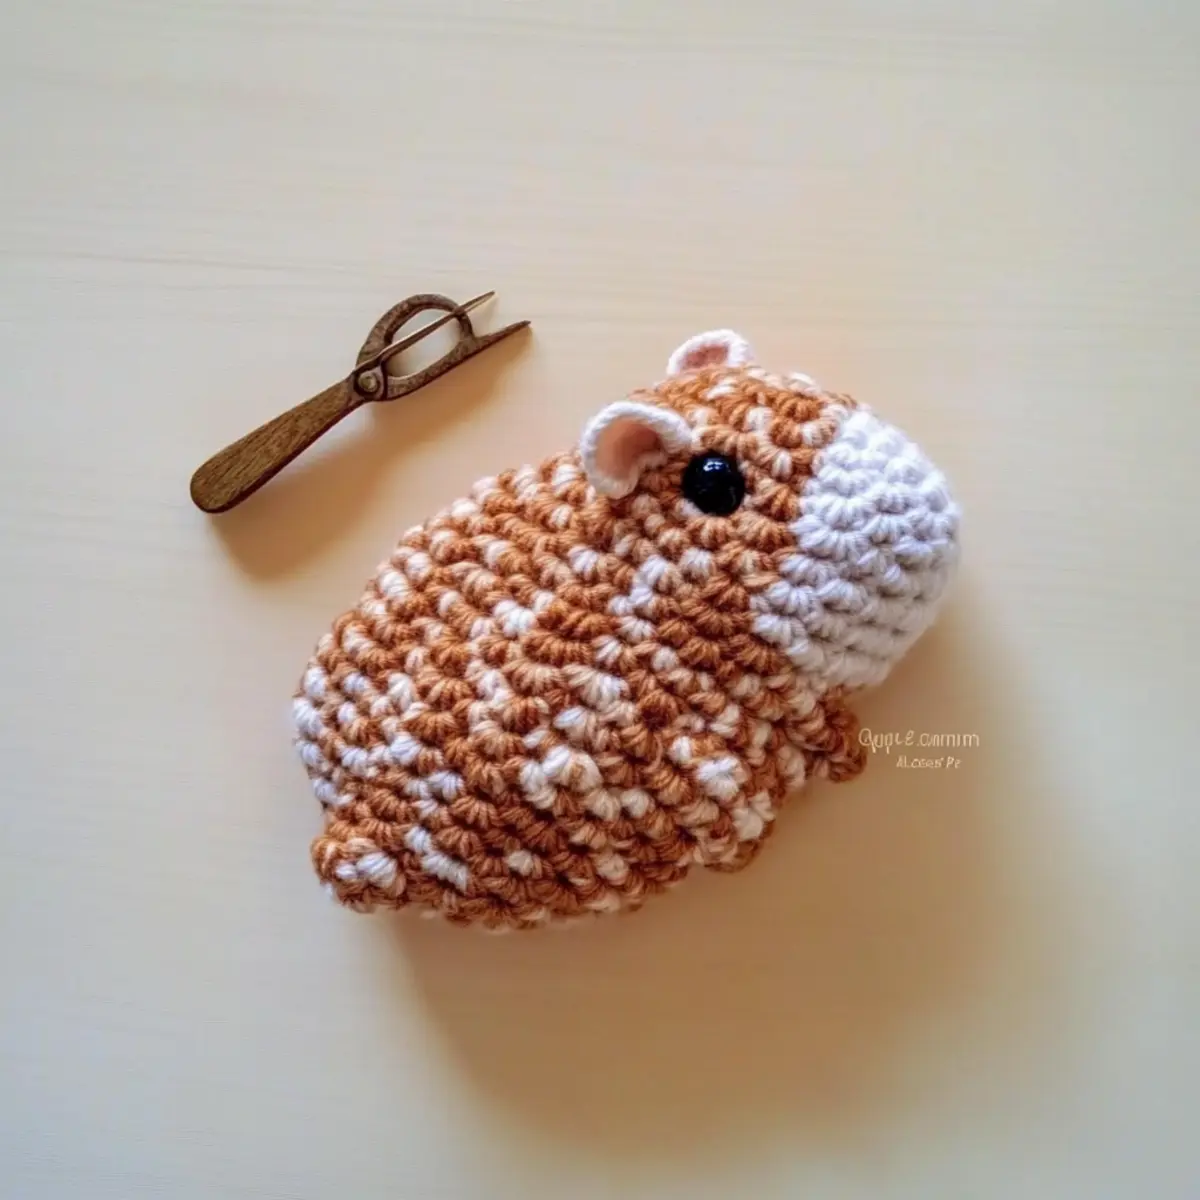
Expert Tips for Your Amigurumi
-
Stitch Counting: Count your stitches diligently at the end of each round. This helps maintain the Pocket Capybara’s shape and prevents warping.
-
Use Stitch Markers: Place a stitch marker at the end of each round—this simple trick keeps you on track and prevents confusion as you crochet.
-
Longer Tail for Assembly: Always leave a long tail when fastening off. This gives you a handy length to sew closed and nicely attach safety eyes if needed.
-
Tension Matters: Ensure your stitches are even for a cohesive look. If your tension is too tight, your capybara may appear too stiff and lose its plush charm.
-
Adjust Your Hook Size: If you notice it’s too loose, switch to a smaller hook. This ensures a snug fabric that holds its shape beautifully while still being cuddly!
How to Wash and Care for Your Pocket Capybara
-
Hand Washing: Gently hand wash your Pocket Capybara in cold water, using a mild detergent. This helps maintain its soft and plush texture without causing any damage.
-
Avoiding Agitation: Do not agitate or wring the capybara; this prevents pilling and keeps those lovely, squishy textures intact for years of cuddles.
-
Drying: After washing, lay your Pocket Capybara flat on a clean towel to dry. Reshape it gently, avoiding hanging, which can distort its cute form.
-
Storage: Keep your capybara in a cool, dry place, preferably in a breathable fabric bag. Avoid plastic as it can trap moisture and affect the plush yarn.
Variations & Substitutions
Explore delightful ways to customize your Pocket Capybara with these variations!
-
Yarn Weight Swaps: Use bulky weight 6 yarn for a larger capybara; it’ll be irresistibly plushy and cuddly.
-
Color Choices: Experiment with bright hues or pastel shades to match your décor, making each capybara uniquely yours.
-
Texture Additions: Add a pom-pom on top or a fringe around the neck for a whimsical touch. This extra flair creates character and charm, enhancing your adorable creation!
-
Size Adjustment: Use thinner yarn and a smaller hook to create mini capybaras—perfect for keychain charms. Mini projects are excellent for practicing skills while delivering an adorable finished piece; they’ll surely bring smiles everywhere they go!
-
Embellishment Ideas: Craft a tiny scarf or a bow tie with contrasting yarn—this will personalize your capybara while providing a pop of color. It’s the little details that really make your piece stand out!
-
Safety Eye Alternatives: Swap plastic safety eyes for embroidery to create a different expression. This option adds a handmade touch, making your capybara truly one-of-a-kind.
-
Custom Stuffing: For a slightly firmer feel, use cotton stuffing instead of fiberfill. This keeps the shape while offering a more structured plushy. And remember, a firmer feel can add a charming vintage vibe!
Don’t hesitate to explore these ideas, and check out other fascinating crochet tips or yarn alternatives that can enhance your crafting experience!
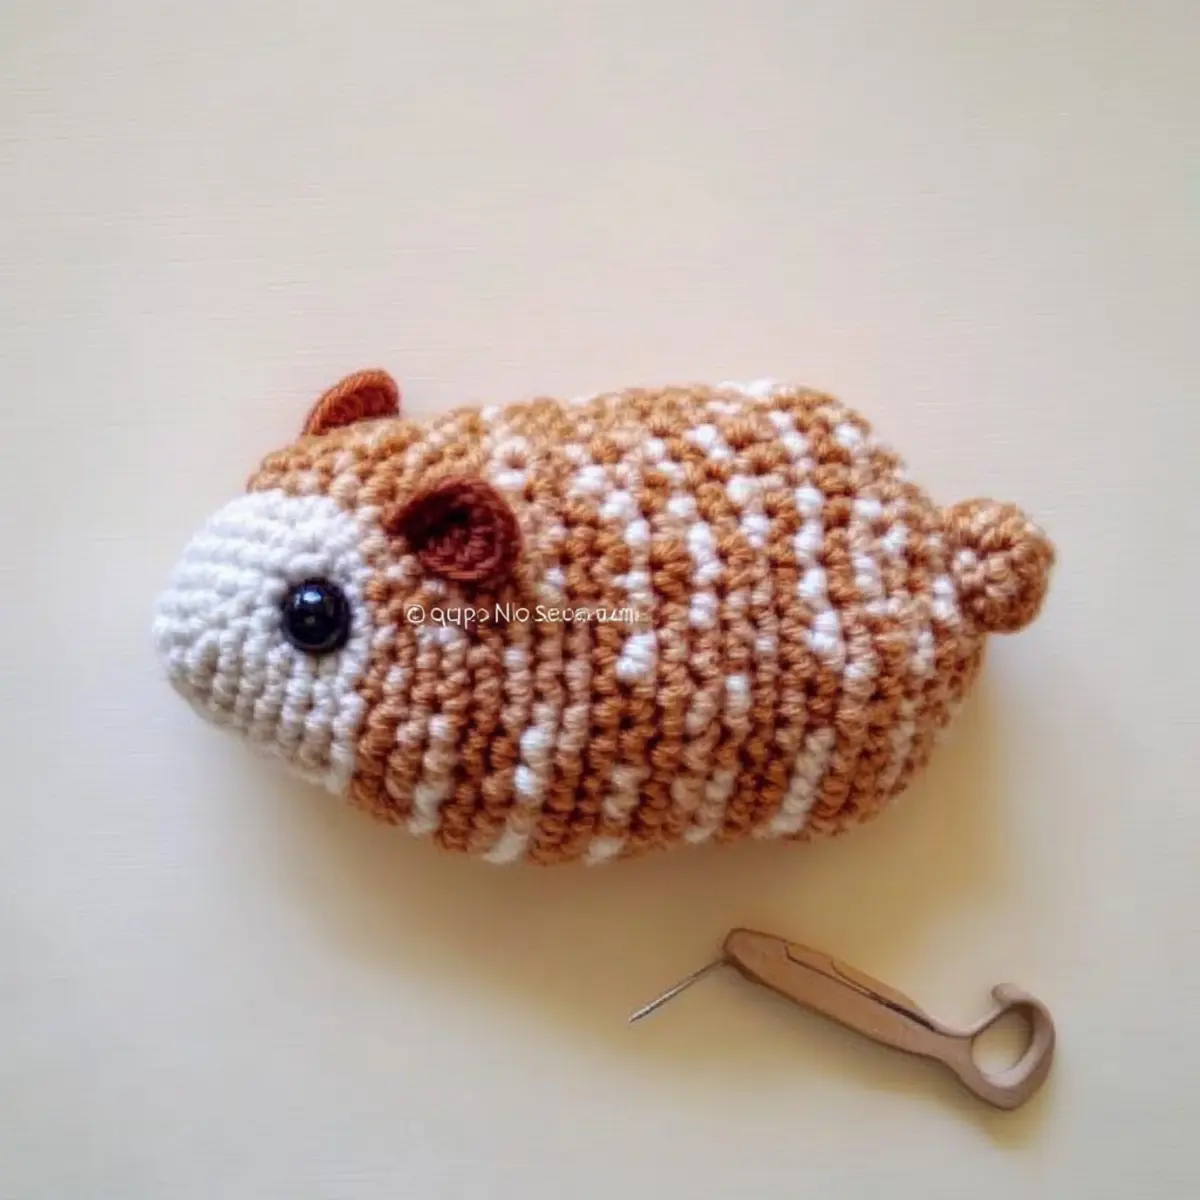
Quick No-Sew Amigurumi Pocket Capybara FAQs
Can I substitute yarn types for the Pocket Capybara?
Absolutely! While I recommend using super bulky weight 5 chenille velvet yarn for its plush texture, you can experiment with other yarns. If you choose a medium weight yarn, just be aware that your capybara will be smaller. Always check your gauge to achieve the desired size!
How can I make the Pocket Capybara larger or smaller?
To adjust the size, you can change the yarn weight or hook size. For a smaller capybara, opt for a lighter yarn and a corresponding smaller hook. Conversely, using thicker yarn with a larger hook will give you a bigger cutie. Just remember to check your stitch count to ensure proper shaping!
Why does my amigurumi body keep curling up?
Don’t panic! If your work is curling like a bowl, it often means your stitches might be too tight or you’re missing increases. Make sure to count your stitches at the end of each round and keep your tension even. If it’s too tight, try a larger hook!
What hook size should I use for this pattern?
For this Quick No-Sew Amigurumi Pocket Capybara pattern, a 5mm (US H-8) hook works perfectly with the recommended yarn. If you opt for a different yarn weight, be sure to adjust your hook size accordingly to maintain the plush texture.
How do I fix a dropped stitch in my amigurumi?
It’s an easy fix! If you notice a dropped stitch, simply grab your yarn needle and thread it through the last stitch, picking up the yarn in the correct direction. Then, pull it snug to secure the stitch. If it’s a more significant issue, don’t hesitate to unravel to the point of the drop—it’s better to fix it now than worry later!
Is it necessary to check gauge for this pattern?
While a specific gauge isn’t provided, I highly recommend checking your gauge, especially if you’re using a different yarn. A solid guideline is to aim for approximately 12 stitches by 10 rows in 4×4 inches of single crochet for consistent results. This helps ensure your capybara turns out just right!
Leave a Reply