
As I sat curled up in my favorite chair, a vibrant skein of yarn whispered to me, begging to be transformed into something delightful. That’s how this Crochet Heart Pillow came to life—a cozy and charming project that wraps warmth and handmade love into every stitch. Not only does this pattern work up quickly, making it perfect for gifting or sprucing up your home, but it’s also remarkably beginner-friendly, which means anyone can create this heartwarming piece. With its soft, squishy texture and endless customization options, your heart pillow can be as unique as the person you’re making it for. I can’t wait to share how you can craft your own—let’s dive into those stitches and spread some love!
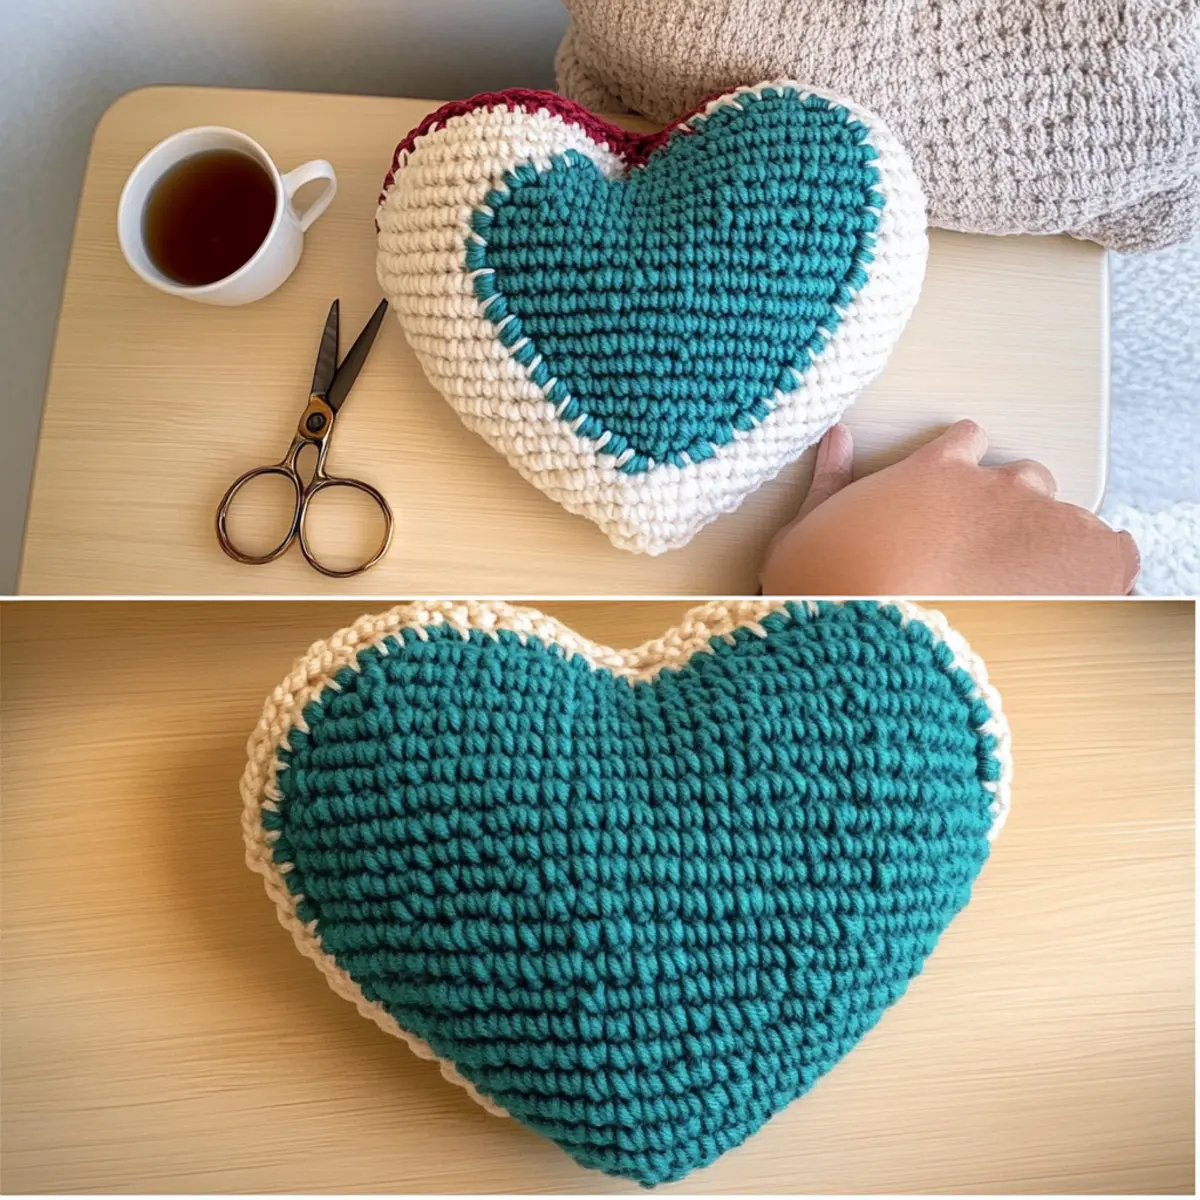
Crochet Heart Pillow Materials & Tools
Get ready to create something beautiful with these charming crochet supplies!
Yarn
• Wool or Acrylic Yarn – Choose worsted weight (Category 4) yarn, about 200-300 yards for a lovely squishy heart!
Tools & Notions
• 5.5mm (I/9) Hook – This size is perfect for achieving that cozy texture in your pillow.
• Clover Lock Ring Markers – These handy markers will help you keep track of your rounds effortlessly.
• Tapestry Needle – Use this for weaving in ends and finishing your beautiful heart.
• Stuffing – Make sure you have some soft stuffing on hand to give your pillow its delightful shape.
Why Is This Pillow a Must-Make?
Charming Design: The Crochet Heart Pillow isn’t just a project; it’s a heartfelt creation that adds warmth to any space.
Beginner-Friendly: With easy stitches like single crochet and increasing, even novices will feel accomplished making this sweet pillow.
Quick to Complete: Crafting this pillow can be done in just a few cozy evenings, making it a perfect last-minute gift for loved ones.
Endless Customizations: Feel free to play with colors or sizing options. Whether you stick to classic reds or go wild with vibrant hues, the possibilities are endless!
Perfect for All Occasions: Whether it’s Valentine’s Day or a housewarming gift, this pillow suits every occasion and brings smiles wherever it’s placed.
So grab your materials and dive right into this fantastic project; your family and friends will cherish it for years to come! Plus, if you’re looking for additional ideas, check out our tips on customization ideas for crochet projects.
Gauge & Sizing Notes
Don’t skip the gauge swatch! It’s crucial for ensuring your Crochet Heart Pillow turns out just right. For this project, your gauge should measure 4×4 inches (10×10 cm) and consist of 12 single crochets by 10 rows. If you want to adjust the size, remember to increase your starting chain or rounds in multiples of 6 to make the pillow larger or decrease accordingly for a smaller size. If your tension doesn’t match, don’t worry! If your swatch is too small, simply try going up a hook size to achieve that perfect fit. Happy crafting!
Step‑by‑Step Pattern for Crochet Heart Pillow
Round 1: Start the Magic
Begin by creating a magic ring. Work 6 single crochets (sc) into the ring and pull tight to close it. Your initial round will form a small circle, providing a solid foundation for your heart pillow (6 sts).
Round 2: Increase for Growth
Chain 1 and make an increase in each stitch around by working 2 sc into each stitch from the previous round. This round continues to build the foundation for your heart shape while making it larger and rounder (12 sts).
Round 3: Defining the Shape
Chain 1, then 1 sc in the first stitch, 2 sc in the next stitch; repeat this pattern around. This will start forming the heart shape with an even round structure, allowing your work to cup slightly as it expands (18 sts).
Round 4: Continue Shaping
Chain 1 and 2 sc in the first stitch, 2 sc in the next stitch, 1 sc in the next two stitches; repeat from * to * around. This round continues to widen the base of the heart, ensuring a lovely rounded shape (24 sts).
Round 5: Forming the Heart’s Top
Chain 1 and 1 sc in the first three stitches, 2 sc in the next stitch; repeat from * to * around. This step aids in tapering the sides toward the center, creating the defining V shape at the top of your heart (30 sts).
Round 6: Taper the Heart
Chain 1, then 1 sc in the first four stitches, 2 sc in the next stitch; repeat around. This round helps create the upper points of the heart, making it more defined and giving it character (36 sts).
Round 7: Complete the Body
Chain 1 and continue with 1 sc in each of the next five stitches, 2 sc in the following stitch; repeat this around. You will notice your heart is taking shape beautifully, with a slightly raised upper edge (42 sts).
Step 8: Closing the Shape
Begin reducing the stitches to form the heart’s top. Chain 1 and 1 sc in each of the next five stitches, then perform a decrease (dec); repeat this around to taper the top points, eventually creating the heart’s tip (36 sts).
Step 9: Finishing Off
Repeat the previous decrease round until you have about 12 stitches left. Sew the opening closed by weaving the yarn through the remaining stitches. Stuff your heart pillow with fiberfill before completely sealing the final point.
Step 10: Assembly & Final Touch
Match the two heart halves together, ensuring the seams align. Seam together using a slip stitch or whip stitch, leaving an opening if needed for stuffing. Weave in any leftover yarn to secure your crochet heart pillow, which is now ready to add a charming touch to your home!
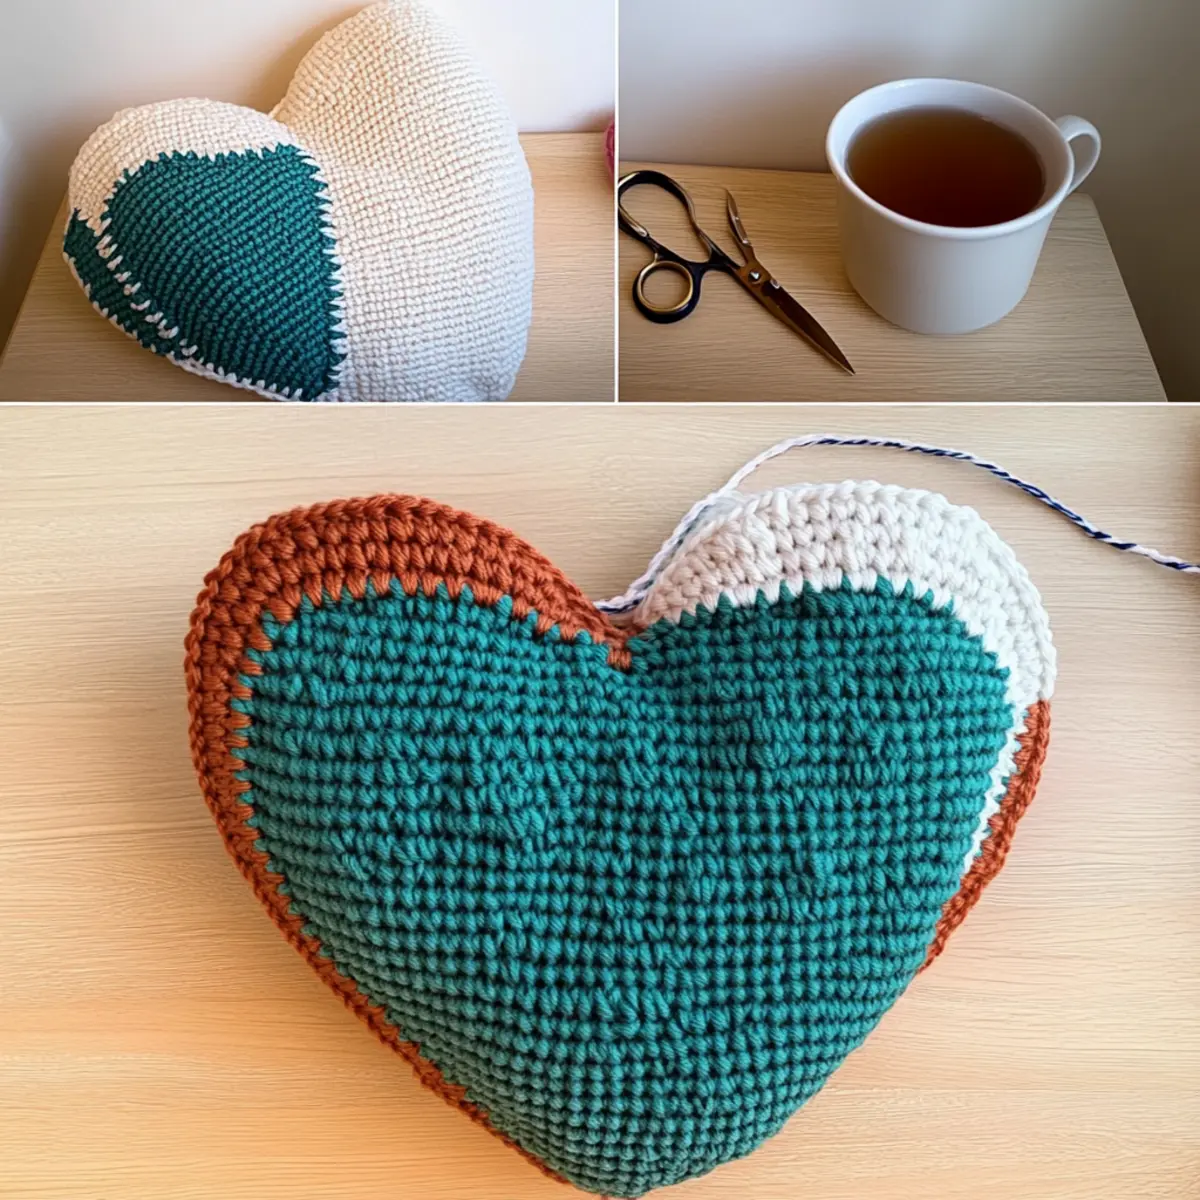
Crochet Heart Pillow Variations
Embrace creativity as you personalize your cozy crochet heart pillow.
-
Yarn Substitutions: Try using cotton yarn for a breathable, summery look. This can add a delightful texture, making your pillow even more inviting.
-
Color Variations: Incorporate various colors using stripes or ombré effects for a vibrant twist. Play with shades to match your decor styles, like pastel hues for a soft feel or bold colors for a lively statement.
-
Texture Additions: Add a pom-pom or playful fringe to the edges for a whimsical flair. These small embellishments can elevate your project from sweet to delightfully unique.
-
Size Adjustments: Modify the stitch count to create different sizes. Scale down for a cute keychain version or scale up to make an oversized pillow for cuddling.
-
Embellishments: Consider adding crochet flowers or buttons to the heart for a charming touch. These details can express your personal style while making the pillow even more special.
-
Mixed Fibers: Experiment by mixing yarn types, such as pairing wool with acrylic for a plush but durable finish. This combination can enhance both the pillow’s look and feel.
-
Seasonal Designs: Create themed heart pillows for various holidays. Use red and pink for Valentine’s Day or cool shades for a winter wonderland vibe.
-
Quilted Finish: Add a decorative border or quilted effect for sophistication. This step can turn your heart pillow into a statement piece, suitable for any occasion.
Ready to make your heart pillow truly yours? Check out our additional tips on customization ideas for crochet projects to spark your imagination!
Expert Tips for Crochet Heart Pillow
-
Count Your Stitches: Always count your stitches at the end of each round to maintain the heart shape and avoid accidental increases or decreases.
-
Watch Your Tension: Keep an even tension while crocheting; too tight can make the pillow stiff, while too loose can lead to gaps in the stitches.
-
Use Stitch Markers: Employ Clover Lock Ring Markers to mark the beginning of each round, ensuring you don’t lose track as you create this charming pillow.
-
Seam with Care: When sewing the heart halves together, use a whip stitch to keep the edges neat and secure, preventing any stuffing from escaping.
-
Finishing Touches: Block your finished pillow lightly to perfect its shape before placing it on display or gifting it, adding that extra handmade charm!
Remember, each stitch is an opportunity to create warmth with this lovely crochet heart pillow!
How to Wash and Care for Your Heart Pillow
-
Machine Washing: Use a gentle cycle with cold water to keep your Crochet Heart Pillow looking fresh. Avoid agitation to prevent felting or pilling.
-
Hand Washing: For a more delicate approach, hand wash your pillow in cold water with mild detergent. Gently squeeze out excess water without twisting.
-
Drying/Blocking: Lay your pillow flat to dry in a well-ventilated area, reshaping it as needed. This helps maintain its sweet heart shape and softness.
-
Storage: Store your pillow in a cool, dry place. If needed, a breathable cotton bag is ideal to protect it from dust while allowing air circulation.
Crochet Heart Pillow FAQs
Can I use a different type of yarn for the Crochet Heart Pillow?
Absolutely! You can substitute wool with acrylic yarn or any worsted weight yarn you prefer. Just make sure to check your gauge, as this will ensure your pillow has the right size and texture.
How can I make the heart pillow bigger or smaller?
To adjust the size, simply increase or decrease the stitch count based on your desired dimensions. For example, you can start with a magic ring of 8 sc instead of 6 for a slightly larger pillow. Just remember to maintain the increases and decreases to shape the heart properly.
Why is my work curling at the edges?
Don’t panic! Curling often happens when stitches are too tight or there’s an imbalance in your increases and decreases. Try loosening your tension slightly or ensure that your stitch count is consistent throughout the rounds.
What size crochet hook should I use for this project?
For the Crochet Heart Pillow, a 5.5 mm (I/9 US) crochet hook is ideal. If your stitches seem too loose or tight, feel free to adjust to a smaller or larger hook, but remember to recheck your gauge!
How do I fix a dropped stitch?
It’s an easy fix! Just pull the yarn from the last row to bring the dropped stitch back up. You can also use your tapestry needle to weave your yarn through the stitch, bringing it back into place. Don’t forget to keep your yarn snug!
Could I add embellishments to my heart pillow?
Absolutely! Adding buttons, crochet flowers, or even embroidery can give your heart pillow a personal touch. Just make sure any embellishments are securely attached before gifting or using your pillow!
Leave a Reply