
As I sat in my cozy corner, surrounded by vibrant yarns, the idea for this pattern sparked joy within me. Today, I’m excited to share the “Beginner-Friendly Stylish Crocheted Backpack,” a project that beautifully blends style with practicality. This crocheted backpack is not just a chic accessory; it’s also a fun way to elevate your crafting skills, making it perfect for beginners and seasoned yarn lovers alike. With its quick-to-work design, you’ll have an eye-catching bag ready in no time, whether it’s for daily adventures or as a special gift. Imagine the pride you’ll feel carrying a backpack you created with your own hands! Let’s get started on this satisfying journey of stitches together—your perfect companion awaits!
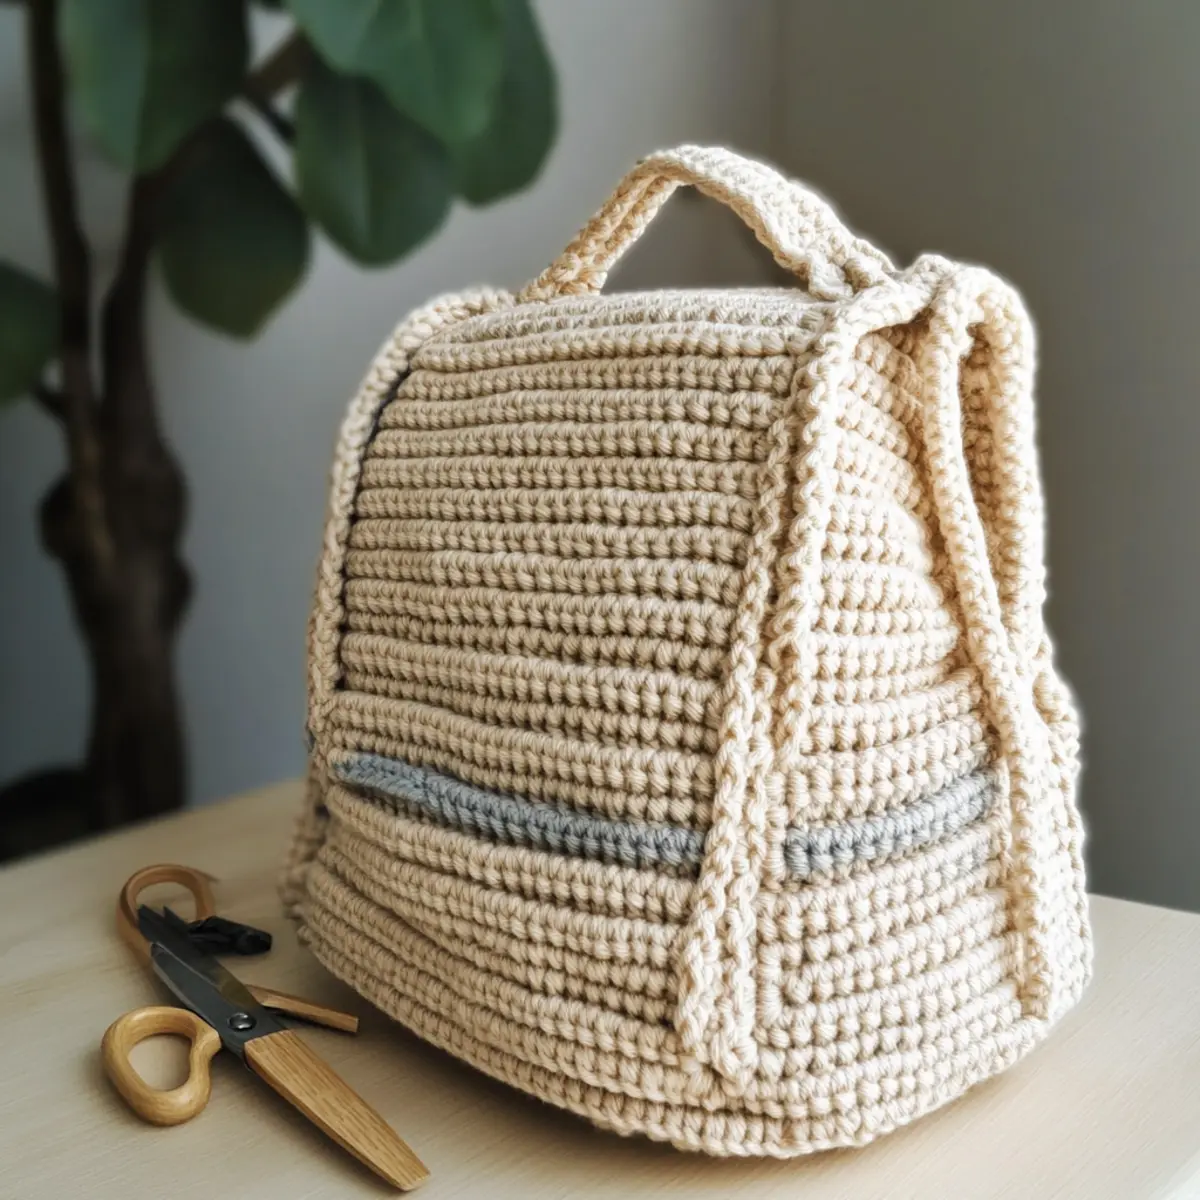
Crocheted Backpack Materials & Tools
• Ready to embark on your crocheting journey? Here’s what you need!
Yarn
- Worsted Weight Yarn – Choose your favorite acrylic or cotton, with approximately 300-400 yards needed.
Hook
- 5.0 mm (H-8) Hook – This size is perfect for creating your cozy and stylish backpack!
Notions
- Stitch Markers – Essential for marking rounds, ensuring a neat and organized project.
- Tapestry Needle – Use this for weaving in those pesky ends once you’re finished.
- Scissors – A must-have for snipping yarns as you work on your project.
- Fabric Button or Magnetic Snap – Gives your backpack an adorable and practical closure.
Get ready to stitch your very own beautiful crocheted backpack that’s not only functional but also a delight to make!
Why is this backpack pattern so special?
Beginner-Friendly: This pattern is designed specifically for those new to crochet, guiding you step-by-step for a confidence-boosting experience.
Stylish Design: Its modern aesthetic makes it a fashionable accessory, complementing any outfit for a chic look.
Practical Functionality: With spacious pockets and sturdy straps, this backpack is perfect for daily use, allowing you to carry your essentials with ease.
Quick Project: You can whip up this backpack in no time, making it a great last-minute gift idea.
Durable Texture: The use of worsted weight yarn creates a comfortable yet durable backpack that withstands everyday wear and tear.
Ready to add a personal touch? You can always try some variation & customization ideas to make it uniquely yours!
Gauge & Sizing Notes
Don’t skip the gauge swatch! Checking your tension is essential for the “Beginner-Friendly Stylish Crocheted Backpack” to ensure it turns out just right for your needs. For this project, a standard gauge measurement is a 4×4 inch (10×10 cm) square, which should consist of 12 single crochets by 10 rows. If you’d like to adjust the size of your backpack, simply increase your starting chain by multiples of 6 for a wider base or modify the number of rounds you work for a taller design. If your swatch is smaller than the gauge specified, try using a larger hook size to achieve your comfortable crafting tension!
Step‑by‑Step Pattern for Beginner-Friendly Stylish Crocheted Backpack
Row 1: Create the Base
Start by making a slip knot and chain 20. Next, work 1 single crochet (sc) into each chain stitch across the row, resulting in 19 sc. To form the rectangular base, continue working in rounds, adding 3 sc in each corner to help the fabric curve. Continue until your base measures approximately 10 inches wide and 4 inches deep, ensuring it lies flat.
Row 2: Begin the Main Body
After completing the base, chain 1 to start your continuous rounds (do not count as a stitch). For this step, work sc in the back loop only of each stitch, creating a textured effect. Keep going until the main body rises to your desired height of 12-14 inches, checking your work to ensure it maintains a cylindrical shape.
Row 3: Form the Flap
Position your backpack upright, then count one-third from the back and join your yarn with a slip stitch. Work sc across for two-thirds of the width of the backpack. As you reach the end of the row, turn your work and begin decreasing stitches every other row to create a tapered shape for the flap. Continue this until the flap is approximately 6 inches long.
Row 4: Create the Pockets
To make the pockets, start by chaining 15 to form the base for your pocket panel. Work sc into each chain until your pocket reaches your desired dimensions, making two identical panels. After finishing, attach the pockets to the body of the backpack, ensuring to leave the top open for easy access. Position them where you prefer on the backpack.
Row 5: Crochet the Straps
For the straps, chain 6 and work sc into each chain for a sturdy construction. Each strap should measure 24-30 inches long. Make two straps by repeating this process. For the handle, create a shorter version following the same method; aim for a length of 6-8 inches.
Row 6: Attach Straps and Handle
Securely attach both straps and the handle to the backpack, choosing a comfortable height for carrying. Use sc to sew them securely, ensuring they can bear weight without pulling loose. Finally, weave in all ends with a tapestry needle, keeping your work neat and ready for daily use. Enjoy your new crocheted backpack!
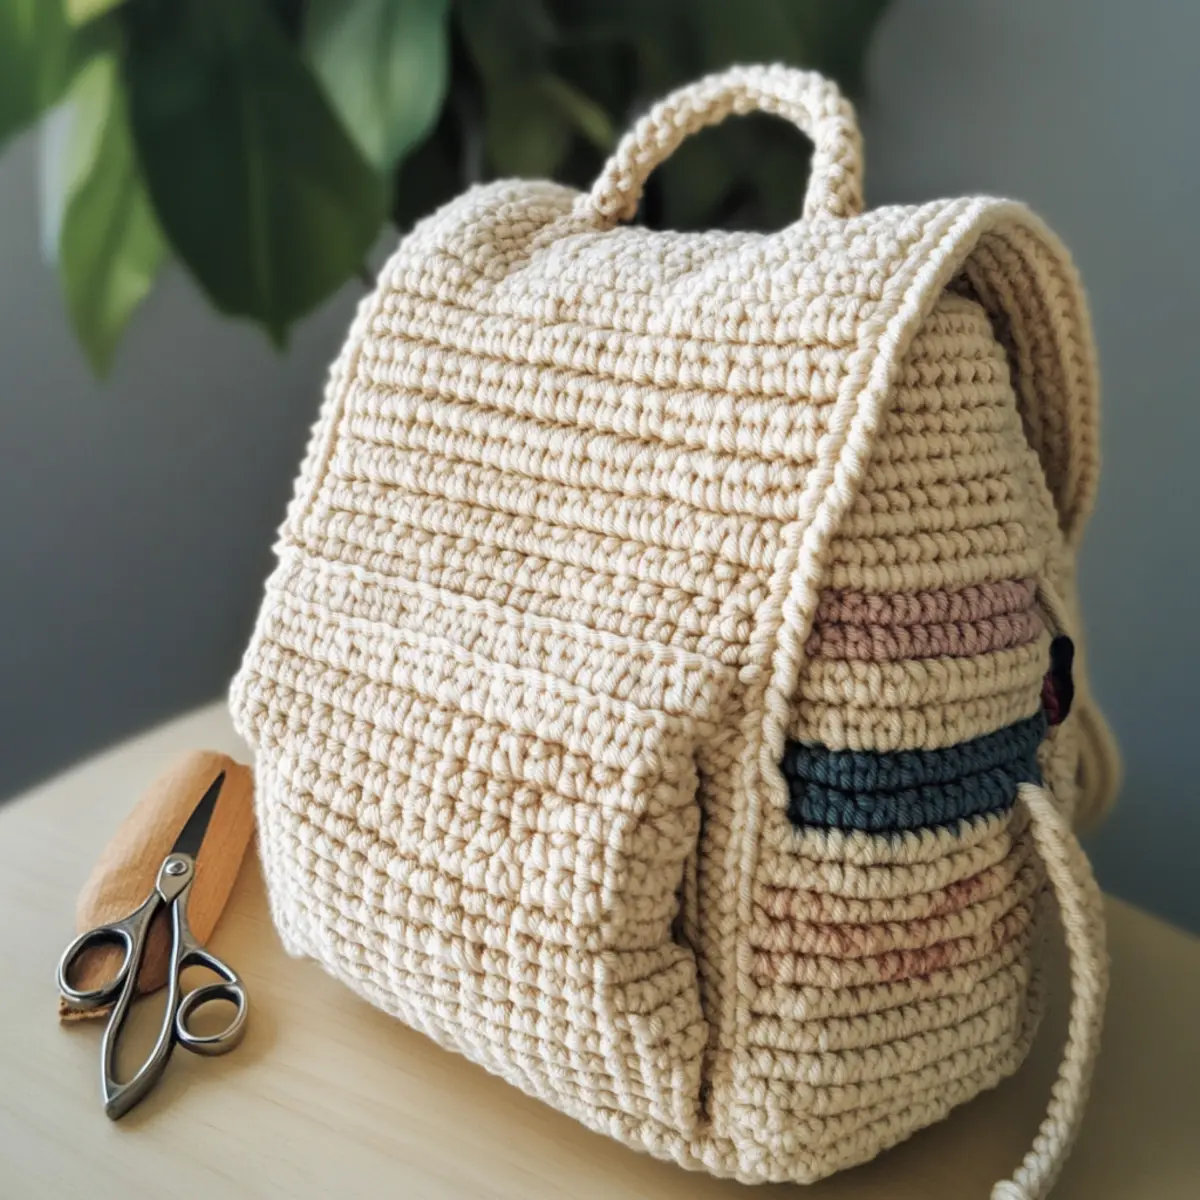
How to Wash and Care for Your Crocheted Backpack
-
Hand Washing: Use cold water and a gentle detergent to hand wash your crocheted backpack. This helps preserve the yarn’s texture and prevents felting.
-
Avoid Agitation: When cleaning, avoid wringing or aggressive scrubbing. Gently press the water out to keep your backpack looking beautiful for years.
-
Drying/Blocking: Lay your backpack flat on a clean, dry towel to dry. This helps maintain its structure and prevents distortion.
-
Storage: Store your crocheted backpack in a cool, dry place away from direct sunlight. Use cotton bags or breathable containers to avoid dust accumulation.
Expert Tips for the Best Backpack
-
Check Tension Regularly: Ensure your tension is consistent by working a gauge swatch. This backpack will look its best if stitches are even throughout.
-
Count Stitches Often: Avoid losing track of your stitch counts, especially in the body. Every few rounds, pause and verify your stitches to keep the shape aligned.
-
Use Stitch Markers: Keep track of the beginning of each round with a stitch marker. It simplifies transitions and contributes to a neater finish on your crocheted backpack.
-
Weave Ends Securely: Don’t skimp on finishing! Make sure to weave in all loose ends thoroughly to prevent unraveling and to keep your bag looking polished.
-
Layer Your Straps: For added durability, consider folding your straps and crocheting through both layers. It not only enhances strength but also style for your backpack.
Beginner-Friendly Crochet Customizations
Embrace your creativity and personalize this crocheted backpack with these delightful variations!
-
Yarn Weight Swaps: Try using a lighter weight yarn for a breezier bag. Experiment with a sport weight for a softer feel.
-
Fiber Alternatives: Opt for cotton instead of acrylic for a more breathable backpack. This is perfect for summer outings!
-
Color Blocking: Add a playful twist by alternating colors every few rows. This creates a vibrant, eye-catching pattern that showcases your unique style.
-
Textured Straps: Create interest by adding a lovely textured stitch to your straps. It can be as simple as a ribbed effect or bobble stitches for a fun touch.
-
Pocket Dimensions: Customize your pockets to fit specific items like a water bottle or tablet. Adjust the size to balance aesthetics and functionality.
-
Extra Pockets: Consider adding more pockets on the outside. A smaller, zippered pocket can keep essentials organized and easily accessible.
-
Pom-Pom or Fringe: Attach a playful pom-pom or some fringe to the flap for a whimsical touch that expresses your personality.
-
Bold Border: Finish off the edges with a contrasting color to create a polished look. A simple single crochet border can elevate the entire design.
As you explore these fun variations, don’t hesitate to check out other insightful tips for yarn enthusiasts or learn more about textured designs. Happy crocheting!
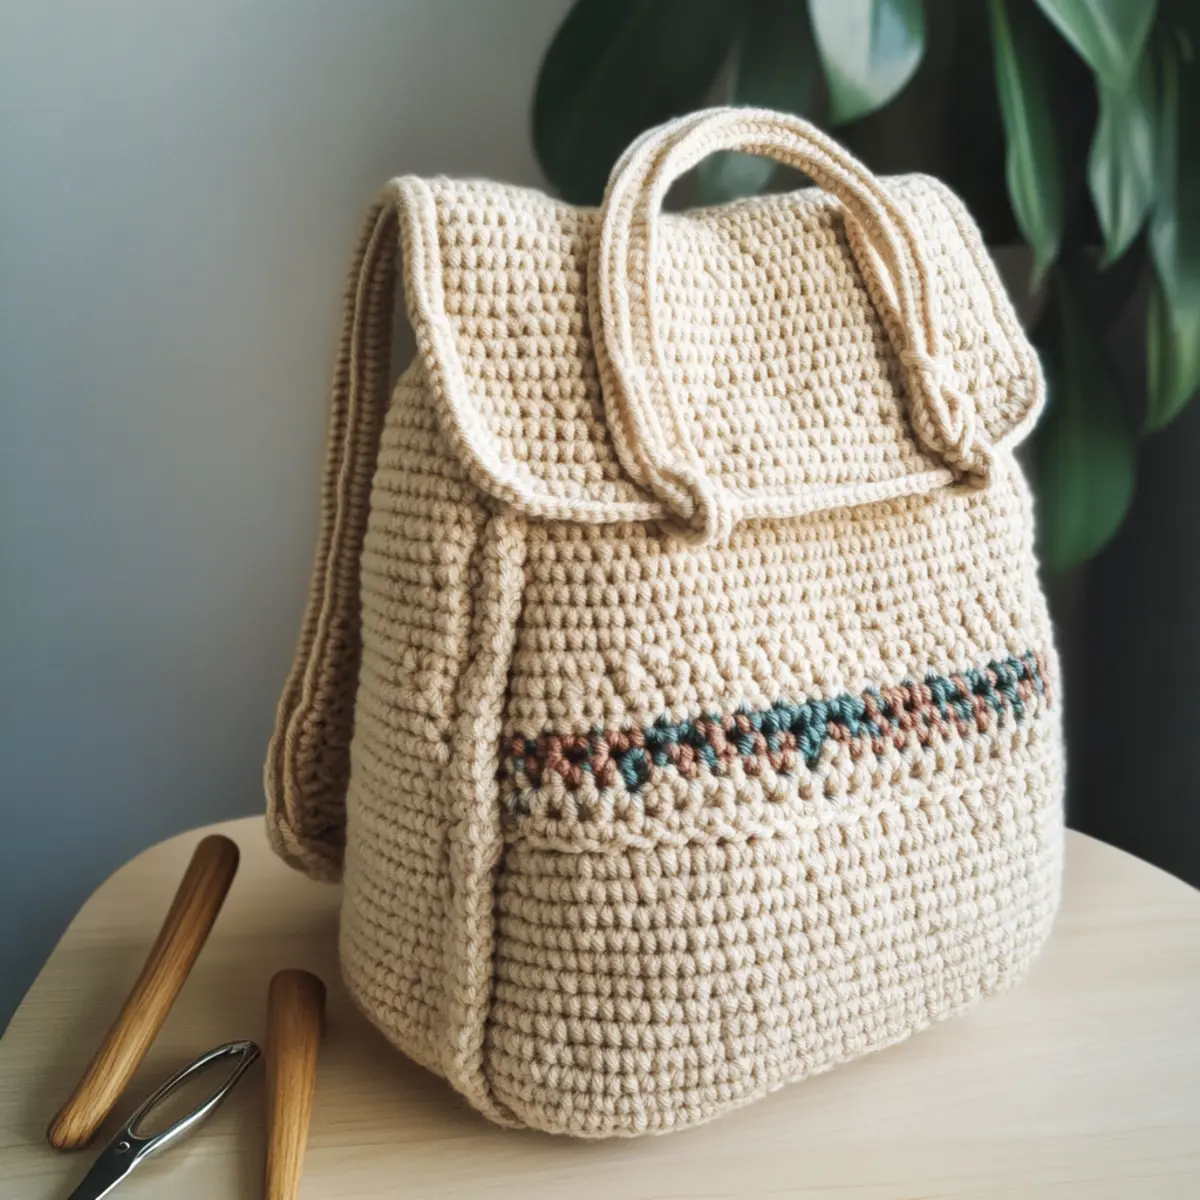
Beginner-Friendly Stylish Crocheted Backpack FAQs
Can I substitute the yarn with a different type?
Absolutely! While this pattern calls for worsted weight yarn, you can substitute it with cotton or a different acrylic. Just make sure your chosen yarn is similar in weight to maintain the backpack’s structure and fit.
How do I adjust the size of the backpack?
For a bigger or smaller backpack, simply increase or decrease your starting chain and maintain the ratio for the base dimensions. If you want a taller backpack, add extra rounds in the main body section—just remember to keep your stitch counts balanced!
Why is my work curling at the edges?
Don’t panic! If your work is curling like a little bowl, it might be due to tight tension or missing stitches. Check that you’re maintaining even tension and ensuring that your stitch count is accurate as you progress through the rounds.
What hook size should I use?
I recommend using a 5.0 mm (H-8) hook for this pattern. However, if you’re a loose crocheter, consider going down a hook size to achieve the right tension. Always check your gauge to ensure a proper fit!
How do I fix dropped stitches in my work?
It’s an easy fix! Simply use a tapestry needle to pick up the dropped stitch, working it back through your last few rounds. If you notice several dropped stitches, take a moment to assess your tension and stitch count to prevent this in the future.
Can I add more pockets to this backpack?
Of course! Feel free to customize your backpack by adding extra pockets. Just chain accordingly and attach them securely to the body. This not only gives you more space but also allows for a fun creative outlet as you personalize your bag!
Leave a Reply