
As the chill of autumn begins to wrap around us, there’s something so enchanting about creating handmade treasures that embody the cozy spirit of the season. This week, I’m thrilled to share my latest project— the Cozy Crochet Pumpkin Lovey! A delightful combination of a cheerful pumpkin and a soft granny-square blanket, it’s not just a security blanket but also the perfect baby shower gift or a charming addition to nursery decor. This advanced beginner-friendly pattern works up quick, making it an ideal stash-buster for your fall yarn collection. You’ll love how the warmth of the pumpkin’s design brings comfort and security to little ones while capturing the essence of autumn in every stitch. Are you ready to dive into this cozy crafting adventure?
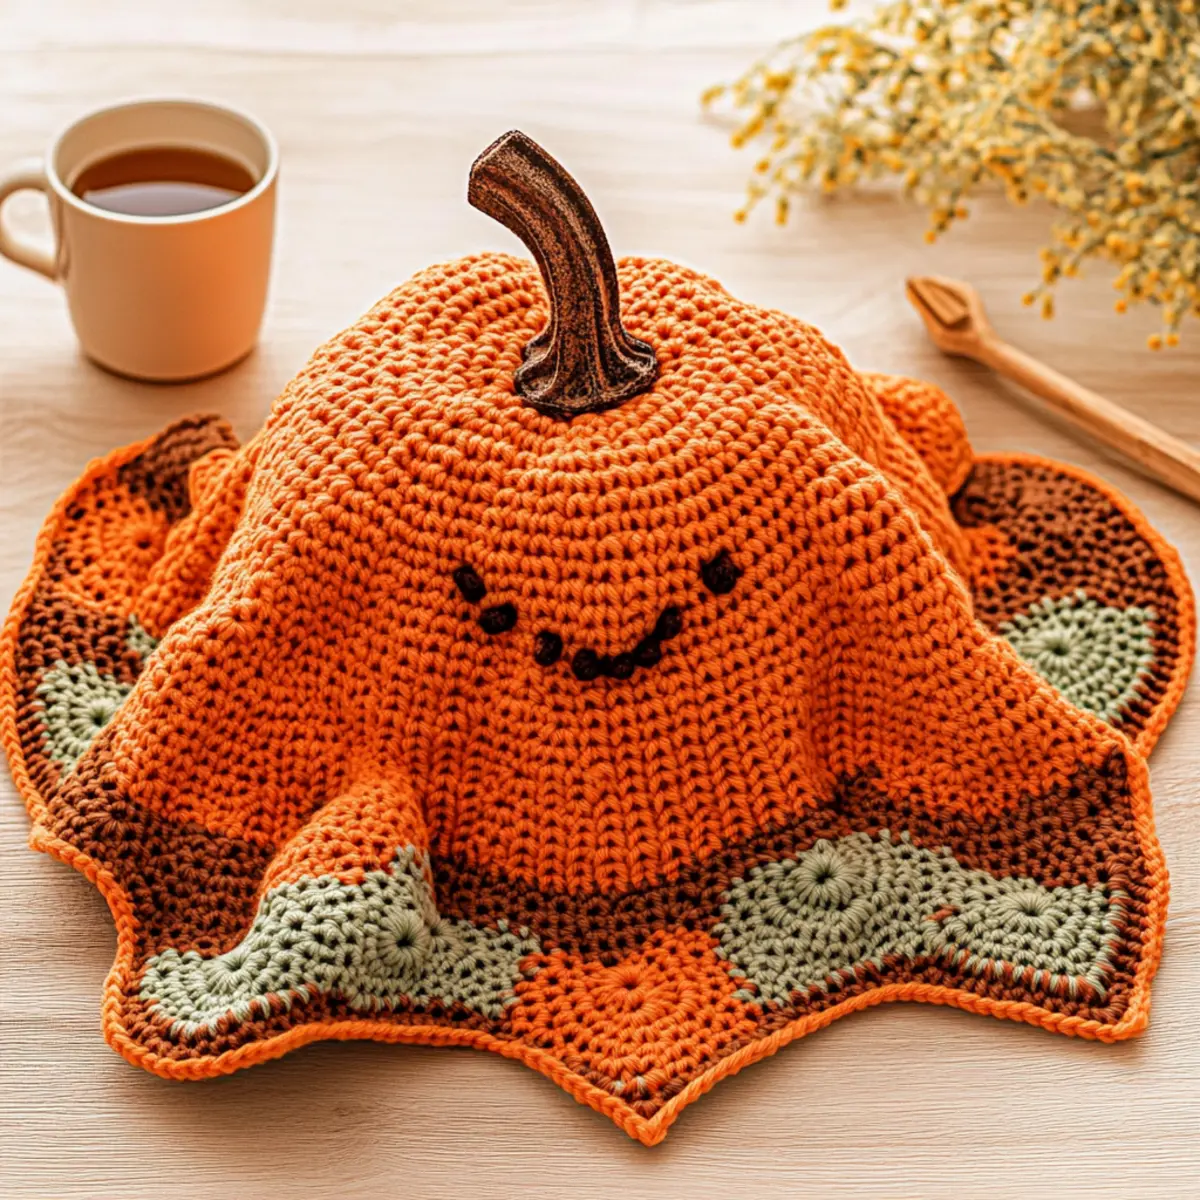
Cozy Pumpkin Lovey Materials & Tools
Create your own adorable pumpkin lovey with these essential materials!
Yarn
• Medium-Weight Acrylic Yarn (Pumpkin Orange) – About 200-250 yards needed for the main body of the pumpkin.
• Warm Brown Yarn – For the pumpkin stem; a small amount will suffice.
• Sage Green Yarn – Use this for the leaf; a small amount is also enough.
• Optional Colors: Rust, Terracotta, or Apricot – Add these for alternative pumpkin designs that suit your nursery theme.
Tools & Notions
• 4 mm (G/6) Hook – Perfect for working on finer details of the lovey.
• 5 mm (H/8) Hook – Ideal for creating the granny squares of the blanket.
• Stitch Markers – Great for keeping your place in the pattern as you crochet.
• Tapestry Needle – Essential for sewing components together and weaving in ends.
• Polyester Fiberfill – Needed for stuffing the pumpkin to give it a plush look and feel.
• Optional Soft Green Yarn – Use this to create a curling vine for an extra touch of whimsy.
Embark on this cozy crafting journey with these carefully selected materials—the perfect companions for your Cozy Pumpkin Lovey!
Why Is This Pattern a Must-Try?
Versatile Design: The Cozy Crochet Pumpkin Lovey offers a blend of playful pumpkin charm and functional blanket comfort, perfect for any nursery setting.
Quick Enjoyment: Designed for advanced beginners, this pattern is beginner-friendly and works up fast, ensuring you can whip up a stunning gift without a time crunch.
DIY Aesthetic: Customize your lovey with unique yarn colors or textures, creating personal items that will wow friends and family at baby showers.
Charming Details: The embroidered facial features and natural curves of the stem and leaf elevate the overall aesthetic, making this lovey an eye-catching decoration.
Stash-Busting Opportunity: Also, with minimal yarn requirements, this project is a great way to use up leftover yarn from your collection. Just imagine the joy of turning scraps into treasured keepsakes!
Gauge & Sizing Notes
Don’t skip the gauge swatch! It’s crucial for the Cozy Crochet Pumpkin Lovey to ensure that your finished piece has the right dimensions and shape. For this project, aim for a gauge of 4 granny clusters and 4 spaces to measure approximately 4×4 inches (10×10 cm). If you wish to adjust the size of the blanket, you can do so by adding or removing granny-square rounds, keeping in mind to maintain multiples of 4 for proper construction. If your tension swatch is smaller than expected, simply try going up a hook size. Remember, getting the gauge right will make your lovey perfect for snuggling!
Step‑by‑Step Pattern for Cozy Crochet Pumpkin Lovey
Round 1: Start the Pumpkin Head
Begin with an adjustable ring, ch 1, work 6 sc into the ring (6 sts). Pull the ring to close tightly and secure with a sl st in the first sc. Your work should now form a small circle.
Round 2: Increase for Shape
Ch 1, inc in each st around (12 sts). Your circle will start to widen, creating the base shape for the pumpkin head.
Round 3: Add Depth
Ch 1, sc in next st, inc in next st repeat around (18 sts). You should see a gradual expansion, forming a dome-like structure for the pumpkin head.
Round 4: Continue Rounding
Ch 1, sc in next 2 sts, inc in next st repeat around (24 sts). The rounded shape is becoming more defined, giving you a beautifully crafted pumpkin.
Round 5: Shaping the Ribs
Ch 1, sc in next 3 sts, inc in next st repeat around (30 sts). The pumpkin head is now noticeably larger, and you’re shaping it to look like a real pumpkin.
Round 6: Final Round
Ch 1, sc in next 4 sts, inc in next st repeat around (36 sts). Your pumpkin should be rounding out nicely, ready for stuffing.
Round 7: Prepare for Stuffing
Ch 1, sc in each st around (36 sts). The final shaping round is giving stability before you move on to stuffing. Ensure your work is smooth.
Finishing the Pumpkin Head: Close the Top
At this point, stuff the pumpkin head lightly with polyester fiberfill. Ch 1, dec in next 5 sts, repeat around until the round is almost closed. Pull the final stitches together and secure, leaving a small opening for the stem.
Round 8: Create the Stem
Attach the brown yarn in the existing hole at the top; ch 1, work 8 sc into the remaining gap (8 sts). This will form a nice, sturdy stem atop your pumpkin.
Step 1: Begin the Granny Square Blanket
With the pumpkin orange, start with a slip knot and ch 5, sl st to form a ring. Ch 3 (counts as first dc), work 2 dc into the ring, ch 2, work 3 dc into the ring, ch 2 repeat (4 times total). Join with a sl st to the top of the ch 3.
Step 2: Expanding the Granny Square
Ch 3, work 2 dc in the first ch 2 space, ch 2, work 3 dc in the next ch 2 space, ch 2 repeat around. Join with a sl st to the beginning ch 3. Your square should be expanding beautifully.
Step 3: Continue Rounds of the Granny Square
Repeat the previous step, increasing the size by adding 3 dc clusters in each ch 2 space as you go. Continue this until your blanket measures approximately 18 inches square.
Step 4: Assemble Pumpkin to Blanket
Once your granny square blanket is complete, position the pumpkin head at the center of the square. Use a tapestry needle to sew the bottom edge of the pumpkin securely to the blanket edges, ensuring it sits snugly.
Step 5: Final Touch with Leaf and Optional Vine
For the leaf, use sage green yarn, and ch 4, then work a hdc in the second ch from the hook, continue with hdc in remaining chains, then turn and work back with sl st to create curve. Attach to the stem. Optionally, create a soft curling vine and attach it near the stem for added detail.
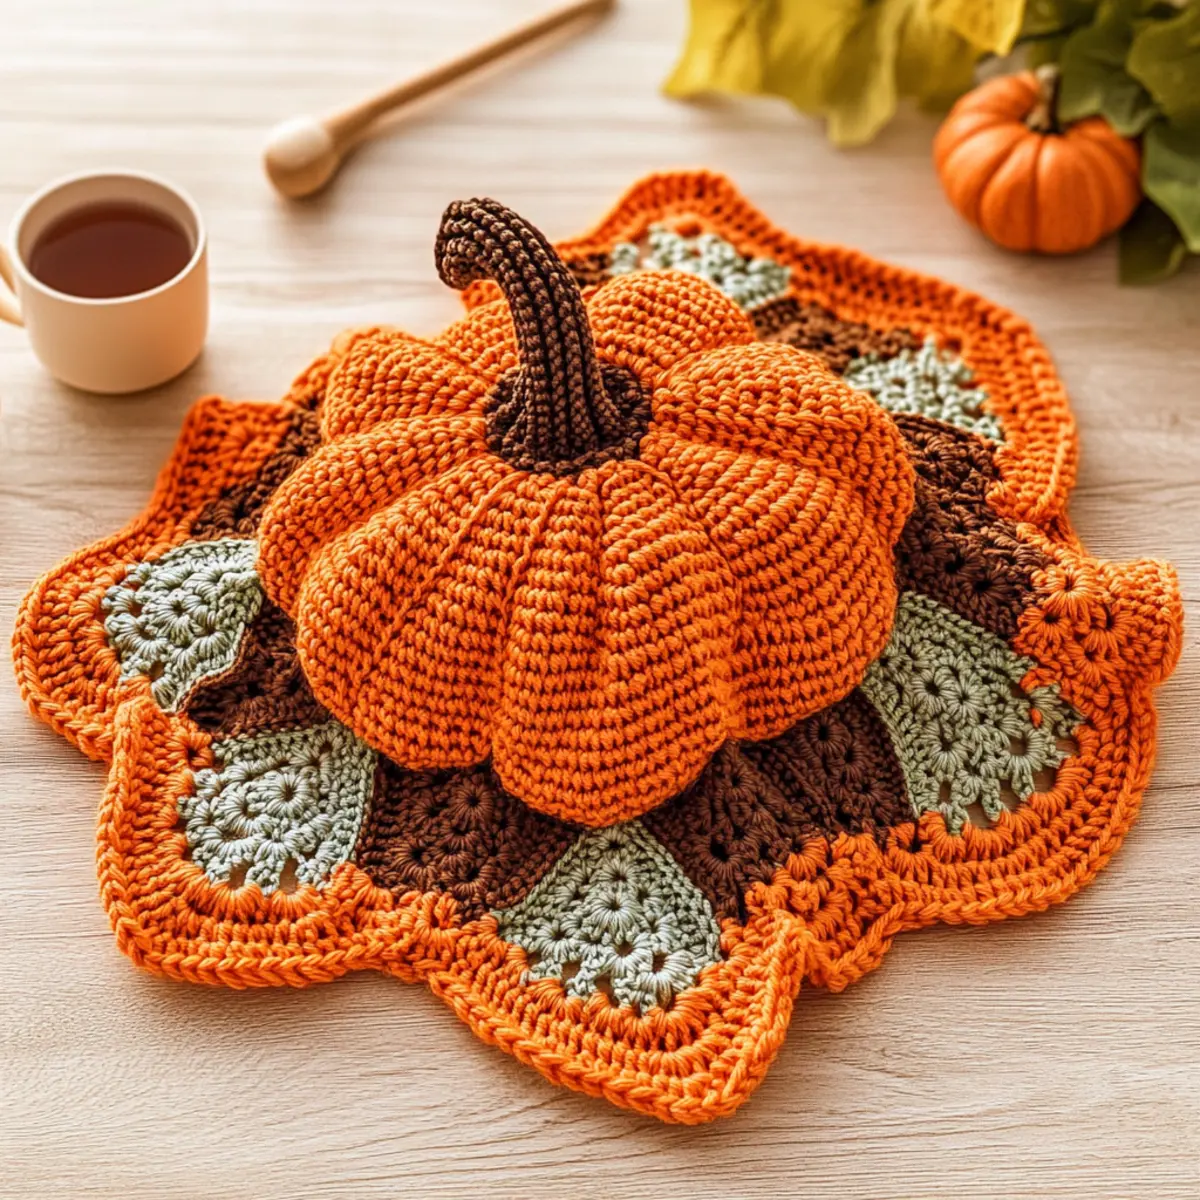
Washing & Care for Your Pumpkin Lovey
-
Hand Washing: The best way to maintain the softness of your Cozy Crochet Pumpkin Lovey is with a gentle hand wash in cold water. This prevents any mishaps that could affect its shape.
-
Machine Washing: If you prefer machine washing, place the lovey in a mesh bag and set the machine on a gentle cycle. Be kind to your pumpkin’s structure by avoiding high heat.
-
Drying & Blocking: Lay the lovey flat on a clean, dry towel to air dry. This preserves the pumpkin shape and softness while preventing any distortion during drying.
-
Storage: When not in use, store the lovey flat or loosely folded in a cool, dry place. This helps avoid creases and ensures your treasured piece remains in excellent condition for years to come.
Cozy Pumpkin Lovey Variations
Feel free to add your own special touch to this crochet pattern and create something uniquely yours!
-
Yarn Textures: Experiment with different yarn fibers like cotton for a soft, breathable lovey or bamboo for a luxurious feel.
-
Color Alternatives: Swap out pumpkin orange for shades like rust or terracotta to match various autumn themes. Each color creates a different aesthetic that will delight little ones.
-
Seasonal Colors: Craft multiple loveys by using shades like pastel pink or mint green for a spring version, making it a versatile year-round gift.
-
Size Adjustments: Adjust the blanket size by adding or removing granny-square rounds, tailoring it perfectly for the infant’s growing needs. This allows the lovey to evolve as they do!
-
Texture Additions: Enhance the lovey with charming touches like a fluffy pom-pom on top or a fringe along the edges for an added layer of tactile fun.
-
Embroidered Features: Get creative with the pumpkin’s personality by adding different embroidered facial expressions, allowing each lovey to tell its own story.
-
Border Options: Finish the blanket with a crab stitch or lace border for a polished look, giving it that final handcrafted touch that elevates the overall design.
-
Curling Vines: For an extra whimsical touch, crochet curling vines using a soft green yarn. This detail adds a delightful element that captures the essence of a playful autumn harvest.
Adding these variations will not only enrich your crochet experience but also make each Pumpkin Lovey a cherished keepsake for its tiny recipient. And if you’re looking for more inspiration or patterns, check out these creative crochet ideas. Let your creativity run wild and enjoy every stitch!
Expert Tips for the Cozy Pumpkin Lovey
-
Tension Control: Ensure you crochet tightly enough on the pumpkin head; otherwise, the stuffing may peek through, reducing the lovey’s charm.
-
Stitch Counting: Regularly count your stitches, especially at the start of each round, to keep the correct shape and avoid any unwelcome surprises in your design.
-
Finishing Touches: Use a yarn needle to seamlessly weave in ends. This not only enhances the lovey’s appearance but also prevents unraveling, ensuring a long-lasting security blanket.
-
Gentle Washing: Always hand wash the lovey with care. If machine washing, a mesh bag on a gentle cycle will help maintain the pumpkin’s shape while preserving its softness.
-
Join Techniques: Master the invisible decrease method for a smooth finish on your pumpkin head, giving it that professional touch while keeping little ones safe from small parts.
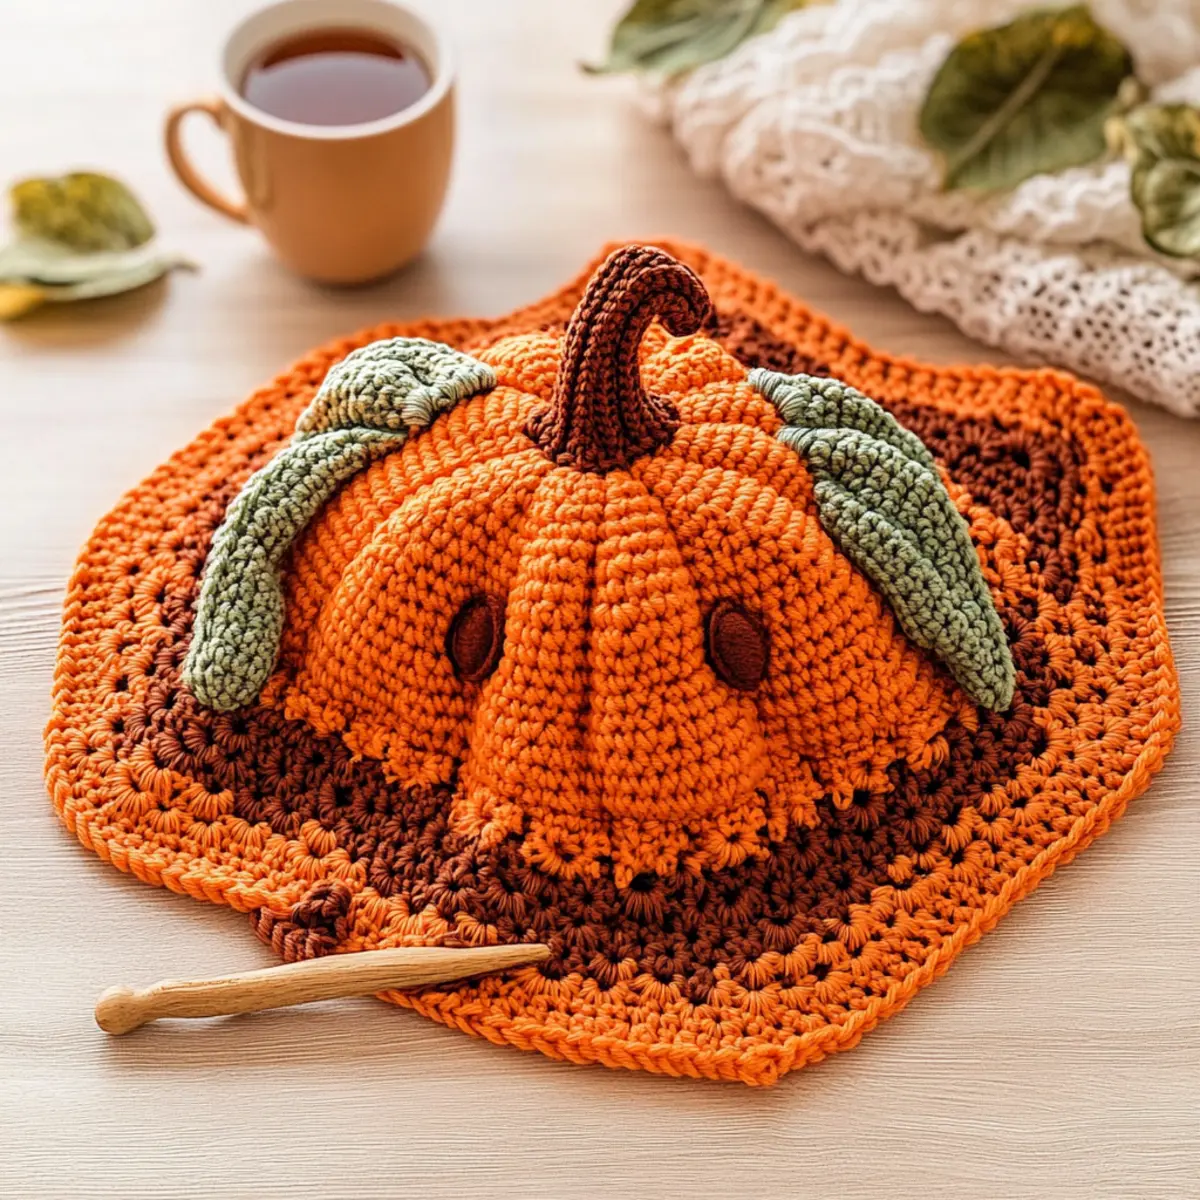
Cozy Crochet Pumpkin Lovey FAQs
Can I use different yarn weights for this project?
Absolutely! While this pattern calls for medium-weight (worsted) acrylic yarn, you can use lighter or heavier yarns. Just keep in mind that this may alter the size of your finished lovey. For example, if you choose bulky yarn, your lovey will be larger and will use more yardage, so adjust accordingly.
How can I make the blanket bigger or smaller?
To adjust the size, simply modify the number of granny-square rounds you create. For a larger blanket, add additional rounds by crocheting in clusters. Just remember, each granny cluster should be the same size to maintain uniformity—chain in multiples of 3 and add 1 for your starting chains for the width.
Why is my pumpkin head curling or buckling?
Don’t panic! A common reason for curling could be crocheting too loosely or not using enough stitches in each round. Make sure your tension is tight enough, and try using a larger hook if necessary. If your pumpkin looks like it’s buckling like a bowl, ensure you’re providing consistent tension and double-check your stitch count.
What hook sizes should I use for this project?
This pattern recommends using both a 4 mm (G/6) and a 5 mm (H/8) hook. The G hook is great for creating the granny squares, while the H hook helps achieve a smooth finish on the pumpkin. You might want to check your gauge with each hook to ensure every part of your lovey turns out perfectly.
How do I fix dropped stitches in my work?
It’s an easy fix! If you discover a dropped stitch, carefully use a yarn needle to weave it back into the correct place, ensuring it’s secure. Alternatively, if the stitch is too far down, you can frog the last few stitches and re-crochet them correctly. Always keep an eye on your stitches to avoid this issue as you go along!
Can I personalize my lovey with different colors?
Absolutely! Don’t hesitate to explore color options for the pumpkin and the blanket. You could create a warm-toned pumpkin using rust, terracotta, or apricot yarn, while the granny squares can be a mix of seasonal hues. Tailor the colors to match the nursery’s theme or the recipient’s personality for a truly unique gift!
Leave a Reply