
Suddenly, I found myself with a burst of creativity, thinking about how nature’s beauty could be captured in yarn. Enter the elegant Crochet Lily Flower, an intermediate-level pattern that effortlessly transforms into a stunning floral masterpiece. With lifelike petals and vibrant leaves, this design not only showcases your crochet skills but also serves as the perfect centerpiece for any table or a heartfelt gift. Best of all, this pattern easily accommodates your color choices, letting you craft unique variations that reflect your personal style. Plus, the detailed assembly instructions ensure that every stitch will lead to a gorgeous finish. Ready to embrace your inner floral artist and bring a touch of nature indoors? Let’s dive into the artistry of crochet and create something truly special together!
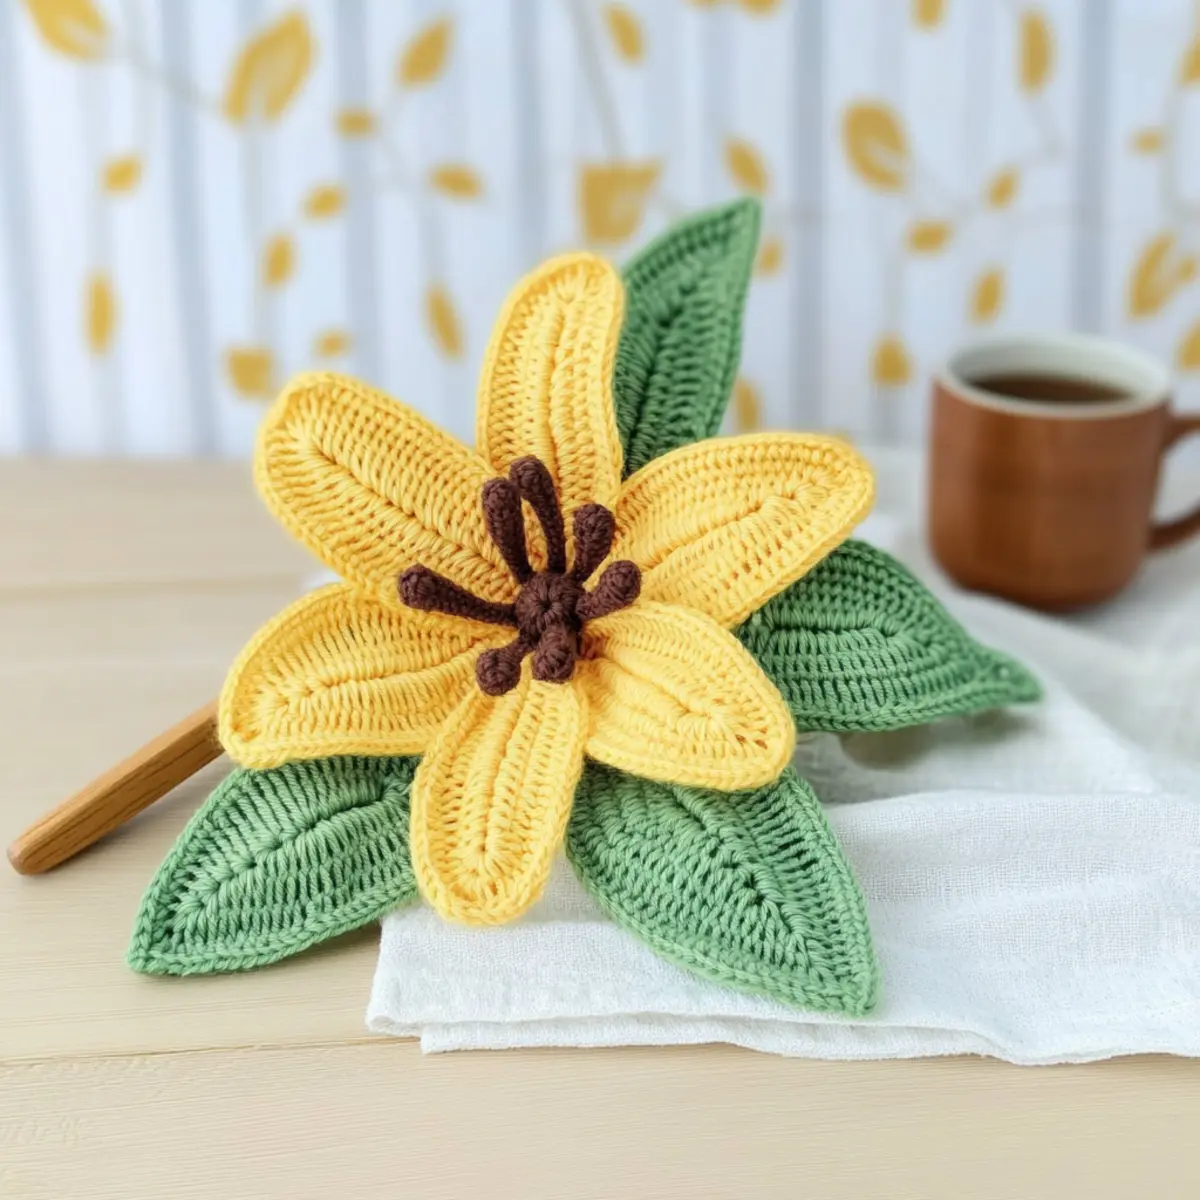
Crochet Lily Flower Materials & Tools
Yarn
• Loopara 4-ply Milk Cotton Yarn – You’ll need Green 13, Green 18, Yellow 42, and Brown 87 to create a vibrant lily.
Tools & Notions
• 2.0mm (US size B) Crochet Hook – Perfect for achieving the delicate stitches needed for your lily flower.
• Flower Stem (30 cm, No. 2) – Provides a sturdy base for your beautiful bloom.
• Iron Wire (0.5mm & 0.8mm) – Essential for giving your petals and leaves structure while remaining discreet in your stitches.
• Needle-nose Pliers – Helpful for bending and cutting wire to shape your flower components.
• Hot Melt Adhesive – Ideal for securing the assembly and ensuring everything stays in place.
• Sewing Needle – Use for stitching and finishing touches in your floral creation.
• Stitch Marker – Keep track of your rounds with ease as you create this lovely piece.
• Scissors – A must-have for trimming any excess yarn or wire.
• Cotton Stuffing – Adds a touch of softness and fullness to your flower, making it lifelike.
Why You’ll Love This Crochet Lily
Elegance at Your Fingertips: This pattern beautifully captures the essence of nature, allowing you to create realistic lily flowers that amaze everyone who sees them.
Versatile Colors: With customizable shades, you can experiment to create a bouquet that reflects your personal flair or different lily species.
Detailed Assembly: The thorough instructions guide you step-by-step, making even the assembly of complex flower components approachable and enjoyable.
Showcase Your Skills: By working on this intermediate-level project, you’ll refine your techniques while crafting stunning decor that speaks to your creativity.
Perfect for Gifting: These gorgeous lilies make heartfelt gifts, ideal for any occasion—just think of the joy they’ll bring to a loved one!
Get started with this delightful DIY project and join the community of makers who love all things crochet!
Gauge & Sizing Notes
Don’t skip the gauge swatch! Ensuring the correct tension is crucial for achieving the beautiful proportions of your Crochet Lily Flower. A standard gauge measurement for this project is a 4×4 inch (10×10 cm) square, which should contain 14 double crochets by 8 rows. If you’d like to make your lily flower larger or smaller, simply adjust your starting chain accordingly—increase or decrease your chain in multiples of 6 for the petals and buds. If your swatch is too small, don’t worry—try going up a hook size to achieve that perfect fit. Happy crafting!
Step‑by‑Step Pattern for Elegant Crochet Lily Flower
Round 1: Create the Petal Base
Chain 25 to form a foundation. In the 4th chain from the hook, work (1 dc, 3 dc) into the same chain, then (skip 1 chain, sl st to the next chain) to creating a petal shape. Repeat this pattern until you have six petals, working into the chain spaces and ensuring your petals form a slightly ruffled shape (6 petals).
Round 2: Wire Insertion for Structure
In this round, crochet (2 hdc, inc) into the first petal space, continuing around each petal, increasing as needed to maintain the ruffle. As you go, gently insert the wire into each petal while crocheting to keep them structured yet soft. This will give your petals a lifelike flutter (12 hdc).
Round 3: Forming the Flower Buds
For the three flower buds, chain 20. In the 3rd chain from the hook, work (1 hdc, 1 dc, 1 inc) in the first chain, and then continue to hdc and dc in subsequent chains; always increasing at the end to taper the bud shape. Gently incorporate wire into the structure as you work, giving stability to the buds (3 buds).
Round 4: Shaping the Small Leaves
Chain 30 for the small leaves. Starting from the 3rd chain from the hook, crochet (1 dc, 1 hdc, 1 sc) into the first chain, then (1 sc, 1 hdc, 1 dc) back into the same chain, creating a leaf shape. Ensure to add wire within to support the leaf form and maintain a slight curve (2 small leaves).
Round 5: Creating the Large Leaves
Similar to the small leaves, chain 40 for the large leaves. Work (1 dc, 2 hdc, 1 sc) into the initial chain, and reverse for shaping similar to the small ones, but with more rows to form a fuller leaf. Secure the wire inside and allow them to bend elegantly (2 large leaves).
Step 6: Assemble Components
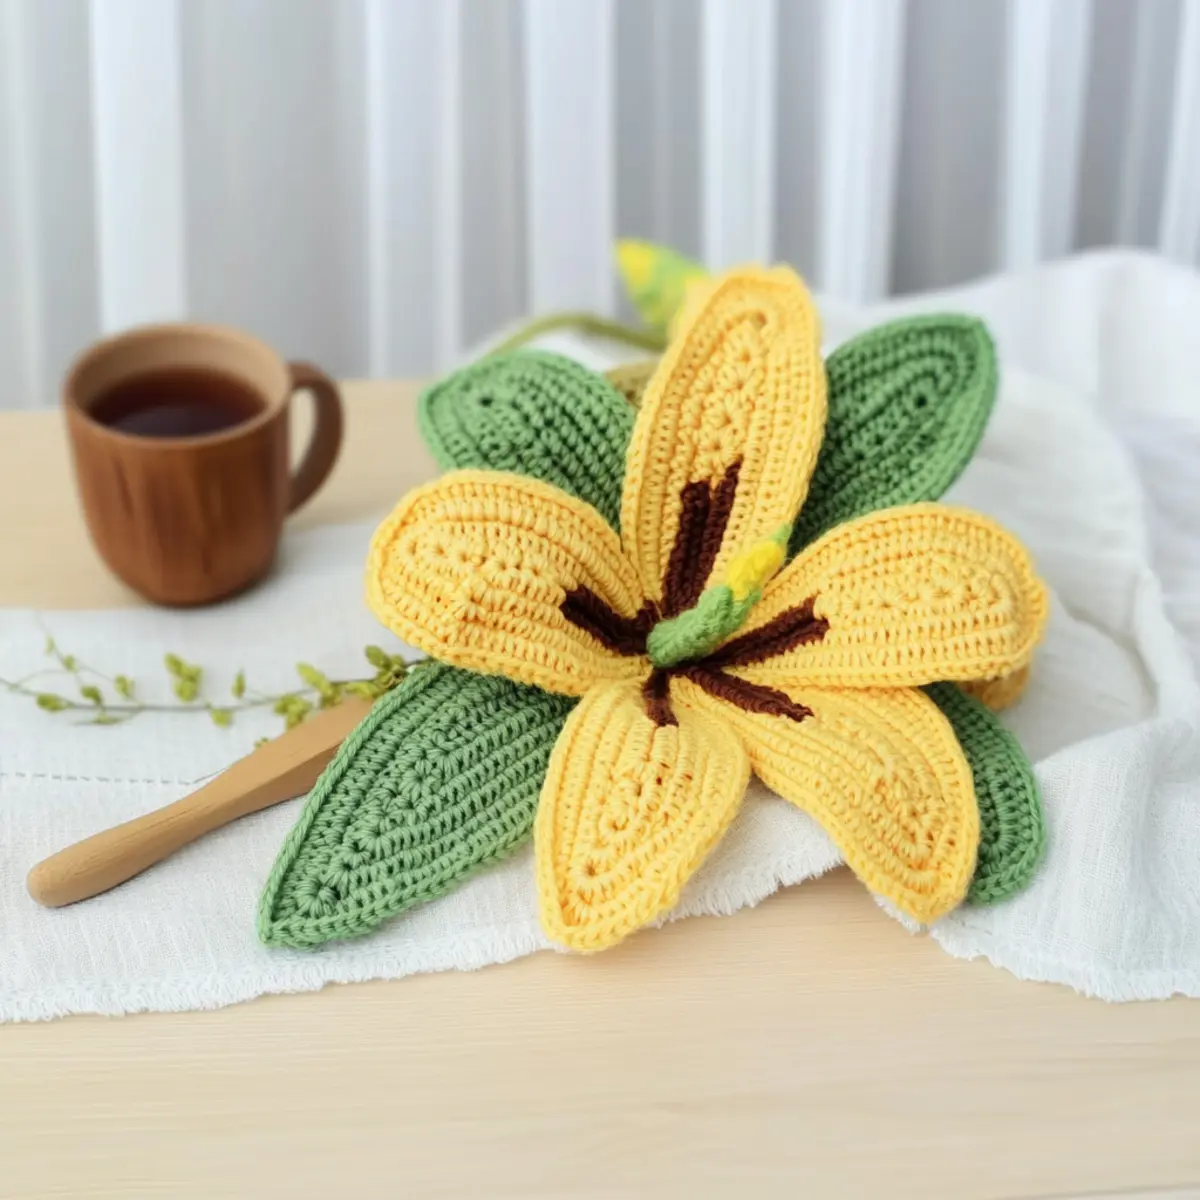
Start assembling your crochet lily by stitching the six petals together at the base using a yarn needle. Next, attach the flower buds to the center of the petals. Finally, sew the small and large leaves at the base of the flower, wrapping the flower with additional wire securely to bind everything, creating your stunning elegant lily (completed floral arrangement).
Washing & Care for Your Crochet Lily
-
Hand Washing: Use cold water and a gentle detergent to hand wash your crochet lily. Avoid excessive agitation to keep the delicate petals intact and prevent any felting or pilling.
-
Drying/Blocking: Lay your finished piece flat on a clean, dry towel to maintain its shape while drying. Avoid hanging, as this may distort the beautiful form of your flower.
-
Storage: When not in use, store your crochet lily in a cool, dry place away from direct sunlight to prevent color fading and ensure it remains as vibrant as the day you crafted it.
-
Avoiding Damage: Keep your lily away from sharp objects and heavy items that may crush its delicate petals, preserving the beauty of your handcrafted floral creation.
Expert Tips for Your Crochet Lily
-
Consistent Tension: Maintain even tension throughout your project to ensure your lily parts fit together beautifully and are visually cohesive.
-
Count Your Stitches: Regularly count your stitches, especially when transitioning between rounds, to prevent shaping errors and keep the floral design intact.
-
Hide the Wire: When using wire for structure, make sure it remains concealed within your stitches to maintain the natural appearance of your crochet lily.
-
Secure Your Finish: Use a sewing needle to weave in the ends securely, preventing unraveling and enhancing the overall durability of your finished piece.
-
Practice Assembly: Before final assembly, lay out all components to visualize your design, ensuring that petal placement enhances the beauty of your finished lily.
Crochet Lily Variations & Substitutions
Embrace your creativity and let your crochet lily blossom with these fun customization ideas!
-
Yarn Weight Swap: Choose a lighter or heavier yarn to adjust the size and texture, creating a unique look for your lily.
-
Fiber Alternatives: Consider using cotton for a more breathable feel or opt for acrylic for a vibrant color retention in your blooms.
-
Color-Block Creatively: Experiment with color-blocking techniques by combining contrasting shades for petals and leaves, giving your lily a playful twist.
-
Size Adjustments: Increase or decrease the number of chains in your initial rounds to create larger or smaller flowers, perfect for any arrangement.
-
Textural Twists: Add texture with small embellishments like a pom-pom on the flower bud or a border around the leaves to enhance their beauty.
-
Bouquet Assembly: Craft a stunning bouquet by making a cluster of different-sized lilies. This combination not only creates depth but also showcases your color choices beautifully.
Have fun exploring these variations! For more insights, check out our yarn weight guide for perfecting your swaps, or explore our tips on color combinations that could elevate your floral design. The creative possibilities are endless!
Elegant Crochet Lily Flower FAQs
Can I substitute the yarn with something else?
Absolutely! While I recommend Loopara 4-ply Milk Cotton Yarn for its softness and durability, you can opt for other yarn types like cotton blends or acrylic, keeping in mind that the finished look and drape may vary. Just ensure to check your gauge to maintain the intended size.
How can I make my crochet lily bigger or smaller?
To adjust the size, you can either increase the number of chains at the start (e.g., chain in multiples of 5) for a larger lily or decrease them accordingly for a smaller version. Don’t forget that you’ll need to adjust the stitch count and possibly increase the wire length used in your flower buds and leaves for structural support!
Why is my lily flower curling up?
Don’t panic! If your flower is curling like a bowl, it’s often due to inconsistent tension or skipping stitches. Ensure you’re counting your stitches accurately and maintaining even tension throughout. You can also block your finished pieces to help them lay flat.
What size crochet hook should I use?
For this project, I suggest using a 2.0mm (US size B) crochet hook, which provides the right tension for the delicate stitchwork. However, if your hook is too tight or loose for your yarn, feel free to switch it up to a size that allows you to maintain a consistent gauge.
How do I fix dropped stitches in my crochet?
It’s an easy fix! Simply use a yarn needle or crochet hook to pick up the dropped stitch and pull it back through the previous row. Make sure to carefully anchor it in place, so the stitch remains secure, and keep an eye on your tension to prevent it from happening again.
Can I use other colors for the lily petals?
Absolutely! This project is all about personalization. Feel free to experiment with different color combinations that mimic various lily species, allowing your creativity to shine through. Don’t hesitate to use bold tones for a striking bouquet or softer hues for a more subdued look!
Leave a Reply