
As I nestled into my comfy corner, I couldn’t help but feel the yarn’s delightful squish beneath my fingers. That’s when I stumbled upon the inspiration for this adorable beginner-friendly crochet baby hat with ears! Using super bulky yarn, this project is not just quick to create, but also bursting with personality—perfect for gifting at baby showers or capturing those first precious photos. With sizes accommodating tiny newborns to bustling toddlers, you’ll find this pattern wonderfully versatile. Get ready to whip up something cozy and charming that can be treasured for years to come! Let’s dive in and get those stitches flowing!
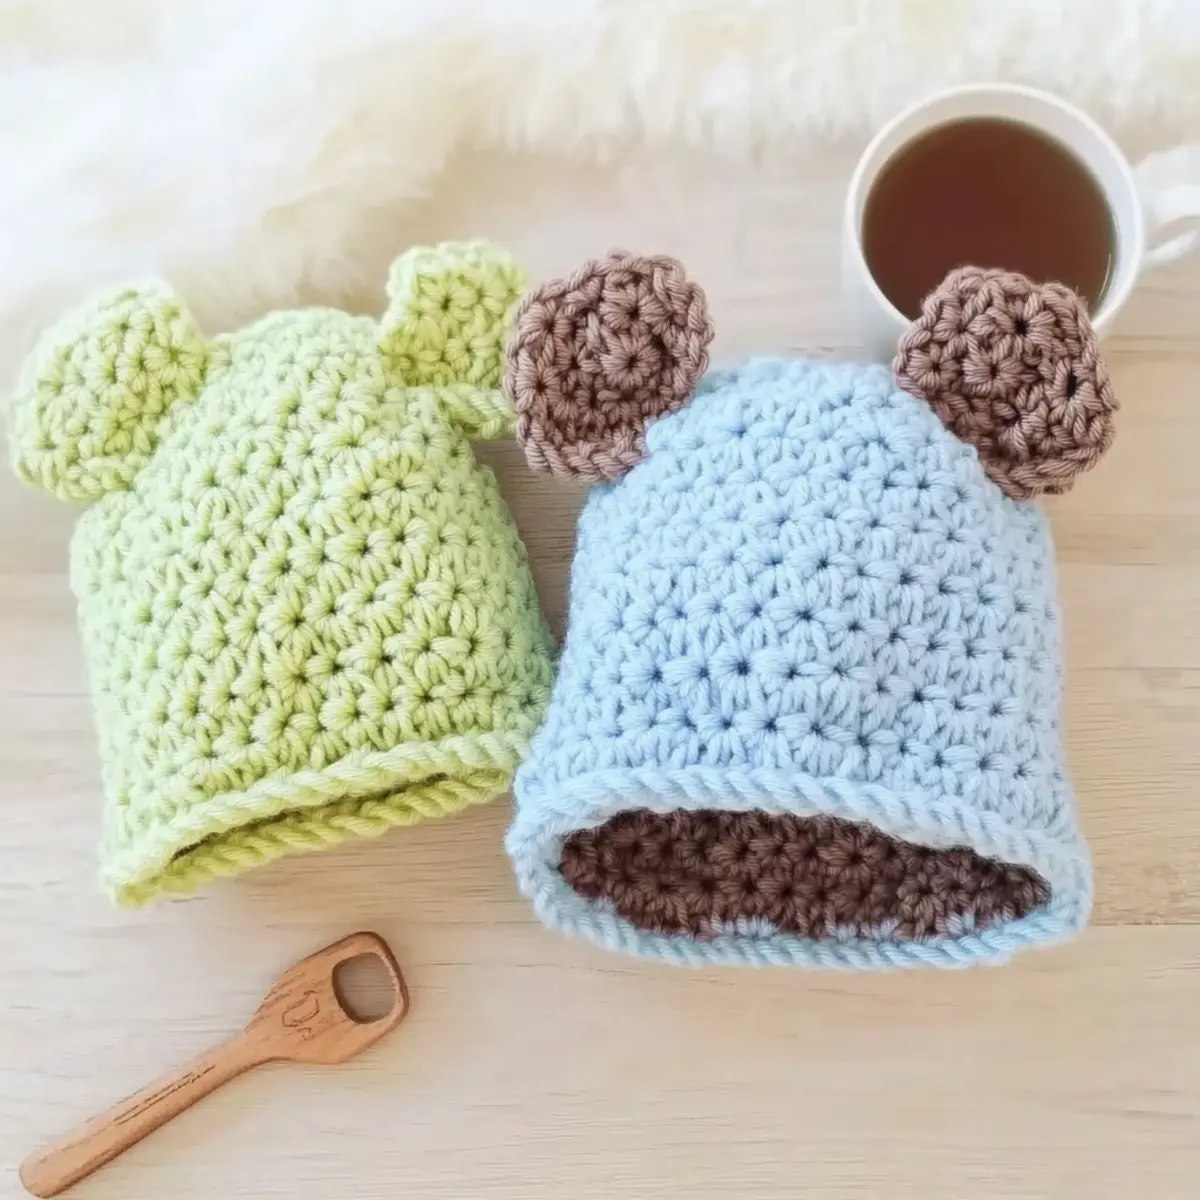
Cozy Eared Crochet Baby Hat Materials & Tools
-
Yarn
• Bernat Baby Blanket Yarn – You’ll need 30 to 45 yards of this super bulky (size 6) yarn in any color you adore, like Lemon Lime or Baby Sand. -
Hook
• Size N/P (10 mm) Crochet Hook – This size is perfect for creating a soft and squishy fabric that drapes beautifully. -
Notions
• Tapestry Needle – Essential for weaving in those pesky ends and giving your project a polished finish.
• Optional Smaller Hook – Use a smaller hook for any finishing touches if desired.
Dive into crafting your cozy eared crochet baby hat, perfect for showing off that beginner-friendly spirit!
Why Will You Adore This Baby Hat?
Beginner-Friendly: No need to worry if you’re new to crochet; this pattern uses simple stitches and techniques that are easy to follow and grasp while you practice your skills.
Quick Project: With super bulky yarn, this hat zips up in no time, allowing you to create beautiful gifts without a lengthy commitment. Perfect for last-minute baby shower surprises!
Adorable Ears: The charming ear design adds personality and cuteness, making this hat not only useful but also a delightful accessory for any little one.
Endless Customization: Experiment with colors, from bright fun hues to soft pastels, and play with stripes for a unique touch. This pattern opens doors for your creative expression!
Cozy Comfort: The dense fabric ensures warmth and softness, ensuring every baby will feel snuggly and secure while wearing it. A perfect companion for chilly days or stylish photos!
Dive into the world of crochet with this lovely project, and remember, for more tips and tricks, check out our guide on beginner-friendly crochet techniques to enhance your skills!
Gauge & Sizing Notes
Don’t skip the gauge swatch! Checking your tension is crucial for ensuring that your cozy eared crochet baby hat fits beautifully. For this project, your gauge should measure 4×4 inches (10×10 cm) and consist of about 14 single crochets and 8 rows. If you find that your swatch is too small, it’s a great idea to go up a hook size, as this can help you achieve the perfect fit. To customize the size of your hat, adjust your starting chain in multiples of 6, adding more stitches for a larger size or less for a smaller one. Happy crocheting!
Step‑by‑Step Pattern for Cozy Eared Crochet Baby Hat
Round 1: Starting the Crown
Begin with a magic ring or chain 4 and join to form a circle. Inside the ring, work 8 single crochets (sc). Pull the tail of the ring to close it securely. Your work should form a small circle; this is the foundation for the cozy eared crochet baby hat. (8 sts)
Round 2: Increasing the Diameter
For Round 2, chain 1, then work 2 sc in each stitch around. This doubling will give your hat the necessary width. As you make the rounds, be sure to maintain a loose tension to ensure the hat drapes nicely. Your circle should grow larger and rounder. (16 sts)
Round 3: Continuing to Expand
In Round 3, chain 1, then work 1 sc in the first stitch, 2 sc in the next stitch and repeat around. This pattern of increasing will help create a rounded shape suitable for a baby head. Take a moment to admire how your cozy eared crochet baby hat is forming! (24 sts)
Round 4: Adjusting for Size
For Round 4, chain 1, and crochet 1 sc in the first two stitches, 2 sc in the next stitch all around. Continue to maintain your gauge and double-check your stitch count. By now, your hat should feel plush and thicker, preparing for the next rounds. (32 sts)
Rounds 5-7: Building the Body
For Rounds 5 through 7, continue repeating the previous round’s pattern, increasing by one extra single crochet before each increase. This will allow you to increase your hat’s height, ensuring it fits your little one’s head snugly. Your cozy eared crochet baby hat will start reaching the desired height of around 4.5 to 6 inches. (40 sts after Round 5, 48 sts after Round 6, 56 sts after Round 7)
Step 8: Shaping the Ears
To create the adorable ears, switch to the front loops only (FLO) of the last round. Chain 1, then work 4 hdc in the same stitch, skip 2 stitches, sl st in the next stitch. Repeat for the other ear. Your cozy baby hat will transform wonderfully with these cute details!
Step 9: Finishing Touches
Finally, cut your yarn, leaving a long tail. Weave in the ends securely with a tapestry needle. Flatten the top of your hat and adjust the ears as needed. Your cozy eared crochet baby hat is now ready to keep little ones warm and stylish!
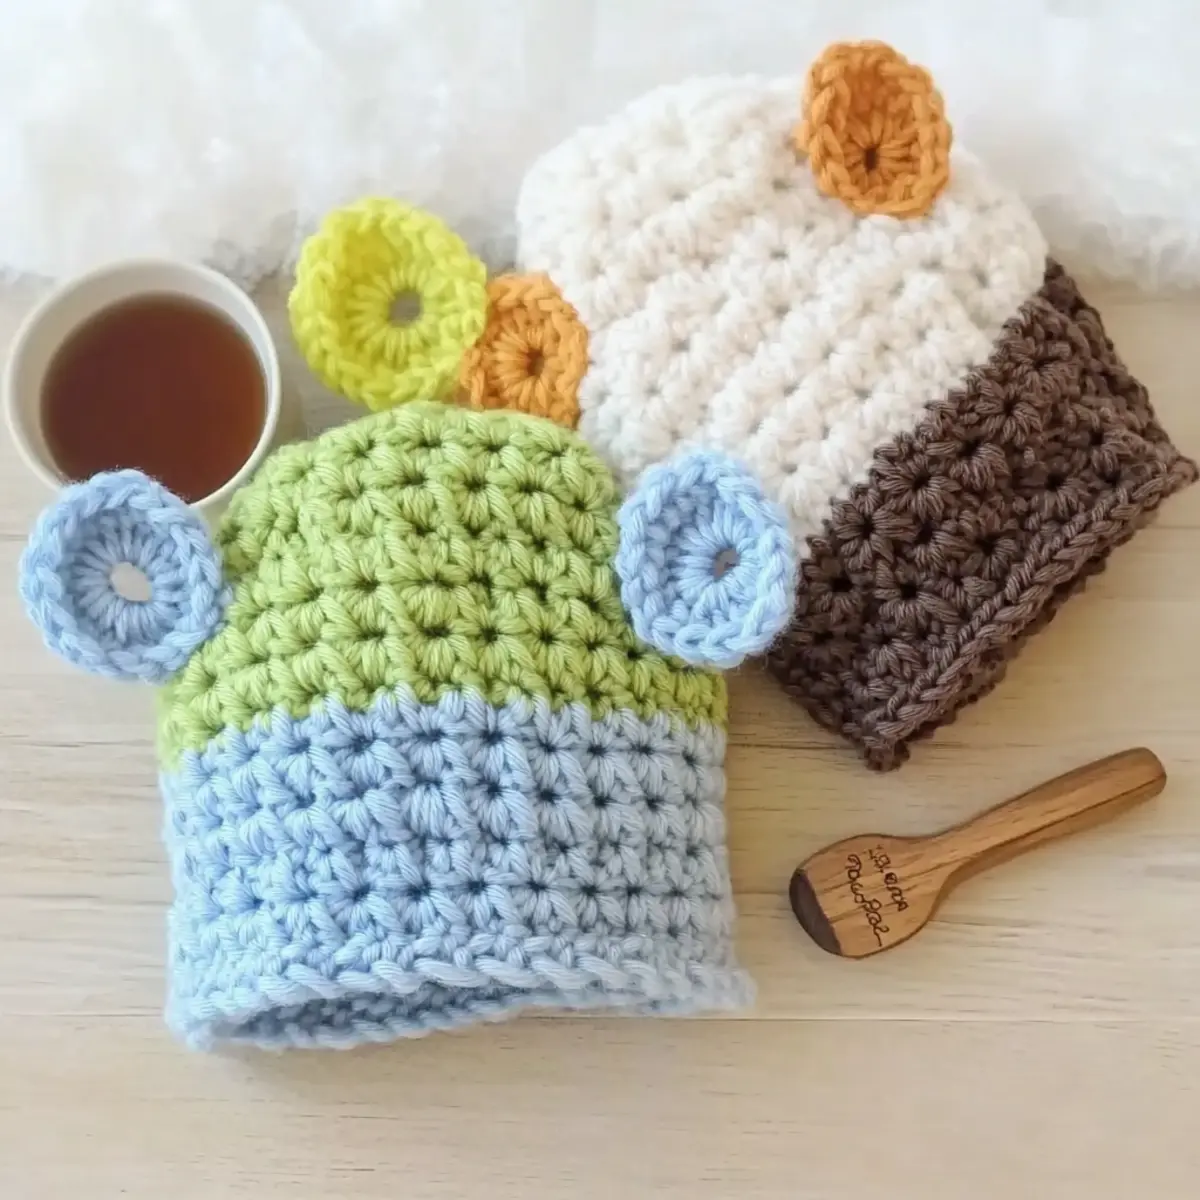
Care Instructions for Cozy Eared Crochet Baby Hat
-
Hand Washing: Gently hand wash your cozy eared crochet baby hat in cold water with mild detergent to protect the integrity of the super bulky yarn.
-
Avoid Agitation: Do not wring or agitate the hat, as this can cause felting and pilling. Instead, let it soak for a few minutes before rinsing.
-
Drying: Lay the hat flat on a clean towel to dry, reshaping it as needed. Avoid hanging to prevent stretching.
-
Storage: To keep your hat in pristine condition, store it in a cool, dry place away from direct sunlight, ensuring it remains free from wrinkles and damage.
Expert Tips for Crochet Baby Hat
-
Count Stitches: Regularly count your stitches at the end of each round to maintain an even shape and avoid extra sizing adjustments later.
-
Secure Magic Ring: When using a magic ring, ensure that you weave in the tail securely. This prevents the ring from unraveling and keeps your project intact.
-
Check Tension: If you find your stitches are too tight, loosen your grip on the yarn. A comfortable tension allows for a better fit and more enjoyable crocheting experience.
-
Mark Your Rounds: Use a stitch marker to indicate the beginning of each round. This helps keep track of your progress and prevents any accidental miscounts.
-
Finishing Touches: After completing your hat, take time to weave in all loose ends with a tapestry needle. A neat finish enhances the overall appearance of your adorable crochet hat!
Crochet Baby Hat Variations & Substitutions
Feel free to sprinkle your unique personality into this crochet pattern and make it your own!
-
Yarn Weight Swaps: Try using a lighter weight yarn for a breezy summer hat. Just remember to adjust your hook size accordingly.
-
Fiber Alternatives: Substitute the Bernat Baby Blanket yarn with cotton yarn for a breathable option, perfect for warmer weather wear.
-
Color Block: Create a stunning two-tone effect by changing yarn colors every few rounds. This playful twist adds vibrancy for your little one’s wardrobe!
-
Custom Sizes: Explore size adjustments by adding or removing rounds. The beauty of crochet allows you to tailor the hat to provide the perfect fit!
-
Texture Additions: Consider adding a pom-pom or playful fringe at the top for an extra adorable touch. A simple switch can elevate the entire look!
-
Border Finishing: For a polished finish, crochet a contrasting border along the bottom edge. This small detail can make a significant impact on the overall aesthetic.
-
Knitwear Fusion: If you’re feeling adventurous, blend crochet with knitting patterns. Combining techniques can yield unique textures and visual effects.
-
Seasonal Themes: Change yarn colors to match seasonal themes or holidays. Spoil a little one with a festive hat for their first Halloween or Christmas!
Dive into the possibilities, don’t forget to check out our guide on crocheting with different fibers for more creative insights, and enjoy the magic of crafting!
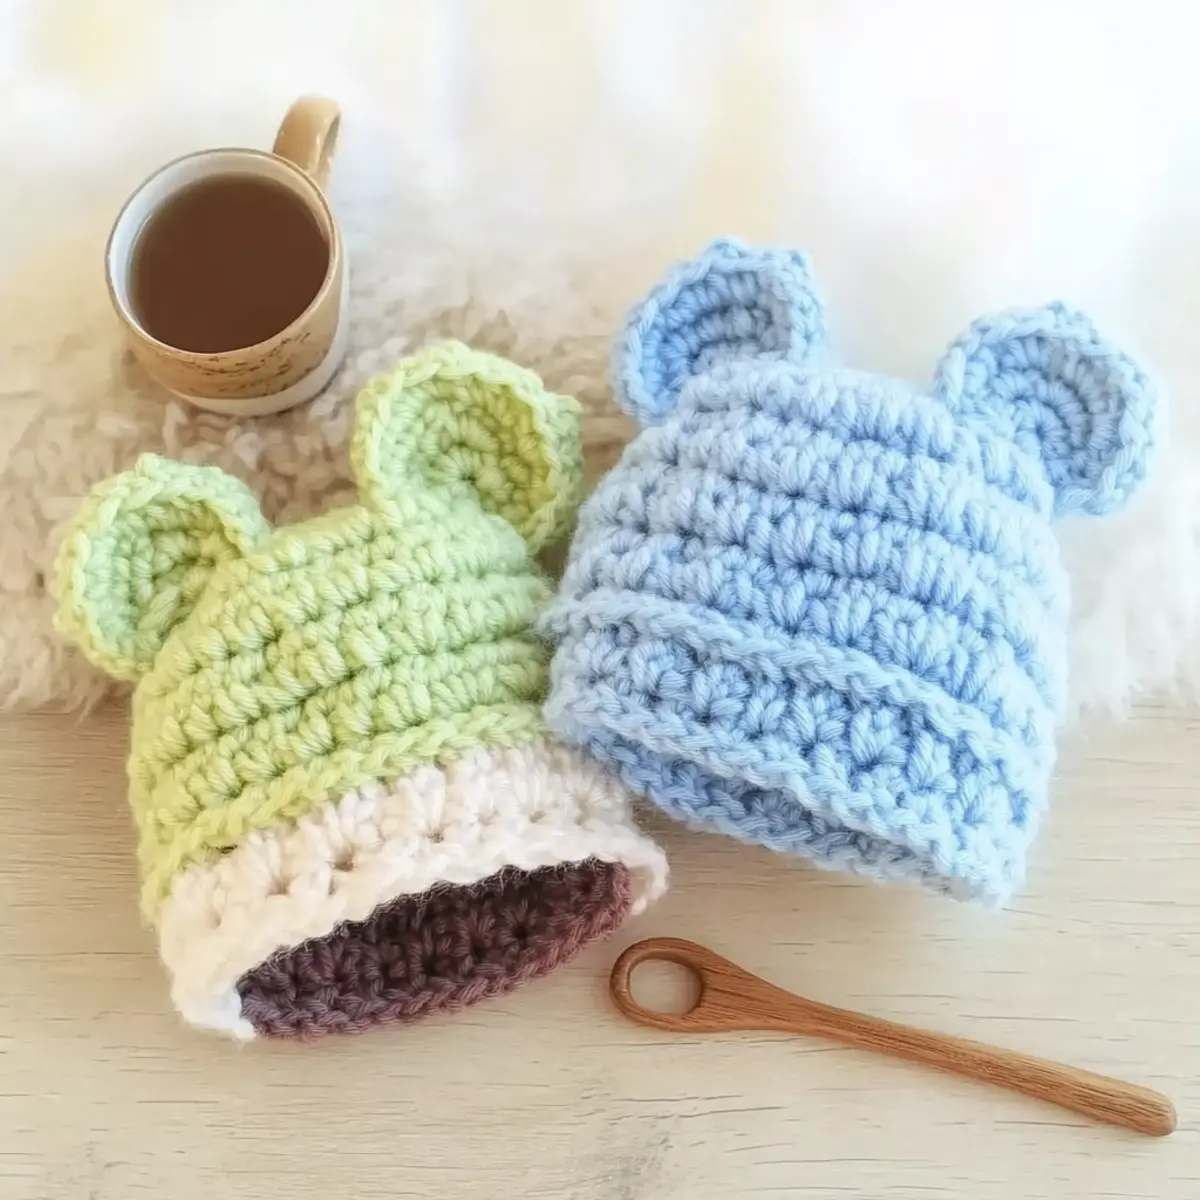
Cozy Eared Crochet Baby Hat FAQs
Can I substitute a different yarn for the Bernat Baby Blanket yarn?
Absolutely! While Bernat Baby Blanket yarn is super bulky, you can use another chunky yarn as a substitute. Just ensure you check the yarn weight; for a similar thickness, look for any size 6 yarn that matches your desired softness and color.
How do I adjust the size of the baby hat?
To customize the size, you can add or reduce the number of rounds for a larger or smaller fit. Remember, for bigger sizes, you could also increase the number of single crochets in each round. A good rule of thumb is to maintain the stitch increase pattern proportionate to the size adjustments.
Why is my crochet baby hat curling at the edges?
Don’t panic! Curling often happens when your tension is too tight or if the stitches are not uniform. To fix it, try working a few rounds with a looser grip or perhaps switch to a larger hook size. You can also add a few rounds of single crochet as a border to help it lay flat.
What size hook should I use for this pattern?
For this adorable baby hat, I recommend using a size N/P (10 mm) crochet hook. This size works best with super bulky yarn, creating that lovely dense and squishy fabric we all adore.
How do I fix a dropped stitch in the crochet baby hat?
It’s an easy fix! Simply locate the dropped stitch and use your crochet hook to pull it back up through the last completed row. If it’s causing a loose area, you can also crochet a stitch into the row below to secure it.
How can I ensure my finished baby hat is the right size?
To ensure accuracy, I recommend checking your gauge before starting. Crocheting a small swatch of the first few rounds (about 4.5 inches) will help you compare against the sizing information and adjust your tension or hook size accordingly if needed.
Leave a Reply