
As I sat surrounded by my growing yarn stash, the thought struck me: I needed a new statement piece for my wall. Enter the Crochet Wallflower, a delightful home decor project that effortlessly infuses charm and whimsy into any space. This beginner-friendly pattern not only works up quickly, but it also invites your creativity to bloom through color choices and size adjustments. Imagine adorning your craft room or gifting a handmade treasure to a friend—the vibrant petals will surely brighten any corner! Ready to embrace the magic of crochet and bring some floral flair into your home? Let’s dive into this gorgeous project together!
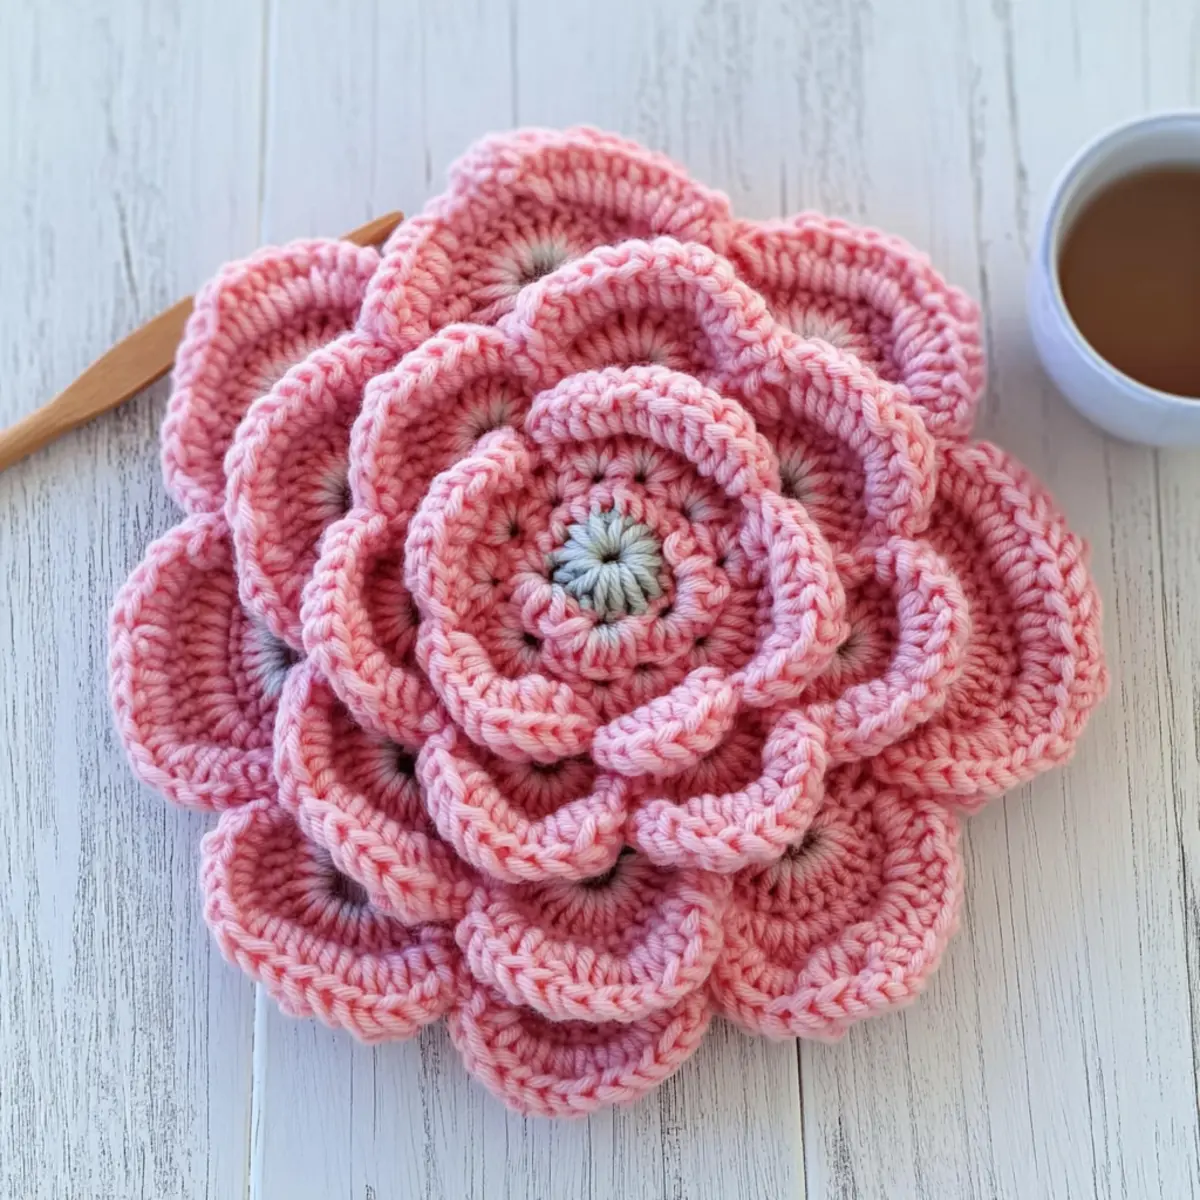
Crochet Wallflower Materials & Tools
-
Yarn
• Medium Weight (#4) Yarn – 100% cotton yarn such as Caron Cotton Cake in Frosted Pink or your favorite color will work beautifully for this project. -
Hook
• 5.0mm (H-8) Crochet Hook – This size is perfect for creating those soft and plush petals in your crochet wallflower. -
Notions
• Stitch Markers – Keep track of your rounds easily, especially when working on intricate petal designs.
• Tapestry Needle – Use this for weaving in the ends and sewing parts together for a polished finish.
• Plastic Canvas Circle – Provides support and easy hanging; cardboard or firm fabric can be alternatives if unavailable.
Why is This Crochet Wallflower Special?
Whimsy: The Crochet Wallflower is a delightful way to add charm to your decor, instantly brightening up any wall space with its vibrant petals.
Beginner-Friendly: Designed with simplicity in mind, this pattern is perfect for beginners who are eager to craft something beautiful without feeling overwhelmed.
Quick Project: You can whip this up in no time, making it an ideal choice for last-minute gifts or an afternoon crafting session.
Creative Freedom: Personalize your wallflower with a variety of colors and textures; the possibilities are endless!
Versatile Home Decor: Whether you mount it on the wall or use it as a decorative piece on a shelf, this crochet flower fits various styles and settings.
Imagine gifting this delightful creation or enhancing your own craft room—take a peek at our guide to exploring beginner crochet if you want to boost your skills further!
Gauge & Sizing Notes
Don’t skip the gauge swatch! Ensuring the correct tension is crucial for your Crochet Wallflower to achieve its beautiful, plush shape. For this project, aim for a gauge of 4×4 inches (10×10 cm), which should measure approximately 12 double crochets by 6 rows. If you desire a larger wallflower, simply increase your starting chain or the number of rounds in the base in multiples of 6. On the other hand, if your gauge swatch is coming out smaller, try using a larger hook size to loosen your tension. A well-measured piece ensures that your whimsical creation truly shines in any space!
Step‑by‑Step Pattern for Crochet Wallflower
Row 1: Start the Base
Begin by making a magic ring. Crochet 12 single crochets (sc) into the ring, pulling the yarn tightly to close the ring. Your work should look like a small circle. Tighten the magic ring, so your first round is secure, and prepare to work in the next round (12 sts).
Row 2: Increase for Shape
For Row 2, work in the back loops only. Crochet 2 half double crochets (hdc) in each stitch around. This will create a lovely ruffled effect. Remember to count as you go—your work should look fuller and start to expand (24 sts).
Row 3: Build the Petal Base
In Row 3, still working in back loops only, crochet 1 double crochet (dc), 2 dc in next. Repeat this sequence around to continue building the floral shape of your Crochet Wallflower. You’ll notice it puffing up more, ready to create petals next (36 sts).
Row 4: Expanding the Bloom
Continue your creation with Row 4 by crocheting 2 dc in next around. This will further increase the size of the base and provide a strong foundation for the upcoming petals. By the end of this round, your base should look quite robust and round (48 sts).
Row 5: Adding Volume
For Row 5, crochet 3 dc in next around. This round brings a beautiful roundness and dimension to your flower. You should feel the texture developing, making it plush and inviting. Be sure to count your stitches as you go (60 sts).
Row 6: Finishing the Base
In Row 6, crochet 4 dc in next and finish with 1 hdc followed by 1 sc in the last stitch. This should give a lovely tapered look to your Crochet Wallflower and prepare for the petal rounds. Your base should now measure approximately 6-7 inches across (72 sts).
Step 1: Create the Petals
Join your yarn to a free front loop on the base. For each petal, crochet 1 sl st, 2 sc, 1 hdc, and 2 dc into the same stitch. This combination will create a beautiful petal shape. Repeat this around your flower, ensuring that the petals are full and vibrant.
Step 2: Complete the Petals
Keep crocheting petals in the same pattern, adding more sc and dc as needed to create texture and fullness. The number of petals should increase with each round. Ensure that your petals are even and proportionate as they complete your delightful Crochet Wallflower.
Step 3: Final Touches
After completing the last round of petals, weave in any ends with a tapestry needle for a tidy finish. Your wallflower should now boast a vibrant, plush appearance, perfect for wall mounting or as a charming gift. Take a moment to appreciate your handiwork!
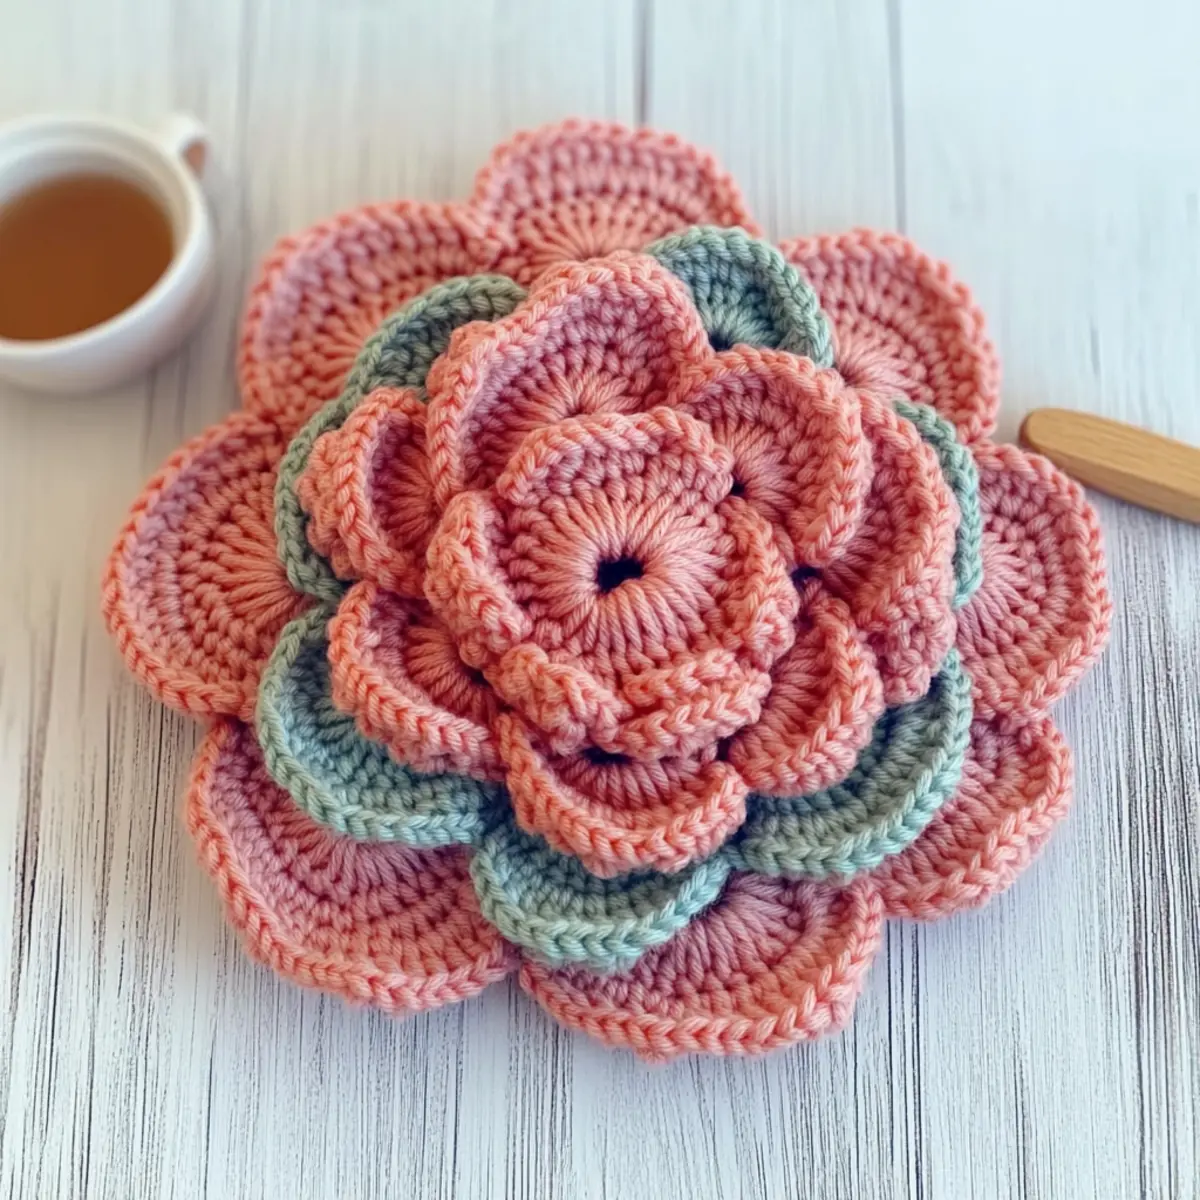
Crochet Wallflower Variations
Unleash your creativity with these charming and customizable variations for your crochet wallflower!
-
Yarn Weight Swap: Try a lighter yarn like DK to create a delicate, airy flower. Adjust the hook size accordingly for best results.
-
Fiber Alternatives: Experiment with bamboo or wool blends for a unique texture. Each fiber brings its own personality to the finished piece!
-
Color-Blocking Delight: Alternate colors in each round for a vibrant, eye-catching effect. Consider using fade techniques for an ombre look you’ll adore.
-
Sizing Adjustments: Add or reduce rounds to create different sizes. A mini version makes a sweet gift, while a larger flower can be the centerpiece of your decor.
-
Texture Modifications: Add playful embellishments like a fringed edge or a cute pom-pom in the center for a whimsical finish. These details can elevate your design!
-
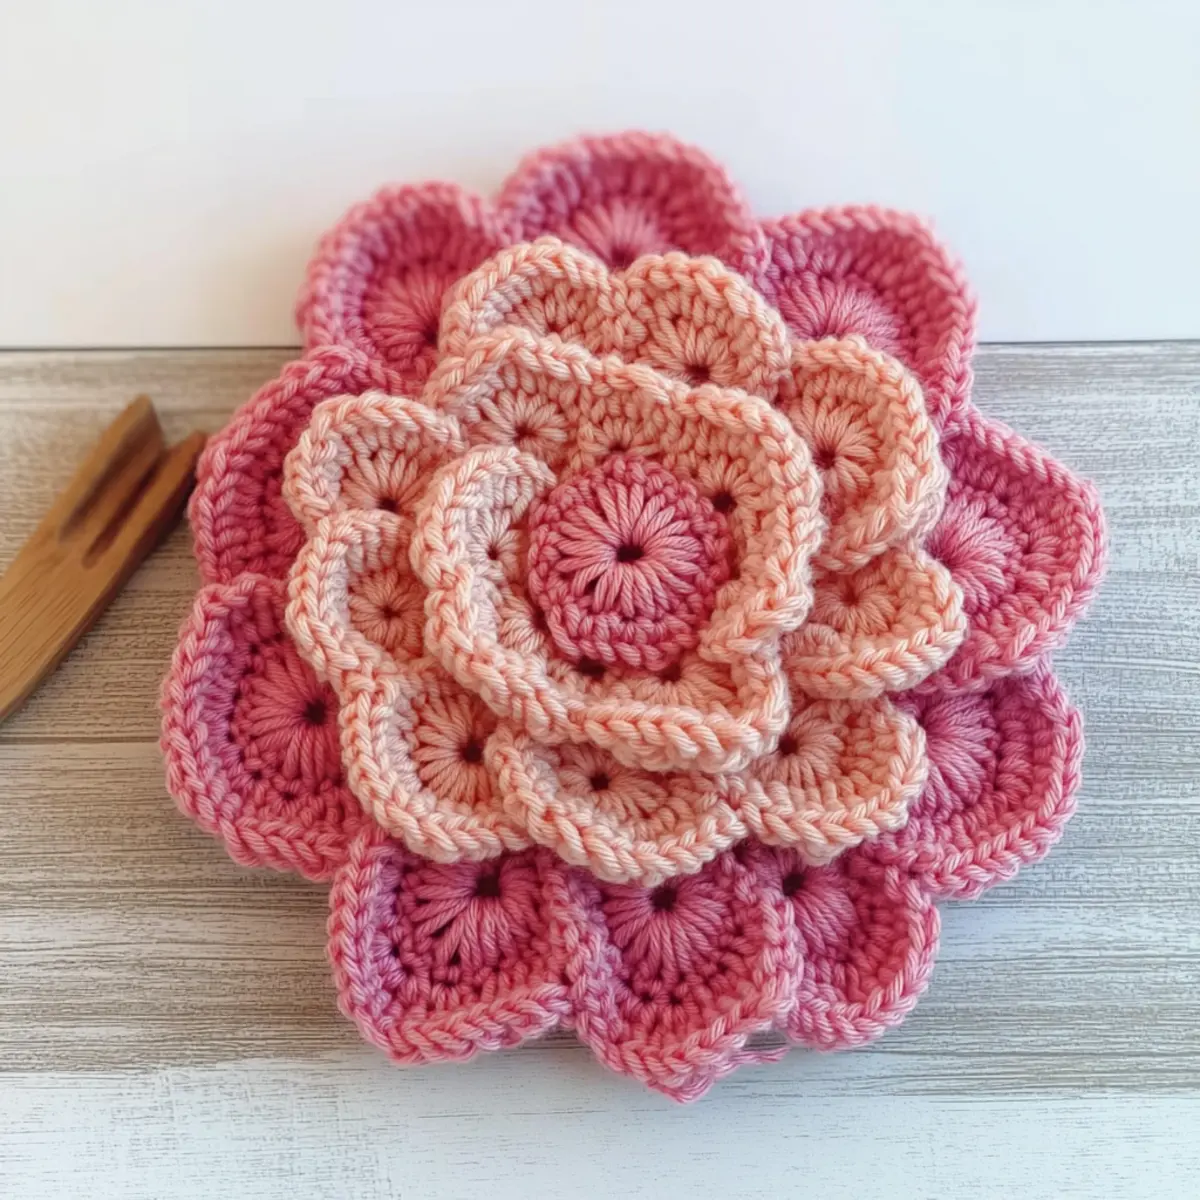
Layering Flowers: Create a blossoming bouquet by combining various sizes and colors. A cluster of flowers can add depth and character to any wall space.
-
Decorative Borders: Crochet a simple scalloped edge around the flower base to frame your creation beautifully. It adds a lovely finishing touch—even a border can transform the piece!
-
Personalized Gift Touch: Attach a handwritten note or fabric tag to your flower before gifting it. This tiny gesture can add so much warmth—you’re sure to delight the recipient!
Feeling inspired? Dive deeper into different crochet flower patterns, or check out our tips on color combinations to find the perfect hues for your project!
How to Wash and Care for Your Crochet Wallflower
-
Hand Washing: Gently hand wash your Crochet Wallflower in cold water using a mild detergent. Avoid agitation to prevent damage to the delicate petals.
-
Drying/Blocking: Lay your wallflower flat on a clean, dry towel away from direct sunlight. Reshape the petals as needed to maintain their lovely form while drying.
-
Storage: When not displayed, store your Crochet Wallflower in a dry, cool place to prevent dust accumulation. Consider placing it in a breathable storage bag if you want to protect it further.
-
Avoiding Pilling: To maintain the integrity of your beautiful wallflower, avoid prolonged exposure to heavy friction or abrasive surfaces, which can lead to pilling.
Expert Tips for Creating Your Crochet Wallflower
-
Stay Tension Consistent: Maintain even tension while crocheting; this helps your petals remain uniform and ensures a professional-looking finish for your wallflower.
-
Count Stitches Regularly: After each round, count your stitches to avoid sudden increases or decreases that could alter your flower’s shape. This is particularly crucial as you progress.
-
Use the Right Join: Employ the invisible seamless join when finishing your pieces, keeping them neat and tidy. This technique gives your wallflower a polished look.
-
Check Your Measurements: Ensure your base is about 6-7 inches across before starting the petals. This width is essential for structure and stability in your decorative piece.
-
Experiment with Colors: Don’t hesitate to mix and match yarn colors! This wallflower is perfect for showcasing your creativity, allowing for bright and fun color combinations.
Crochet Wallflower FAQs
Can I use a different type of yarn for the Crochet Wallflower?
Absolutely! While I recommend a medium weight (#4) 100% cotton yarn for its drape and texture, you can substitute it with other yarns such as acrylic. Just make sure to check the gauge as different fibers may affect the final look and feel.
How do I adjust the size of my Crochet Wallflower?
It’s super easy to customize! You can add or remove rounds in the base as you crochet. For instance, if you want a bigger flower, just keep adding rounds while following the increase pattern. Remember, just counting your stitches at the end of each round will help maintain the correct dimensions!
Why is my Crochet Wallflower starting to curl at the edges?
Don’t panic! Curling often happens when the tension is too tight. Make sure your stitches are even and not too tight. If you notice severe buckling, try blocking your flower by gently shaping it with wet fabric before it dries.
What size hook should I use?
For this Crochet Wallflower, a 5.0 mm (H-8) hook is recommended. If you’re using a different yarn weight, consider adjusting the hook size according to the general rule: a larger hook for thicker yarn and a smaller hook for thinner yarn. Always check your gauge for best results!
How do I fix dropped stitches in my Crochet Wallflower?
It’s an easy fix! If you find a dropped stitch, simply use your tapestry needle to weave the yarn back into the last completed stitch. If you’re unsure, don’t hesitate to unravel back to that point and redo the stitches to keep your work neat.
Can I combine multiple Crochet Wallflowers together for a bigger display?
Absolutely! Creating a bouquet of wallflowers can be a delightful addition to your decor. You can mix and match sizes and colors for a vibrant wall art display, enhancing the visual interest in your space—get creative and have fun with it!
Leave a Reply