
You know that feeling when a project sparks joy? That’s exactly what happened when I stumbled upon the Lotus Frog crochet pattern! It’s that delightful combination of whimsy and charm that captured my imagination right from the start. This adorable lotus frog crochet project isn’t just a feast for the eyes; it also serves up irresistible benefits: it’s a quick stash-buster and incredibly beginner-friendly. In just a few hours, you can create a delightful plush that adds playful decor to any space or makes the perfect gift for frog enthusiasts. Imagine the smiles it will bring! Plus, the construction is so simple that it invites boredom to pack its bags and leave. With its cute design and soft texture, this little critter will undoubtedly find a beloved spot on your shelf or in a child’s arms. I can’t wait to share the easy steps and tips to bring this whimsical creation to life. Now, are you ready to hop into crafting your very own lotus frog?
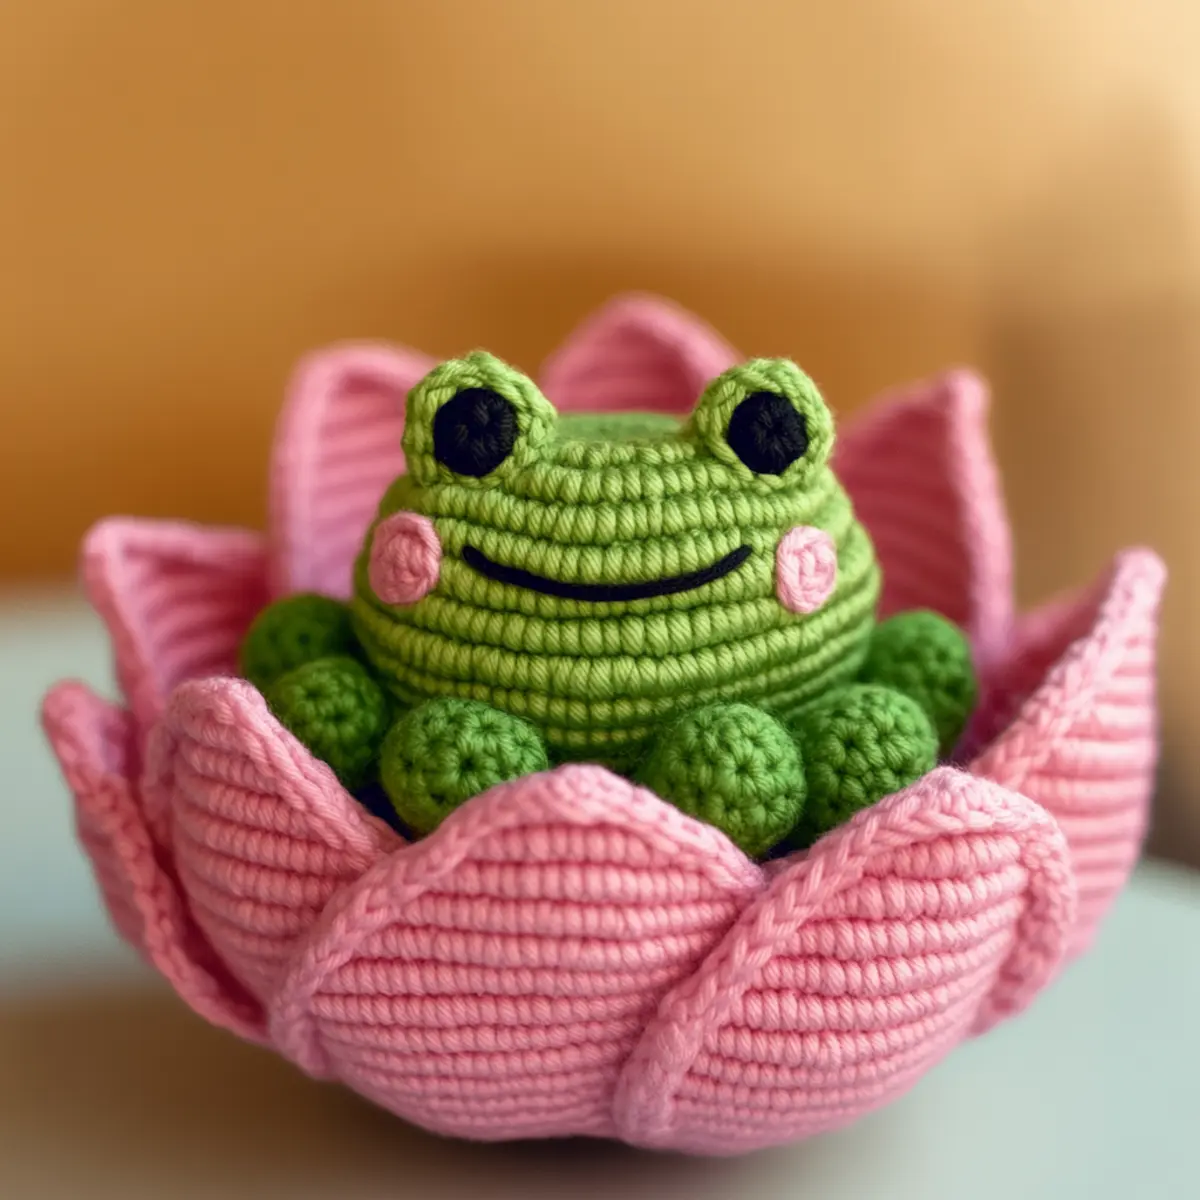
Lotus Frog Crochet Materials & Tools
Yarn
– Choose a medium weight acrylic or cotton blend for softness; you’ll need approximately 150 to 200 yards in total for your lotus frog crochet.
Tools & Notions
– Grab a 3.5 mm (E/4) or 4 mm (G/6) hook for the perfect gauge to keep stuffing concealed.
– Use safety eyes to give your frog a charming, playful look.
– Keep stitch markers handy to easily track your rows, ensuring your lotus frog crochet turns out just right.
Why You’ll Love This Pattern
Simplicity makes this lotus frog crochet pattern a dream for all levels of crafters! Even if you’re just starting out, you’ll find it approachable and easy to follow. Texture is another standout feature; the combination of yarn and stitch techniques creates a soft, cuddly feel that makes this frog irresistible to hug. Plus, it’s remarkably stash-friendly, perfect for using up those leftover yarn skeins you’ve been saving. If you’re looking for something to customize, the pattern allows creative variations with yarn colors and styles. Looking for other projects? Consider checking out my Cozy Baby Crochet or the Beginner Crochet Baby patterns as well. And let’s not forget the aesthetic appeal! This eye-catching piece is not only playful but will truly stand out as unique decor.
Gauge & Sizing Notes for Lotus Frog Crochet
Checking your tension is vital for creating your lotus frog crochet project. A standard gauge of 4×4 inches (10×10 cm) should yield about 12 sc and 15 rows to ensure a properly sized frog. If your swatch doesn’t match that gauge, you may need to adjust your hook size or yarn weight accordingly to either tighten or loosen your stitches. For crafting variations in size, adjust your starting chain and count the rounds, which allows for a larger or smaller frog depending on your preferences. Remember that correct gauge keeps everything proportional, especially if you’re making this adorable lotus frog crochet piece as a gift or for your decor. The anticipated finished dimensions are about 6 inches wide from petal tip to tip and about 5 inches tall, so be mindful as you create to keep these sizes in mind as you work!
Step-by-Step Pattern for Lotus Frog Crochet
Row 1: Start the Head Begin by making a magic ring, then work 6 sc (6) into the ring. Pull the ring tight and slip stitch to the first sc to close the round. Make sure your tension is not too tight as you will need to add stuffing later. This will be the top of your lotus frog’s head.
Row 2: Increase for Shape Ch 1, then increase in each stitch around by working 2 sc in each sc (12). This will create a round shape for the frog’s head that feels nice and plump. Keep your stitches uniform; this is critical for the perfect finish later.
Row 3: Continue Increasing Ch 1 and work 1 sc in the first sc, then inc in the next (18). Repeat this pattern around. This growing should start to define the contours of your lotus frog. As you progress, remember to check for any gaps where stuffing may peek through.
Row 4: Shape the Head Ch 1, then work 1 sc in the first 2 sc, then inc in the next (24). Feel how the head starts getting rounder? This step is essential to building that adorable shape that defines the lotus frog.
Row 5: Start Forming the Body Ch 1, then crochet 1 sc in the first 3 sc, inc (30). Continue in a spiral, being careful to maintain your stitch count. The head gradually transitions to what will become the body.
Row 6: Decrease for Shaping Ch 1, then work 1 sc in the first 4 sc, dec (24). This adds a bit of tapering to the frog’s body, creating a nice balance with the larger head.
Row 7: Body Construction Ch 1, then crochet 1 sc in the first 3 sc, dec (18). This gives you the base to create a nice, rounded body. Don’t forget that stuffing will also fill the body, so make sure it’s plenty snug around.
Row 8: Finalizing the Body Ch 1, then complete the round with 1 sc in the first 2 sc, dec (12). You should see the form of your lotus frog starting to materialize as you keep working through the rounds.
Row 9: Stuffing the Body Before closing that round, add stuffing until the frog is just plump enough to feel cuddly. Be sure to pack it evenly, so the shape maintains its integrity. Close with a sl st (12).
Row 10: Make the Lotus Petals Start a separate piece for the lotus flower using a magic ring and ch 3. Then, work 10 dc into the ring (10) for a luscious start to the floral decoration.
Row 11: Shaping the Petals Ch 3, turning and working into the first dc with 2 dc into each dc (20). Each petal adds to the beauty of the lotus frog, so don’t rush—take time to enjoy this part!
Row 12: Assemble Petals to Frog Carefully attach each petal to the frog’s head, using sl st for a seamless connection. Position the petals to look natural, as if the frog is lounging comfortably within the blossom. Ensure all pieces are secure before moving on.
Each step is crucial in bringing the lotus frog crochet to life, so take your time and check your work as you go!
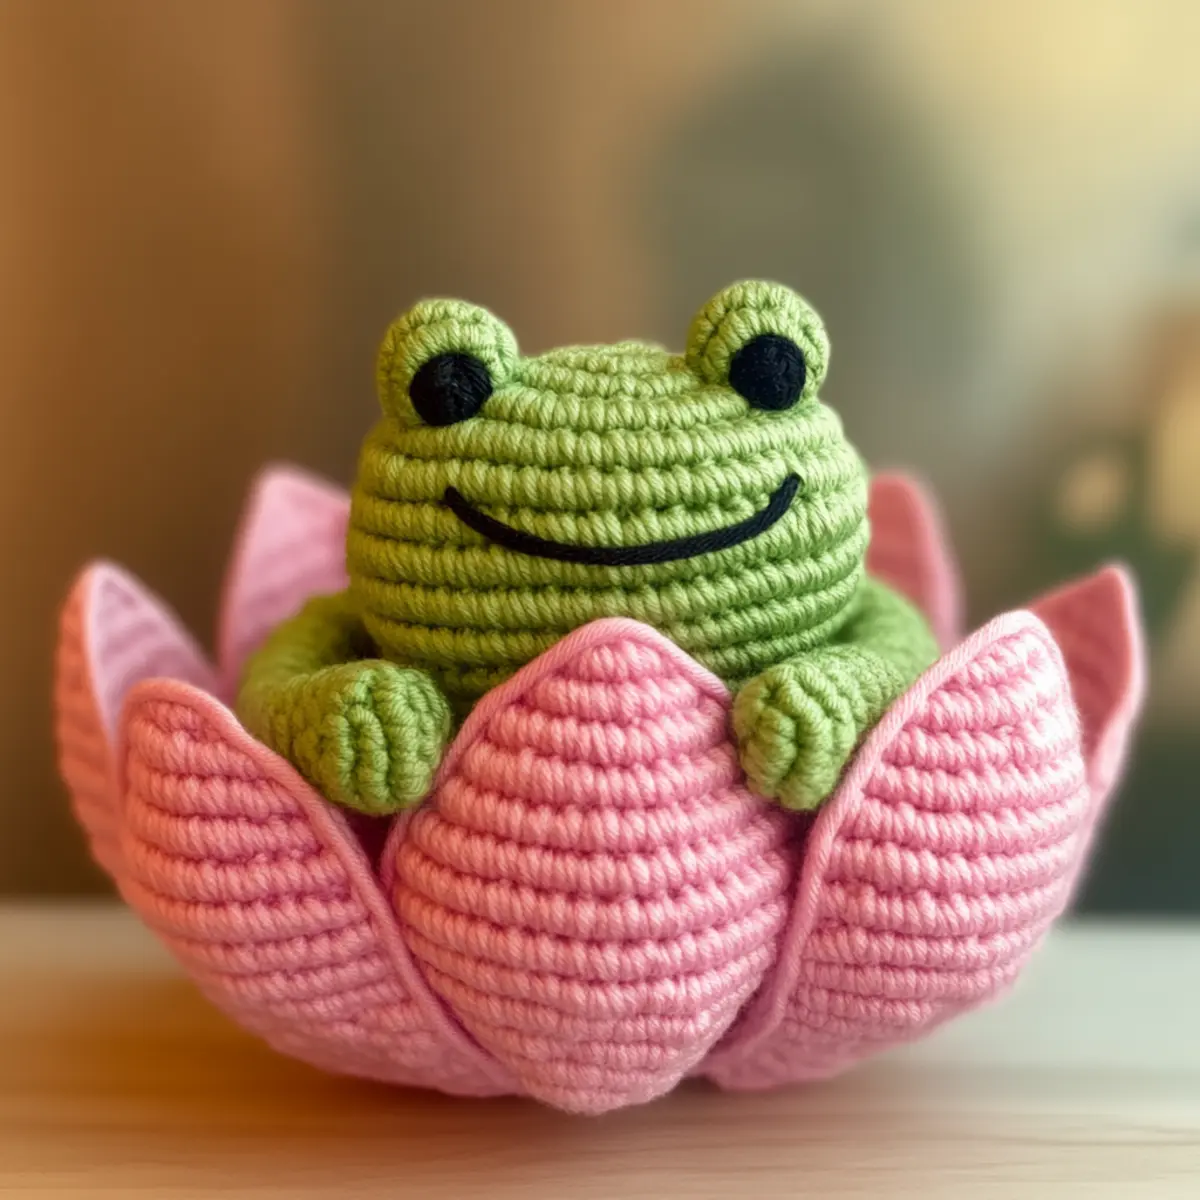
How to Wash and Care for Your Lotus Frog Crochet
Machine Washing: If machine washing, use a gentle cycle with cold water. Avoid agitation to preserve the shape and detail of your lotus frog crochet.
Hand Washing: For best results, hand wash with mild detergent and lukewarm water. Gently squeeze without wringing to maintain softness and texture.
Drying: Always lay the lotus frog flat to dry. This avoids any distortion during drying and helps maintain its cuddly silhouette.
Storage: Store your lotus frog crochet in a cool, dry place. Avoid exposure to sunlight to prevent any fading of colors, especially with vibrant yarn choices.
Expert Tips for the Best Lotus Frog Crochet
Tension Matters: Keep an eye on your tension; too tight can make stuffing tricky, while too loose may lead to gaps in your lotus frog crochet.
Count Carefully: Always count your stitches diligently at the end of each round. This helps prevent miscounts which can affect symmetry and overall appearance of your project.
Block Petals: Consider blocking the lotus petals to enhance their shape before assembling. This adds refinement to your finished lotus frog crochet, making it more visually appealing.
Mind the Hook Size: Using the correct hook size is essential; a 3.5 mm or 4 mm helps maintain stitch uniformity, ensuring your stuffed frog is cuddly and well-defined.
Use Stitch Markers: Keep stitch markers handy as you work through the rounds, helping you track your progress more comfortably.
Personalize: Experiment with yarn colors and fiber types to create your unique variations of the lotus frog crochet. Don’t hesitate to embellish with tiny crowns or flowers for a personalized touch!
lotus frog crochet Variations and Substitutions
Get creative with the lotus frog crochet pattern by customizing colors and textures!
- Color Swaps: Change the frog’s colors; a blue frog with pink petals creates a playful twist.
- Yarn Alternatives: Experiment with cotton blends for a more textured feel compared to standard acrylic.
- Size Modifications: Use thinner yarn and a smaller hook for a delightful keychain version or upsize to make a giant plushie.
- Texture Changes: Try using boucle yarn for a fuzzy frog that’s even more huggable and unique in appearance.
- Accessory Add-ons: Personalize your frog with embellishments like a tiny crown or a flower to make it even more charming.
For an uplifting experience, mix and match colors to express your style. Whether you stick to traditional greens or go bold with bright hues, the lotus frog will resonate with your personal flair. Don’t forget to check out our Easy Beginner Crochet Baby Blanket for more adorable project ideas. If you’re on the lookout for practical alternatives, a cotton blend works wonderfully, giving your project a breathable quality that differs from synthetic fibers. This adaptable design invites you to let your creativity flow!
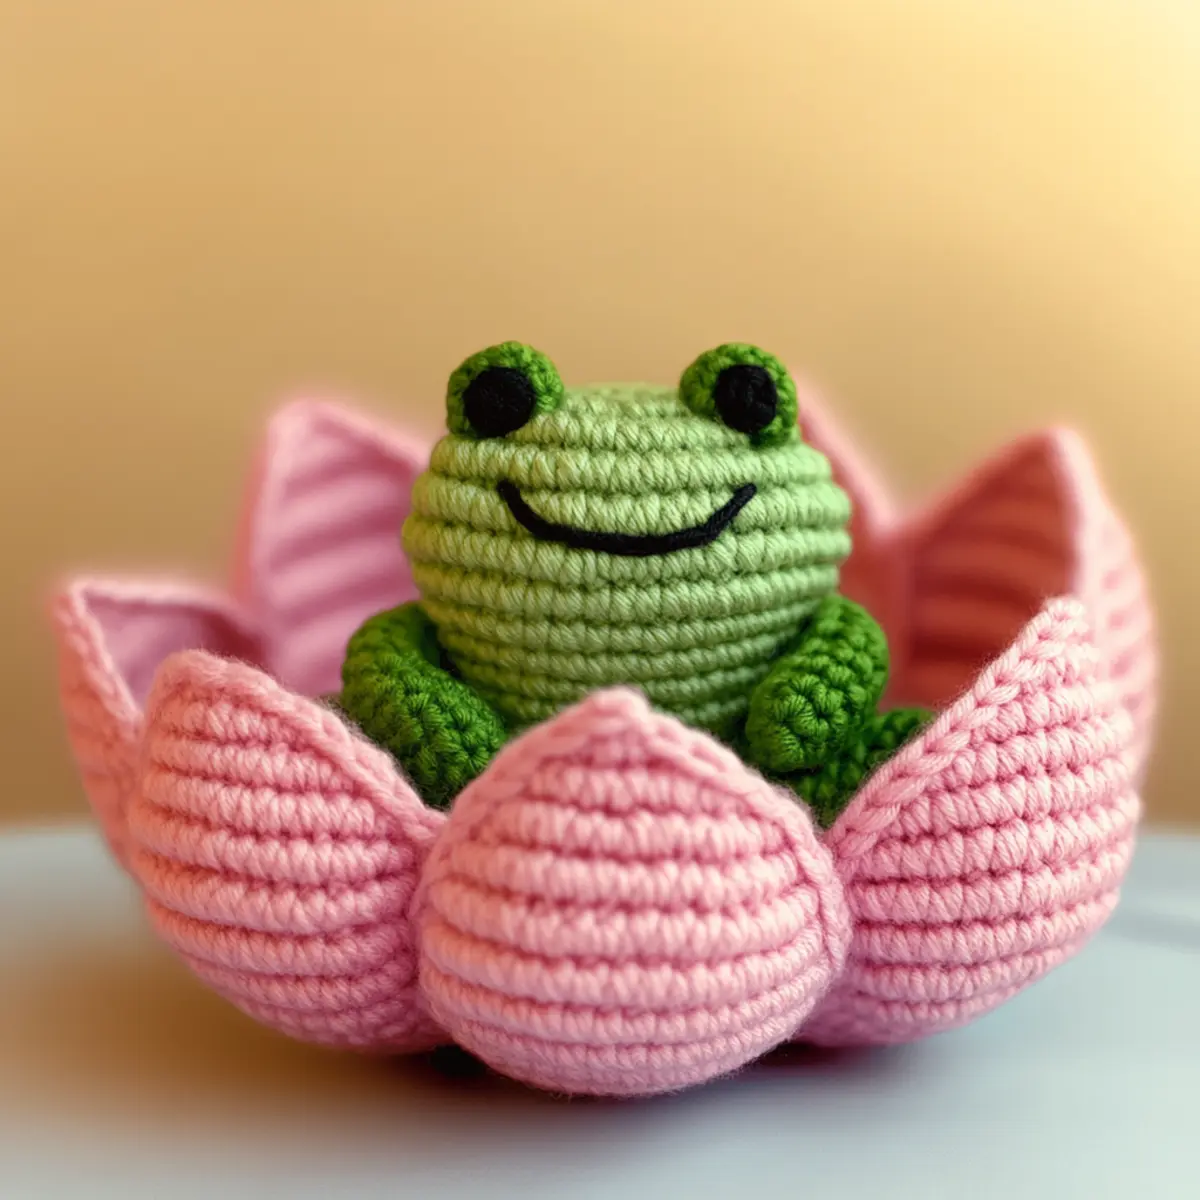
Lotus Frog FAQs
Can I substitute the yarn for the lotus frog crochet?
Absolutely! You can switch to a cotton blend or even a different medium weight yarn. Just ensure that you maintain a similar gauge for the best finished look.
How do I adjust the size of the lotus frog crochet?
To adjust size, you can play with the starting chain or increase the rounds. Additionally, using thinner yarn and smaller hooks will create a mini version, while thicker yarn can yield a larger frog.
My lotus frog’s head is curling. What can I do?
Don’t panic! Curling typically stems from tension issues. Ensure your stitches are uniform and consider blocking the pieces before assembly to flatten any curled edges.
What hook size should I use?
For the lotus frog crochet, I recommend a 3.5 mm (E/4) or a 4 mm (G/6) hook. This will help you achieve a tight enough gauge, keeping stuffing concealed effectively.
What if I drop a stitch?
If you drop a stitch, simply backtrack and find the missing loop. Use your hook to pull it back up and continue your lotus frog crochet without worry. It’s much easier than it sounds, so don’t stress about it!
How do I add safety eyes securely?
To securely add safety eyes, insert them from the outside of the head and ensure they are pushed fully in before securing the backing inside. This will prevent them from falling out during play.
Leave a Reply