
Once in a while, a project comes into your hands that feels like pure magic. This is exactly how I felt as I started crafting the delightful crochet marigold flowers. Working with vibrant hues of orange and yellow, the crochet marigold flower project is such a rewarding experience. Not only is it incredibly beginner-friendly, but it also allows you to use up those extra skeins of yarn stashed away from previous projects. Imagine transforming your yarn stash into beautiful floral décor! Each flower blooms into a charming piece that can brighten up any space, whether you showcase them in a vase or give them as heartfelt gifts. As you stitch through the center, petals, and leaves, I promise you’ll feel the creative spark ignite – it’s almost addictive! The entire process is quick, making it the perfect little weekend project to infuse some cheerful vibes into your home. Why not express your own style by exploring different colors or embellishments? Let’s dive into creating a bouquet of joyful crochet marigold flowers together and see where this wonderful journey takes us.
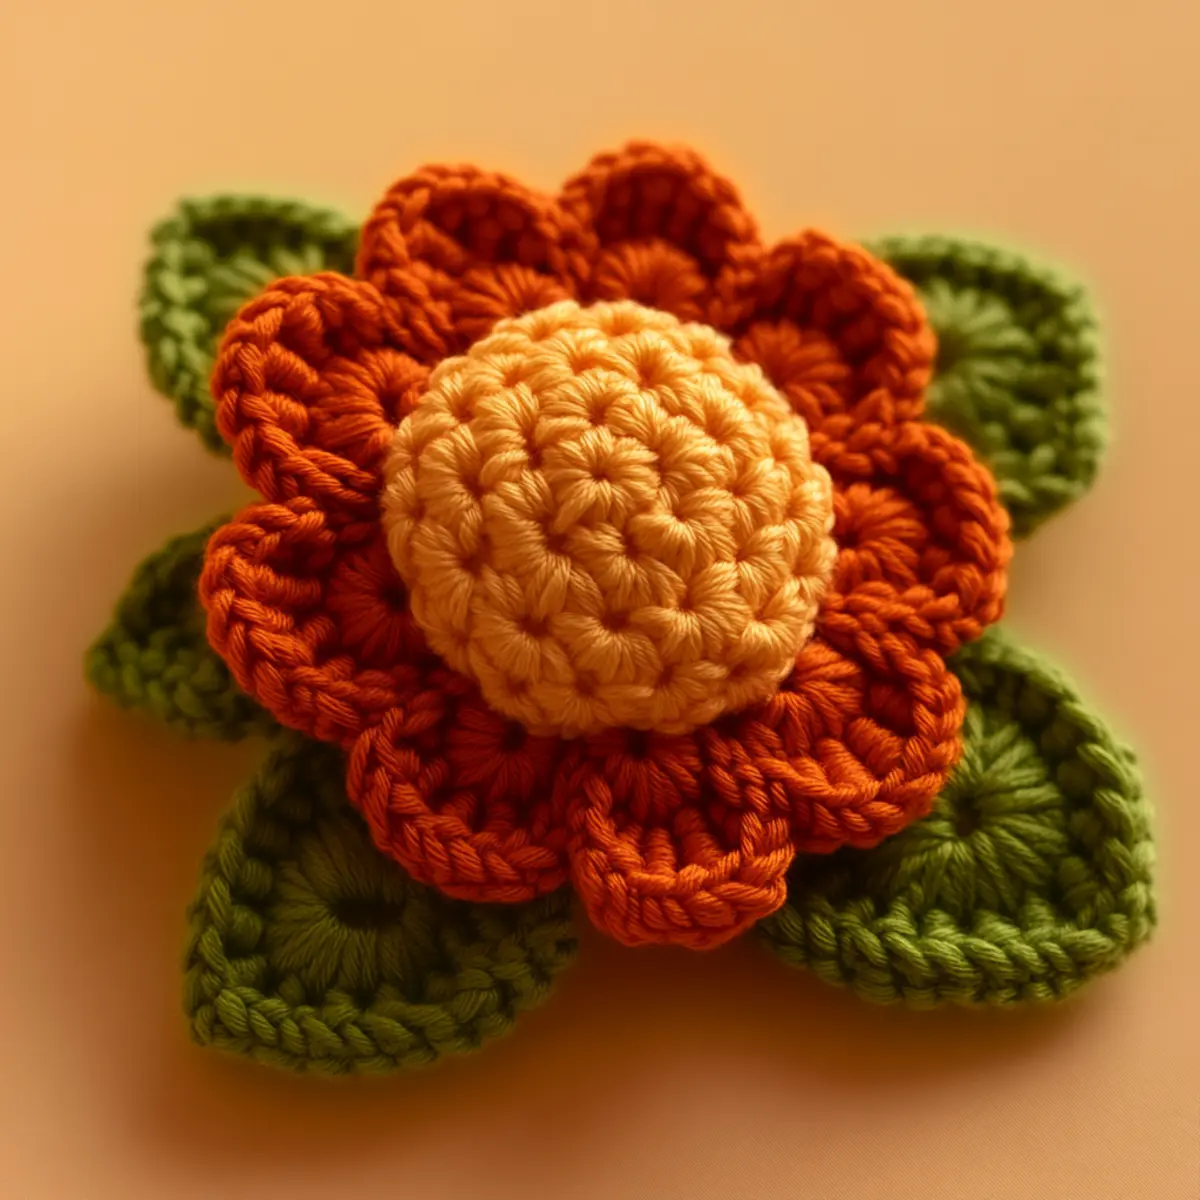
Crochet Marigold Flower Materials & Tools
Yarn
- Worsted-weight cotton yarn – Choose shades of orange and yellow; you’ll need approximately 100-150 yards for multiple flowers.
Tools & Notions
- 4.5 mm (G/6 US letter) crochet hook – Ideal for achieving a comfortable stitch tension that works well with cotton yarn.
- Yarn needle – Perfect for weaving in ends securely and helping to assemble your flowers.
- Small scissors – Handy for trimming any loose threads as you finish each marigold.
- Stitch marker – Great for maintaining even tension, especially when working on rounds. Consider placing it at the start of your rows or rounds for easy tracking.
Optional Embellishments
- Green yarn for leaves – Adds a nice touch, making your flowers more realistic; consider using scrap yarn you have on hand to keep the project stash-friendly.
- Floral wire – Can be used in the stems for added stability if you wish to stand your flowers or create arrangements.
What Makes Crochet Marigold Flowers So Special?
Crafting crochet marigold flowers is an experience filled with joy and creativity! Simplicity is key; this pattern is designed to be easy to follow, making it perfect for beginners or anyone looking to breeze through a project. Textural details bring these flowers to life, allowing for a unique finish that you’ll love showing off. The design is also highly stash-friendly – you can use up leftover yarn scraps while creating something beautiful! Plus, I’ve found that these marigolds work well with various shades, so you can customize them to suit your home decor or personal taste. Want more inspiration? Check out this Crochet Flower Pattern for other floral ideas, or try the Flower Granny Square for a lovely touch. These marigolds are not just aesthetically pleasing; they’ll also make for stunning gifts, assuring you a spot on their mantle or table. So, let’s bring some sunshine into our crafting with these delightful flowers!
Gauge & Sizing Notes for Crochet Marigold Flower
Checking your tension is crucial for your crochet marigold flower project, as it ensures that the petals and leaves maintain their intended shape and size. A standard gauge for this project is 4×4 inches (10×10 cm) should yield 16 dc and 10 rows. If your swatch does not match this gauge, try adjusting your hook size up or down until you achieve the right tension. Remember to modify your starting chain or rounds according to your desired size; you can add more stitches for larger flowers or decrease for smaller ones. The flowers should ideally stand at approximately 3-4 inches tall and 2-3 inches wide, making them perfect for any decor. The versatility of the crochet marigold flower pattern allows you to play with yarn weight to change the overall size, so feel free to experiment with different yarn colors and types to find the perfect fit for your floral arrangement!
Step-by-Step Pattern for Crochet Marigold Flower
Row 1: Create the Center
Begin with a magic ring. Ch 1, work 8 sc into the ring, pull the tail to close. Join with a sl st to the first sc to form a circle. (8 sc)
Row 2: Build Up the Height
Ch 2 (counts as first hdc), then hdc in each st around. Join with a sl st to the top of ch 2. (8 hdc)
Row 3: Double the Stitch Count
Ch 2, dc in the next st, inc in the following st repeat around. Join with a sl st to the top of ch 2. (12 dc)
Row 4: Create Petals Intro
Ch 2, dc in next st, dc in next 2 sts, sl st in next st repeat around for petals. End with a sl st to close. This gives a fluffy texture to the marigold. (8 petals)
Row 5: Petal Definition
Ch 3, work 2 dc, ch 1, 2 dc into each petal from previous row. Join with sl st to the top of the first petal to compact them into shape. (16 dc)
Row 6: Round the Flower
Ch 1, sc into ch-1 spaces between petals, working for 8 total sc around. This forms a neat finish for the flower center. (8 sc)
Row 7: Leaf Foundation
Switch to green yarn. Join at the base, sc into the next 5 sts then hdc in the next 2. Create the leaf shape by dec and turn at the end. (5 sc + 2 hdc)
Row 8: Leaf Detail
Ch 1, create a row of sc along the top of the leaf and slip stitch back through to fasten off and secure the leaf shape. This leaf will add realism. (5 sc)
Row 9: Attaching Leaves
Using your yarn needle, attach the leaves you just created to the base of the flower. Secure with tight sl st to hold them in position, giving your marigold a completed look.
Row 10: Final Assembly
Use the yarn needle to weave in all ends carefully, ensuring no loose threads are left. The crochet marigold flower is now fully assembled and ready to bloom.
Row 11: Blocking and Shaping
Lightly steam block your flower to enhance its form. This helps petals spread out nicely and gives it a finished look.
Row 12: Showcase Your Work
Create a bouquet by making several marigold flowers. Use a vase or wrap them with floral wire for a charming display. Each marigold flower will lend color and cheer to your home decor!
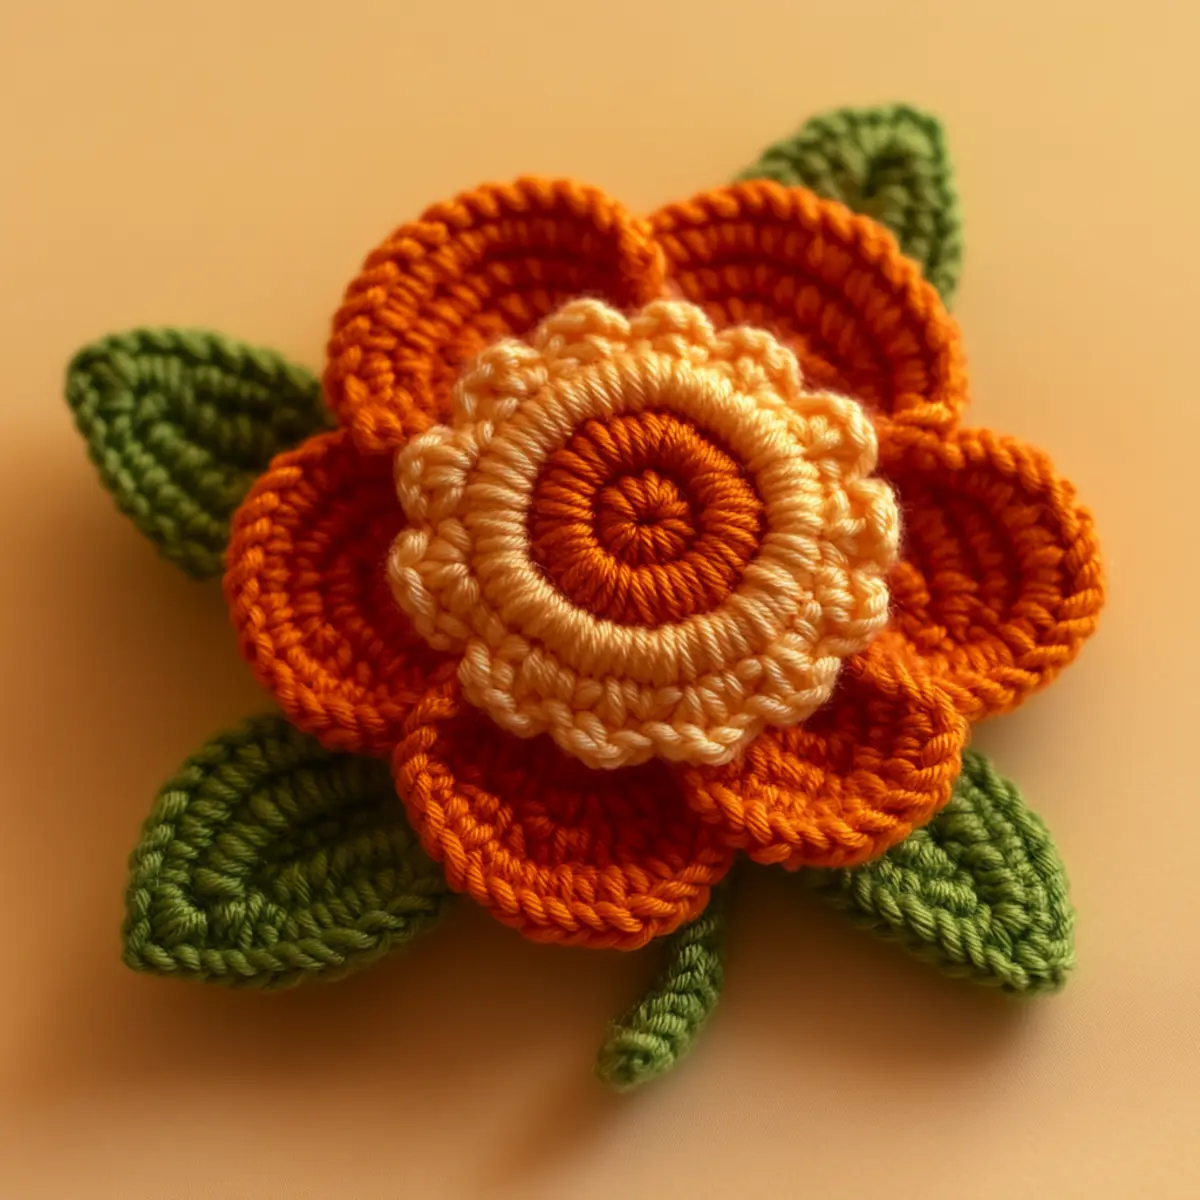
Expert Tips for the Perfect Crochet Marigold Flower
-
Track Your Stitches: Use a stitch marker to avoid losing count while working in rounds; this will help maintain the shape of your crochet marigold flower.
-
Avoid Twisting: Make sure your foundation chain is straight and not twisted before closing the loop. This is essential for the proper construction of the flower.
-
Loose Stitches: Don’t pull your yarn too tightly. Make your stitches loose enough to allow flexibility, ensuring your petals bloom beautifully.
-
Blocking Importance: Always block your finished flowers lightly with steam. Blocking helps petals and leaves lay flat and enhances the overall appearance of your crochet marigold flower.
-
Experiment with Colors: Feel free to use different shades for your marigolds. This adds a unique touch and helps you create arrangements that reflect your personal style!
Crochet Marigold Flower Variations
Feel free to adapt the crochet marigold flower to your unique style and preferences!
- Color Swaps: Experiment with yellows, reds, or pinks to mimic different marigold varieties. Each color brings a unique character to your bouquet.
- Bulkier Yarn: By using a thicker yarn and adjusting your hook size, you can create larger marigolds that make a bold statement in decor.
- Beaded Embellishments: Add beads to the centers or petals for extra sparkle. This simple touch transforms your marigold flowers into elegant pieces.
- Textured Variations: Incorporate textured stitches like popcorn or cluster stitches for a whimsical flair, making your marigolds truly stand out.
- Lengthened Stems: Consider elongating the stems for a more natural look, allowing the flowers to bloom beautifully in taller arrangements.
- Floral Wire Integration: Add floral wire to your stems for support. This enables you to shape your flowers and position them precisely in a vase.
Mix and match these variations to create delightful surprises with every flower! You can also refer to our Crochet Flower Pattern for more ideas to expand your floral creations.
How to Wash and Care for Your Crochet Marigold Flower
-
Hand Washing: Gently wash the crochet marigold flower in lukewarm water using a mild detergent to preserve its shape and color. Avoid scrubbing!
-
Drying: Lay your flowers flat on a clean towel after washing to dry naturally. Avoid hanging them, as this can stretch the yarn.
-
Blocking: If your flowers lose their shape over time, consider steaming them lightly while reshaping. This keeps the details of your crochet marigold flower crisp.
-
Storage: When not in use, store your marigolds in a cool, dry place. Keep them in a cotton bag or a basket to prevent dust accumulation.
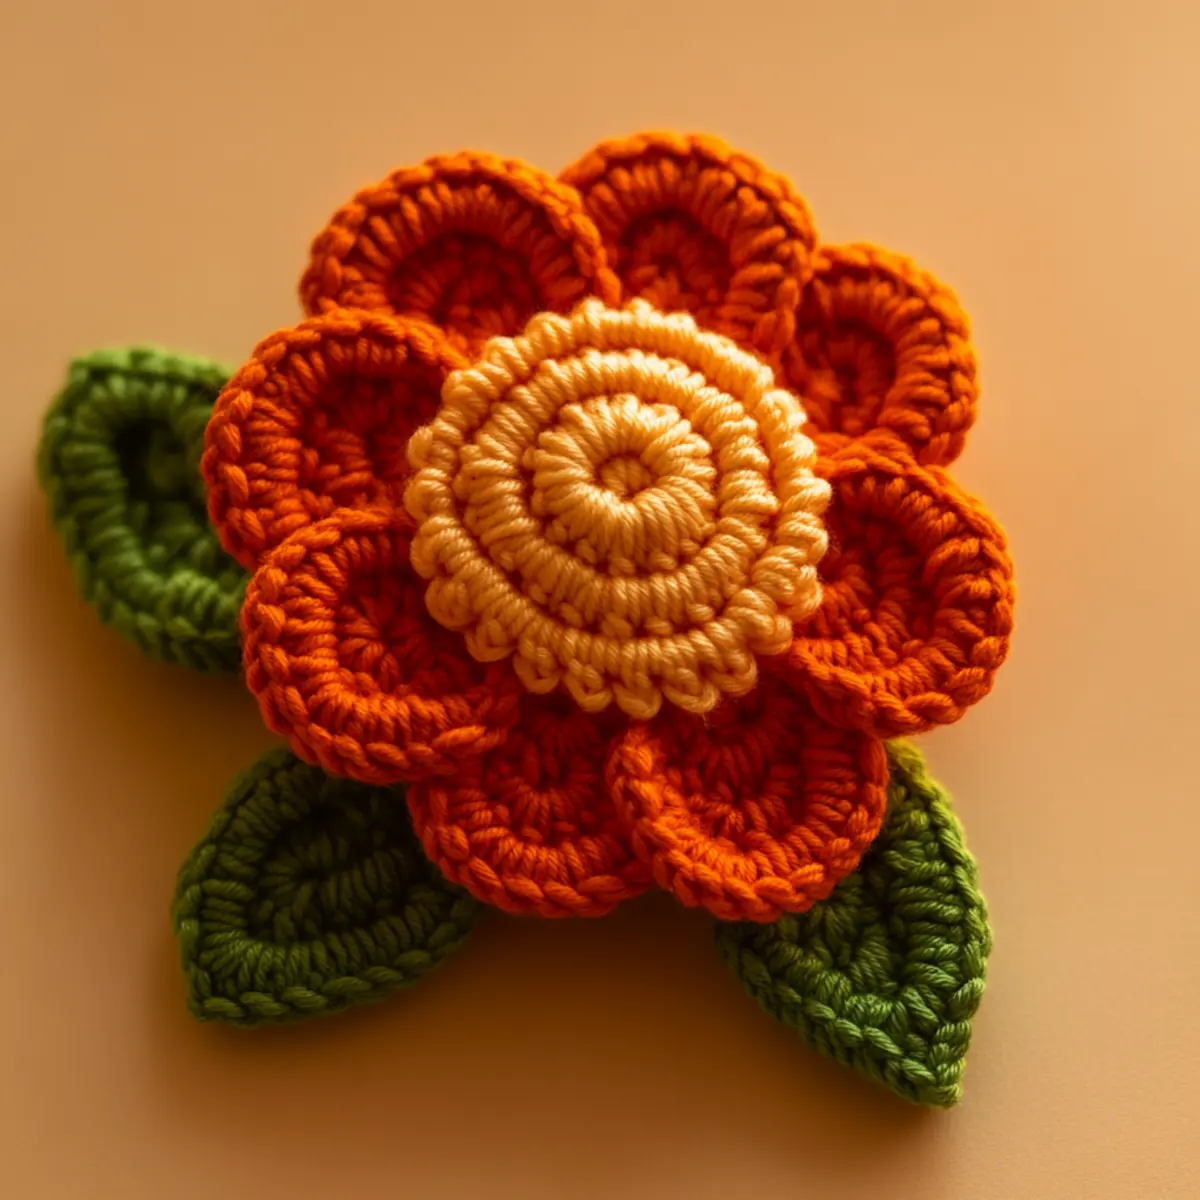
Crochet Marigold Flower FAQs
Can I substitute yarn types for the marigold?
Absolutely! While worsted-weight cotton works best, you can experiment with any yarn you’re comfortable with. Just be mindful of the gauge.
What if my petals are curling?
Curling can happen if your stitches are too tight. Try loosening your tension or blocking the flower after it’s finished to flatten the petals.
How do I adjust the size of my marigolds?
To scale your crochet marigold flower up or down, simply adjust the yarn weight and hook size. This will affect the overall dimensions and shape of your finished flowers.
What if I drop a stitch?
Don’t panic! If you drop a stitch, just carefully pick it up with your hook and continue crocheting. For added security, you may consider using a stitch marker to hold your place in the pattern.
Which hook size should I use?
A 4.5 mm (G/6 US letter) crochet hook is recommended for this project. It balances nicely with the yarn tension to create beautiful, even stitches.
How can I embellish my crochet marigold flower?
Consider adding beads, sequins, or varying the colors for a unique touch. Additionally, floral wire can be used in the stems for added support in arrangements.
Leave a Reply