
The moment I completed my first crochet project, I felt an electrifying sense of accomplishment. That same thrill returned when I crafted this charming amigurumi puppy! This amigurumi puppy pattern is perfect for crafters enthusiastic about creating delightful stuffed animals. Not only is it beginner-friendly, but it also serves as a fabulous stash-buster, allowing you to utilize leftover yarn from previous projects. Picture a cuddly companion that charms children and adults alike, and acts as an enchanting decor piece, perfect for any room. The best part is the chance to personalize your puppy through colors, stitches, and embellishments, making each one a unique treasure. Have you ever thought about the joy of gifting a one-of-a-kind creation to someone special? Join me in exploring this whimsical journey to crochet your adorable amigurumi puppy and discover not just a project, but a delightful new addition to your craft collection!
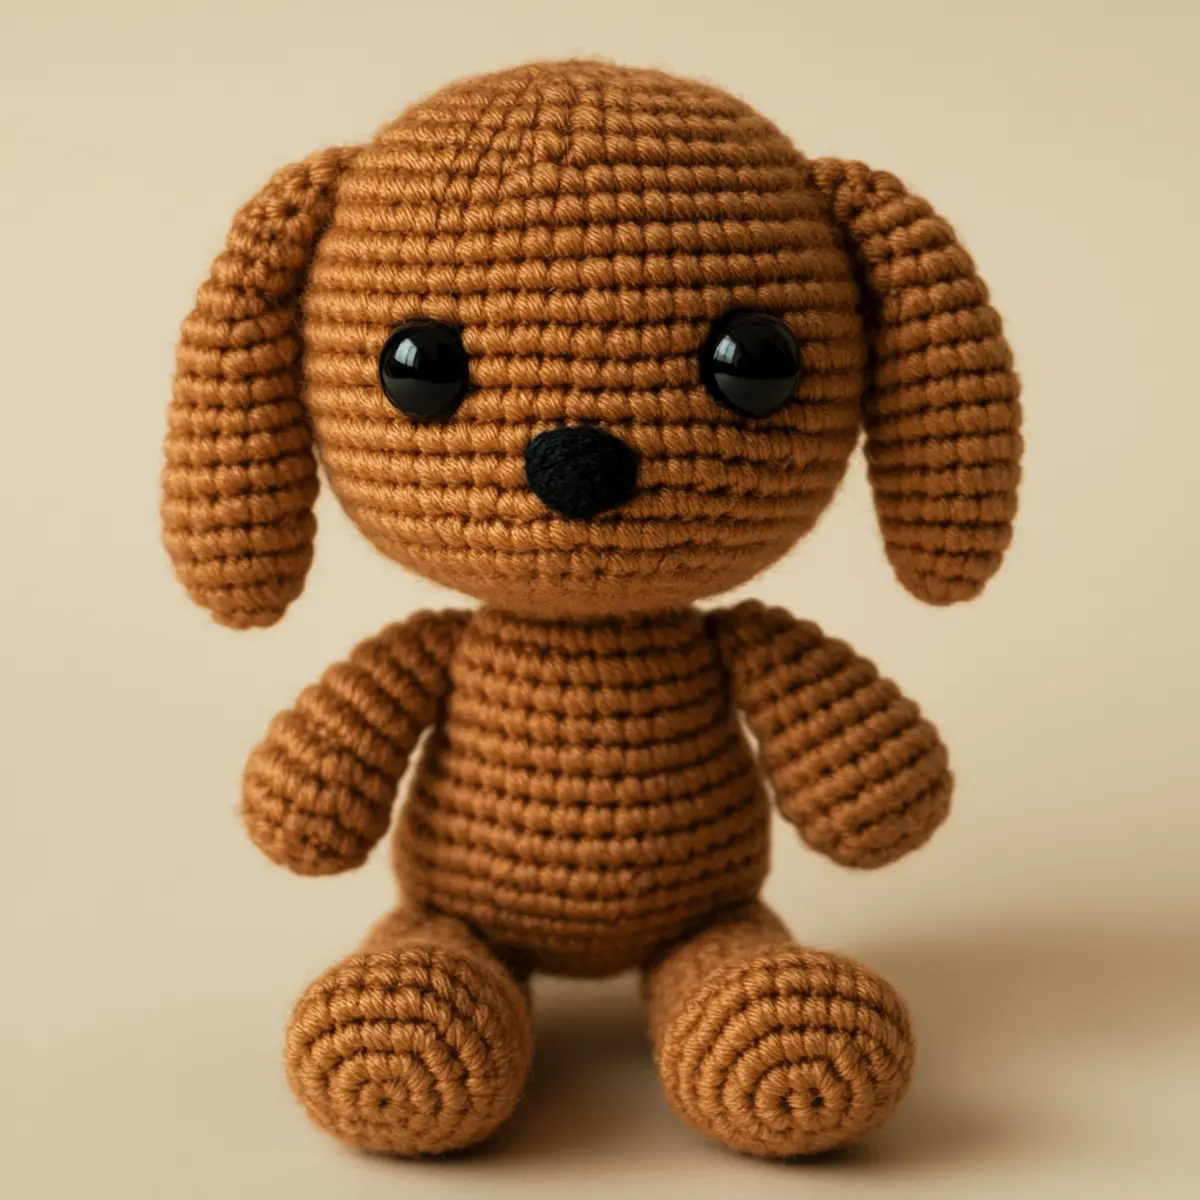
Amigurumi Puppy Pattern Materials & Tools
Yarn
Medium Weight Yarn – Use approximately 200 to 300 yards of worsted weight acrylic or cotton yarn for the soft texture of your amigurumi puppy.
Tools & Notions
3.5mm (E) Crochet Hook – A tighter gauge is essential for shaping.
Safety Eyes – Securely attach for an adorable expression!
Stitch Marker – Keep your rounds in check, especially for limbs.
Tapestry Needle – Perfect for weaving in ends and assembling pieces.
Stuffing Material – Provide your puppy with that plush, cuddly feel.
Why You’ll Love This Pattern
Easy to follow, this amigurumi puppy pattern makes crafting enjoyable for every level. Textured stitches create an eye-catching design, while the cuddly finish makes it perfect for snuggles. Additionally, this pattern is stash-friendly, so you can clear out your yarn leftovers effectively! You’ll love how customizable this project is; choose colors that reflect your style or rearrange the features for a playful look. Plus, there’s no need to fret about time; the construction is designed to be time-saving, allowing you to complete it in just a few hours! Once you finish, you’ll have a soft and delightful companion that will spark joy in your home. If you’re interested in more fabulous projects, check out this Free Crochet Weave or the cozy vibes of the Cozy Fable Beanie.
Gauge & Sizing Notes for Amigurumi Puppy
It’s important to check your tension while crocheting the amigurumi puppy, as a consistent gauge ensures that all pieces fit together well. For this pattern, aim for a standard gauge of 4×4 inches (10×10 cm), with 10 sc for every 4 inches to achieve the correct dimensions. If your swatch does not match this gauge, consider adjusting your crochet hook size; a smaller hook will produce a tighter fabric, while a larger one creates a looser fabric. You may also need to alter your starting chain or rounds to resize your amigurumi puppy according to preference, keeping in mind the overall shape and proportions. Any adjustments will make your amigurumi puppy pattern tailored to fit your needs, whether you want it a little larger or smaller, allowing for creativity and personalization in your craft project. With attention to gauge, your finished amigurumi puppy will be cuddly and structured, perfect for either gifting or decorating your space with a handmade touch.
Step-by-Step Pattern for Amigurumi Puppy
Row 1: Start the Head
Begin with a magic circle, ch 1. Work 6 sc into the circle to form the head base (6).
Row 2: Increase for Shape
Increase in each sc around, placing 2 sc in each stitch (12).
Row 3: Continue Increasing
Work 1 sc in the next st, then inc in the next. Repeat around to continue shaping the head (18).
Row 4: Shape the Face
Create a round of 1 sc in the first 2 sts, followed by an inc. Repeat until finished (24).
Row 5: Forming the Head
Next, sc in each of the next 3 sts, then inc in the next. Repeat around (30).
Row 6: Create Depth
Work 1 sc in each of the next 5 sts, then inc. Repeat around to create depth (36).
Row 7: Transition to Body
Begin the body section by sc in each st for one complete round, keeping the tension even (36).
Row 8: Ensure a Fluffy Look
Continue with 1 sc in each st for the next two rounds to add to the body height, ensuring consistency (36).
Row 9: Begin the Limbs
Start with the front legs by chaining and then working 6 sc into a magic circle. Join with a sl st (6).
Row 10: Create Leg Shape
Increase the front legs with 2 sc in each st around for a sturdier leg (12).
Row 11: Body to Legs
Sc in each leg stitch, ensuring to maintain the join point with your main body as you attach them (12).
Row 12: Define the Body Shape
Work 1 sc in each of the front leg’s sts to ensure they rest comfortably against the body (12).
Row 13: Ears Formation
Create ears using a flat row of 8 ch, followed by working in hdc. Fold and sew to the head (8).
Row 14: Final Assembly
Stuff each section lightly, including the head, body, arms, and legs. Assemble carefully, ensuring limbs match for symmetry.
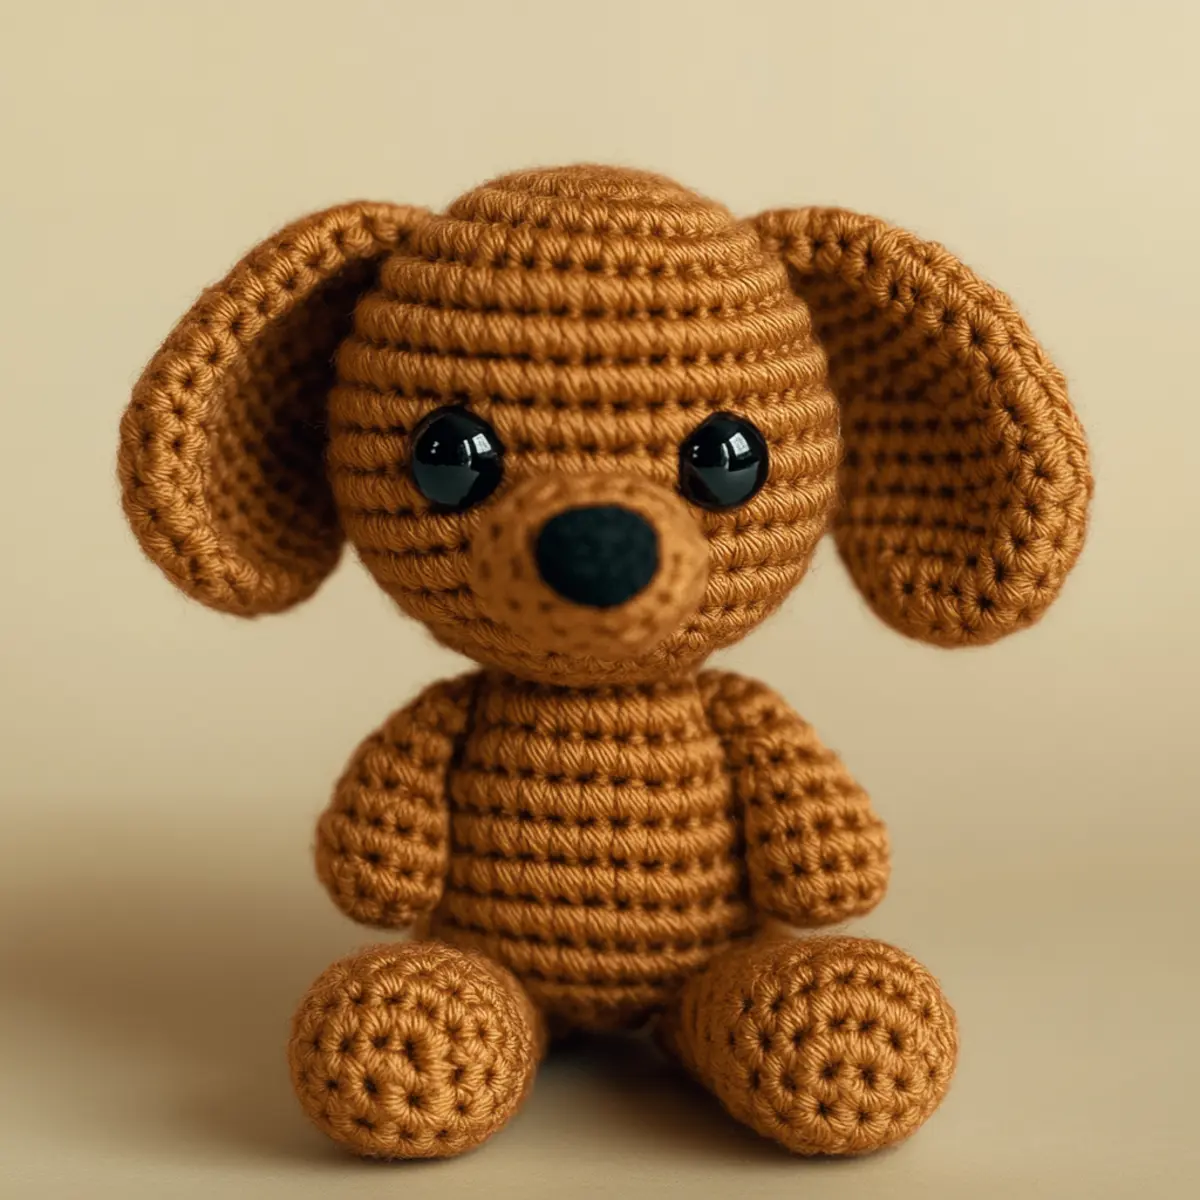
Expert Tips for the Best Amigurumi Puppy Pattern
Count Carefully: Be attentive to your stitch count, especially in rounds, to avoid losing track or dropping stitches. A consistent count makes your amigurumi puppy look more polished.
Use Stitch Markers: Track your rounds with a stitch marker to ensure dimensions remain consistent for both limbs. This can prevent variations that might affect the final design.
Stuff Appropriately: Stuff each piece well without overstuffing. Too much stuffing can stretch seams and distort shapes, so aim for a plush but firm feel.
Practice Tension: Maintain steady tension while crocheting the body. An even tension allows for a better fit between the head and body, resulting in a well-proportioned puppy.
Check Gauge: Always measure your gauge before starting the project. Adjust your hook size if necessary to ensure your amigurumi puppy pattern fits the intended dimensions. This ensures a balanced look for your creation.
Experiment: Feel free to explore colors and materials for a unique touch. Different yarn textures can alter the appearance, making your amigurumi puppy distinctive and fun!
How to Wash and Care for Your Amigurumi Puppy
Machine Washing: Use the delicate cycle with cold water and mild detergent. Avoid agitation to prevent any shape distortion in your amigurumi puppy.
Hand Washing: Gently wash your amigurumi puppy in cold water with a soft detergent. Avoid scrubbing harshly to maintain the integrity of the stitches.
Drying: Lay flat to dry, reshaping as needed once the puppy is wet. Do not wring out or hang, as this can lead to sagging or distortion.
Storage: Store your amigurumi puppy in a cool, dry place away from direct sunlight. This helps prevent fading and maintains its soft texture for years to come.
Amigurumi Puppy Pattern Variations
Feel free to customize your amigurumi puppy with these inventive ideas!
- Color Options: Choose from multiple shades to represent different dog breeds—think golden retrievers or chocolate labs!
- Fuzzy Yarn: Swap the medium weight for a plush fiber to give your puppy a soft, cuddly texture that adds charm.
- Size Change: By adjusting the crochet hook size, you can create a cuter, miniature version or a larger toy for playful cuddling.
- Accessory Ideas: Add unique touches like a cute bow tie or collar to personalize your design, making it a sweet one-of-a-kind gift.
- Pattern Mix: Use techniques from the Crochet Flowers Delightful or Free Crochet Weave to embellish your puppy!
- Textured Stitches: Introduce unique textures using stitches like bobbles or puffs for an interesting visual impact.
The most delightful part of crafting your amigurumi puppy is embracing your inner designer. Each change not only showcases creativity but also enhances your crochet journey. Feel free to experiment and tailor the design to your preferences!
Amigurumi Puppy FAQs
Can I substitute yarn for this pattern?
Absolutely! You can use different yarn types; just ensure it’s of similar weight for best results. Plush or fuzzy fibers can give a unique look and feel to your amigurumi puppy.
What if my puppy has dropped stitches?
Don’t panic! If you notice a dropped stitch, carefully reinsert the yarn back into the loop. For future projects, consider using stitch markers to help keep count during rounds.
How do I adjust the size of my amigurumi puppy?
To resize your puppy, adjust your hook size to create a larger or smaller version. A larger hook may yield a bigger puppy, and don’t forget to maintain the stitch count for a balanced look.
What should I do if my puppy has curling edges?
Curling can happen if tension is too tight or if stitches are uneven. Ensure your tension is consistent and try blocking your finished piece to smooth out any curls. Gently pull and shape as needed.
What hook size should I use for this pattern?
The recommended hook size for this amigurumi puppy pattern is a 3.5mm (E) crochet hook. A tighter gauge will provide better structure and shape to your puppy.
How can I personalize my amigurumi puppy?
There are endless opportunities to customize! Change the yarn colors, add accessories like hats or collars, or even adjust the ear shape for a unique touch. This adds character and makes your amigurumi puppy truly yours.
Leave a Reply