
There’s something undeniably magical about the whimsical crochet hooded cape when I see it flutter elegantly in the breeze. This project encapsulates the joy of creating intricate stitch patterns while delivering a striking and playful garment that sparkles with personality. Crocheting a hooded cape not only engages your creativity, but it’s also a quick stash-buster that brings vibrant colors to life, making it a great choice for any level of crafter. As I worked through the airy lace design, I found myself enchanted by how versatile and cozy it is for both children and dolls alike. The delightful drape and soft texture of this cape mean your little ones can play, explore, and let their imaginations soar without feeling weighed down. You’ll soon discover how satisfying it can be to create something that combines beauty with functionality. Will you join me in crafting this enchanting piece for the special little ones in your life?
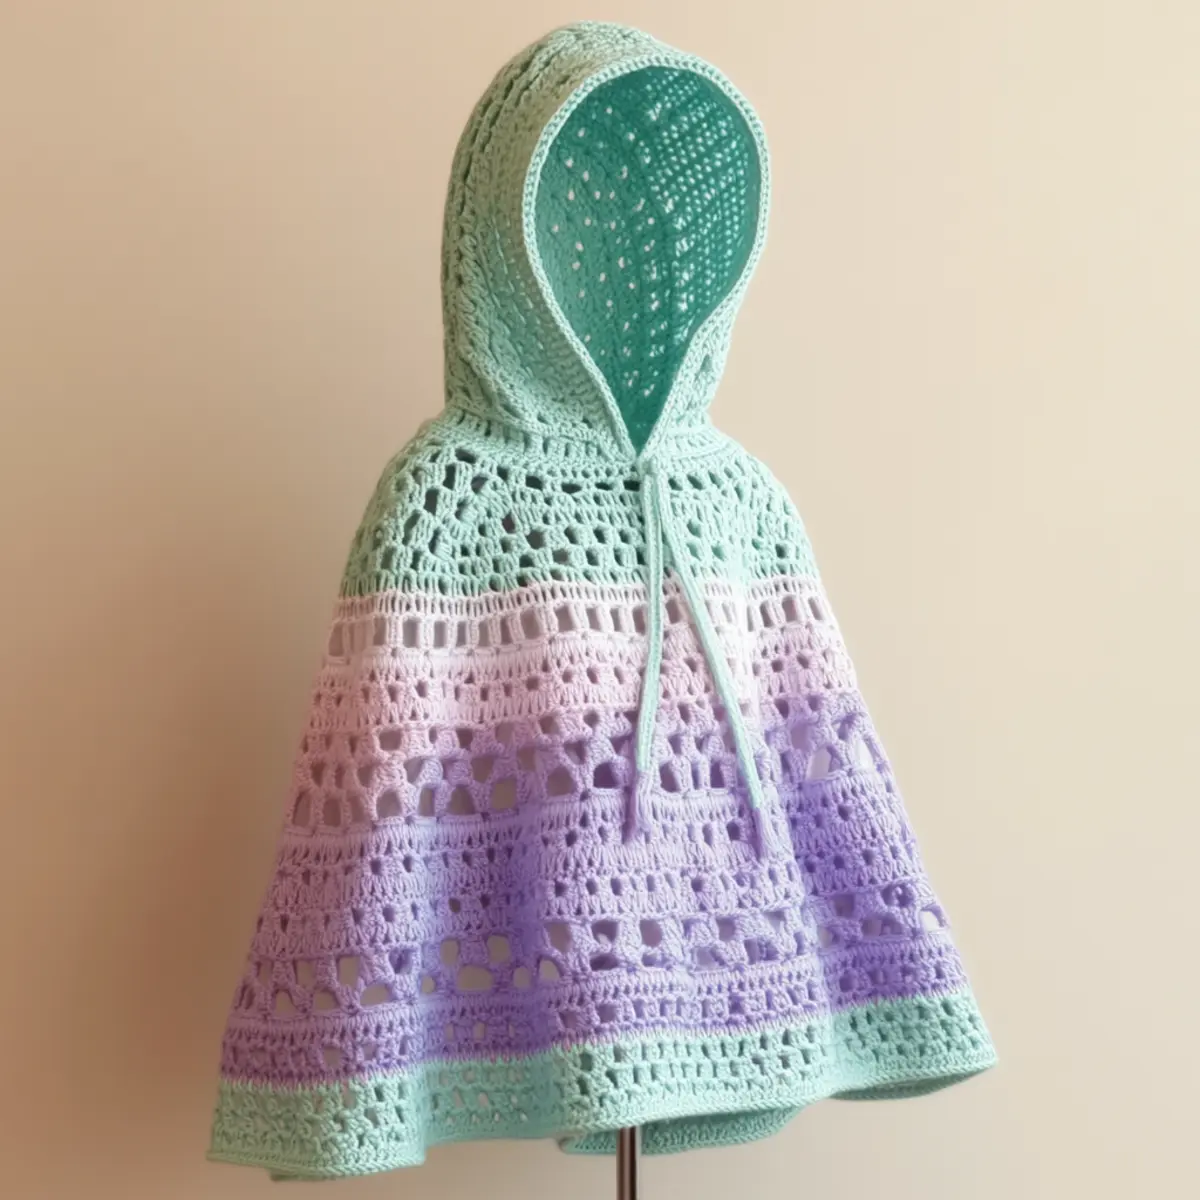
Crochet Hooded Cape Materials & Tools
Yarn
- Lightweight or sport weight yarn – Approximately 200-300 yards will be ideal for crafting this whimsical crochet hooded cape, especially in cotton or acrylic blends for a soft finish.
- Pastel color yarns – Select various pastel shades for a playful, enchanting look that captivates the imagination.
Tools & Notions
- Crochet hook (4.0mm – 5.0mm) – A G-6 to H-8 hook allows for comfortable tension when working through the lace sections.
- Stitch markers – Use these to track pattern repeats while crocheting the intricate lace details, ensuring consistent spacing throughout.
- Measuring tape – Helpful for adjusting the length of the cape; keep handy to personalize with whimsical modifications.
- Ribbons or cords – Use to secure the front opening of the cape, adding extra charm to the design. Consider incorporating pastels that coordinate with your yarn choice for a cohesive look.
Why You’ll Love This Pattern
Simplicity makes this crochet hooded cape a joy to create, keeping you engaged without overwhelming complexity. Airy lacework not only looks stunning, but it also ensures a breezy feel that’s perfect for spring adventures. The stash-friendly nature of this project means you can blend leftover yarns, creating a unique piece that showcases your creativity. Plus, it’s a time-saver; you can whip this up in no time, making last-minute gifts or wardrobe staples a breeze! Finally, its charming aesthetic appeal can be easily tailored to fit any theme or celebration; check out how you can pair this with a Cozy Granny Square dress for a full outfit transformation. Get ready to have fun and perfect your crochet skills as you create something truly captivating!
Gauge & Sizing Notes for Crochet Hooded Cape
It’s crucial to check your tension when crafting the crochet hooded cape to ensure it holds its intended shape and drape. A standard gauge for this project should measure 4×4 inches (10×10 cm) using 10 dc and 5 rows through the lace sections. If your swatch does not match the gauge, consider adjusting your hook size until the tension is right. To customize the fit for your specific needs or preferences, modify the initial chain count or increase the number of rows up to 80 to enhance length. The delightful airy quality of your cape allows versatility, so you can cater to both children and dolls alike with ease. Remember, if needed, add or subtract in multiples of 5 stitches to maintain your lace pattern’s integrity while creating a truly whimsical piece.
Step-by-Step Pattern for Crochet Hooded Cape
Row 1: Foundation Chain Start by chaining 60 for a base size suitable for children. This initial chain will guide the width of your crochet hooded cape and should feel comfortable yet not too tight, ensuring it drapes well once complete. (60 ch)
Row 2: Establishing Base Work 1 dc in the 4th chain from the hook, then 1 dc in each of the next 2 ch. This will create the beginning of your cape’s body featuring the essential lace framework. Turn your work. (3 dc)
Row 3: Beginning Lace Pattern Start the lace edgeline by chaining 3, then skipping 2 dc, and work 5 dc into the next stitch. Chain 1, repeat this until you reach the end of the row, ensuring to finish with a dc in the last stitch for neatness. (1 ch, 5 dc, 1 ch)
Row 4: Tapering the Lace For this row, chain 3 and turn your project. Work 1 dc into the ch 1 space from the previous row, then repeat the lace pattern from Row 3. This maintains the airy design and enhances the visual appeal of the crochet hooded cape. (total lace stitched)
Row 5: Complete the Body Continue building your pattern by alternating solid dc segments with lace sections. In this row, complete 10 dc followed by a ch 1, sk 1 repeat to create openness. Turn to complete after reaching the row’s end. (10 dc, 1 ch)
Row 6: Lengthening the Cape To extend the cape, repeat the alternating rows, adding 6 additional rows thus far to achieve your desired length. Assess your progress frequently to capture the whimsical flow of the crochet hooded cape as it builds. (6 rows added)
Row 7: Shape the Hood Move on to the hood by chaining 30 and work 1 dc in the 4th chain. Then stack dc across your new chain while turning your work after every row until the hood piece reaches approximately 12 inches in height for adequate coverage. (30 ch)
Row 8: Joining the Hood Carefully align the last row of your hood with the neckline of the cape. With right sides together, sl st to join the cape and hood securely while working evenly across. This step will yield a seamless connection vital for functionality. (joined neckline)
Row 9: Finalizing the Edges With the cape assembled, proceed to work a sc around the edges for a cleaner finish. This will prevent unraveling and adds durability to the seams, enhancing the structural integrity of the crochet hooded cape. (1 round of sc)
Row 10: Adding Ribbons Tie off and secure any loose ends, and attach pre-measured ribbons or cords to the front opening. This charming detail not only adds style but also functionality as it allows for easy closure while preserving the whimsical look of your finished project. (secured endpoints)
Row 11: Blocking the Cape As a finishing touch, gently block your complete cape by soaking in lukewarm water, then stretch the lace sections to reveal their full beauty without excessive force for best results. Blocking enhances both aesthetic and function, making your crochet hooded cape pop! (blocked and dried)
Row 12: Enjoy Your Creation Finally, admire your whimsical crochet hooded cape. Wear it yourself or gift to a little one for imaginative play! Reflect on the textures, colors, and the joy of crafting such a unique piece that nurtures creativity and whimsy! (completed cape)
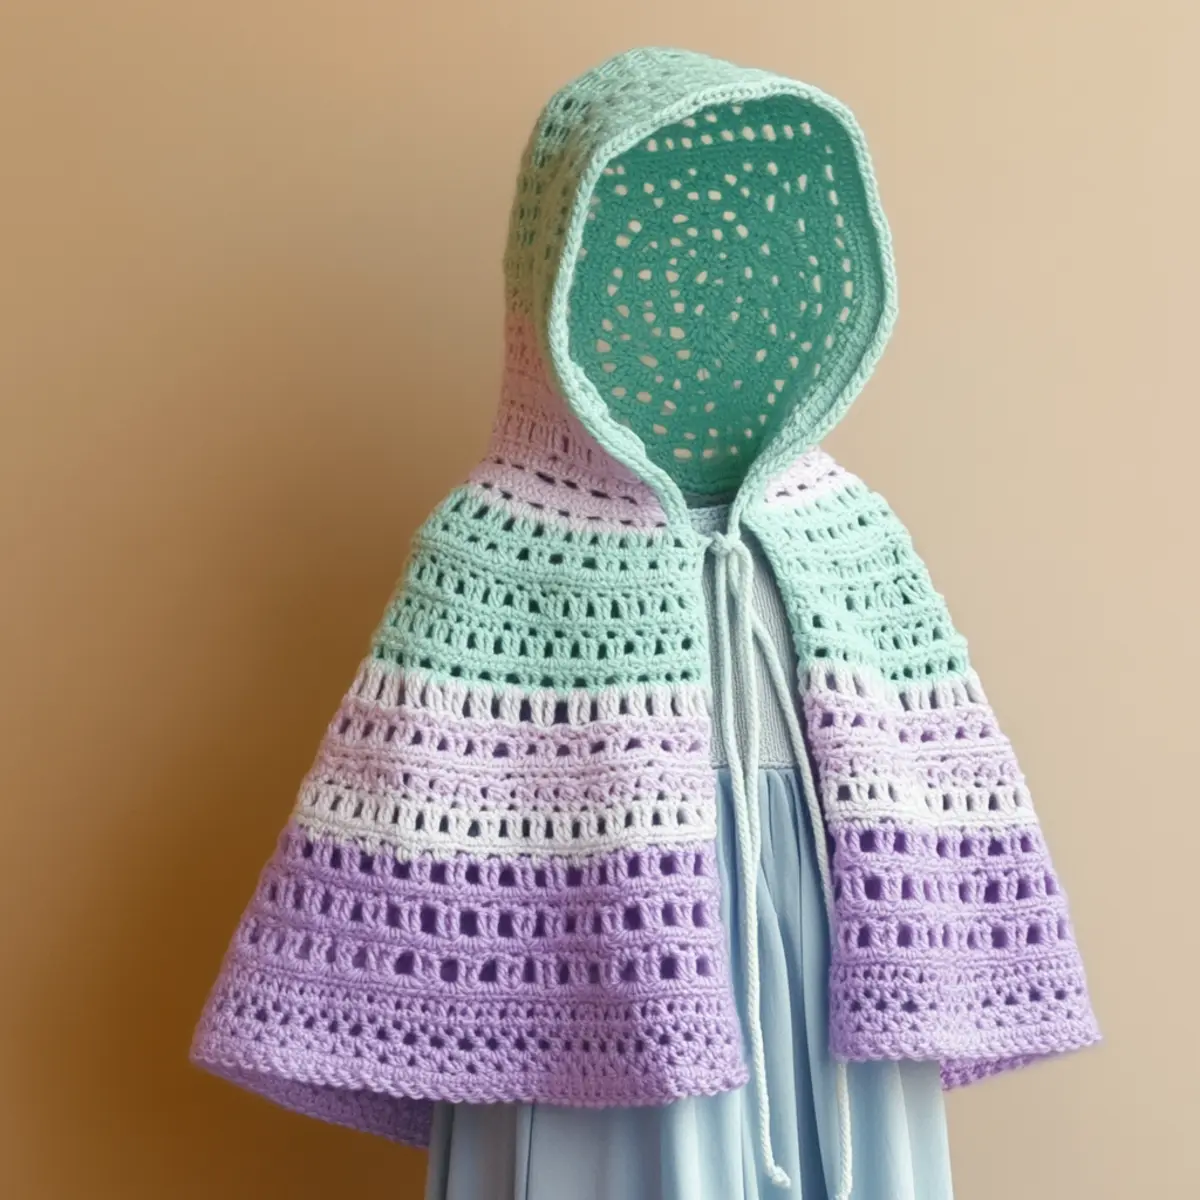
How to Wash and Care for Your Crochet Hooded Cape
Machine Washing: If machine washing, use a gentle cycle with cold water to maintain the durability and color of your crochet hooded cape without distressing the stitches.
Hand Washing: Hand wash your cape with mild detergent in lukewarm water to gently clean while preserving the lacy details you’re so proud of. Rinse thoroughly without twisting.
Drying: Lay your cape flat on a clean surface to dry, avoiding direct sunlight. This helps to maintain the shape and features of your crochet hooded cape while preventing any unwanted stretching.
Storage: Always store your crochet hooded cape in a cool, dry area folded neatly or flat to avoid deformation, keeping its lovely shape intact.
Crochet Hooded Cape Variations
Feel free to personalize your crochet hooded cape project with these fun variations!
- Vibrant hues: Swap out pastels for bright, bold colors to create a striking statement piece that stands out during outdoor adventures.
- Textured accent: Incorporate popcorn or shell stitches in place of standard double crochet to add unique texture and dimension to your cape.
- Different fibers: Experiment with bamboo or silk blends for a luxurious feel and a shinier finish that catches the light beautifully.
- Size adjustments: Alter the foundation chain and repeat rows to fit older children or larger dolls, making this cape a versatile pattern for various sizes.
- Embellish with charm: Add whimsical pom-poms or lace ribbons along the edges for a playful touch that enhances the cape’s enchanting appeal.
- Seasonal styles: Create a winter version using thicker yarns with a cable stitch pattern, transforming your cape into a cozy, stylish outerwear piece.
- Mixed-media fusion: Add appliqués or crochet flowers from a Flower Granny Square to enhance flair and customize the design further.
- Matching accessories: Crochet a matching bag or hat for a complete ensemble, allowing young wearers to embody the essence of a whimsical character.
Expert Tips for a Joyful Crochet Hooded Cape
Check Tension: Ensure to check your tension while working on open lace sections; this is crucial for maintaining the shape of your crochet hooded cape.
Use Stitch Markers: Use stitch markers to keep track of pattern repeats, especially in lacy sections. This can prevent losing count and maintaining the intended design.
Avoid Twisting: When starting your foundation chain, ensure the chain is not twisted. A twisted chain can lead to an uneven base, affecting the overall flow of your cape.
Final Block Effectively: When blocking your finished cape, gently stretch the lace sections to reveal their beauty without excessive force. Proper blocking enhances the drape and appearance of your crochet hooded cape.
Secure Ends Properly: Make sure to secure any loose ends at the end of the project to maintain the integrity of your crochet hooded cape. This keeps it looking neat and polished.
Practice Patience: Lacework can be intricate, so practice patience when working through it. Taking your time will ensure that your crochet hooded cape turns out beautifully.
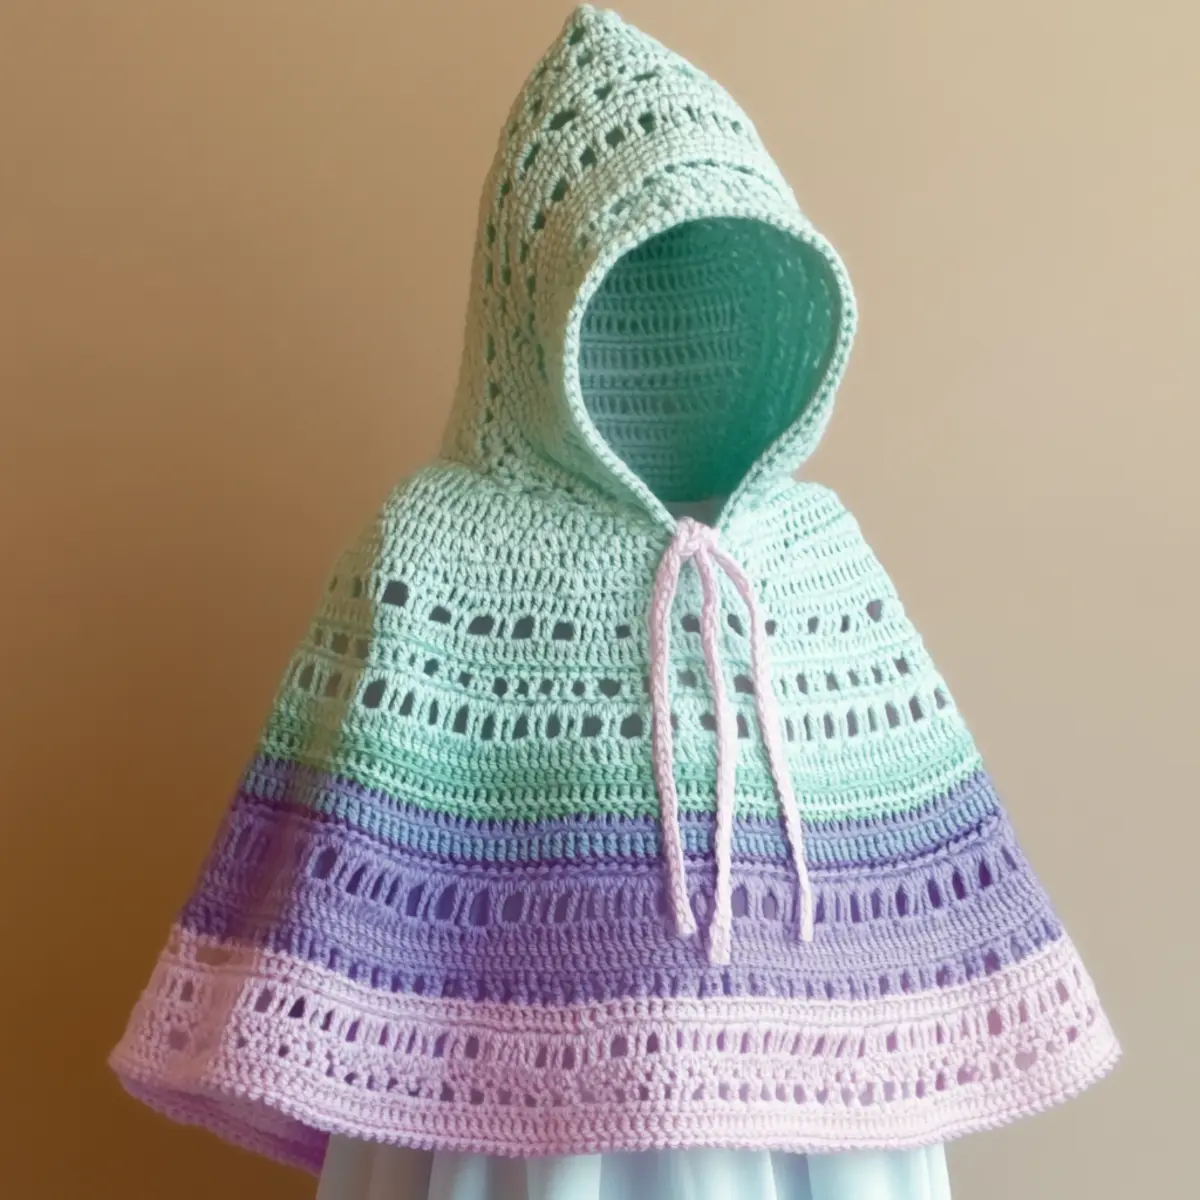
Crochet Hooded Cape FAQs
Can I use a different yarn for the crochet hooded cape? Absolutely! While a lightweight or sport weight yarn is recommended for this project, you can substitute with similar weight yarns. Just keep in mind that it may change the drape and final appearance.
How do I adjust the size of my crochet hooded cape? Don’t panic! To adjust the size, modify the foundation chain and the number of rows. Depending on the age or doll size you’re crafting for, increase or decrease in multiples of 5 stitches to maintain the lace pattern integrity.
What should I do if my cape starts curling? If you notice curling, blocking is key! Gently block your crochet hooded cape after completion to help relax the stitches and improve its flatness. Proper tension during crocheting can also help prevent curling.
What hook size should I use for the cape? Use a crochet hook ranging from 4.0mm to 5.0mm (G-6 to H-8) for this project. Your chosen hook can also affect the tension and drape, so adjust as necessary based on your tension swatch.
What if I drop a stitch while crocheting? Don’t worry! Simply identify the dropped stitch, and carefully work it back up through the last completed stitch. Use a stitch marker to secure rows as you work to prevent this in the future.
Can I add embellishments to my crochet hooded cape? Absolutely! Consider adding buttons, ribbons, or embroidery to personalize your crochet hooded cape. These touches can enhance the whimsical nature of your creation and reflect your style.
Leave a Reply