
If there’s one project that continues to bring joy to both makers and recipients alike, it’s the adorable crochet teddy bear. This cozy crochet bear pattern is not only a delight to create, but also a lovely gift for loved ones. One of the best parts about this project is its beginner-friendly nature; you can easily dive into crocheting without feeling overwhelmed. Plus, it’s a fantastic stash-buster that allows you to use up yarn remnants while crafting something truly special. From the soft, cuddly texture to its animated expression, this bear is sure to capture hearts every time. The smile on a child’s face when they receive this bear is unbeatable! So whether you’re making it for a nursery decor or as a heartfelt gift, get ready to enjoy the engaging process of amigurumi while enhancing your crochet skills. As you stitch, you’ll uncover techniques that make this project uniquely enjoyable. Could your next favorite creation be this adorable bear?
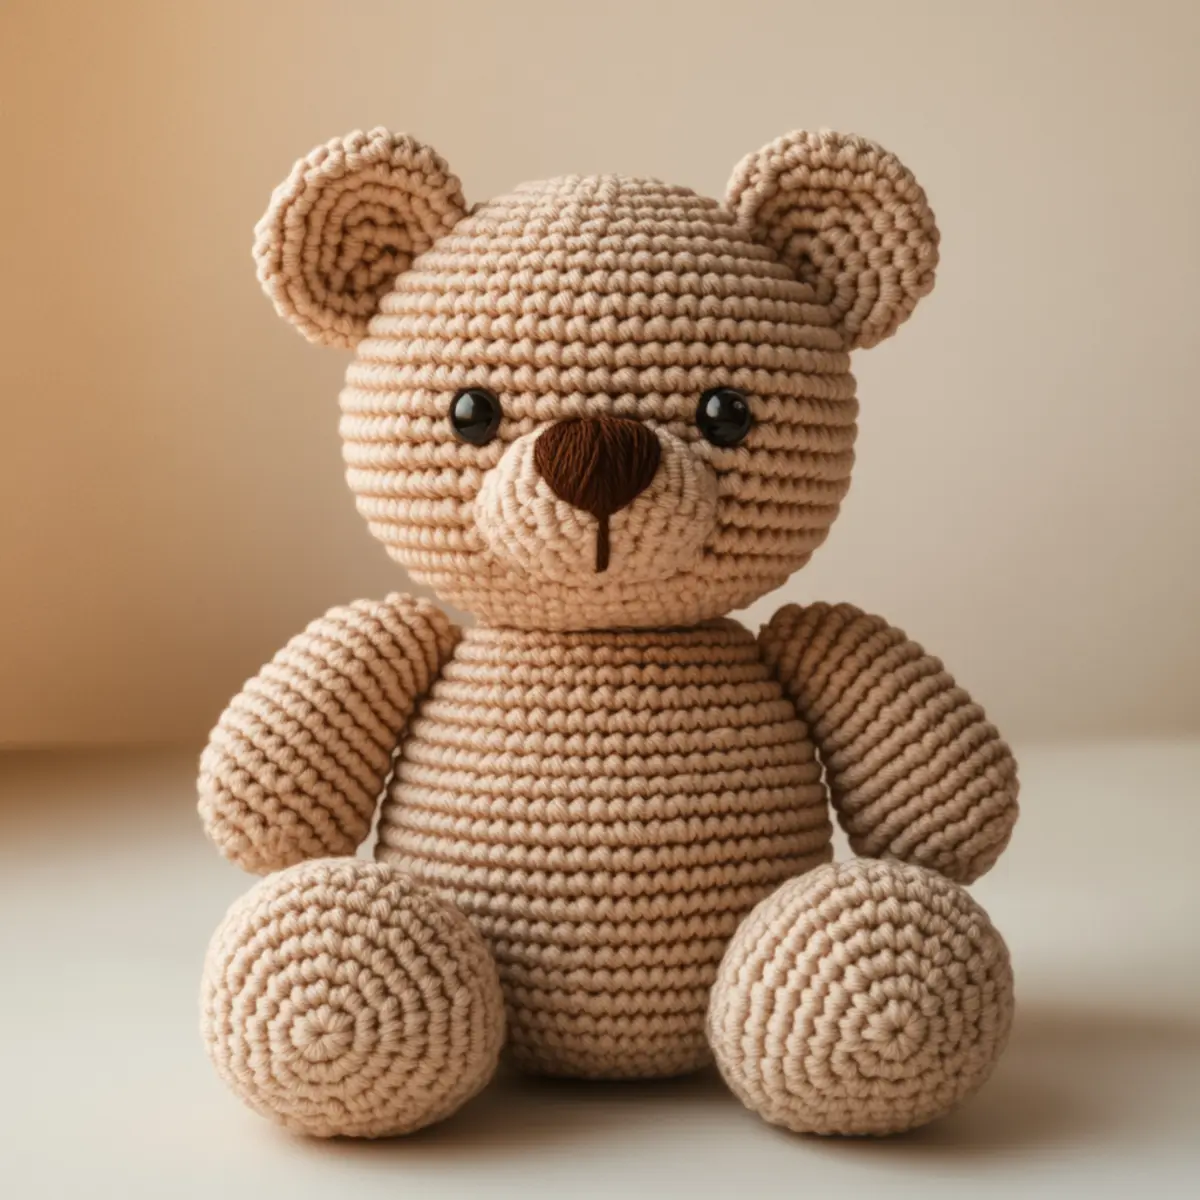
Crochet Bear Pattern Materials & Tools
Yarn
- Lightweight 4-ply acrylic or cotton blend – Choose something soft and durable for your crochet bear pattern.
- Approximately 200 to 300 yards – This ensures you have enough yarn to complete a bear of desired size.
Tools & Notions
- 3.5 mm (E/4) crochet hook – Ideal for achieving the right tension and sizing for your teddy bear.
- Safety eyes – Make sure these are securely attached to ensure the safety of your plush bear.
- Yarn needle – Necessary for sewing pieces together and finishing off your bear, especially important for the muzzle and limbs.
- Polyester stuffing – For that plush and cuddly effect, use stuffing but avoid overstuffing to maintain shape.
- Optional embellishments – Consider adding a ribbon or buttons for extra charm, but be sure to secure them well.
Why Will This Crochet Teddy Bear Captivate You?
Crafting your very own teddy bear allows for an incredible sense of accomplishment. Perfectly suited for beginners, this pattern guides you gently through crochet basics without feeling daunting. Versatile is an understatement; you can craft a bear in any color using your favorite yarn, making it a fantastic stash-buster. Not only does it allow for customization, but it also saves you time with straightforward assembly steps. Each bear can carry a unique character with simple embellishments, and the option to add safety eyes or even a pretty bow gives it that personal touch. For those interested in enhancing their skills, revisiting techniques through Crochet Lace Stitch or joining pieces using seamless methods like the free crochet weave are fantastic ways to advance your crochet journey. Plus, its aesthetic appeal with plush textures and happy expressions makes it a universally treasured project!
Gauge & Sizing Notes for Crochet Bear Pattern
Checking your tension is crucial in the crochet bear pattern to ensure a consistent look and feel throughout your project. For a standard 4×4 inch (10×10 cm) swatch, aim for approximately 5 sc rows and 5 sc across. If your gauge doesn’t match, consider adjusting your hook size; a larger hook may loosen the stitches, while a smaller one will tighten them. To resize your bear, you might adjust the starting chain/rounds—more stitches will create a larger bear, or fewer stitches can give you a smaller version. If your swatch doesn’t match after adjustments, try changing your yarn as well; switching to a thicker or thinner yarn can also greatly affect the outcome. Remember, a properly gauged bear will have an approximate height of 10-12 inches, making for a perfect snuggle buddy for kids and adults alike, solidifying this crochet bear pattern as a beloved project.
Step-by-Step Pattern for Crochet Bear Pattern
Row 1: Start with the Head Begin your teddy bear by making a magic ring (MR). Work 6 single crochet (sc) into the MR to create the base of the head. Pull the ring tight to close (6 st).
Row 2: Shape the Head Increase the head by working 2 sc in each stitch around. You’ll now have 12 stitches, giving your bear a nice, rounded shape (12 st).
Row 3: Build Up the Head Continue to work in rounds, using a combination of 1 sc and 1 increase (inc) in each round. Repeat this sequence around to achieve a total of 18 stitches on this row for the head (18 st).
Row 4: Continue Shaping For this round, sc in each st around. It’s vital to maintain your tension here for even appearance as you create the cranium (18 st).
Row 5: Define the Face Shape Now it’s time to accentuate the features. Work an inc in the first stitch, then sc in the next 2 stitches around, repeating this process to reach 24 stitches at the end of the round (24 st).
Row 6: Neck Formation Switch to a straight section by crocheting 1 round of sc without any increases, keeping your rows consistent as we shape the neck (24 st).
Row 7: Create the Body Begin to form the torso by adding an inc after every 4th stitch. This gives it a subtle widening as you reach the midsection of your bear (30 st).
Row 8: Form the Body Base Work another completely straight round of sc. This adds stability for when you attach limbs later (30 st).
Row 9: Start the Legs Create a new magic ring and work 6 sc into it for the first leg. Pull tight and close off with a slip stitch (sl st) (6 st).
Row 10: Shape the Leg Increase by working 2 sc in each around. This will round out the leg beautifully, bringing your total to 12 stitches (12 st).
Row 11: Another Leg Repeat Rows 9 and 10 to create the second leg. Such symmetry is key in making your teddy bear look well-proportioned.
Row 12: Assemble the Head Carefully stuff the head with polyester stuffing, ensuring it’s evenly distributed. Attach safety eyes securely before closing the top. Remember to position them at an equal distance for a balanced face.
Row 13: Create Ears Start with an MR and work 4 dc. Sl st to join and ch 1. Repeat this for another ear. These whimsical ears are important features to give personality.
Row 14: Attach All Together Position the head atop the body and stitch securely. Attach hands and legs similarly, ensuring they are evenly spaces to create that cuddly posture (leg placement is crucial for balance!).
Row 15: Final Touches Add the muzzle with an MR and 6 sc. Shape it before attaching it to the face. Now your bear is almost complete! Secure all pieces tightly to ensure they won’t come undone during play.
Row 16: Personalize & Finish Add ribbons, buttons, or any other embellishments last, being sure you stitch them securely. This gives your crochet bear pattern an extra special touch. Once you finish, admire your creation for a job well done.
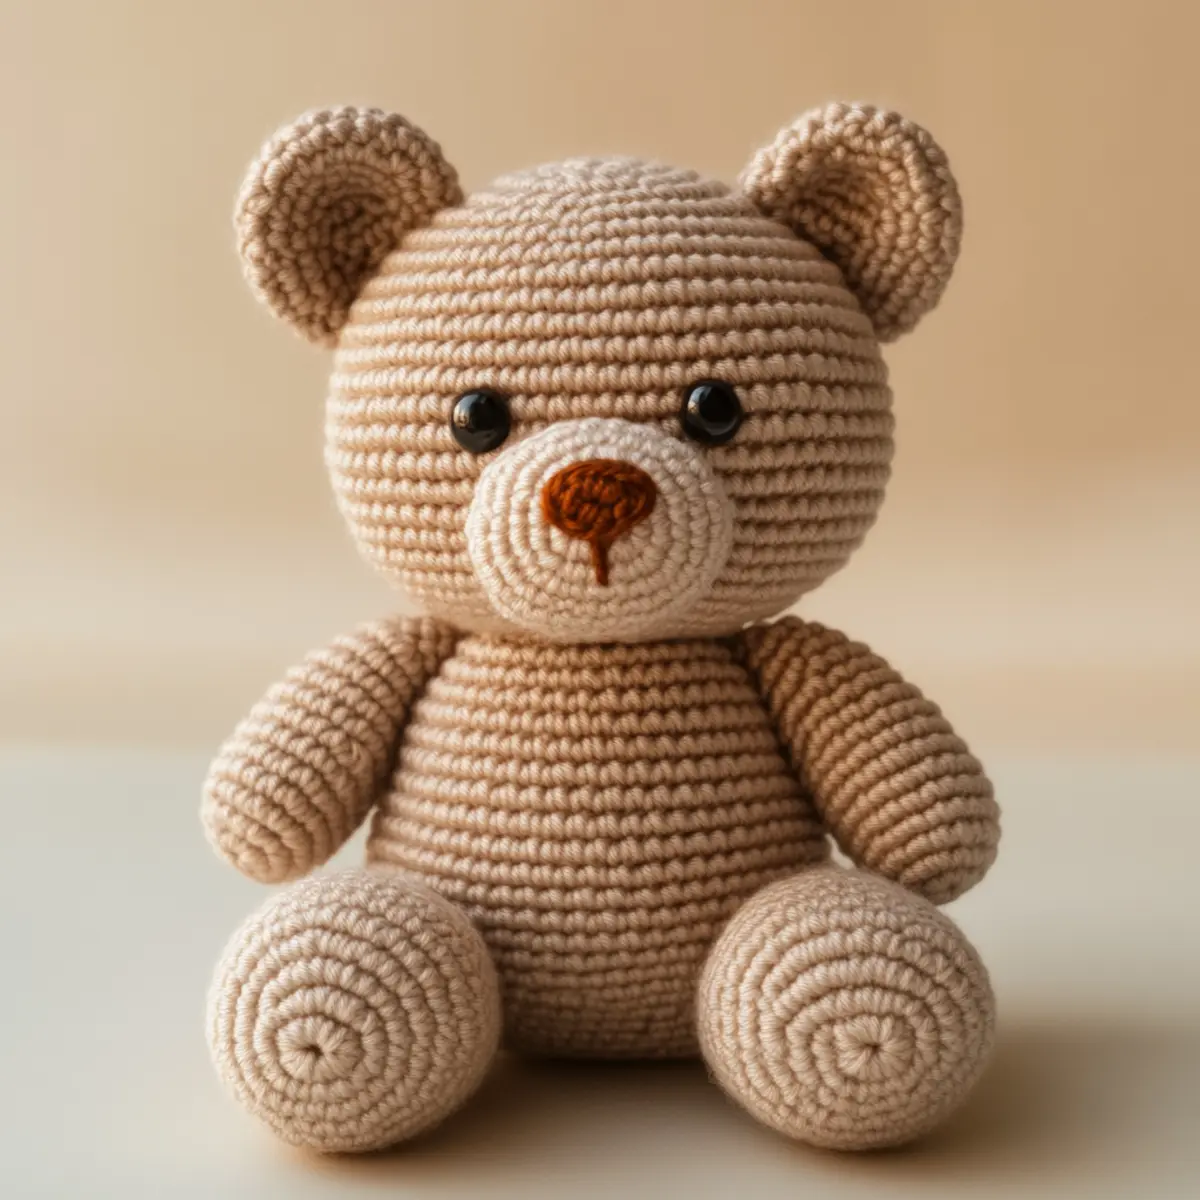
How to Wash and Care for Your Crochet Bear Pattern
- Machine Washing: Use a gentle, cold water cycle and place your bear in a laundry bag to prevent snagging during the wash.
- Hand Washing: Fill a basin with cool water and mild detergent, gently agitating as needed and avoiding vigorous scrubbing.
- Drying: Always lay your teddy bear flat to dry in a shaded area, keeping it away from direct sunlight to prevent fading.
- Storage: Store your crochet bear in a dry, cool place, preferably in a breathable bag to avoid dust accumulation and maintain its cute shape.
Crochet Bear Pattern Variations
Feel free to make your crochet bear uniquely yours! Experimenting with different materials can create wonderful variations.
- Different Yarn: Use a bulky weight yarn for an extra snuggly bear. Thicker yarn creates a larger, plush look that’s perfect for hugging.
- Pastel Palette: Opt for soft pastel shades to give your teddy bear a calming vibe, making it an ideal nursery decoration.
- Bold Colors: For a modern twist, use bright colors like neon yellows or rich purples to craft a trendy, eye-catching bear.
- Variegated Yarn: Choose variegated yarn for a playful multi-colored effect throughout your bear, making it visually fascinating.
- Facial Expression: Modify the facial features by stitching different expressions, giving your bear personality, such as a wink or a silly grin. Crafting unique expressions can add charm.
- Addition of Accessories: Sew a tiny scarf or hat, or even a small bag to enhance your bear’s character. The extra elements can make the project feel more personal.
- Resize It: Use finer or thicker yarn alongside an appropriate hook size to create a smaller or larger version while maintaining the pattern’s integrity.
- Textured Modifications: Integrate textured stitches like popcorn or bobble stitches for a tactile experience. The different textures can make your bear more engaging for little fingers.
As you can see, there are numerous ways to play around and personalize your crochet bear, ensuring each creation is as special as the recipient!
Expert Tips for the Best Crochet Bear Pattern
- Consistent Tension: Maintain even tension throughout your project to avoid gaps or loose stitches on your crochet bear pattern.
- Track Your Count: Use a stitch marker to keep track of rounds when working in continuous rounds, ensuring you don’t lose count.
- Stuff Gradually: Stuff the bear carefully and gradually; overstuffing can distort its shape and ruin the cuddly appearance.
- Twisted Chain: When starting with a magic ring, ensure it’s not twisted; this affects the entire foundation of your crochet bear pattern.
- Secure Embellishments: If adding eyes or decorative elements, secure them well to avoid choking hazards, especially for children.
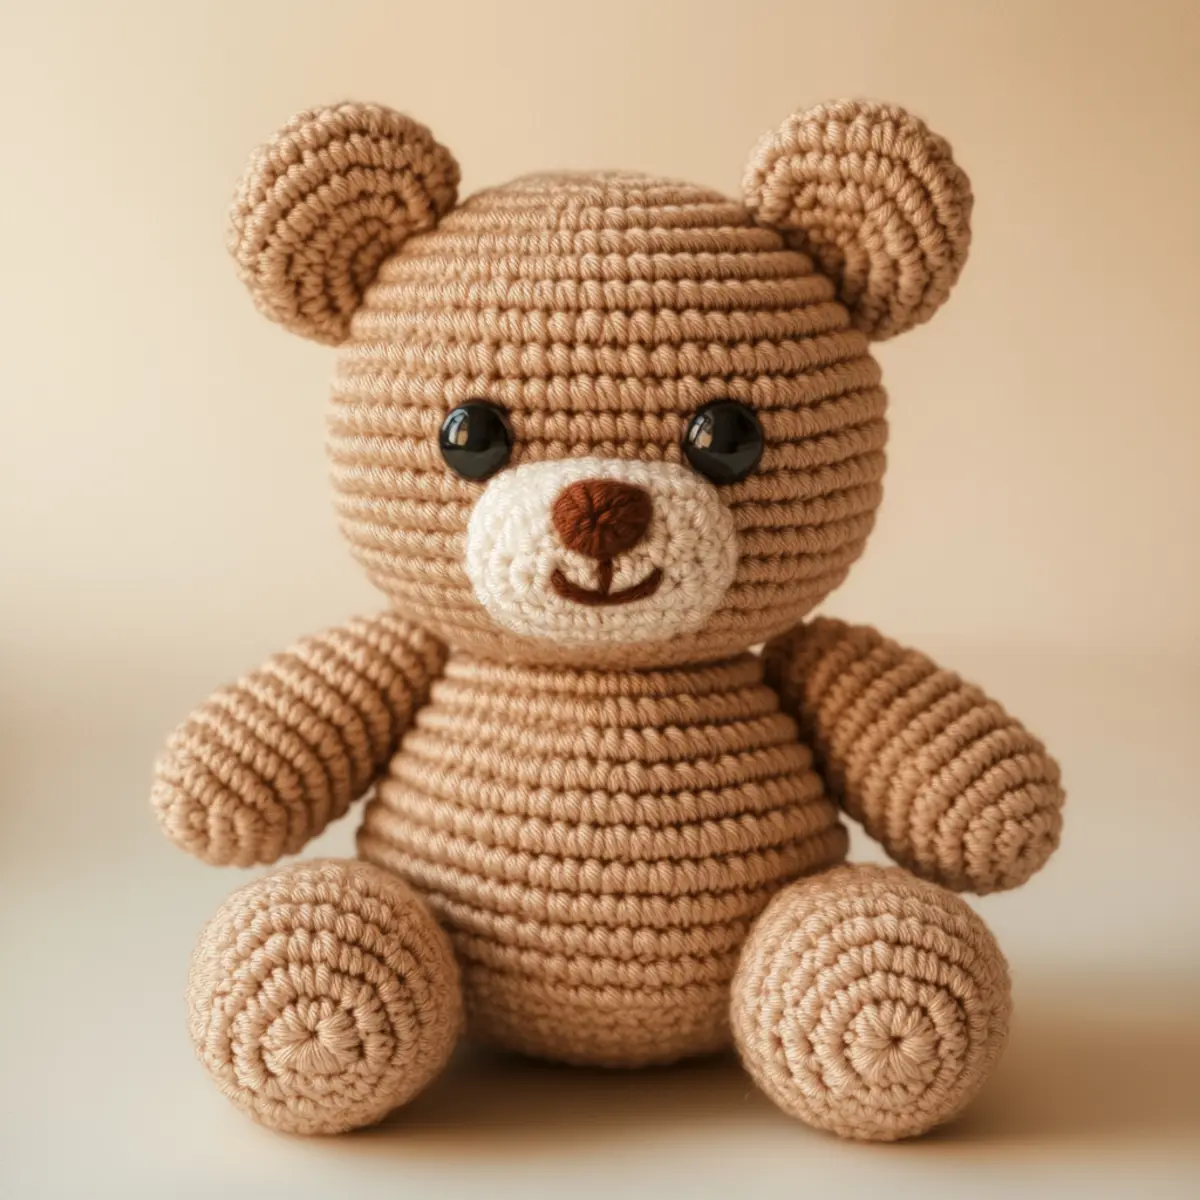
Crochet Bear Pattern FAQs
Can I use a different yarn for the crochet bear?
Absolutely! You can substitute yarn as long as it’s lightweight like a 4-ply acrylic or cotton blend for best results.
What sizes can I make my crochet bear?
You can adjust the size of your bear by using thicker yarn with a larger hook for a bigger bear, or finer yarn for a smaller version. Typical size should be around 10-12 inches.
Help! I dropped a stitch while crocheting! What should I do?
Don’t panic! Simply use a crochet hook to pick it back up and continue from where you left off; practice makes perfect!
Which hook size is best for this project?
A 3.5 mm (E/4) crochet hook works well, but feel free to adjust based on your personal tension and yarn choice.
What if my crochet bear is curling up?
If your bear is curling, check your gauge and adjust your tension. It’s important to manage your stitch count carefully as uneven tension can lead to a curled appearance.
Can I customize the face of my crochet bear?
Yes! You can customize expressions and add embellishments like stitched accessories or different eye styles to give your bear unique character.
Leave a Reply