
As I crafted the Mabel Chicken, I felt a delightful spark of whimsy take over. This cheerful crochet project is perfect for anyone seeking a playful addition to their decor. The Mabel Chicken is an enticing option for beginner crochet enthusiasts looking to hone their skills with friendly and straightforward techniques. With approachable stitch patterns, you’ll not only bolster your crochet confidence but also create a charming piece that can brighten any nook in your home. As a bonus, this project acts as a fantastic stash-buster, allowing you to use up those worsted-weight yarn scraps lingering in your stash. It’s a rewarding endeavor that requires minimal tools and delivers maximum cuteness. Plus, you can customize your chicken with various colors and accessories, bringing even more joy to the making process. Ready to welcome Mabel into your crafting circle? Let’s dive in and discover the whimsical world of crochet chickens together!
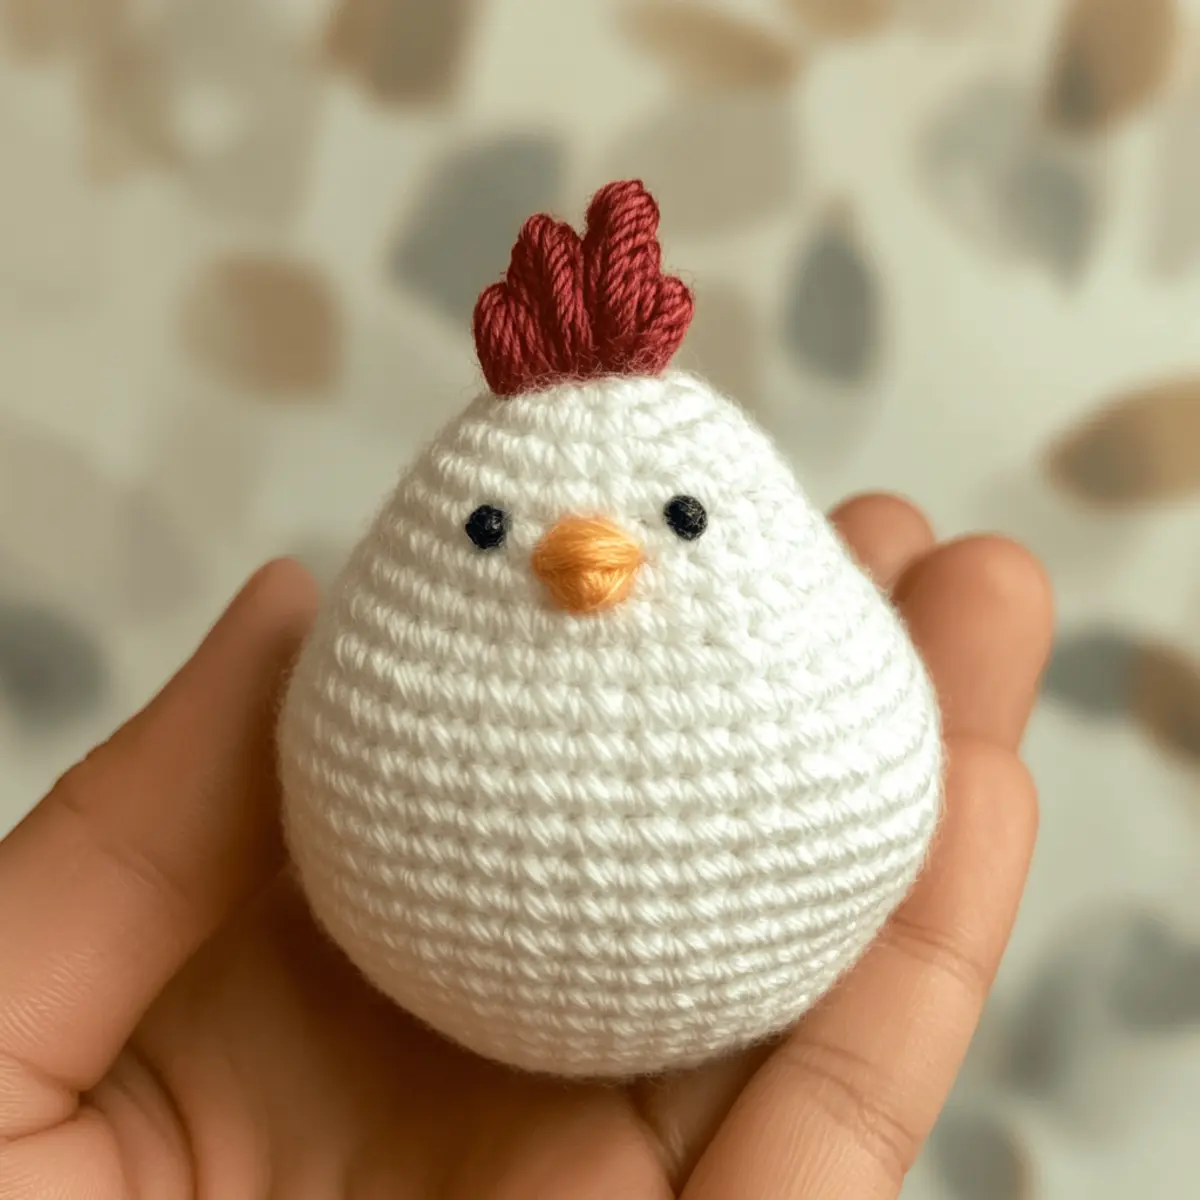
Beginner Crochet Chickens Materials & Tools
Yarn
- Medium weight yarn – Approximately 150-200 yards of worsted-weight yarn is required to create a Mabel Chicken; choose a blend of acrylic or cotton for durability and softness.
- Colorful yarn options – Experiment with pastels for spring-themed decor or vibrant shades for a fun, lively look.
Tools & Notions
- 4.0 mm (G-6) crochet hook – This size is essential for achieving the correct tension and stitch definition for your beginner crochet chickens.
- Stitch markers – Use these to track your rounds and maintain precise stitch counts for a well-shaped chicken.
- Buttons for eyes – Small decorative buttons will add character to Mabel’s face.
- Embroidery thread – Use this for detailing Mabel’s facial features, enhancing your chicken’s charm.
- Scissors and tapestry needle – Handy for cutting yarn and weaving in loose ends, ensuring a polished finish.
Why You’ll Love This Pattern
Mabel Chicken’s whimsical design captures attention from the moment you see it! Simplicity reigns supreme in this pattern, making it ideal for beginners and experienced crafters alike who want a quick win. Textural opportunities abound, allowing you to personalize your creation by using fuzzy yarns for something extra special. Plus, it’s a wonderful project for your yarn stash; you can easily create multiple chickens in various colors, making it not just a single project but a delightful flock! What’s even better is that this pattern offers a chance to experiment with accessories, from tiny bows to playful hats, ensuring your Mabel Chicken is uniquely yours. Don’t miss out on other engaging projects like the Free Crochet Weave or Crochet Flowers Delightful, which similarly highlights creativity and hands-on fun. The aesthetic appeal of Mabel Chicken will surely add a touch of countryside charm to your seasonal decor.
Gauge & Sizing Notes for Beginner Crochet Chickens
Checking tension is essential for the Mabel Chicken project to ensure it turns out just right. Aim for a gauge of 4×4 inches (10×10 cm) composed of 4 sc and 4 rows to ensure a consistent fit. If your swatch doesn’t match, adjust your hook size accordingly; going up if it’s too tight, or down if it’s too loose. To resize Mabel, use a longer starting chain, adding multiple of 6 for each additional round of increase. You can also choose thicker yarn for a larger chicken, or thinner for a petite version. Following this guidance ensures your beginner crochet chicken turns out perfectly, maintaining that charming aesthetic that every home craves during seasonal celebrations.
Step-by-Step Pattern for Beginner Crochet Chickens
Row 1: Start Body
Begin with a magic circle (mc). Work 6 sc into the mc to form a tight circle, ensuring it’s snug for stuffing later. (6)
Row 2: Increase Body
Work an inc in each sc around. This will create a nice, round shape for Mabel’s body. Remember to mark the start of your round to track your stitches. (12)
Row 3: Shape Body
This row will set the foundation for the body. Work 1 sc in the first sc, then inc in the next sc. Repeat around until you’ve completed the round, maintaining the shape. (18)
Row 4: Expand Body
Continue building Mabel’s lovely belly by working 2 sc in each of the next two stitches, then sc in the third stitch. Repeat till the row ends, creating a nice round figure. (24)
Row 5: Solidify Shape
For this row, work 1 sc in each of the first 4 stitches, followed by an inc. This step is crucial to keep the body balanced while transitioning into the upper parts of the chicken. (30)
Row 6: Body Completion
Simply work 1 sc in each stitch around, giving Mabel’s body the firm structure it needs. Count your stitches to ensure you have 30 at the end of the round. (30)
Row 7: Start Head
To create Mabel’s head, switch to a magic circle again. Work 6 sc into the mc. This smaller circle will help form a distinguished head from her body. (6)
Row 8: Increase Head
Just like the body, work inc in every stitch. This will help create a rounded head shape, perfect for attaching features later. (12)
Row 9: Shape Head
In this row, work 1 sc in 1 st, then inc in the next stitch. Repeat this pattern to help define the head’s contour. Count to ensure you have 18 stitches in total. (18)
Row 10: Head Finalizing
Keep the head round by working 1 sc in each stitch around for this row. No increases, just defining the round shape. Let’s count to confirm we still have 18! (18)
Row 11: Attach Head to Body
Position the head on the body where desired. Use sl st to attach the head securely, ensuring it’s straight and aligned well. This is important for Mabel’s cheerful look! (1)
Row 12: Features and Finishing Touches
To finish, sew on buttons for eyes and embroider a beak with embroidery thread. This will give Mabel her whimsical expression. Block lightly if desired to enhance the overall shape.
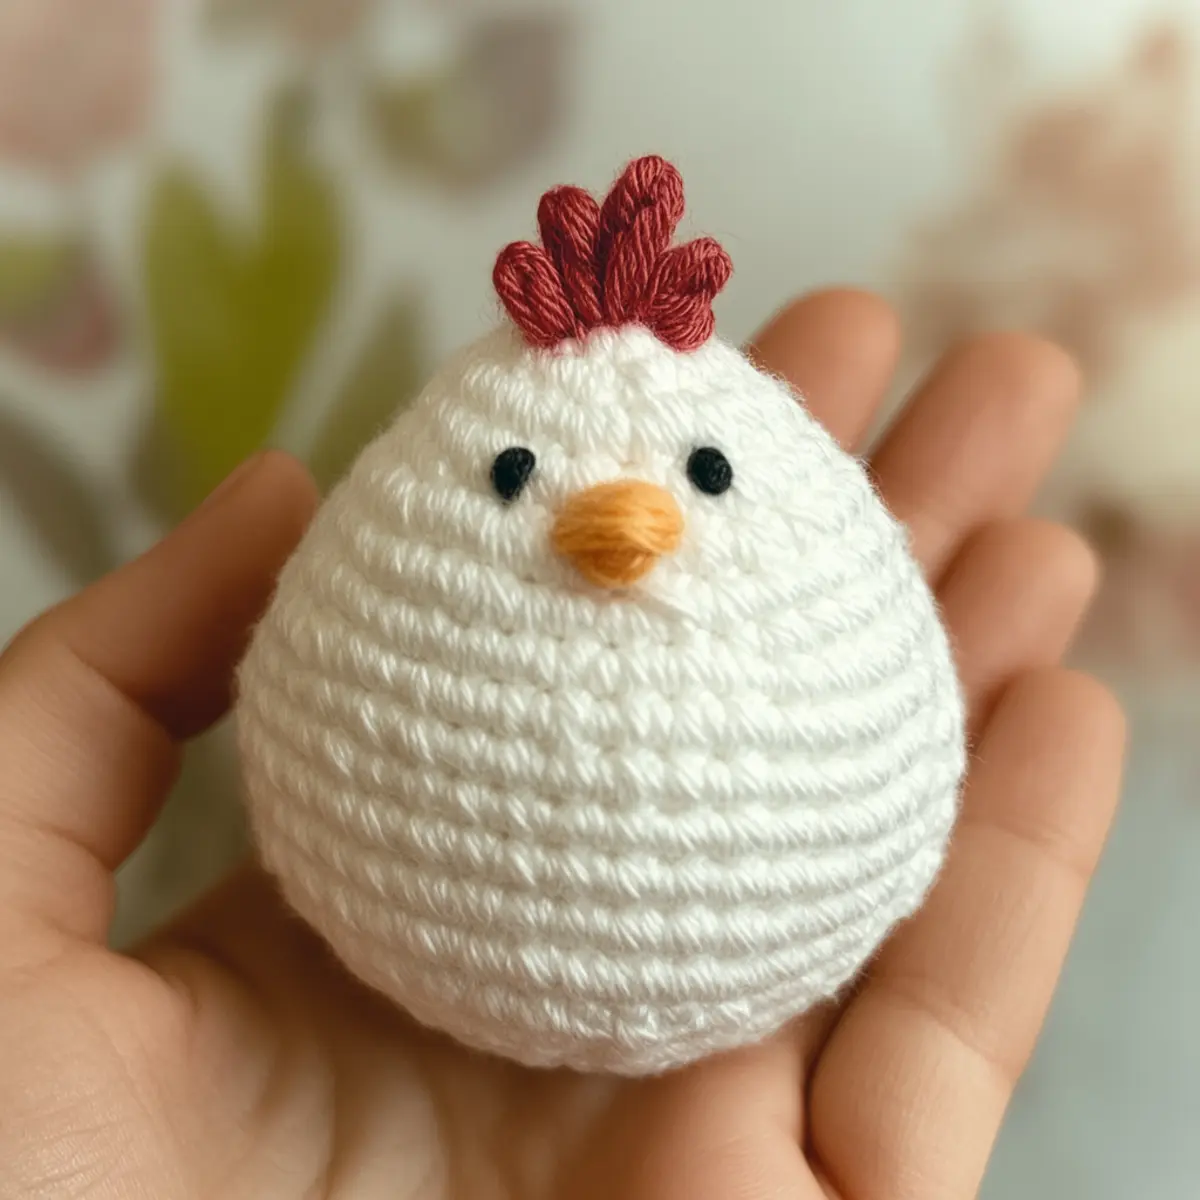
Beginner Crochet Chickens
Feel free to personalize your crochet chicken project! Experimenting with materials and techniques can take your creation to the next level.
- Pastel Colors: Using soft pastel shades will give your chicken a gentle, spring-like essence, perfect for Easter displays.
- Fluffy Yarn: Choose a fluffy yarn for added texture and a cuddly appearance, making Mabel even more huggable.
- Bobble Body: Incorporating bobble stitches can add visual interest and a whimsical touch to your chicken’s form.
- Size Variations: Use thinner yarn with a smaller hook to create mini-chickens, perfect as ornaments or gifts.
- Accessorize: Add tiny hats or bows to personalize each chicken, turning them into fun character pieces for decor.
For a more dynamic approach, try combining techniques, such as using a combination of single and double crochet stitches around the body to create depth and movement in your design. This will not only enhance Mabel’s features but also offer a delightful challenge for your crochet skills. Be sure to explore other projects like Crochet Flowers Delightful to create matching decor for special occasions or home settings.
- Color Blocking: Switch yarn colors every few rows to give a color-blocked effect, making your chicken stand out.
- Texture Modifications: Consider mixing fibers, such as cotton and acrylic, for a unique look and feel. This not only alters the visual aspect but also provides an interesting tactile experience.
Experimentation is key in crochet, especially for beginners; don’t hesitate to explore new ideas as you create your charming Mabel Chicken!
How to Wash and Care for Your Mabel Chicken
Machine Washing: If you choose to machine wash, use cold water with a gentle cycle to prevent any distortion in shape. Added agitation can ruin the delicate features.
Hand Washing: Hand wash gently in lukewarm water using mild detergent, taking care not to stretch or pull your chicken out of shape.
Drying: Lay the finished piece flat to dry to maintain its shape. Avoid hanging, as this may stretch the body.
Storage: Store your Mabel Chicken in a cool, dry place. Keep it away from direct sunlight to preserve colors, especially if you’ve used vibrant yarns.
Tips for the Best Mabel Chicken
Stitch Count: Always count your stitches at the end of each round to avoid unexpected changes in size. It’s crucial for beginner crochet chickens.
Tension Control: Ensure your stitches aren’t too tight. A relaxed hold will help maintain the ideal shape for stuffing later.
Foundation Chain: Start with a magic circle for a snug foundation. This reduces gaps at the beginning and ensures a solid structure.
Avoid Curling: If your chicken’s edges start to curl, check your tension and consider switching yarn types or adjusting your hook size.
Blocking Tips: Lightly block the finished piece to enhance its shape and definition. This is especially helpful for decorative elements like the comb.
Mabel Chicken FAQs
Can I substitute the yarn?
Absolutely! You can use any worsted-weight yarn—such as cotton or acrylic—though the texture and appearance may vary based on the fiber.
How do I adjust the size of the chicken?
To resize the chicken, you can use a thicker or thinner yarn or modify the number of rounds in the body. Just remember to adjust your starting chain by adding multiples of 6 to ensure consistent shape.
What if I drop a stitch?
Don’t panic! Just backtrack to the last round, and pick it up carefully. Use your hook to pull the dropped stitch up to the correct location before continuing.
What hook size should I use?
A 4.0 mm (G-6) crochet hook is recommended for beginner crochet chickens. This size helps achieve the right tension and stitch definition.
How can I prevent curling?
If your chicken starts to curl, it might help to check your tension—try crocheting a bit looser. Alternatively, a light block after finishing can also help.
Can I add accessories to my chicken?
Absolutely! Tiny bows, hats, or even different colors can personalize your Mabel Chicken and make them stand out as unique decorative pieces.
Leave a Reply