
The moment I laid my eyes on the vibrant crochet lily petals, I felt as if I had discovered a hidden treasure in the world of fiber arts. This charming crochet lily project not only connects you with nature’s beauty but also offers a delightful escape into creativity. The crochet lily petal is a perfect blend of elegance and whimsy, making it a fantastic addition to any floral arrangement or home decor! With minimal materials required and a manageable skill level, you can craft this beautiful flower without getting overwhelmed. Plus, it’s an excellent stash-buster for those odd skeins of yarn that you’re just not sure what to do with! The soft hues of yarn and the delicate curves of each petal not only create a gorgeous centerpiece but also a conversation starter in your living room or at a special event. I’m excited to share this pattern with you, and I can’t wait to see your unique interpretations of the crochet lily petal. What colors will you choose to bring this floral masterpiece to life?
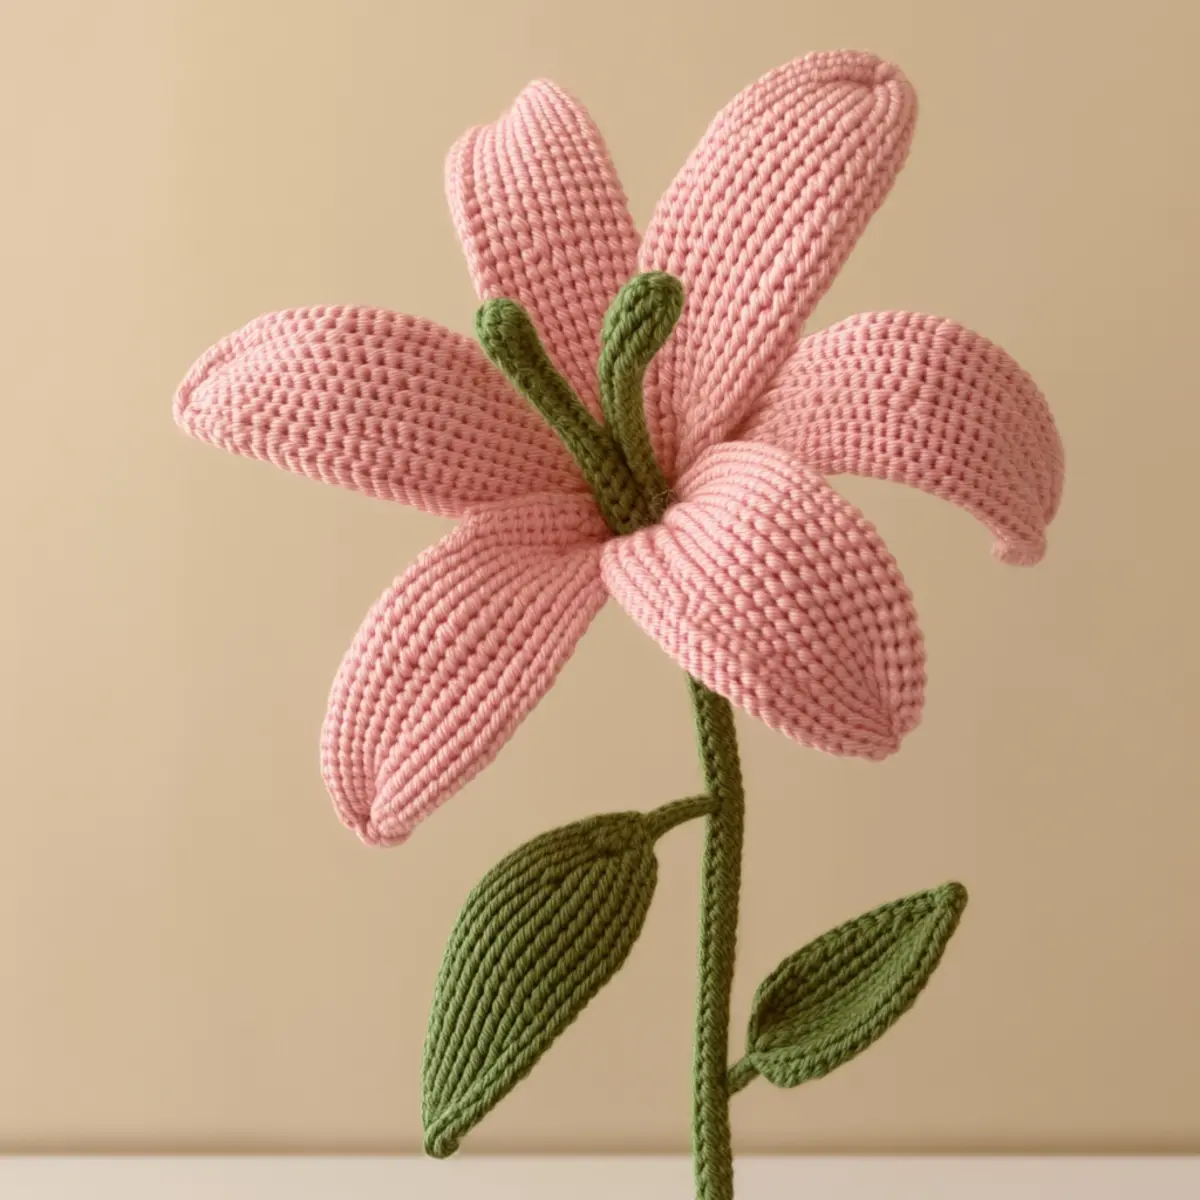
Crochet Lily Petal Materials & Tools
Yarn
Medium-weight yarn – Choose worsted weight (Category 4) in pink for stunning petals and green for a vibrant stem. Aim for about 150 yards for the petals and 25 yards for the stem.
Tools & Notions
4.0 mm crochet hook – Ideal for achieving the delicate stitches that make the crochet lily petal stand out beautifully.
25 cm wire – Provides structure and stability to your petals, enhancing their shape.
Scissors – Essential for trimming yarn ends as you create your flower.
Yarn needle – Perfect for weaving in those pesky ends and finishing off your project neatly.
Why You’ll Love This Pattern
Sophistication meets simplicity in this crochet lily petal pattern. Not only does it deliver a stunning aesthetic to your spaces, but it’s also a great project to boost your crochet skills. Stash-friendly design means you can use yarn left from previous projects, giving those scraps a beautiful purpose. You can even explore different shades with Crochet Flowers Delightful for inspiration to enhance your arrangements. Customization is a breeze too! You can opt for beads at the petal tips or vary your petal sizes for dramatic flair, aligning perfectly with your personal style. Additionally, this pattern is time-saving; once you get the hang of the stitches, it flows easily and is perfect for a cozy weekend project. Whether you’re making one or a bouquet, the crochet lily petal adds a charming element to any decor!
Gauge & Sizing Notes for Crochet Lily Petal
When crafting the crochet lily petal, precise tension is crucial to maintain the uniformity and charm of your floral masterpiece. The standard gauge measures 4×4 inches (10×10 cm), typically achieved by working 14 stitches and 10 rows in double crochet with the recommended medium-weight yarn. This ensures each petal fits well together for a cohesive look. If your swatch doesn’t match; consider adjusting your hook size to achieve the necessary tension. For resizing the flower, increase or decrease the starting chain in increments of 2; this can alter both the petal size and flower diameter. Remember, the completed flower will roughly measure 6-8 inches across; therefore, adjusting the foundation by a few stitches can yield a more dramatic petal shape. Enjoy crafting your crochet lily petal while experimenting with variations in color and size!
Step-by-Step Pattern for Crochet Lily Petal
Row 1: Start the Foundation
Begin by chaining 26. This creates the foundation for your first crochet lily petal. Remember to add one turning chain when you’re ready to start the first row.
Row 2: First Row of Stitches
Work 1 sc in the 2nd chain from the hook, then hdc in the next chain, and finally 3 dc in the following chain. This begins to shape the petal! Continue working 1 sc in each of the next two chains. End this row with 1 sl st in the last chain (total st: 8).
Row 3: Create Curvature
Chain 1 to begin the next row. Work 1 sc, hdc, and 3 dc into the first stitch of the previous row. This will help form the graceful curve of your petal. Create 1 sc in the next two stitches, then 1 sl st at the end of the row (total st: 10).
Row 4: Building the Shape
Repeat Row 3. This means chaining 1 at the start and working into the same positions. You should start to see the flower’s form taking shape. Ensure your stitches are tight yet not overly tight so the petals maintain flexibility (total st: 12).
Row 5: Complete the First Petal Side
Chain 1, then work 1 sc, hdc, 3 dc at the beginning of your previous row. This will accentuate the petal’s curve. Follow up with 1 sc in the next two stitches and finish this side by sl st into the last chain (total st: 14).
Row 6: Mirror the First Side
Turn your work around. Chain 1 again and now work in reverse: 1 sl st in the first, then 1 sc, hdc, 3 dc, following the shape we’re creating. This forms the other side of the petal for a balanced look. Finish by fitting into the end with a sl st (total st: 14).
Row 7: Making the Petal Firm
Insert a 25 cm wire alongside the edge of your petal as you work through this row. It will help support and keep the shape of your petal once it’s finished. Remember to secure the wire as you stitch, using sc to hold it in place across the edge (total st: 14).
Row 8: Finalizing the Petal
Using your green yarn, you can start working on the stem. Chain 15 for the stem’s base after completing your petal. This creates a sturdy foundation for your crochet lily flower. You can attach petals later once you’ve crafted the stem (total st: 15).
Row 9: Connecting Petals Together
Once you’ve made a total of 6 separate petals, it’s time to join them. Position your finished petals in a circle and secure them together by slipping them into each other’s base with sl sts, ensuring they form a blossoming attachment (total petals connected: 6).
Row 10: Add The Leaf
Now that the flower is assembled, switch back to green yarn to create a simple leaf. Chain 10, then work 1 sc, hdc, 1 dc, hdc, 1 sc in the last chain to form a small leaf. Attach to the base of the stem with a sl st to finish the flower’s presentation (total leaf: 1).
Row 11: Finished Touches
Trim any excess yarn and weave in the loose ends using your yarn needle. Blocking the petals will enhance their shape and ensure they hold firm when displayed. Allow them to sit for better definition, making the flower more striking!
Row 12: Display Your Work
Your charming crochet lily is now complete! Consider displaying it in a vase with other crafts or gifting it as a unique handmade present. Let your creativity bloom with your crochet lily petal project!
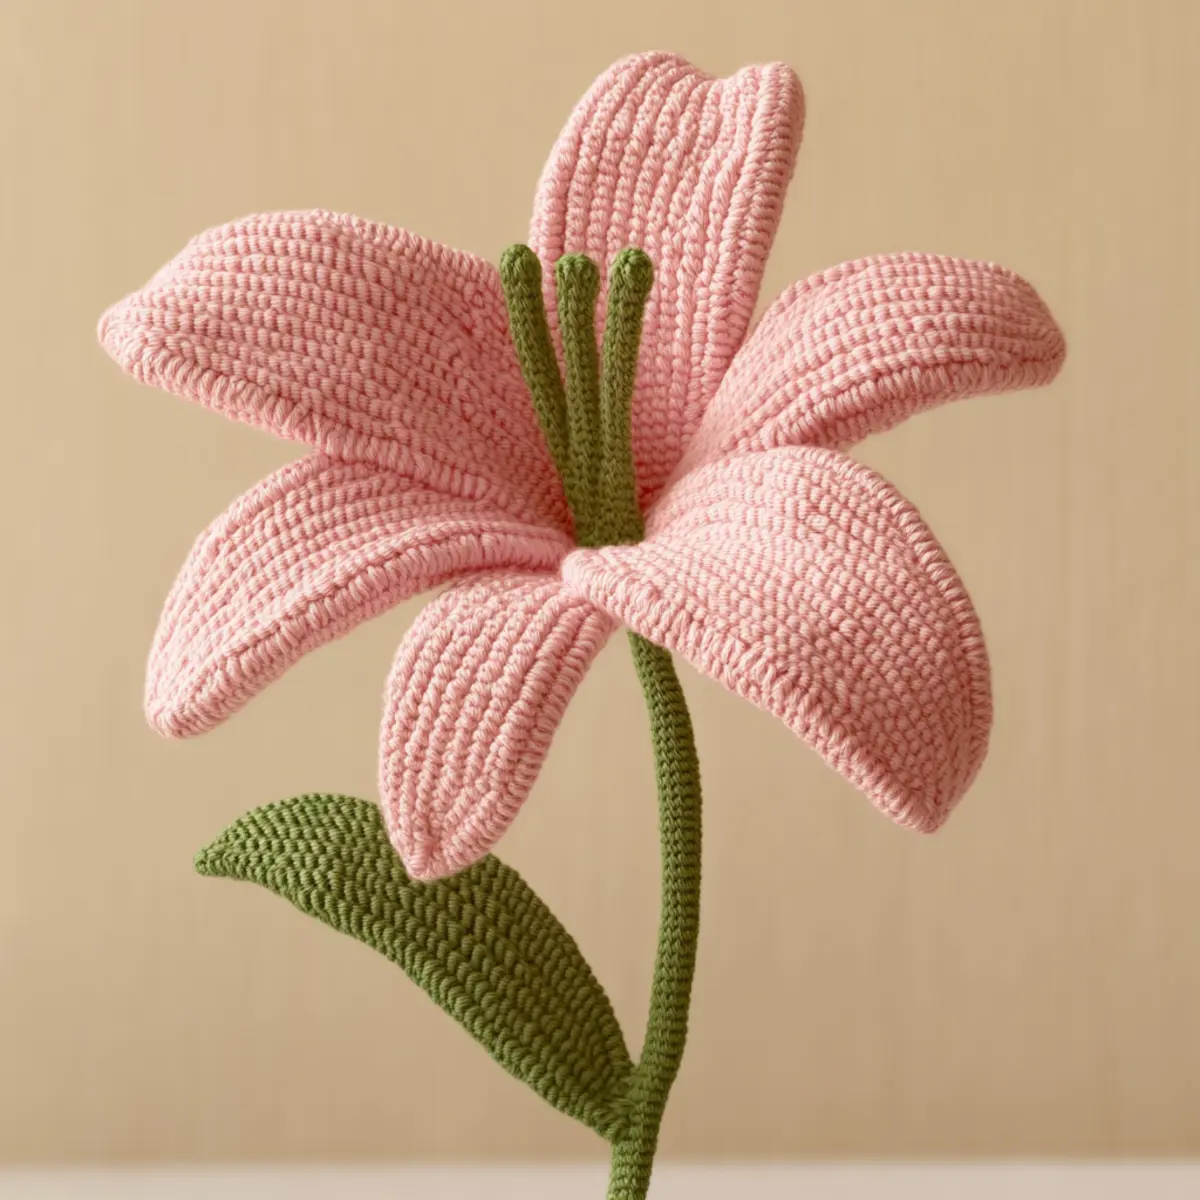
Important Tips for Crochet Lily Petals
Count Your Stitches: Always keep an accurate count of your stitches to avoid an unbalanced flower. Losing count can lead to asymmetrical petals.
Maintain Tension: Consistent tension is key in crochet. Ensuring that your tension is even throughout will provide a beautiful and uniform shape to each petal.
Check Your Gauge: Test your gauge before starting. This will help you maintain the correct petal size to match with the rest of your arrangement.
Use Proper Hook Size: Make sure to use the recommended 4.0 mm hook for delicate stitches. A different size could alter your petal design.
Wire Reinforcement: Always insert the wire as you crochet to keep your petals sturdy. This is important for maintaining the flower’s shape and structure.
Block Your Work: Don’t skip blocking your completed petals! This final step enhances the curves and shapes beautifully, giving the lily a professional look.
Crochet Lily Petal Variations and Substitutions
Feel free to get creative with your crochet lily petals! Customize colors, sizes, and textures to make this project uniquely yours.
- Variegated Yarn: Use variegated yarn for a multi-colored effect that adds depth and visual interest to each petal.
- Different Shades: Experiment with shades of purple or yellow for petals, offering a fresh take that can brighten any arrangement.
- Add Beads: Consider sewing beads at the tips of the petals to imitate dew drops, adding a touch of elegance.
- Larger Petals: To create drama, increase the number of chains in the foundation row, leading to larger, bolder petals.
- Texture Contrast: Try blending different yarn textures, such as a soft cotton with a light acrylic, for a unique touch.
- Wire-Free Version: For a more natural look, omit the wire to allow petals to drape gracefully.
- Color-Blocking: Combine two or more colors in each petal by changing yarn mid-project to create striking color-blocks.
For an adventurous twist, how about exploring Crochet Flowers Delightful to find more floral patterns? Mixing the concepts from the lily with those will enhance your crochet repertoire and create breathtaking arrangements for your home decor or gift giving.
Caring for Your Crochet Lily Petal
Machine Washing: Avoid machine washing as agitation can ruin the shape of your petals. Hand wash gently instead.
Hand Washing: Use lukewarm water and a mild detergent. Swirl the flower gently to clean, then rinse thoroughly without twisting.
Drying: Lay the crochet lily flat to dry on a towel. Avoid hanging it as gravity can distort its shape.
Storage: Store in a cool, dry place away from direct sunlight. If displaying, keep dust-free to maintain the floral beauty of your crochet lily petal.
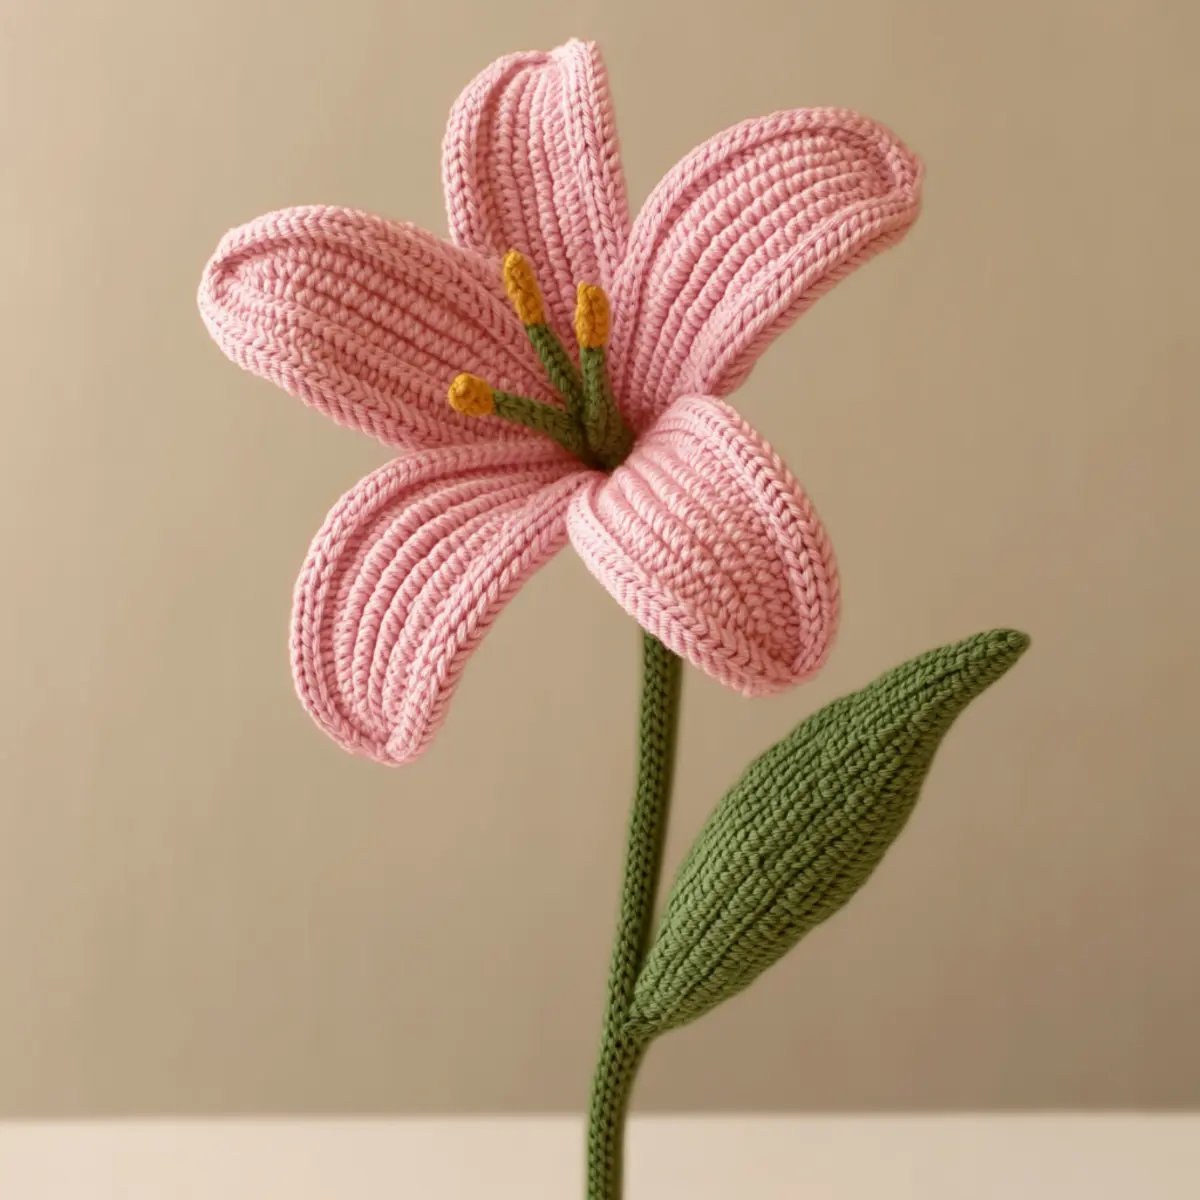
Crochet Lily Petal FAQs
Can I use different types of yarn for this project?
Absolutely! While the pattern suggests medium-weight yarn, you can experiment with different yarn types. Just remember that it may change the final size and appearance of your lily petals.
What if my petals curl?
Don’t panic! Curling can be fixed by blocking the petals after completion. Soak them gently, pin them to a flat surface, and allow them to dry in shape.
How do I adjust the size of my crochet lily?
You can resize by increasing or decreasing the foundation chain in increments of 2 stitches. This will change the petal’s size, creating a larger or smaller flower.
What hook size should I use?
For the crochet lily petal, it’s recommended to use a 4.0 mm (G-6) crochet hook. This size helps achieve the delicate look that enhances the flower’s elegance.
What should I do if I drop a stitch?
If you drop a stitch, simply pick it back up carefully. Use a yarn needle to pull the yarn back through the dropped stitch, ensuring not to pull too tightly, which may distort the shape.
Can I add embellishments to the petals?
Certainly! Adding beads at the petal tips can simulate dew drops for extra flair. Don’t hesitate to personalize your crochet lily with any embellishments that speak to your style.
Leave a Reply