
In a world where individuality shines, crafting a unique accessory can be such a rewarding adventure. Enter the Cute and Customizable Crochet Drawstring Backpack, a delightful blend of style and practicality that’s perfect for any occasion—from a sunny day at the park to casual coffee catch-ups with friends. This beginner-friendly pattern is not only fun to make but also works up quickly, making it an ideal stash-buster for your favorite yarns. With a charming sunburst granny square design, this backpack offers you the chance to unleash your creativity through personalization, whether you prefer a boho vibe or something more minimalist. Plus, its lined interior ensures durability, allowing you to carry your essentials with confidence. Ready to discover your next favorite project? Let’s dive into stitch and color together!
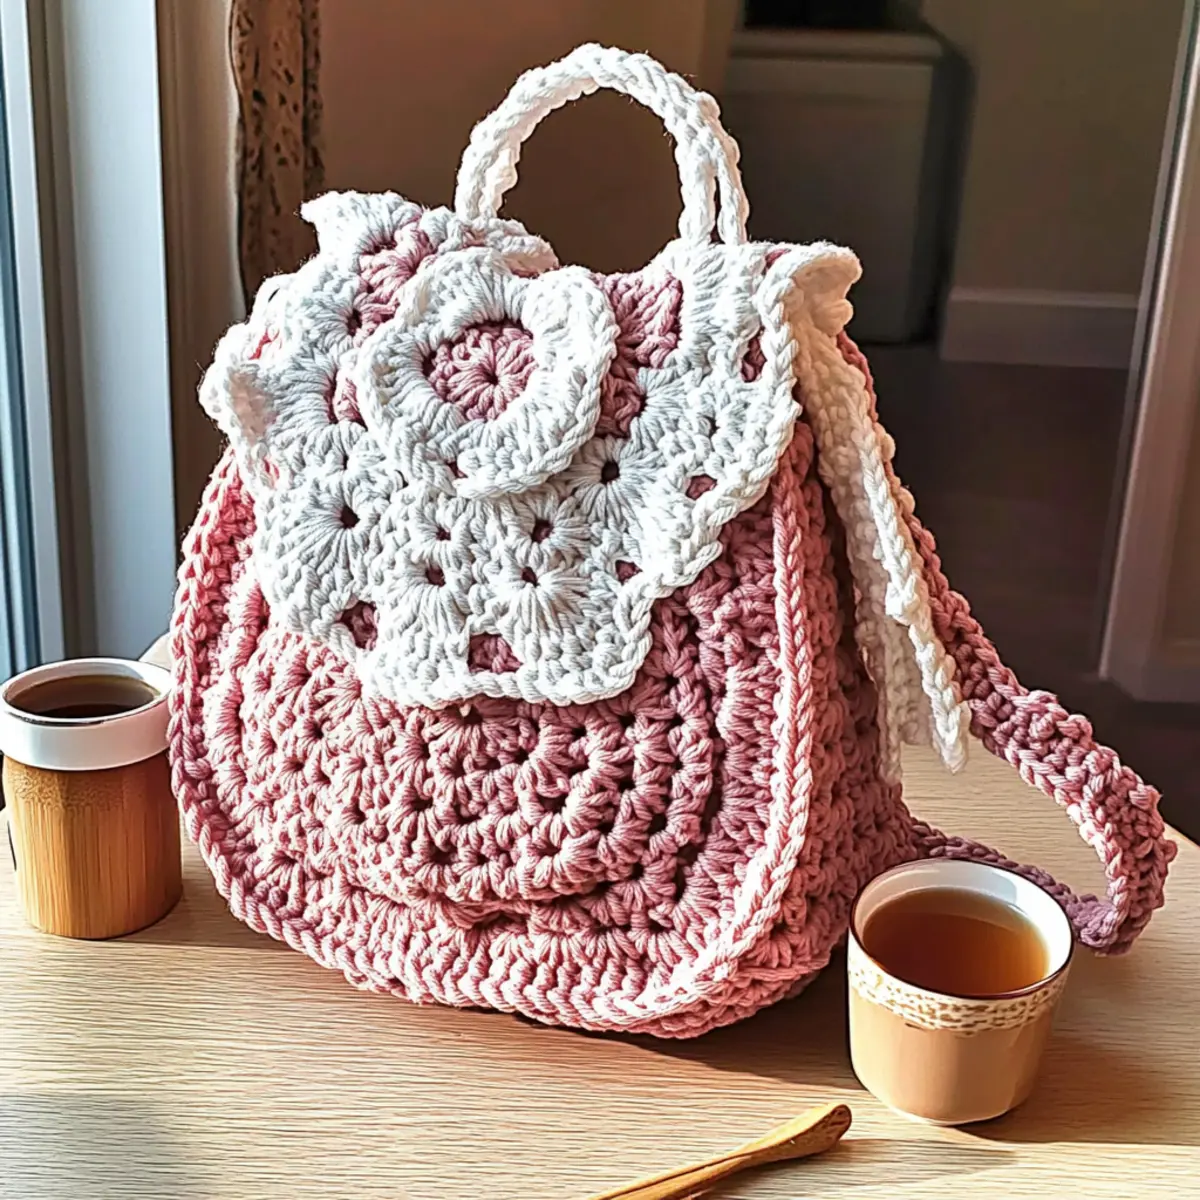
Cute Customizable Crochet Drawstring Backpack Materials & Tools
Create your unique backpack with these must-have supplies!
Yarn
• Red Heart Soft – Rose Blush – 2-3 skeins needed, depending on your preferred bag size for a charming color.
• Red Heart Soft – White – 1 skein for a lovely contrast that brightens up your design.
Tools & Notions
• 5 mm (H-8) Hook – Ideal for crocheting the bag base and ensuring a strong structure.
• 4.5 mm (G-6) Hook – Perfect for crafting the straps and drawstring, making them sturdy yet stylish.
• Tapestry Needle – Essential for weaving in ends, ensuring your project looks neat and polished.
• Cotton Fabric (for lining) – Recommended for durability, it helps maintain the bag’s shape while adding a cozy touch.
Why is This Backpack a Must-Try?
Versatile Charm: This crochet drawstring backpack effortlessly blends with any outfit, adding a stylish touch whether you’re embracing a boho look or going for something sleek and modern.
Beginner-Friendly: Designed with newcomers in mind, the basic stitches and clear instructions make learning enjoyable and accessible.
Stash-Buster Potential: With just 2-3 skeins of yarn needed, it’s a perfect project for using up those leftover yarn scraps from your stash.
Customization Galore: The design invites you to play with color schemes and adjustments, letting your creativity shine through as you create a unique bag tailored just for you.
Durable Design: The lined interior ensures that your bag not only looks great but stands up to everyday use. For care instructions, be sure to check our guide on washing and care.
Transform your crafting journey with this cute and practical pattern!
How to Check Your Gauge for Cute and Customizable Crochet Drawstring Backpack
Don’t skip the gauge swatch! Achieving the right tension is essential for your Cute and Customizable Crochet Drawstring Backpack to turn out perfectly. Aim for a gauge of 4×4 inches (10×10 cm) to equal 14 double crochets by 8 rows. This will ensure that your granny squares are consistently sized, giving your backpack a polished look. If you’re dreaming of a larger backpack, increase your starting chain in multiples of 6 + 2. Conversely, if your swatch is smaller than expected, don’t worry—simply go up a hook size to achieve the proper measurements. Happy crafting!
Step‑by‑Step Pattern for Cute and Customizable Crochet Drawstring Backpack
Row 1: Starting the Base
Using a 5 mm (H-8) hook and Red Heart Soft in Rose Blush, make a magic ring. Chain 3 (counts as first dc), then work 11 dc into the ring. Pull the tail to close the ring, and join with a sl st to the top of the beginning ch 3. Your work should form a small circle with 12 dc (12 sts).
Row 2: Expanding the Base
Ch 3 (counts as first dc). In the same st, work 2 dc (inc). In the next st, work 2 dc (inc). Repeat from * to * around. Join with a sl st to the top of the ch 3. Your base should flare out nicely, forming a round with 24 sts (24 sts).
Row 3: Adding More Rounds
Ch 3, then work 1 dc in the same st. In the next st, work 1 dc. In the following st, work 2 dc (inc). Repeat from * to * around. Join with a sl st at the top of the ch 3. Your base should have a slightly larger diameter now with a total of 36 sts (36 sts).
Row 4: Creating the Granny Square
Switch to making your sunburst granny squares. Start with a magic ring, ch 3 (counts as 1st dc). Work 2 dc, ch 1, 3 dc, ch 1 four times in the ring. Pull tight to close and join with sl st. Your square center will be vibrant with clusters.
Row 5: Completing the Squares
Chain 3 (counts as dc) and work 2 dc into each ch-1 space around, joining with sl st at the top of ch 3. Your square should now display defined corners and edges, making it a beautiful sunburst with 24 sts (each side).
Step 6: Assemble the Body
Sew together 14 sunburst squares, arranging 2 for the base, 4 for the front and back, and 2 for each side. Used slip stitches to join. The bag shape will begin to form, and it should feel stable yet flexible.
Step 7: Top Round with Pink Yarn
Attach pink yarn at the top of the bag. Ch 3 (counts as 1st dc), then work 1 dc in the next st and around the top opening. Join with sl st. Your opening will grow wider, creating a lovely yet stylish edge for the drawstring.
Row 8: Create Drawstring Spaces
In this round, ch 3 and work 1 dc, then ch 1, skip 1, dc in next st. Repeat from * to * and join. This will create evenly spaced gaps for the drawstring, offering a secure closure for your cute backpack.
Step 9: Finalizing the Lid
Repeat rounds for a sunburst granny square, ensuring to match the previous squares. Assemble as before using 4 squares for the lid. Your finished lid should align perfectly with the bag structure, adding an eye-catching element.
Step 10: Straps and Drawstring
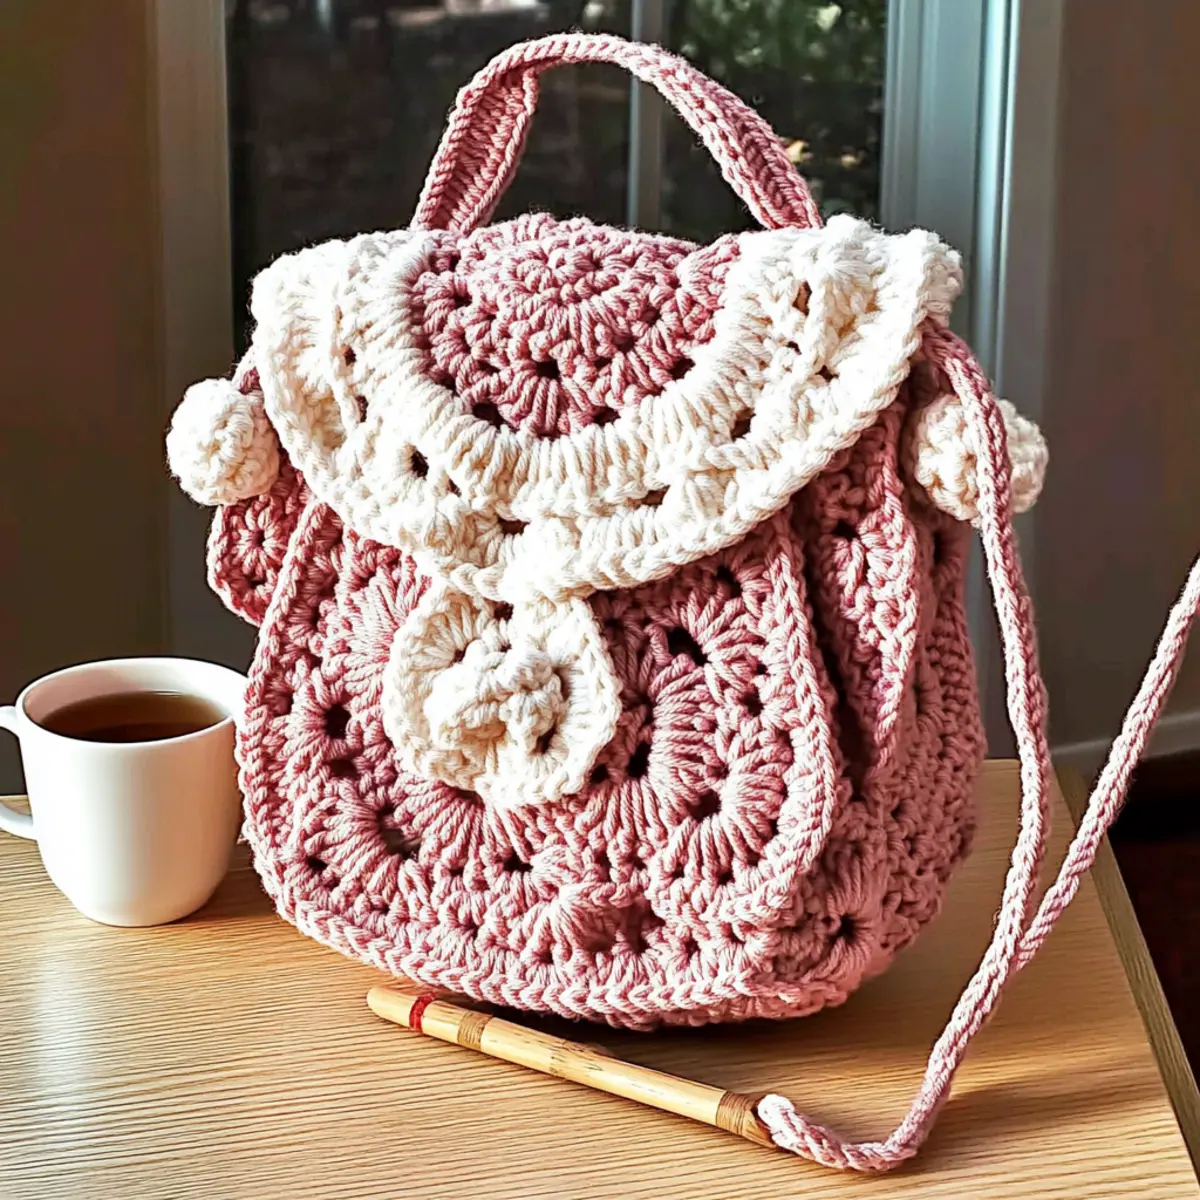
Using the 4.5 mm (G-6) hook, create durable straps with sc. Make them long enough (30-33 inches) and line them for added strength. Weave your drawstring through the top gaps, finishing off with decorative tassels for a fun finishing touch.
Expert Tips for Your Crochet Backpack
-
Count Your Stitches: Regularly check your stitch counts after each round. This will help maintain the right shape and size, keeping your crochet backpack looking sharp.
-
Watch Your Tension: Ensure your tension remains consistent throughout the project. Inconsistent tension can lead to uneven squares and misaligned seams, affecting the final look of your backpack.
-
Secure Your Ends: When finishing, weave in yarn ends securely. This not only enhances the durability of your bag but also prevents any fraying over time.
-
Lining Matters: Be sure to line your bag well to prevent stretching. A properly lined interior not only improves durability but also enhances the overall look of your cute and customizable crochet backpack.
-
Practice Makes Perfect: If you’re new to granny squares, practice a few before starting on your backpack. This will build confidence and help avoid mistakes as you create your masterpiece.
Cute Customizable Crochet Backpack Variations
Feel free to unleash your creativity and make this crochet backpack your own with these fun customizations!
-
Yarn Weight Swaps: Choose a heavier yarn for a bulkier backpack or lighter yarn for a more delicate finish. Just remember to adjust your hook size accordingly.
-
Fiber Alternatives: Consider using cotton instead of acrylic for a more breathable bag. Cotton provides a natural feel, perfect for summer outings.
-
Color-Blocking Ideas: Get playful with your color choices by using multiple colors within the squares! A vibrant mix adds a modern twist to your boho design.
-
Size Adjustments: Modify the number of granny squares to increase or decrease the backpack’s dimensions. More squares create a roomier bag, perfect for stashing all your essentials.
-
Strap Length Customization: Experiment with longer or shorter straps to find the perfect fit for you. It’s an easy way to adjust the bag’s comfort and style!
-
Add Texture: Enhance your bag with fun details like a fluffy pom-pom or bohemian fringe on the edges. These small touches make a big impact on overall aesthetics.
-
Decorative Borders: Edge the squares with a contrasting color to create a striking visual frame. This adds a polished finish and draws the eye.
-
Personal Touches: Embellish your bag with fabric patches or decorative buttons for a completely unique look. You can find great ideas in our post about how to add fun embellishments.
With these simple variations, your crochet backpack will truly reflect your personal style!
Washing & Care for Your Crochet Backpack
Hand Washing: Gently hand wash your crochet backpack in cold water with a mild detergent to maintain its vibrant colors and prevent any felting.
Drying: Always lay the backpack flat to dry after washing. This helps retain its shape and prevents stretching, ensuring your piece stays as beautiful as the day you finished it.
Storage: When not in use, store your backpack in a cool, dry place away from direct sunlight to protect the yarn and fabric lining from fading.
Avoid Agitation: Never wring or twist your bag while washing. This can cause pilling or distortions in your lovely sunburst granny squares.
Cute and Customizable Crochet Drawstring Backpack FAQs
Could I substitute a different yarn for this backpack pattern?
Absolutely! While the pattern recommends Red Heart Soft yarn, you can easily substitute it with another medium weight yarn, such as Lion Brand Vanna’s Choice or Bernat Blanket. Just make sure to check the yarn weight and adjust your hook size accordingly!
How can I adjust the size of the backpack?
To make your backpack bigger, you can simply add more granny squares—each additional square will increase the dimensions. Conversely, for a smaller backpack, reduce the number of squares and adjust the strap length as needed to maintain proportionality. Aim for a ratio that keeps the squares in multiples of 2 for ease of assembly.
Why is my work curling at the edges?
Don’t panic! Curling often occurs when the tension is either too tight or there’s a mismatch in stitch height. To fix it, try loosening your tension or blocking your completed squares flat. If you’re still encountering issues, ensure you’re consistent with your stitch type throughout the project.
What size hook should I be using for my backpack?
For the base of your backpack, a 5 mm (H-8) hook is ideal. When creating the straps and drawstring, switch to a 4.5 mm (G-6) hook to maintain a snug fit. If you’re unsure of your crochet tension, it’s a great idea to do a small gauge swatch first!
How can I fix dropped stitches?
It’s an easy fix! Simply use a tapestry needle to weave the yarn back through the dropped stitch, essentially pulling it back up and securing it in place. If the stitches are in an intricate area, carefully unravel a few rows back to that point and redo them. Keep your yarn handy so you can get right back to it!
What if my granny squares are coming out uneven?
This often stems from inconsistency in tension while crocheting. I recommend practicing your technique on a few test squares until you feel comfortable with maintaining uniform tension. Also, always count your stitches to ensure you’re completing each round correctly, helping to keep your squares looking neat!
Leave a Reply