
The moment you lay eyes on the Cozy Crochet Panda Bear, you can feel that delightful pull towards making a unique soft creation. This project isn’t just about crochet; it’s about bringing joy and whimsy into your world, whether it’s for a child or simply as a charming decor piece. The crochet panda bear pattern is perfect for those eager to dive into amigurumi with its soft shapes and striking design. What makes this project irresistible? For one, it’s quick, which means you’ll be celebrating your new cuddly friend in no time. Plus, it’s a fantastic stash-buster: just the ticket for managing your yarn reserves while crafting something snuggly and sentimental. Can you just imagine the smiles it will bring to those who receive your handmade treasure? Let’s explore how you can embark on this lovely crochet adventure together and bring this cuddly companion to life.
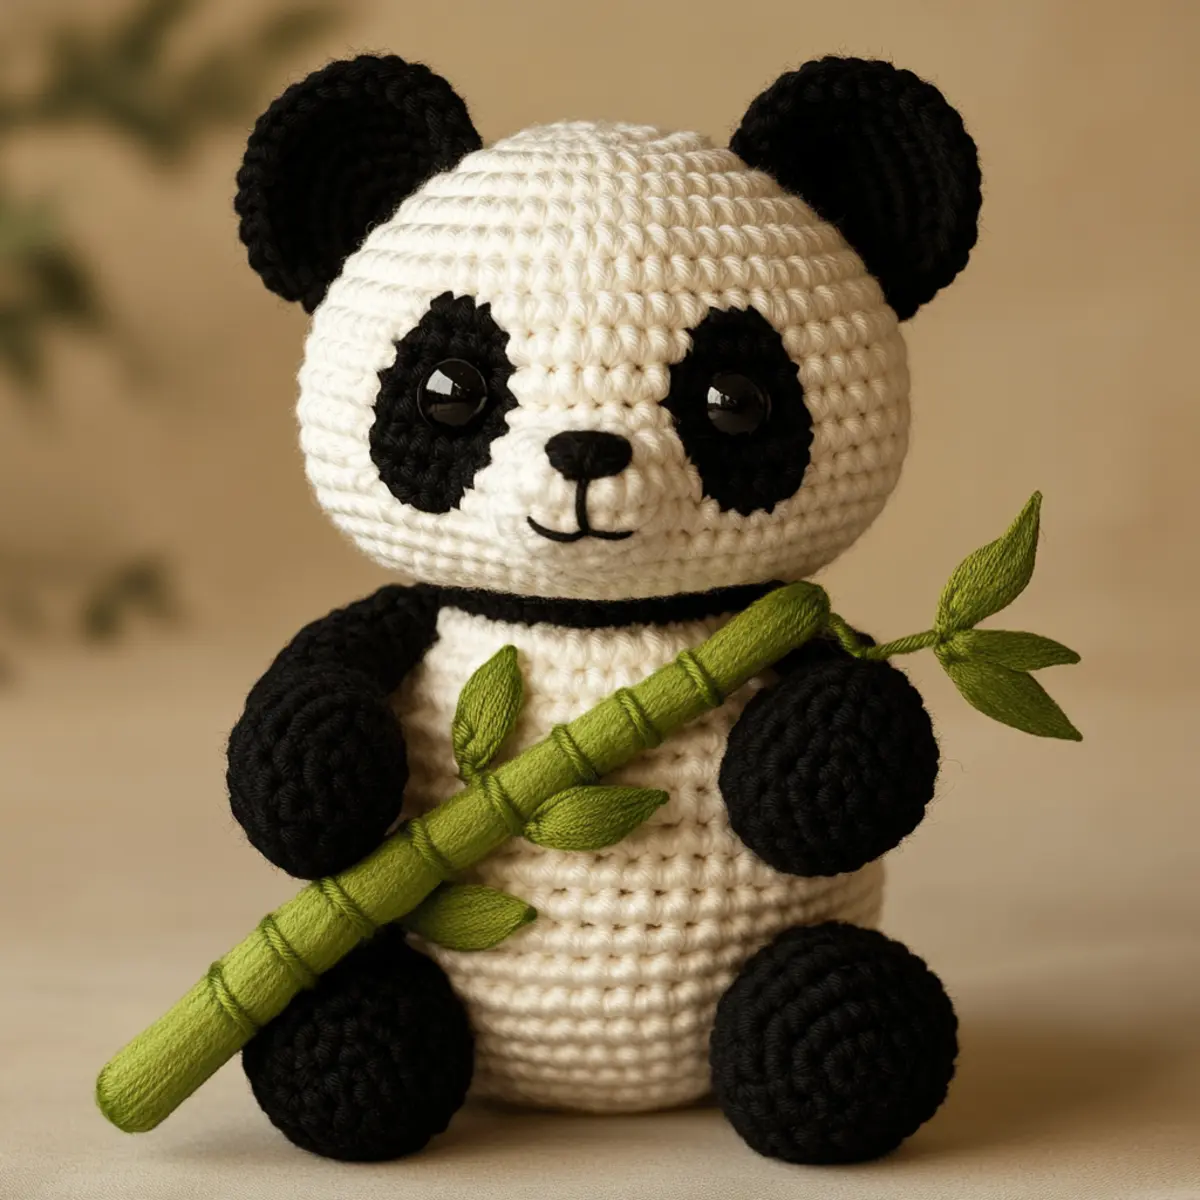
Crochet Panda Bear Materials & Tools
Yarn
Soft Chenille Yarn – Approximately 200-300 yards needed for a delightful, plush finish.
Black Yarn – For the limbs and features, adds personality to your panda bear.
Green Yarn – Use for the bamboo shoot, perfect for color contrast and aesthetics.
Tools & Notions
4.0 mm Crochet Hook – Recommended for optimal plush texture in the crochet panda bear.
Safety Eyes (12 mm) – Essential for giving your bear those soulful, adorable features.
Polyester Stuffing – Ensures your panda maintains a soft, cuddly shape.
Yarn Needle – Handy for sewing pieces securely together, ensuring everything stays in place nicely.
Scissors – To keep your yarn trimmed and your workspace tidy.
Why You’ll Love This Pattern
Charming design features of the crochet panda bear bring joy to all ages, making it an excellent gift option. Customizable facial features allow you to add a personal touch, ensuring each bear has its unique charm. With sturdy construction, your bear will withstand love and squeezes, remaining a beloved item for years. This pattern uses plush yarn, perfect for providing that sought-after cozy aesthetic. Plus, it’s stash-friendly; if you want more inspiration, check out this Free Amigurumi Pattern for similar projects. Finally, the finished product, measuring around 12 inches tall, is just the right size for little hands to hug, creating a joyfully tactile experience that enhances cuddling.
Gauge & Sizing Notes for Crochet Panda Bear
Checking your tension is vital to ensure that your crochet panda bear turns out with the right dimensions and proportions. For this pattern, the standard gauge is 4×4 inches (10×10 cm) with approximately 12 sc in each row, using a 4.0 mm hook with bulky-weight chenille yarn. If your gauge doesn’t match these numbers, consider adjusting your hook size or the yarn weight to achieve the desired tightness in your stitches. When resizing this adorable panda, feel free to modify the starting chain/rounds based on your desired dimensions, and remember that using thicker yarn can yield a larger bear, while a finer yarn will create a smaller, pocket-sized version. Your finished crochet panda bear will typically measure around 12 inches tall, making it a perfect size for little ones to hug and cherish. The softness of the materials, combined with careful crafting, will ensure a beloved companion that stands the test of time.
Step-by-Step Pattern for Crochet Panda Bear
Row 1: Create the Head Start with a magic ring containing 6 sc to form the foundation. Pull the ring tight and continue to work in the round, ensuring the stitches are evenly distributed for a rounded head shape. (6)
Row 2: Increase for Volume Work (inc) in each stitch around for this row to give your panda bear its adorable, plump appearance. This row adds critical depth to the head, making it perfectly squishy. (12)
Row 3: Continue to Expand For the next part of the head, alternate between 1 sc in the first stitch and (inc) in the next, giving a more pronounced shape. This shaping is essential as it defines the adorable face of the panda. (18)
Row 4: Fine-Tune the Shape Keep increasing by placing 2 sc in the next stitch after 2 sc. This technique helps further round out the head, essential for the overall look of your crochet panda bear’s face. (24)
Row 5: Forming the Face To start defining the facial structure, sc in each stitch around without increases. Ensure you keep tension even to help the panda bear maintain its lovely rounded form. (24)
Row 6: Adding Features To mark the areas for the eyes, switch colors for a moment and add 4 sc in black yarn, indicating eye placement. Use safety eyes for a secured, adorable expression later. (4)
Row 7: Finishing the Head Shape Continue with 2 sc and (dec) in between to taper the head slightly. Aim for a balanced, soft rounded finish as this shape is crucial for the rest of the bear design. (18)
Row 8: Shape the Body Create the body starting with a magic ring of 6 sc, just as you did with the head. This consistency helps maintain the bear’s overall charm. (6)
Row 9: Expanding the Body Size Work (inc) around for volume, ensuring the body will hold plenty of stuffing later. It’s all about keeping the proportions plush and adorable here! (12)
Row 10: Continue Building Up Alternate 1 sc with (inc) again to gradually build the body, establishing the right foundation where arms and legs will be attached. (18)
Row 11: Tapering the Body For a snug fit where the neck merges, work 1 sc in each of the next few stitches, finishing this row with (dec). This step creates a seamless transition between the head and body. (12)
Row 12: Attach Limbs With your previously made arms, legs, and ears, securely sew them onto the body, ensuring they are evenly placed to capture the panda bear’s endearing stance. This might take a little time and precision, but it’s worth it! (12 total assembly points)
Row 13: Create the Bamboo Start working with green yarn, chain 10 for the bamboo shoot, and secure with a sl st to avoid curling. Incorporate (hdc) into the middle chains to give dimension to the bamboo shoot. (10)
Row 14: Finishing Touches Secure all pieces together tightly, sew up any gaps, and gently stuff the completed panda bear, ensuring it looks consistent throughout its fluffy frame. This way, each stitch matters! (Final assembly)
Row 15: Optional Personalization Use embroidery techniques to customize the panda’s facial features, making each creation unique. Personalization adds to the charm and can make each bear truly special. (Customization step)
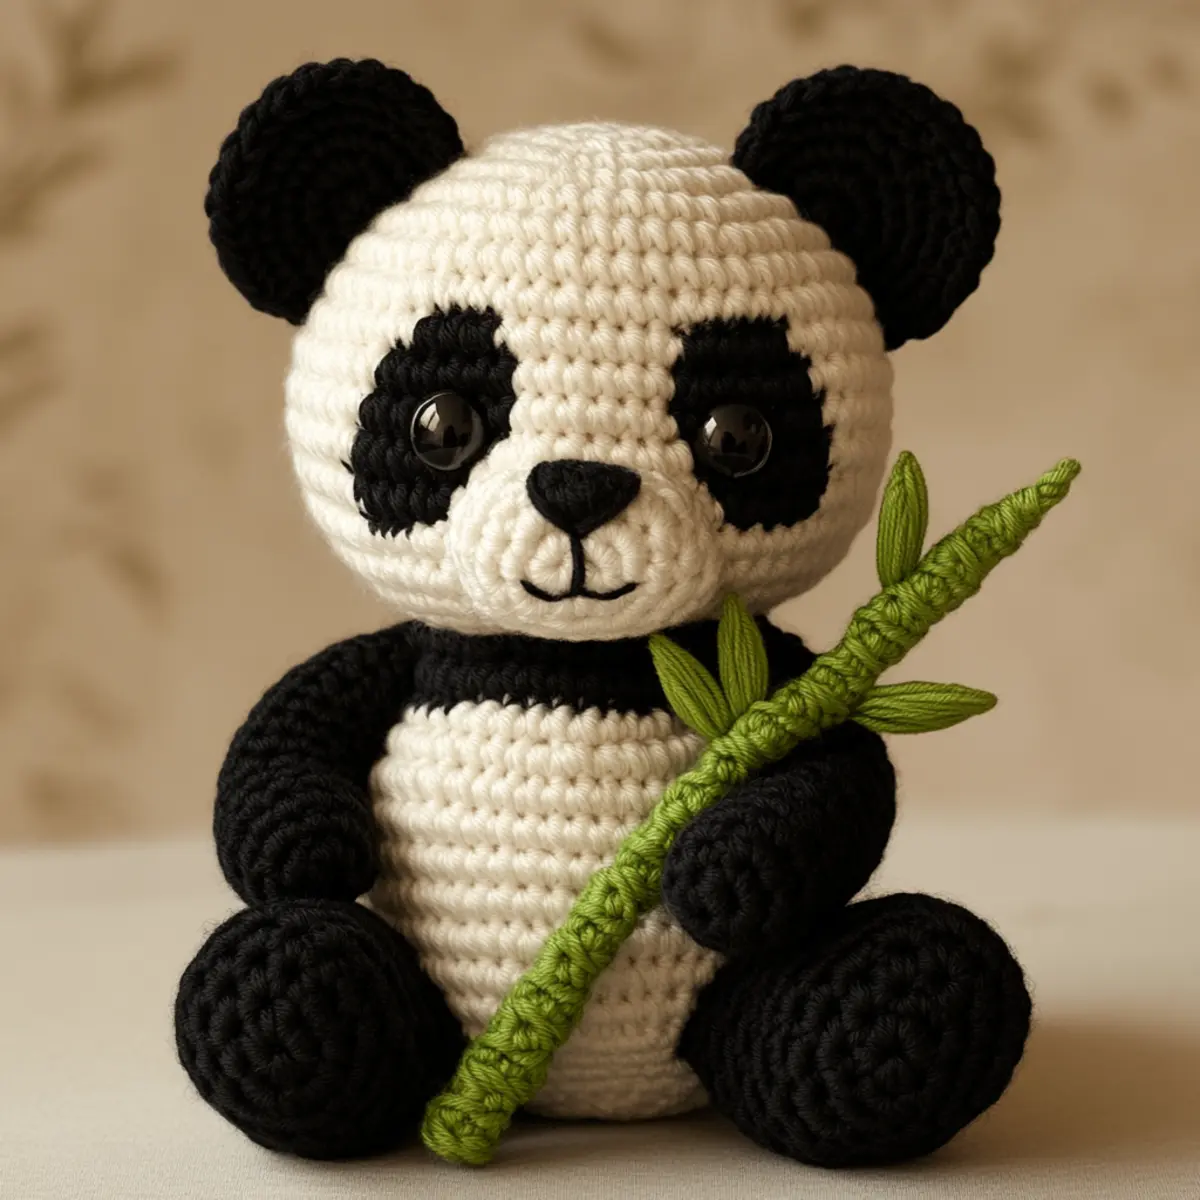
Crochet Panda Bear Variations
Feel free to explore different yarn and design choices to truly make this panda bear your own!
- Pastel Colors: Soft tones create an enchanting look, perfect for a gentle, comforting soft toy.
- Cotton Yarn: For those seeking a sturdier finish, cotton ensures the bear keeps its shape. Experiment with textures for extra character!
- Big & Plush: Use bulkier yarn and a larger hook to create a giant panda perfect for cuddling. This adjusts the size significantly, making the project even more huggable.
- Pocket-Sized Panda: Switch to finer yarn and a smaller hook for a tiny version that can be carried everywhere—a delightful little companion!
- Unique Features: Customize the face with varied embroidery techniques, giving each bear a one-of-a-kind expression. Play around with different colors and styles to create personality.
Consider this: if you go with vibrant shades for the body, contrast them with softer tones for the limbs to add striking visuals. This subtle tweak not only enhances the panda’s charm, but also sparks creativity in your next projects, perhaps leading to a colorful Amigurumi Duck Cozy or a playful Free Amigurumi Harry toy!
- Textured Yarn: Try mixing yarn types for different textures. A playful combination can create a tactile masterpiece as you embrace new experiences in crochet!
- Safety Eyes Options: Experiment with various sized safety eyes or even embroidery to create different expressions, allowing a little whimsy and charm to shine through.
How to Wash and Care for Your Crochet Panda Bear
Machine Washing: If washing in a machine, use a delicate cycle on cold water and place your panda bear in a mesh laundry bag to protect it.
Hand Washing: Hand wash your panda bear gently in cool water with mild detergent. Avoid agitating to preserve its plush texture.
Drying: Always lay your crochet panda bear flat to dry. Avoid hanging as it could distort its shape or lead to stretching.
Storage: Store your panda in a cool, dry place. Avoid direct sunlight to prevent any fading of the colors from the plush yarn.
Expert Tips for Crochet Panda Bear
Track Your Progress: Use a stitch marker to keep count of your rounds and prevent losing your place. This will help maintain a consistent design in your crochet panda bear.
Check Tension: Maintaining consistent tension is essential for the panda bear’s features. An uneven tension can lead to misshaped body parts like the head and ears.
Avoid Twisting: Ensure your foundation chain isn’t twisted when starting your rounds, which can lead to difficulties later on when sewing pieces together. Check twice before securing.
Tapering Technique: Practice the decrease (dec) technique to create a smooth taper for limbs and the head. This helps maintain your bear’s cute shape.
Secure Assembly: When attaching arms and legs, make sure to sew them on securely and evenly to avoid them drooping over time. A cuddly panda bear should be stable and huggable.
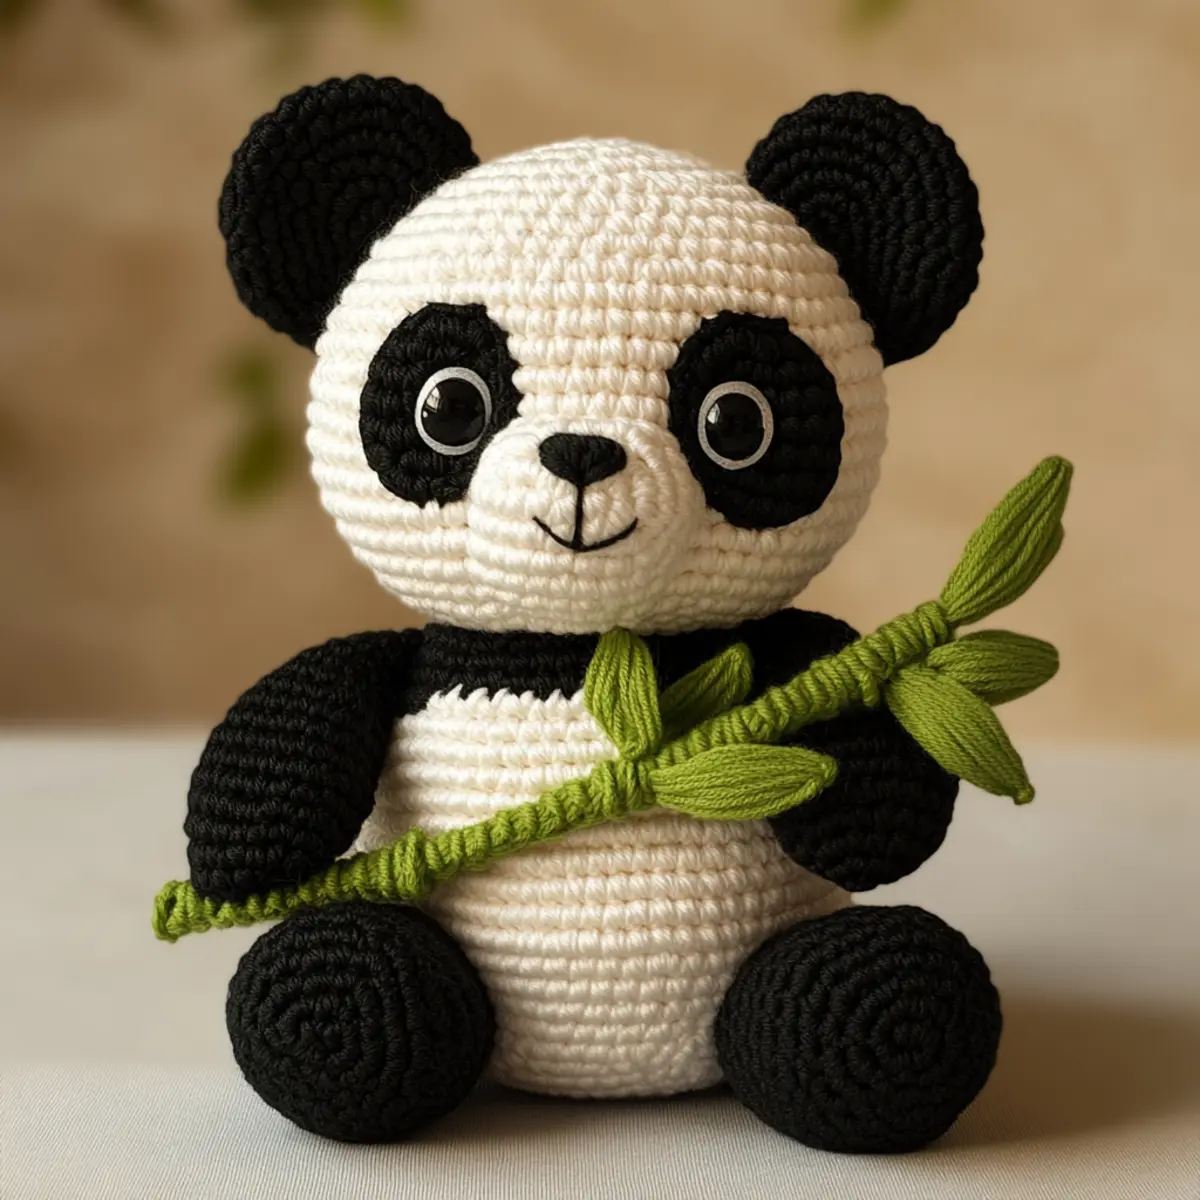
Crochet Panda Bear FAQs
Can I use a different type of yarn?
Absolutely! While the pattern calls for chenille yarn for its softness, you can use cotton or acrylic yarn for different textures and sturdiness.
What if my panda bear curls up?
Don’t panic! If your crochet panda bear curls, lightly block it by dampening the pieces and shaping them gently, ensuring they dry flat.
How do I resize my panda bear?
To resize the panda, modify the starting rounds and the hook size. Using thicker yarn will yield a larger bear while a finer yarn creates a smaller version.
What crochet hook size should I use?
A 4.0 mm (G/6) crochet hook is recommended for achieving the plush texture of the panda bear, allowing you the best combination of softness and sturdiness.
How do I avoid dropped stitches?
Ensure you pay close attention while working in rounds, and don’t rush. If you drop a stitch, simply pick it back up with your hook and continue working, or use a lifeline for longer projects.
What’s the best way to attach safety eyes?
To attach safety eyes, push them through the fabric before securing them from the back with the provided washers. Ensure they are tight and secure before finishing the panda’s face.
Leave a Reply