
The first time I tried my hand at crocheting adorable creatures, I never imagined the joy I would find in creating a cute lilac cow amigurumi. With its plush texture and whimsical design, this project not only adds a charming touch to any room but also serves as a perfect gift for kids and adults alike. As I worked on this project, the tactile delight of using soft chenille yarn became apparent, with every stitch revealing more of the cow’s character. Not only is this amigurumi a fun, stash-buster to use up leftover yarn, but it’s also surprisingly quick to crochet, making it ideal for anyone looking to embrace their creative side. You don’t need to worry about complicated techniques! This pattern is beginner-friendly and perfect for those who know the basics of working in the round. What’s even better? You can customize its colors for a truly unique creation! Could you resist making this charming little knitting companion yourself?
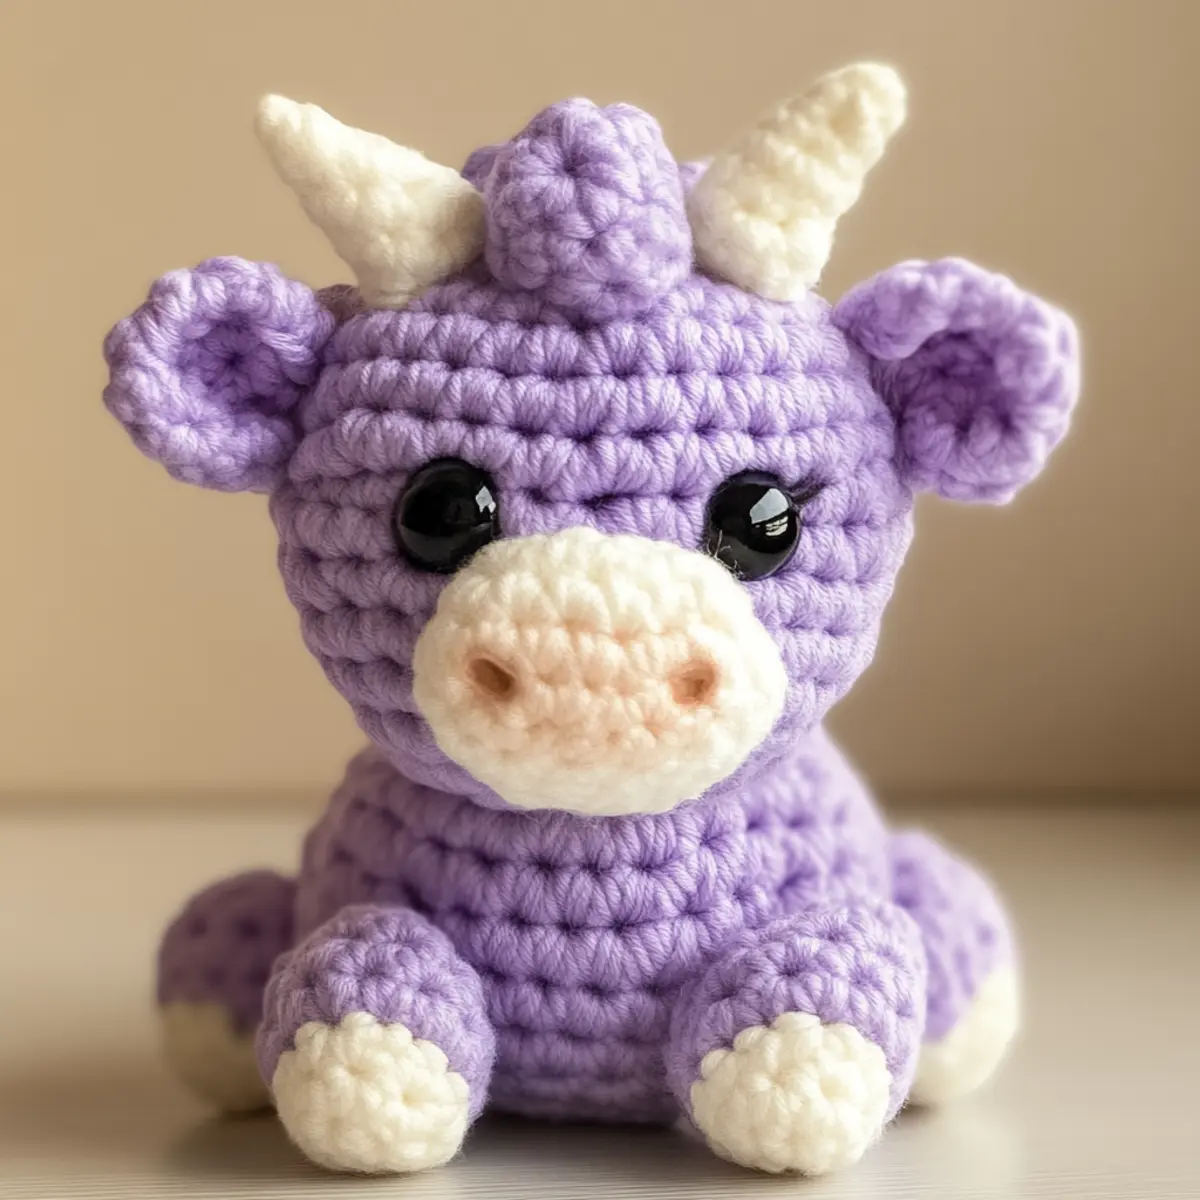
Cute Lilac Cow Materials & Tools
Yarn
- Plush or Chenille Yarn (Lilac) – Use about 150-200 yards for the body and head, ensuring a soft finish for your cute lilac cow.
- Plush or Chenille Yarn (Ivory) – Approximately 20-30 yards will be needed for creating lovely accents.
Tools & Notions
- 4.0 mm (G) Crochet Hook – This size is essential for the main body to achieve the right density in the stitches.
- 10 mm Safety Eyes – These give your cute lilac cow its charming expression while being secure for kids.
- Yarn Needle – Perfect for sewing the pieces together at the end, ensuring a sturdy structure.
- Stitch Markers – Helpful in keeping track of rounds, making it easier to maintain uniform sizing as you crochet.
- Scissors – Necessary for trimming yarn ends neatly, ensuring a polished finish in your adorable project.
Why You’ll Love This Pattern
Crafting the Cute Lilac Cow Amigurumi is not just about creating; it’s about enjoying the journey. With its simplicity, you can whip up this adorable project even on your most hectic days. The delightful textures of chenille yarn add an irresistible softness that makes this cow a joy to cuddle. It’s also incredibly stash-friendly, allowing you to use up remnants from past projects—perfect if you’re someone who loves to curate your yarn collections like I do (check out this free crochet weave pattern for more inspiration!). If you’re after something unique, the pattern’s customizability means you can experiment with various yarns and colors, like a pastel rainbow. Plus, it’s such a time-saver for gifts—whip one up for a loved one in a pinch without sacrificing charm. For those looking to add flair, consider using extras like bows or collars to personalize your cow even further. So gather your yarn and hooks, this lovely amigurumi will surely bring delight!
Gauge & Sizing Notes for Cute Lilac Cow
Checking tension is crucial for your Cute Lilac Cow Amigurumi project, as it ensures that your stitches are tight enough to keep stuffing from showing through. Aim for a standard gauge of 18 sc by 22 rows in a 4×4 inch (10×10 cm) swatch. If your swatch doesn’t match, it might be necessary to adjust your hook size: go up for looser stitches or down for tighter. To resize the cow, you can either adjust the starting chain or rounds, keeping in mind that consistently maintaining your stitch count is key for uniformity. By following these tips, your charming cow will achieve the perfect plush look that’s approximately 8-10 inches tall, making it a lovely cuddly companion!
Step-by-Step Pattern for Cute Lilac Cow
Row 1: Start the Head Begin with a magic ring (MR) in lilac yarn, ch 1, and work 6 sc into the ring (6).
Row 2: Increase the Head Work 2 sc in each stitch around. This will increase your stitch count to 12 (12).
Row 3: Shape the Head Sc in the next stitch, inc in the next; repeat around for a total of 18 stitches (18).
Row 4: Continue Head Work sc in the next 2 stitches, inc in the next; repeat for a total of 24 stitches (24).
Rows 5-7: Build the Head For the next 3 rows, sc in each stitch around to maintain the count at 24 (24). This keeps the shape nice and rounded.
Row 8: Decrease for the Head Work sc in the next 2 stitches, dec; repeat around, which will reduce your count to 18 (18).
Row 9: Form the Head Shape Sc in the next stitch, dec around, leaving you with 12 stitches (12).
Row 10: Final Head Rounds Now work a sc in each stitch around. After this round, leave a long tail for sewing later (12).
Row 11: Make the Body Start a new round, attaching the head to the body with 6 sc. Continue to form a new MR with 6 sc (6).
Row 12: Increase Body In this round, work 2 sc in each stitch around, so you end with 12 (12).
Rows 13-16: Build Body Continue working without any increases; simply sc around each row to develop height (12, 12, 12, 12).
Row 17: Start Decreasing Create the body shape by working sc in the next stitch, dec around until you finish with 8 stitches (8).
Row 18: Final Body Shape Work dec all around to close off and complete your body round (4).
Row 19: Legs For legs, make 4 small pieces in a similar method as the body, about 4 rounds tall, using ivory yarn for a contrasting color.
Row 20: Ears Create 2 small MR pieces by making 4 sc in each, then pulling them tight. Shape as a soft triangle and sew on the head.
Row 21: Add the Tail With fluffy yarn, create a simple tail by chaining 4 and attaching to the back of the cow’s body.
Row 22: Finish with Safety Eyes Attach the safety eyes to complete the expression of your cute lilac cow. Position them evenly for a perfect look.
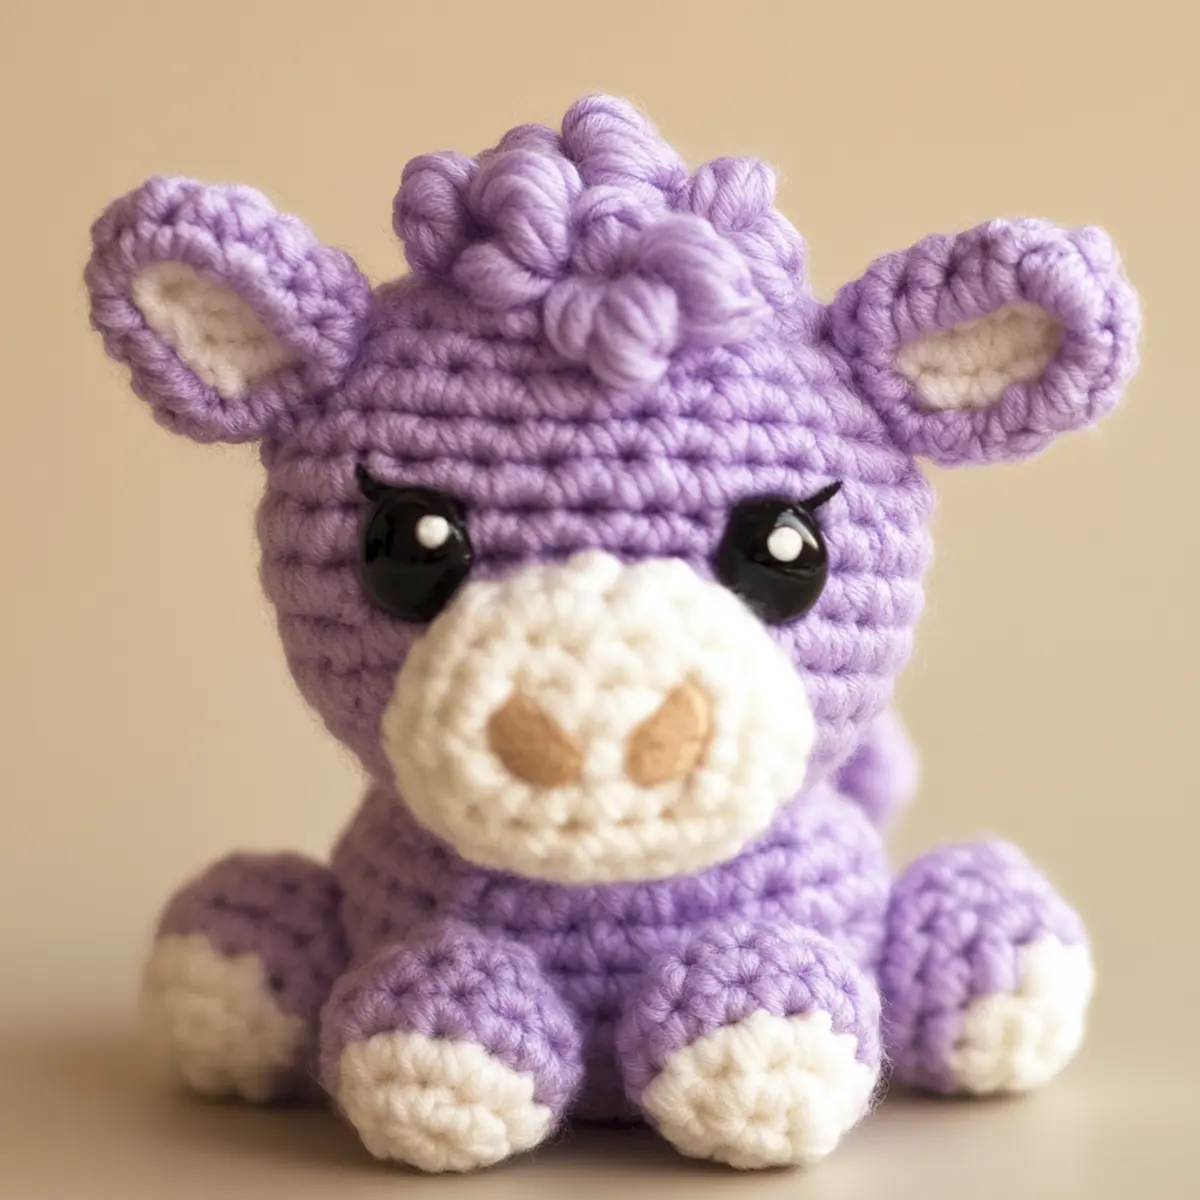
Expert Tips for the Cute Lilac Cow Amigurumi
Count Stitches: Always keep track of your stitch count for even shapes. Mistakes can lead to an oddly shaped cute lilac cow.
Use a Stitch Marker: Place a marker at the beginning of each round to avoid losing your place, ensuring consistency throughout your project.
Tight Tension: Maintain tighter stitches, especially when using plush yarn, to prevent stuffing from showing through the seams.
Correct Hook Size: Match your hook size to the yarn weight; using a hook too large can result in loose stitches and gaps.
Practice Magic Ring: Mastering the magic ring technique ensures a neat start to your amigurumi, making your cute lilac cow look polished from the beginning.
How to Wash and Care for Your Cute Lilac Cow
Machine Washing: If needed, use a gentle cycle in cold water and turn your amigurumi inside out to protect its texture.
Hand Washing: For best results, hand wash your cute lilac cow in cool water with mild detergent, then rinse thoroughly without wringing.
Drying: Lay your cow flat on a towel to dry away from direct sunlight to keep its plush texture intact. Avoid hanging, as it may cause deformities.
Storage: When storing, keep in a cool, dry place, and avoid squeezing or stacking heavy items on top to maintain its shape.
Cute Lilac Cow Variations
Explore various creative interpretations of your cute lilac cow amigurumi! Let’s make this project your own with unique twists.
- Varying Colors: Use shades like pastel pink or yellow for a vibrant twist, perfect for adding personality to your creations.
- Fiber Changes: Try alpaca or cotton yarn for different textures, creating a cuddly or sleek appearance depending on your choice.
- Size Adjustment: Changing the hook size or yarn weight can help you craft both mini and large versions, turning it into a family of cows.
- Accessories: Add cute details with tiny bow ties or hats, making your cow a one-of-a-kind character that reflects your style.
- Ombre Effect: Use a gradient yarn to create an ombre look, adding charm and depth to the amigurumi’s body.
- Personalized Features: Try using unique safety eyes to give your cow even more character, transforming it into a delightful gift.
- Textured Edges: Incorporate different stitch techniques, like bobbles or picots, to enhance the aesthetic appeal and tactile experience.
- Color Blocking: Combine multiple colors as accents to create more visual interest, making distinct sections in your cute lilac cow stand out!
Creating variations not only allows for personalization but also inspires creativity and exploration in your crochet journey. For further inspiration, don’t forget to check out our Free Crochet Weave pattern and Crochet Flowers Delightful articles for more fun projects.
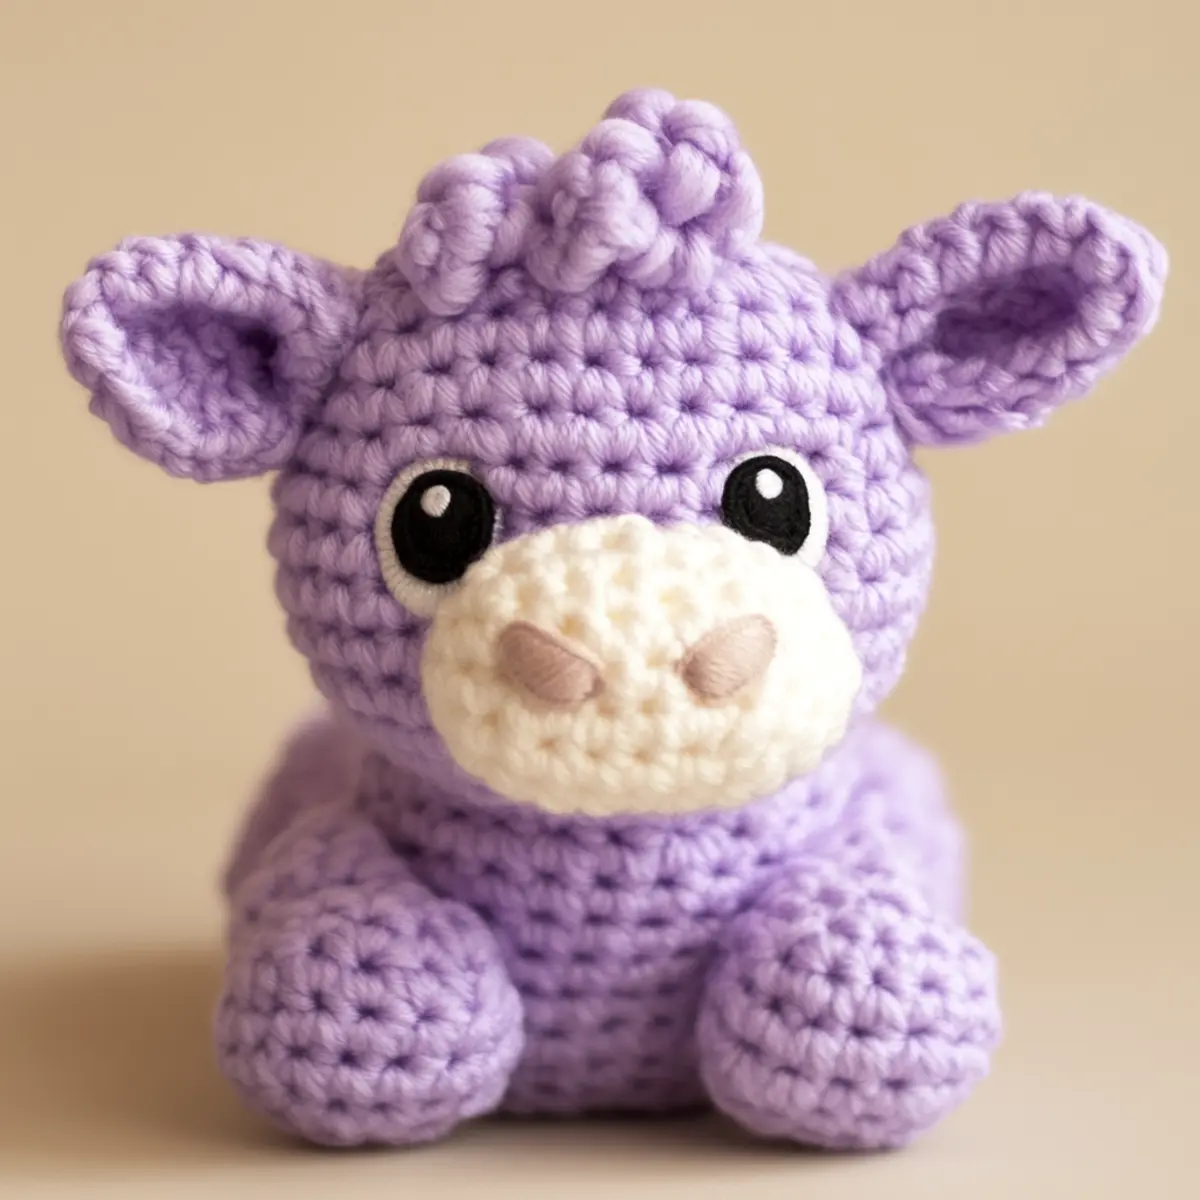
Cute Lilac Cow FAQs
Can I substitute yarn?
Absolutely! You can use cotton or alpaca yarn, though the texture will change. Just be mindful of the weight for sizing consistency.
How can I adjust the sizing?
To resize your cute lilac cow, simply change your hook size or alter the yarn weight. Monitor your stitch count carefully to ensure uniformity.
What if my stitches are curling?
Don’t panic! Curling often happens with tighter stitches. Ensure your tension is just right or consider using a larger hook to help mitigate this issue.
What’s the best hook size to use?
For this project, a 4.0 mm (G) crochet hook is recommended for the main body. Adjust if your tension varies significantly.
How do I prevent dropped stitches?
Use stitch markers to track rounds and keep your attention on counting stitches. Familiarize yourself with your crochet rhythm to minimize distractions.
How do I attach safety eyes?
Position the eyes evenly on the head before locking them in place, ensuring they are securely fastened to avoid safety issues while maintaining a cute expression.
Leave a Reply