
Tucked away in the back of my yarn stash, I discovered a vibrant skein of red yarn that sparked an idea. Creating these beginner-friendly crochet red roses not only brings a burst of color into your life but also allows you to craft heartfelt keepsake gifts that will be cherished for years to come. This quick project is perfect for sprucing up hats, adding a romantic flair to your home decor, or even making everlasting bouquets for special occasions. With just a few basic stitches, you’ll be rolling out stunning blossoms in no time! Get ready to transform simple yarn into stunning floral creations that speak the language of love and creativity. Let’s dive in and start stitching these delightful roses together!
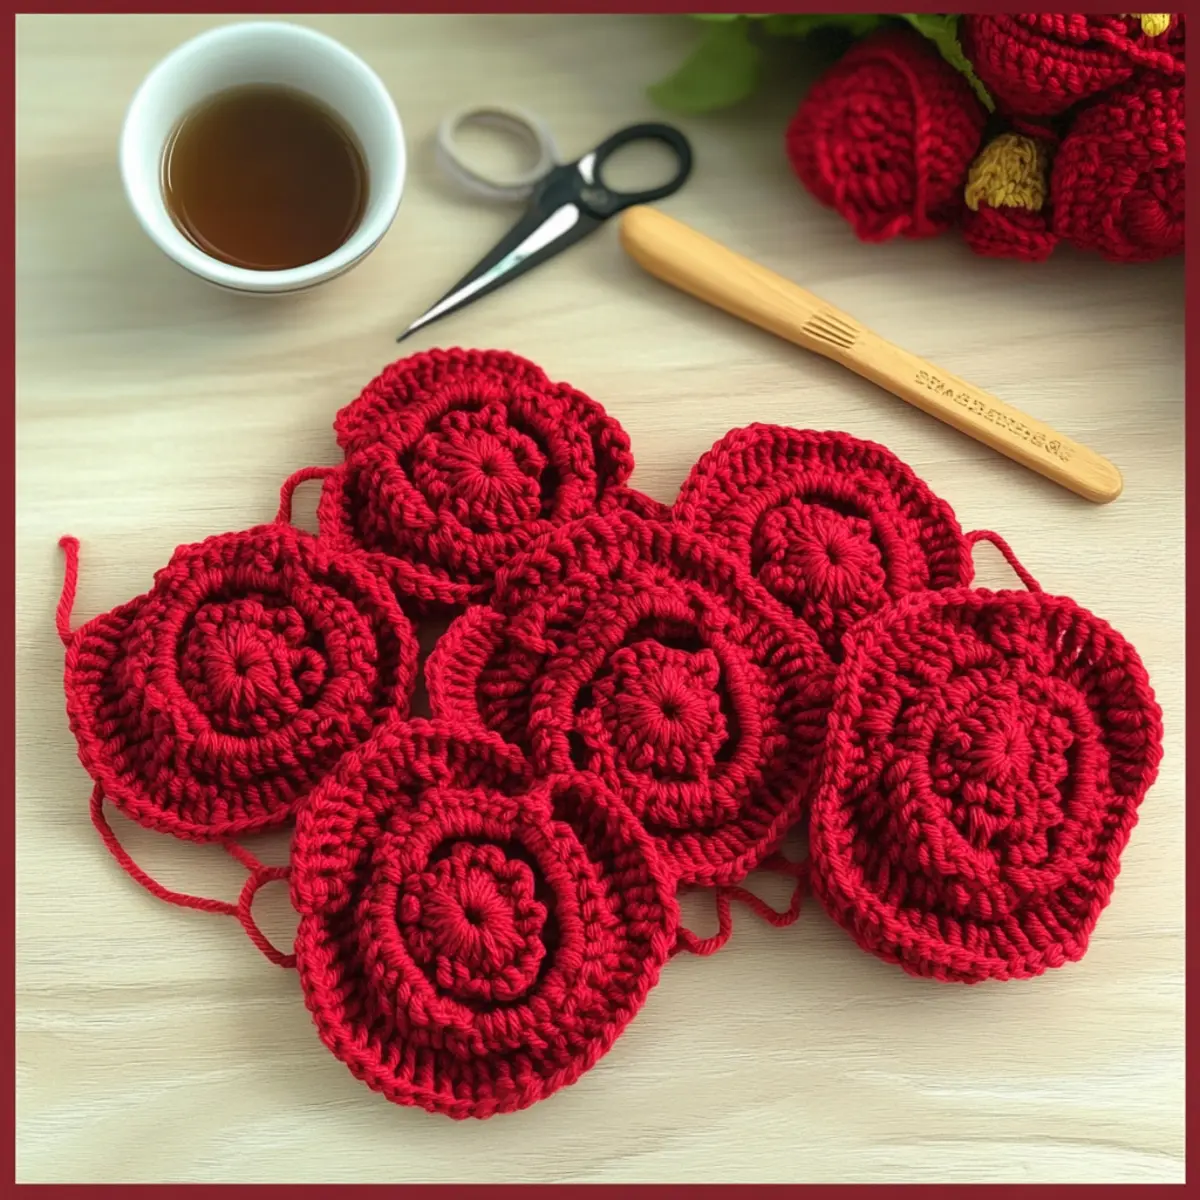
Beginner-Friendly Crochet Red Roses Materials & Tools
-
Yarn
• Medium Weight Acrylic Yarn – Approximately 50-70 yards (45-64 meters) per rose; perfect for creating vibrant blooms. -
Hook
• 4.0 mm (G/6) Crochet Hook – Ideal size for achieving the right tension needed to craft your roses beautifully. -
Notions
• Tapestry Needle – Use it for weaving in ends and securing your rose shape efficiently.
• Scissors – Keep a sharp pair handy for trimming your yarn ends when needed.
Get ready to create stunning keepsake gifts with these materials that make crocheting red roses both rewarding and enjoyable! 🌹
Why Are Crochet Red Roses So Special?
Ease of Creation: This pattern is perfect for beginners, using just a few basic stitches to create stunning results.
Gifting Delight: These crochet red roses make for thoughtful keepsake gifts that recipients will cherish, from birthdays to anniversaries.
Versatile Decor: Whether adorning hats or brightening up your home decor, these roses add a splash of elegance to any project.
Quick & Rewarding: With just 50-70 yards of yarn, you can whip these beauties up in no time—ideal for last-minute projects
Customizable Colors: Experiment with different yarn colors and embellishments to suit any occasion, making them truly unique!
Gauge & Sizing Notes
Don’t skip the gauge swatch! Even for these charming Beginner-Friendly Crochet Red Roses, checking your tension is crucial to achieving the perfect petals. Aim for a gauge of 4×4 inch (10×10 cm) square that measures 10 double crochets by 8 rows. If you’re looking to adjust the size of your roses, you can increase your starting chain in multiples of 4 to create fuller blossoms or decrease for smaller ones. Remember, if your tension doesn’t match the gauge, don’t worry! If your swatch is too tight, simply try using a larger hook size to ensure your roses bloom beautifully. Happy crocheting!
Step‑by‑Step Pattern for Beginner-Friendly Crochet Red Roses
Step 1: Create the Foundation Chain
Begin by chaining 41 stitches (or any multiple of 7 for a fuller rose). Make sure your chain is not too tight as this will affect the draping of your petals. Once completed, hold your chain flat; this will be the base of your rose, forming the foundation for the delicate petals ahead.
Step 2: First Petal Shape
In the 2nd chain from the hook, work 1 single crochet (sc), followed by 1 half double crochet (hdc) in the next stitch. Now, in the following three stitches, create 3 double crochets (dc) which will begin to form your petal shape. After this row, you should have 5 stitches worked and your work should begin to curve (5 sts).
Step 3: Continuing Petals
For the next petal, skip 2 stitches, and in the next chain stitch, repeat the pattern: 1 sc, 1 hdc, and 3 dc. This will create a layered petal effect. Continue this skipping and petal shape until you reach the end of the chain. Your work should now show a lovely pattern of clustered petals, appearing to bloom outward (total petals will depend on your chain length).
Step 4: Forming the Rose
After completing all the petals, leave a long tail and fasten off your yarn. Start rolling your flower from one end, curling the petals to create that iconic rose shape. Gently manipulate the petals to your liking as you roll, ensuring they layer nicely. Your rose should begin to take form, resembling a lovely blossom.
Step 5: Secure the Shape
With the yarn tail, take your tapestry needle and stitch through the base of the rose to secure it in place. Weave the needle in and out where the petals meet to hold them together snugly. Once secured, trim any excess tail, ensuring your crochet red rose has a neat finish and stands beautifully!
Step 6: Final Touches
To add extra flair, you can attach green yarn leaves by chaining a few stitches, then working back into them with a combination of single and double crochet stitches. This will create charming leaves to complete your rose. Place them alongside your finished petals for an adorable, eye-catching decoration that enhances the beauty of your crochet red rose!
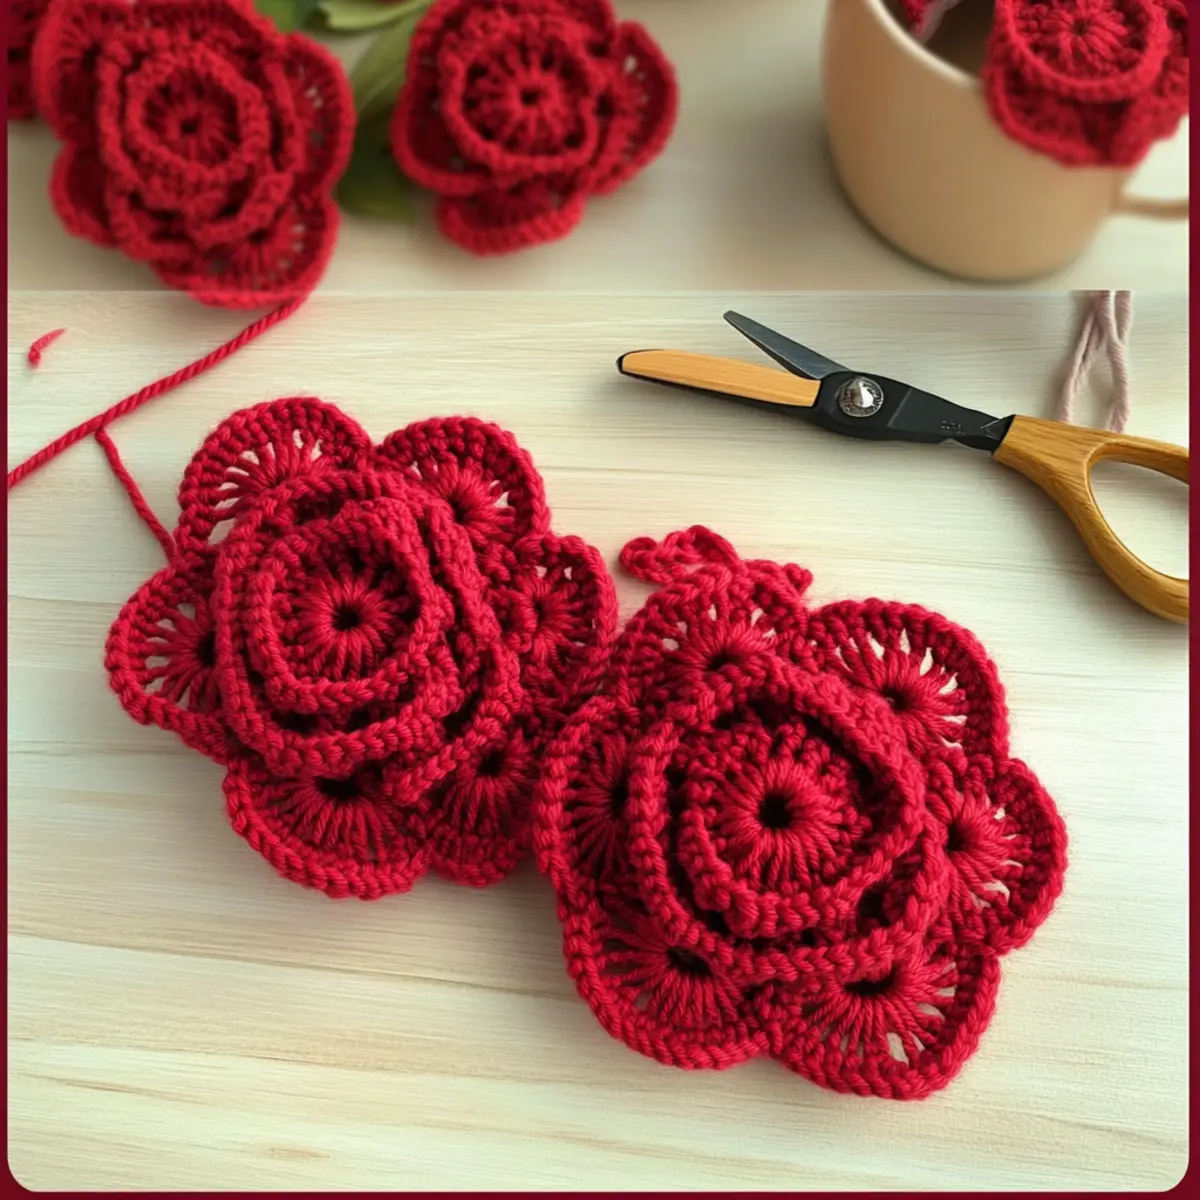
Expert Tips for Crochet Roses
• Count Your Stitches: Always count your stitches at the end of each row to ensure consistent petal shapes and avoid any misalignments.
• Avoid Twists: When creating your foundation chain, make sure it doesn’t twist, as this can distort the final rose shape.
• Relax Your Tension: Keep your tension even throughout the project; overly tight stitches can make it difficult to roll the rose smoothly.
• Finish Neatly: When securing your rose, weave in any loose ends thoroughly to give it a professional finish and enhance durability.
• Practice Varying Yarns: Experiment with different medium weight yarns to discover new textures and effects for your beginner-friendly crochet red roses.
Crochet Rose Variations & Substitutions
Explore the magic of customization as you bring your crochet red roses to life in unique ways!
-
Yarn Substitutions: Try using cotton yarn for a softer, more natural feel than acrylic. This adds a lovely texture to your flowers.
-
Color Blocking: Mix in different shades of red, such as burgundy or blush, to create an ombre effect that enhances your roses’ visual appeal.
-
Larger Roses: Adjust the foundation chain to 61 chains for a bolder, more dramatic flower. This allows for fuller petals and an eye-catching presence.
-
Fiber alternatives: Switch to a bamboo yarn for a luxurious sheen and a more eco-friendly choice. The glossy finish can elevate your crochet decor.
-
Add Leaves: Incorporate dark green yarn for leaves, attaching them at the base of your rose. This simple addition will create a beautiful contrast and round out your bouquet.
-
Textured Finish: Consider adding a cheerful pom-pom to the center of your roses for a playful twist. This small detail can bring unexpected delight!
-
Fringed Edging: Attach a fringed border along the outer edges of the petals for a bohemian flair. It adds a soft, whimsical touch to your rose.
-
Mini Bouquets: Craft smaller roses by reducing the chain length to 31 for tiny blossoms, perfect for creating adorable mini bouquets or embellishing gifts.
By exploring these variations, you can make your crochet project truly your own. If you’re looking for more ideas, check out simple crochet projects or find tips on how to elevate your crochet skills. Happy stitching!
How to Wash and Care for Your Crochet Red Roses
Machine Washing: Use a gentle cycle with cold water to maintain the integrity of your crochet red roses. This helps prevent fading and damage to the delicate stitches.
Hand Washing: For the best results, hand wash gently in cold water with mild detergent. This method helps preserve the beauty and shape of your flowers without causing felting or pilling.
Drying/Blocking: After washing, reshape your crochet roses while they’re wet and lay them flat to dry. Avoid hanging, as this can distort their form.
Storage: Store your crochet red roses in a cool, dry place, away from direct sunlight. This will keep them vibrant and ready to use for your next beautiful project or keepsake gift.
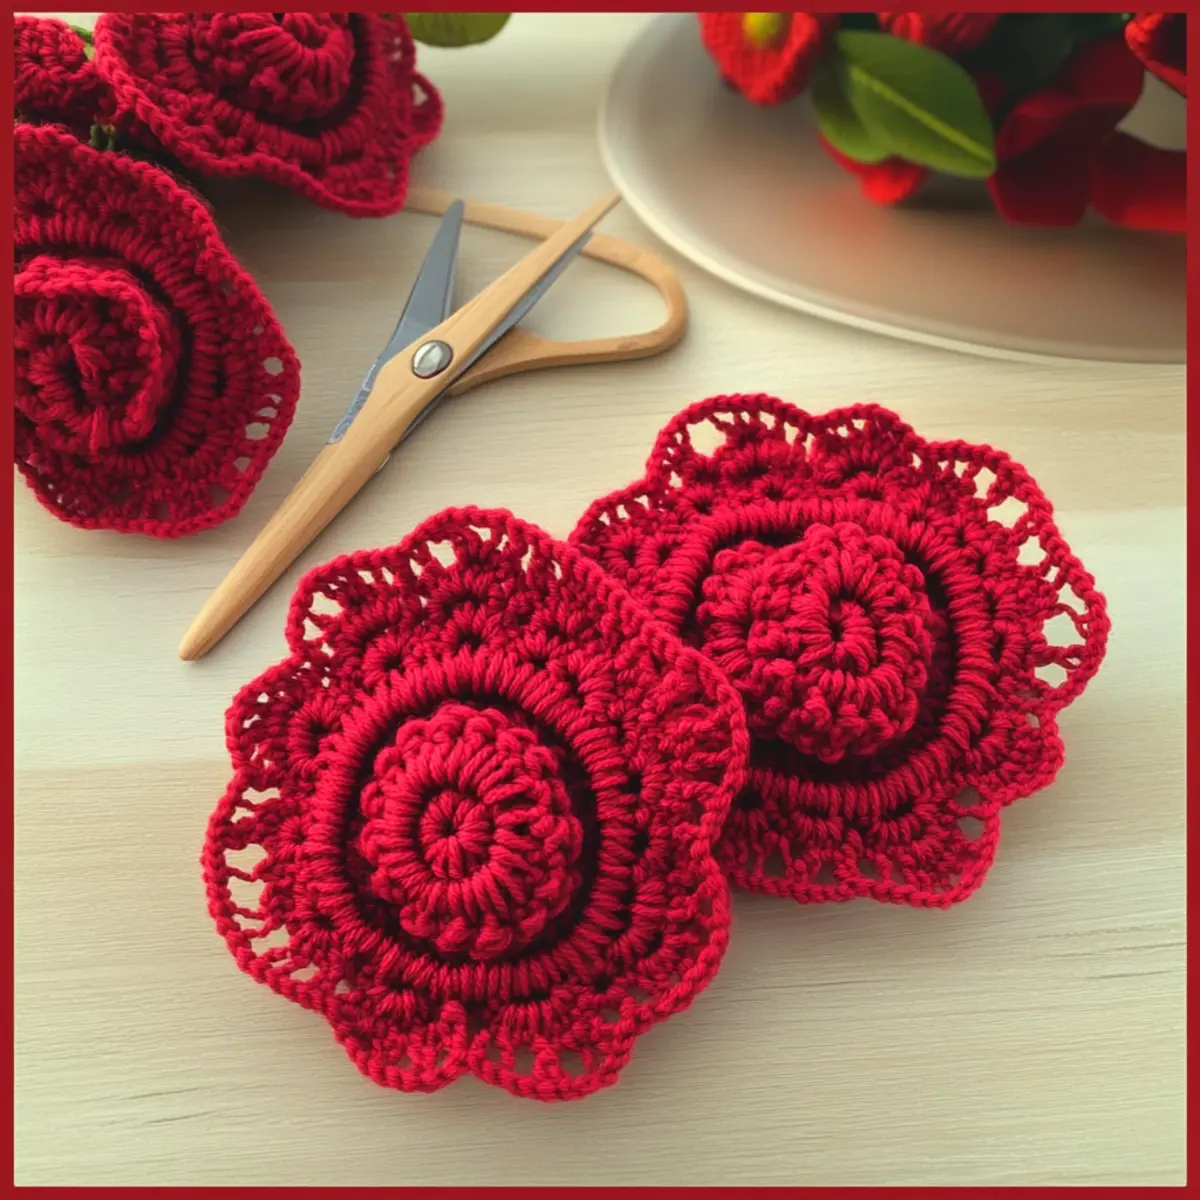
Beginner-Friendly Crochet Red Roses FAQs
Can I use a different type of yarn for this project?
Absolutely! While the pattern recommends medium weight (Category 4) acrylic yarn, you can substitute it with other yarns, like cotton or blends, just keep in mind that the texture and drape may vary.
How do I adjust the size of my crochet red roses?
To make larger roses, simply create a longer foundation chain (e.g., chain in multiples of 3 + 1). For smaller roses, reduce the initial chain length accordingly. Remember to adjust the number of double crochets in the petal as needed for balance!
Why is my crochet rose curling instead of rolling nicely?
Don’t panic! If your rose is curling like a bowl, it’s often due to tight stitching or uneven tension. Try to relax your grip while stitching and ensure that your stitches are uniform. This should help it roll more smoothly into shape.
What size hook should I use for the beginner-friendly crochet red roses?
For this pattern, a 4.0 mm (G/6) crochet hook is recommended. If you’re using a different yarn weight, you might want to adjust the hook size accordingly. A good rule of thumb is to use a hook that gives you a nice, flexible fabric.
How can I fix a dropped stitch in my crochet work?
It’s an easy fix! If you notice a dropped stitch, gently pull the yarn from the stitch above it, and use a tapestry needle to weave it back through the proper stitches. This will secure it, and your rose will look as lovely as ever!
What’s the best way to care for my finished crochet roses?
To keep your roses looking fresh, hand wash them in cold water and reshape them while wet. Lay them flat to dry to help maintain their beautiful form. This gentle care will make sure your keepsake gifts last for years to come!
Leave a Reply